VG2, Quest 9 - Real-Time Strategy (RTS) Genre

Download Files

Supporting files for VG2 quests are part of a single archive that you can download here.

Set Up Scene

For this assignment, you'll return to your 3D environment from prior assignments. Duplicate one of these scenes and rename it to "RTS." Deactive the existing Camera and Player objects (selected in the picture below). The level must have movable physics-enabled boxes (which you likely created in a prior assignment).

Camera

With all the old camera and character objects deactivated, the game needs both a new camera spective and a new "Player." In RTS games, the player is sometimes portrayed as someone who oversees or commands the playing field rather than as individual in the game.

Create a new Camera object. Based on your earlier clean-up, this should be the ONLY Camera and Audio Listener in the scene at this point.

Rotate this new camera so that it faces downward with an altitude of 20 meters above the base height of the terrain. (If the terrain surface is at 10, then the camera Y should be 30.) The camera should also be tagged as MainCamera.

You should be able to look down on your landscape from above. (This is a preview of the camera angle we want to achieve. Despite experimenting with values on the camera object, we will still need to recreate some of these settings in the following step.)

Camera Controls

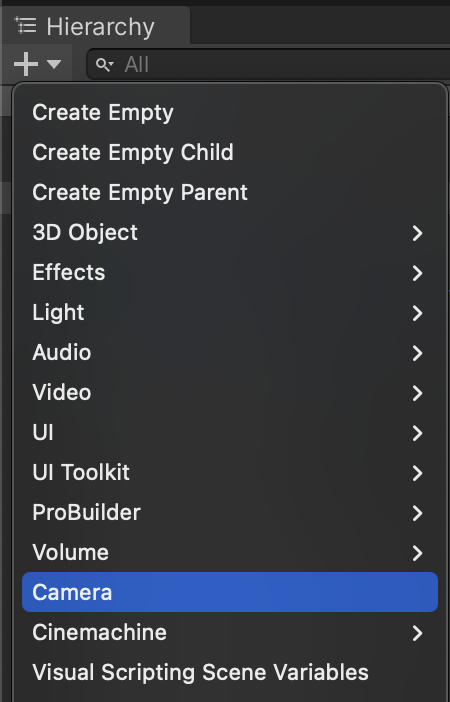
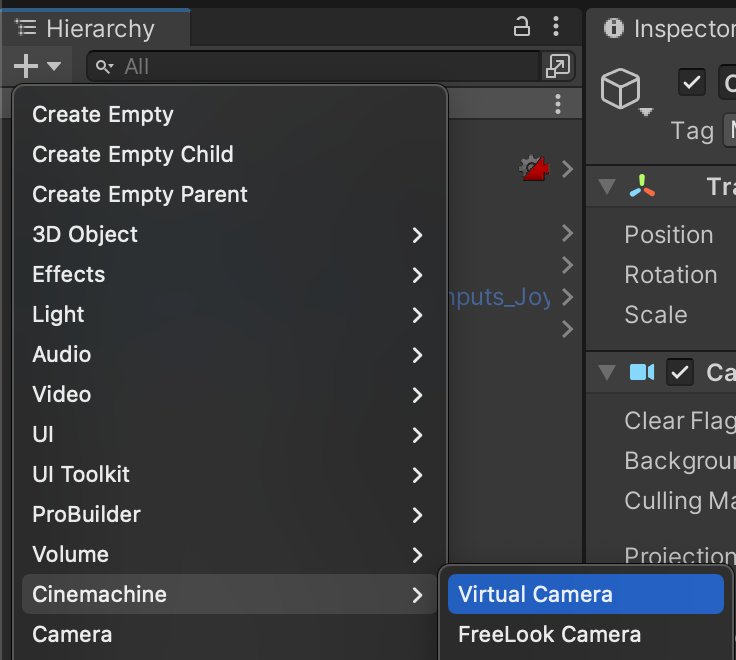
To smoothly move our camera around the environment, we will use the Cinemachine package. Cinemachine uses virtual cameras which act like camera operators who move and aim cameras based on a configured set of behaviors. Add a Cinemachine Virtual Camera to the scene using the create menu.

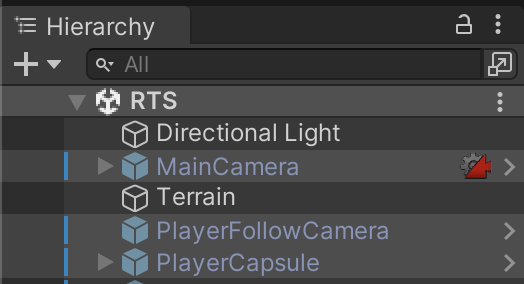
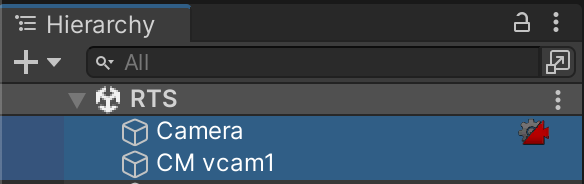
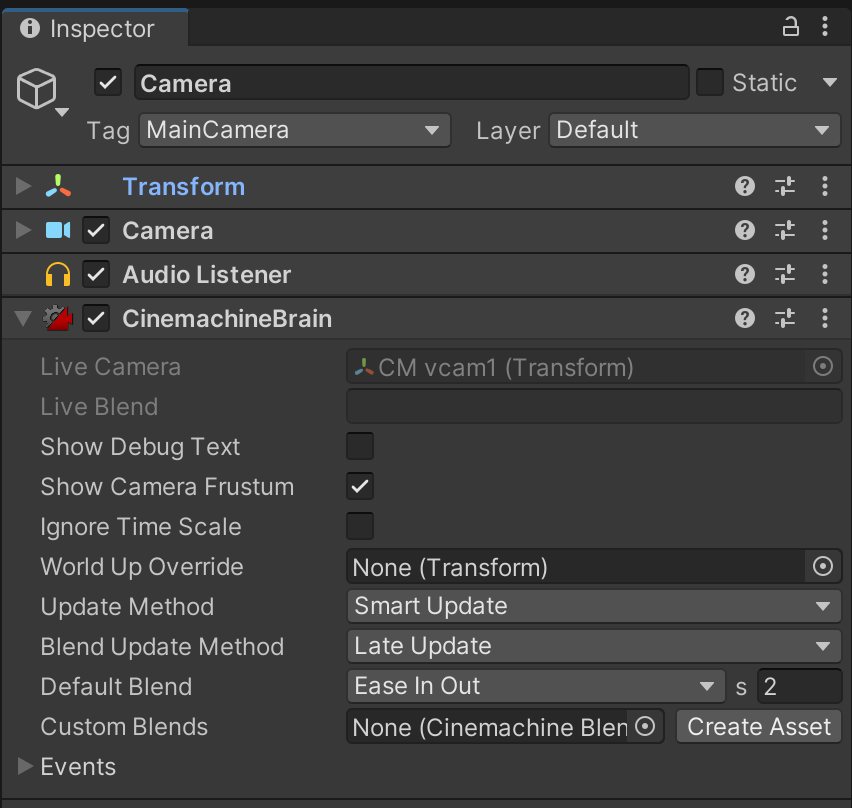
You should notice two changes: 1) A Cinemachine Virtual Camera object has been added to the scene, and 2) Your new Camera has a Cinemachine icon indicating that it has gained a CinemachineBrain component that links to the new Virtual Camera.

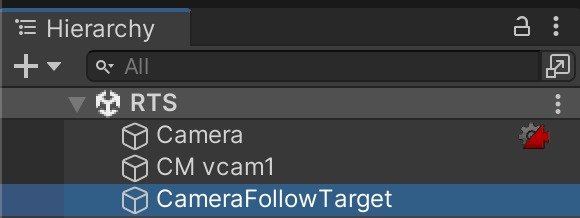
In order to enable the virtual camera's advanced options, it needs some sort of game object to follow. Even if this game object is empty and invisible, the virtual machine can still track it as a target. Create an empty game object named "CameraFollowTarget."

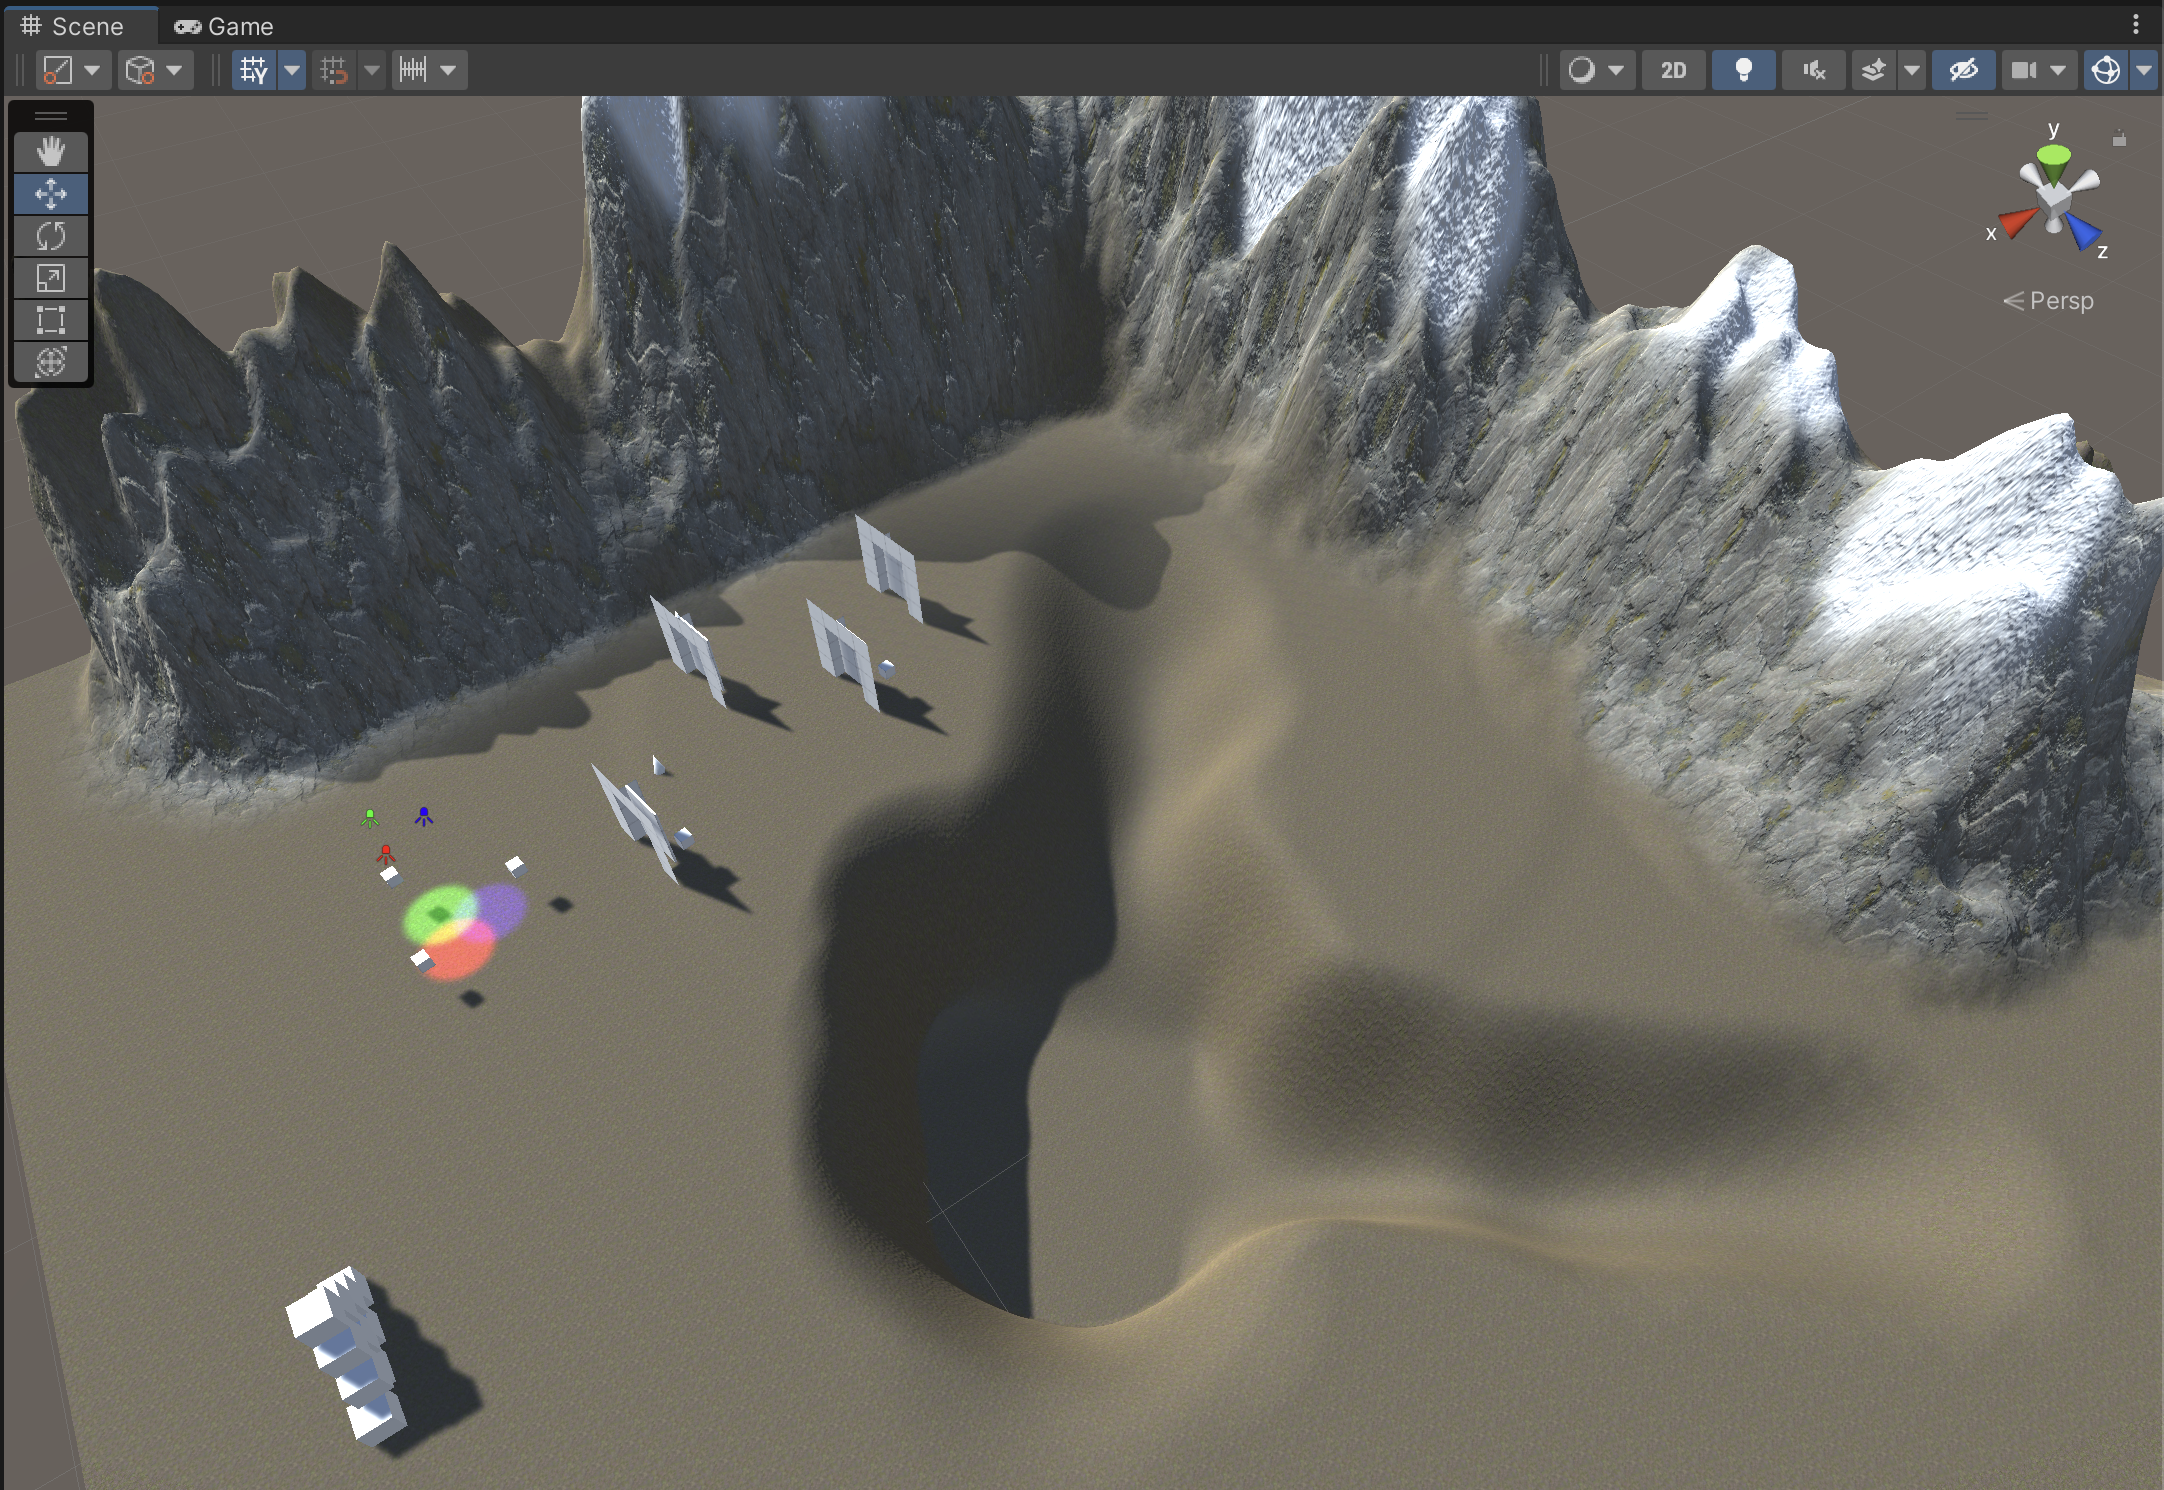
Using object snapping, positiong the CameraFollowTarget on the terrain surface wherever you would like the camera to start.

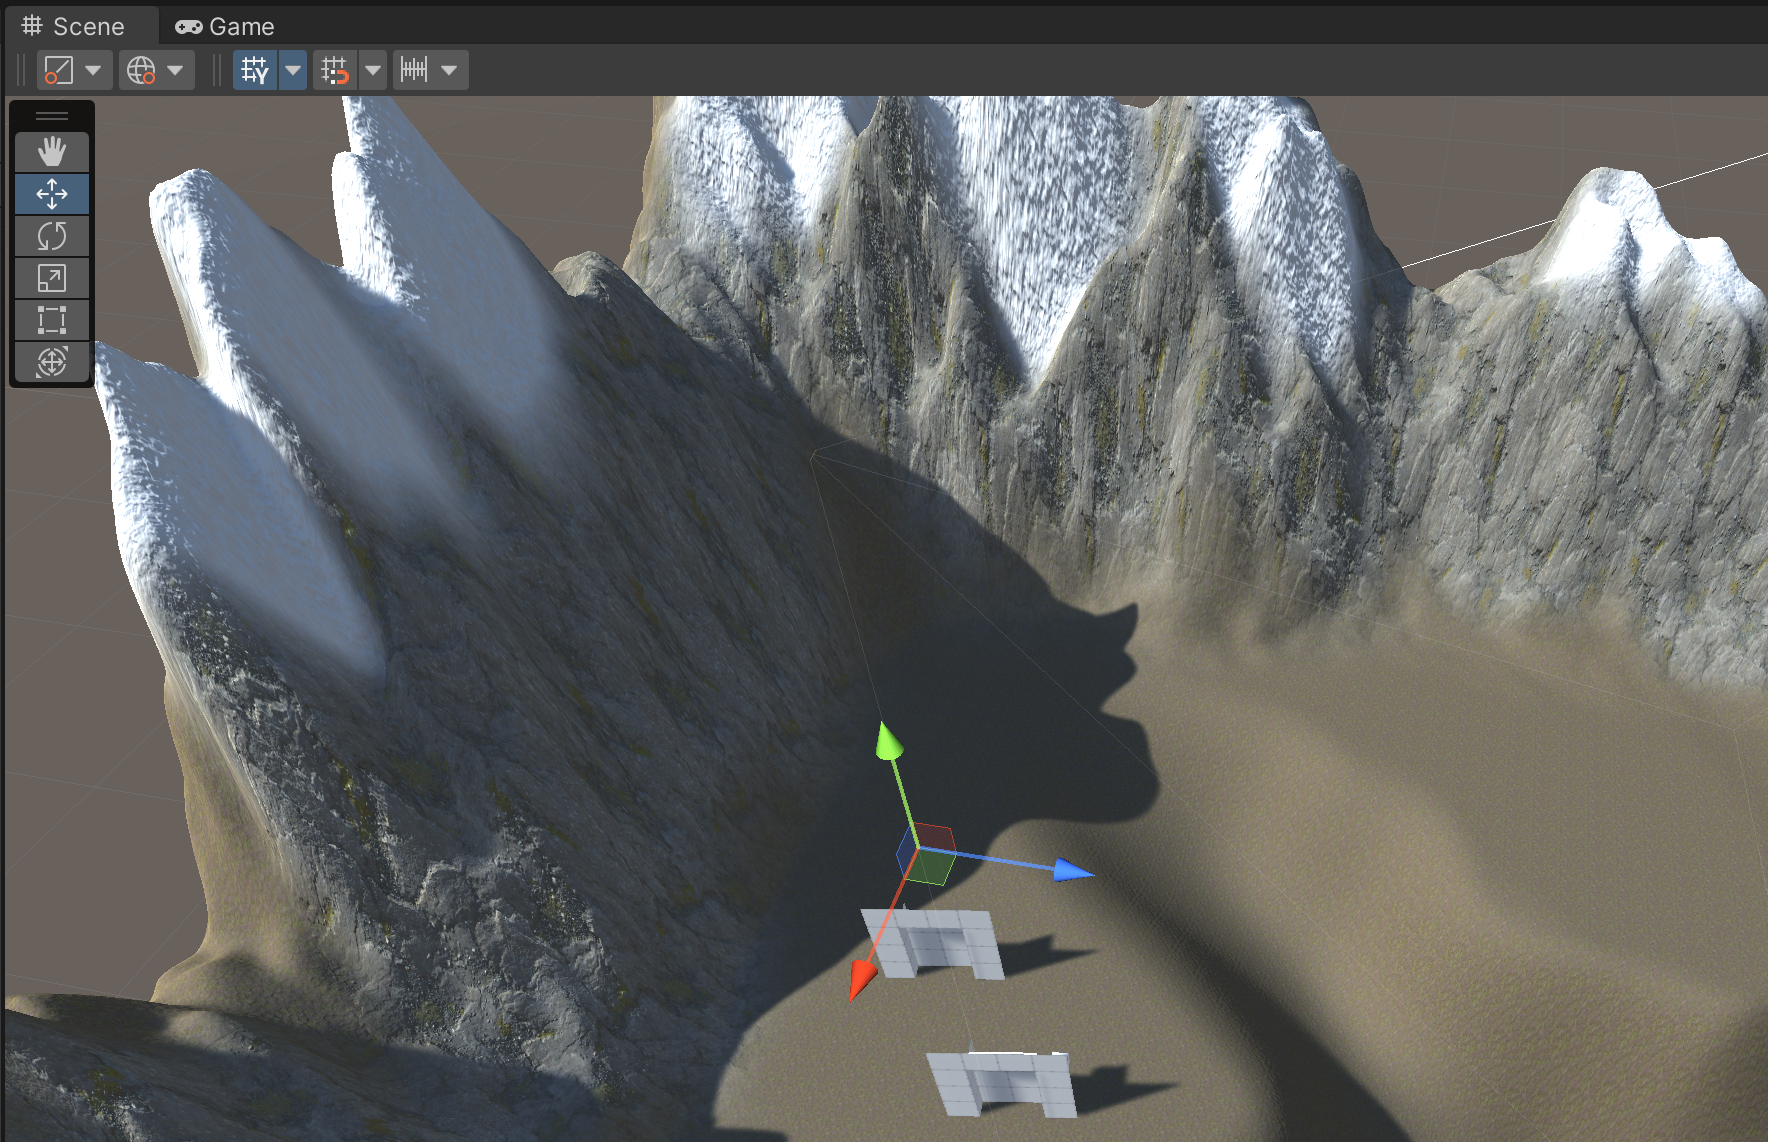
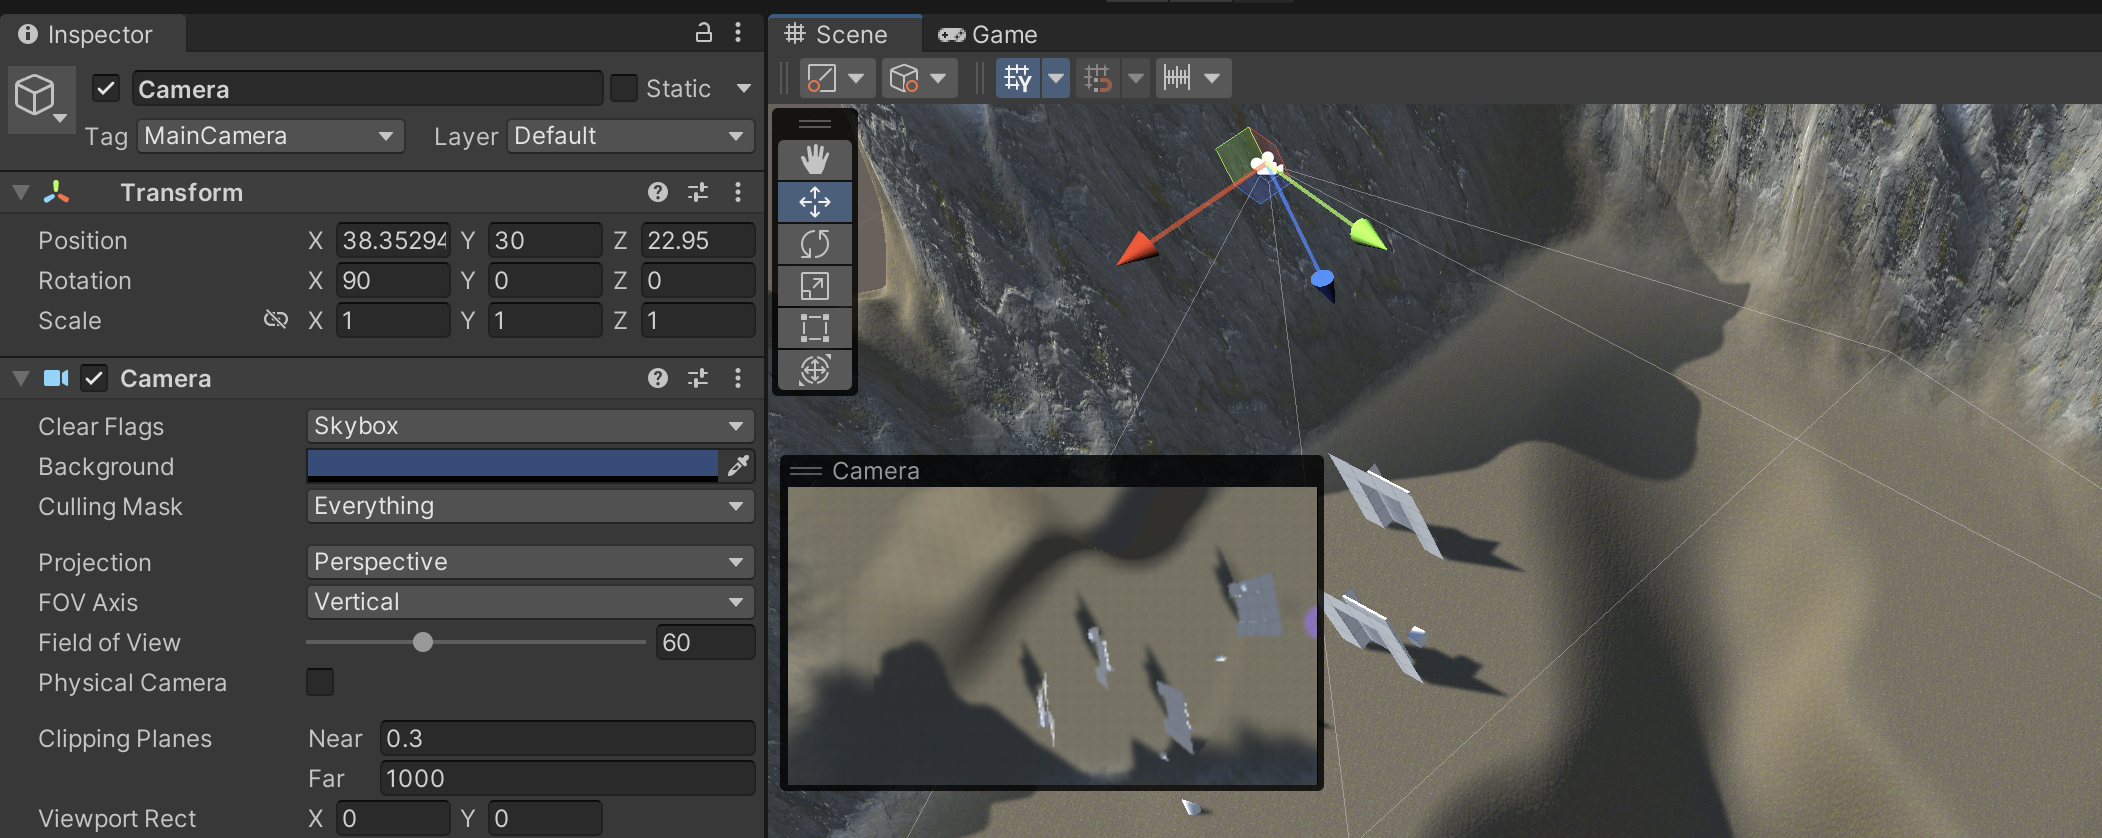
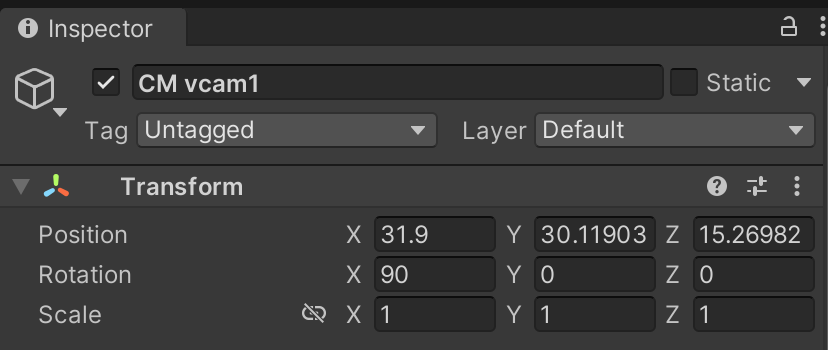
Inspect the virtual camera object. Because our camera will always face toward the ground, we will rotate it's X rotation to 90.

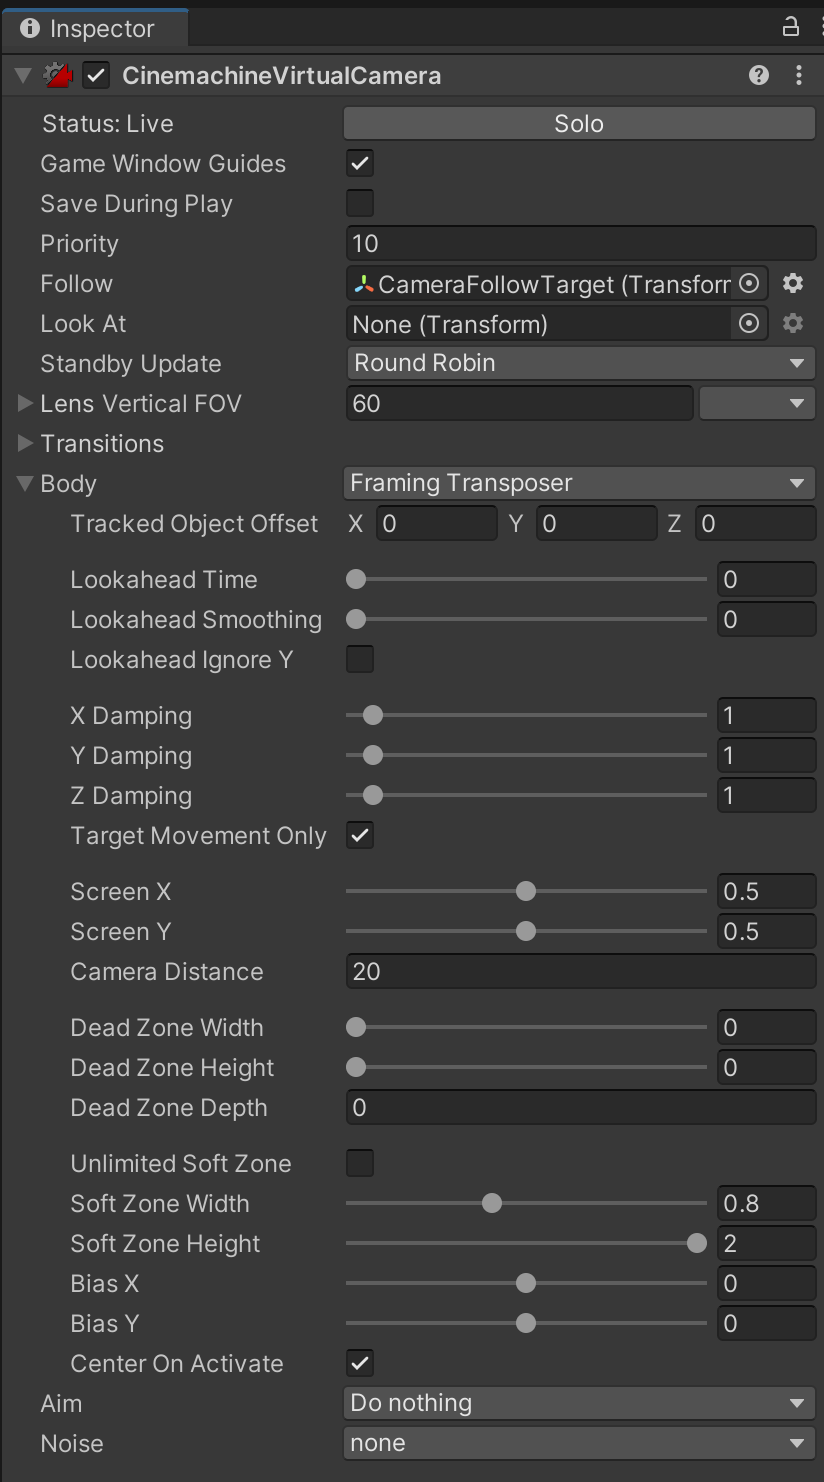
We want this virtual camera to follow the target as it moves around the screen. Because our camera only moves around and does not aim at different objects, leave the "Follow" property empty. Notice how "Camera Distance" imitates our desired 20 units value from the prior step.

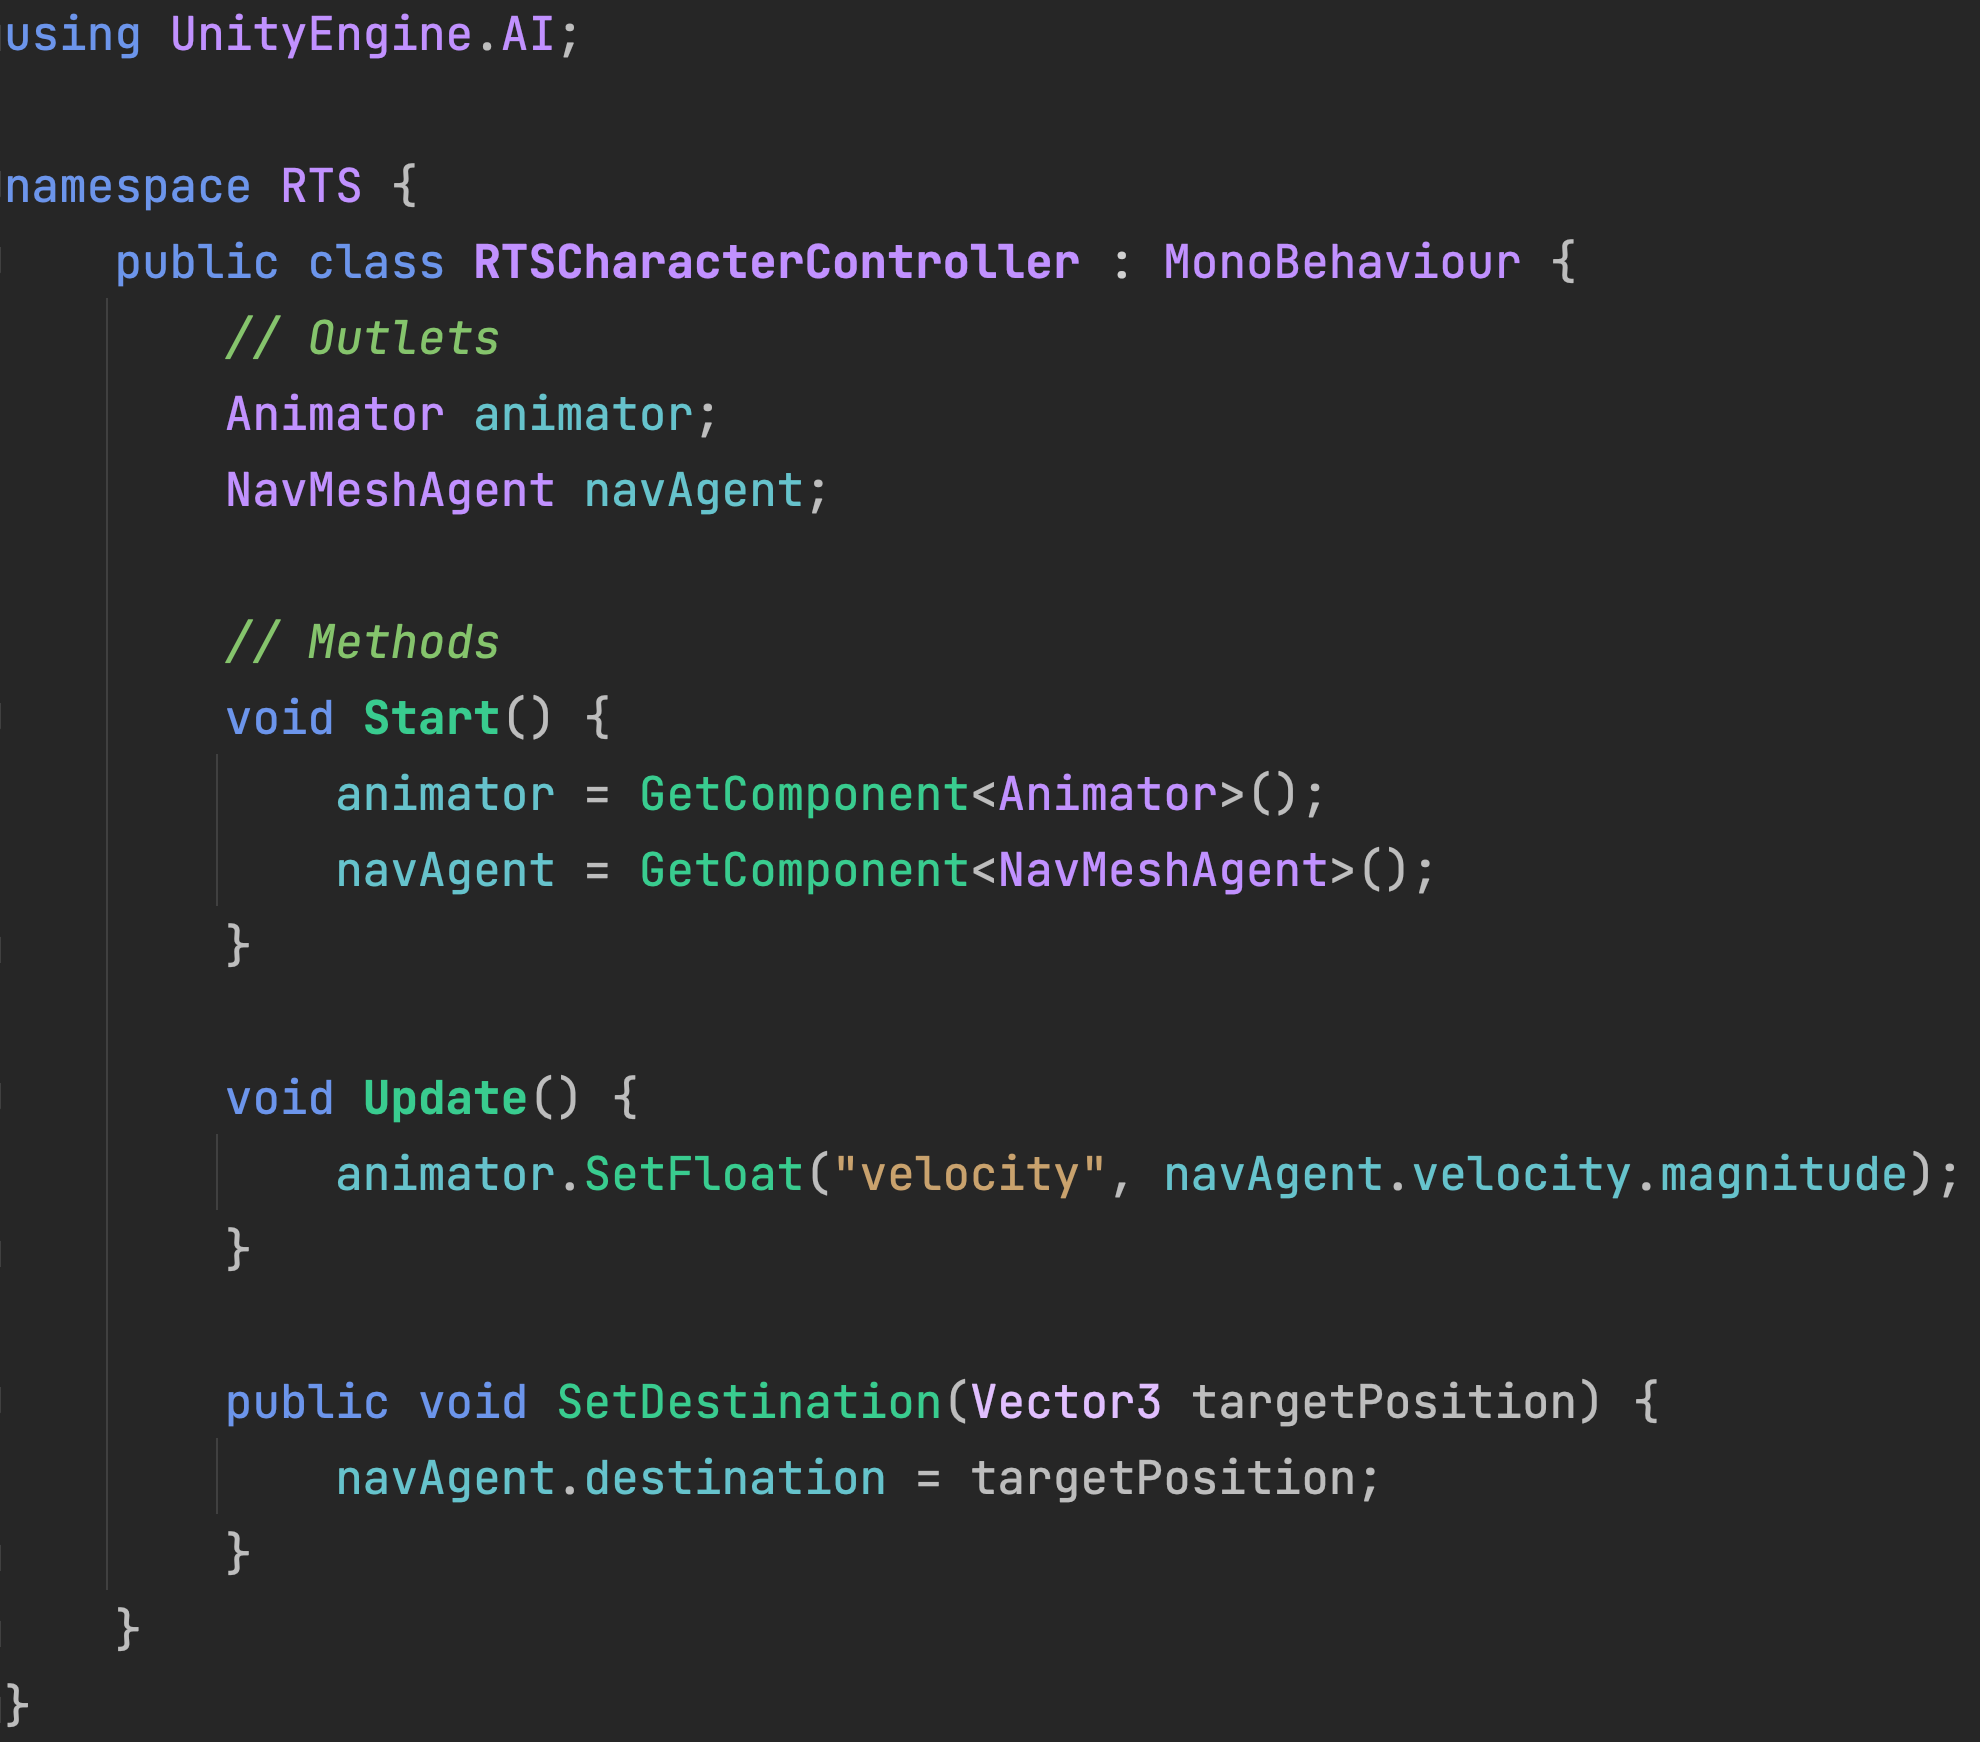
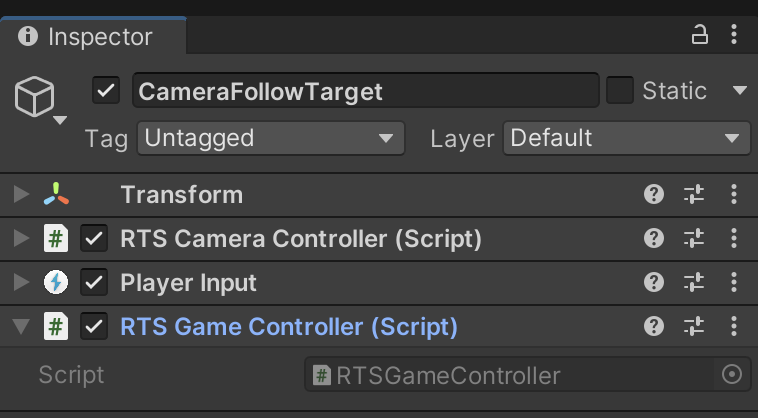
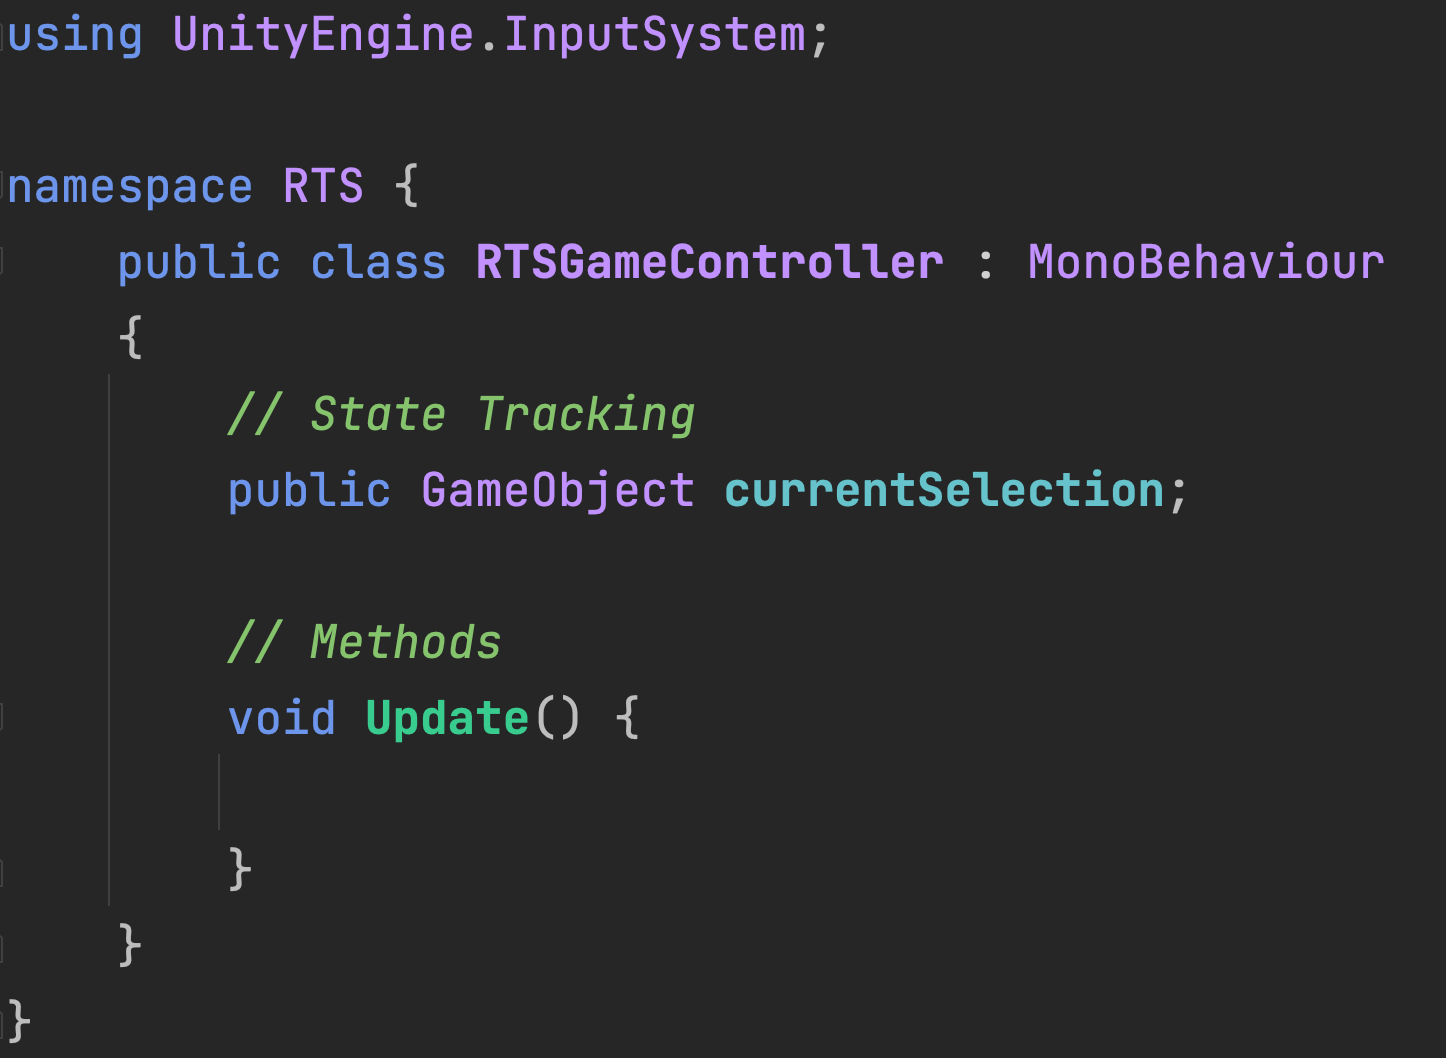
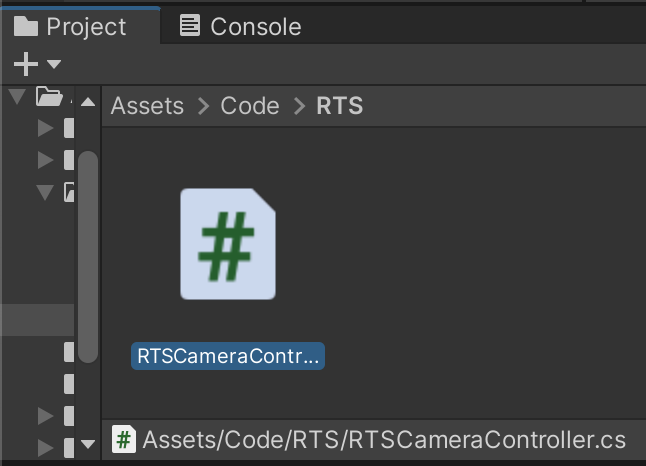
Create a new script called RTSCameraController.cs and attach it to the new CameraFollowTarget. We will use this script to control the follow target of the camera.

In order to respond to the keyboard, we will also add the PlayerInput component and reuse the StarterAssets control scheme from prior assignments.

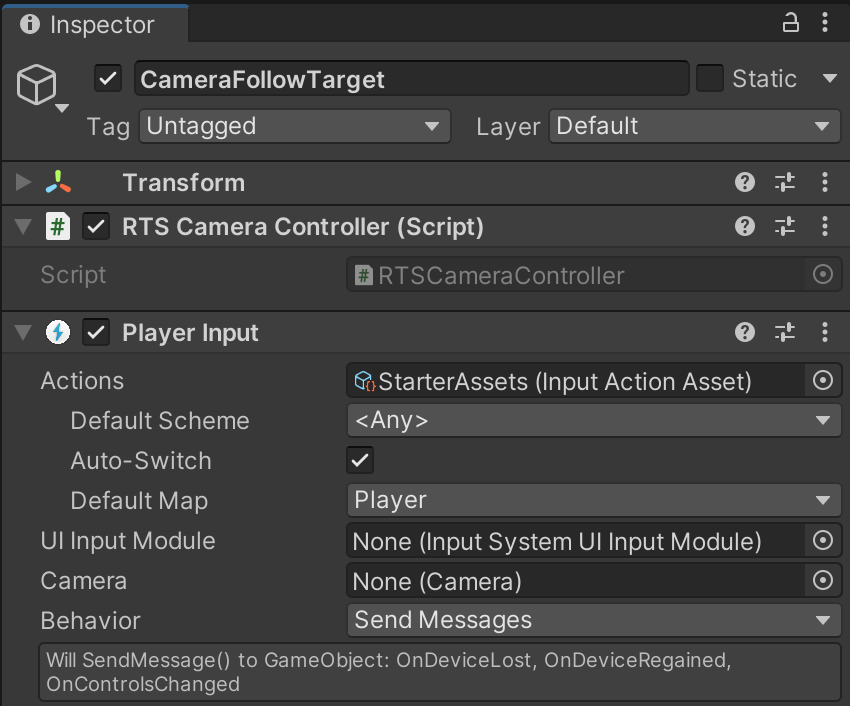
For this prototype, we will use the RTS namespace to avoid naming conflicts with other exercises. By measuring the Player Input (whether it be joystick, keyboard, etc.), we can move the CameraFollowTarget.

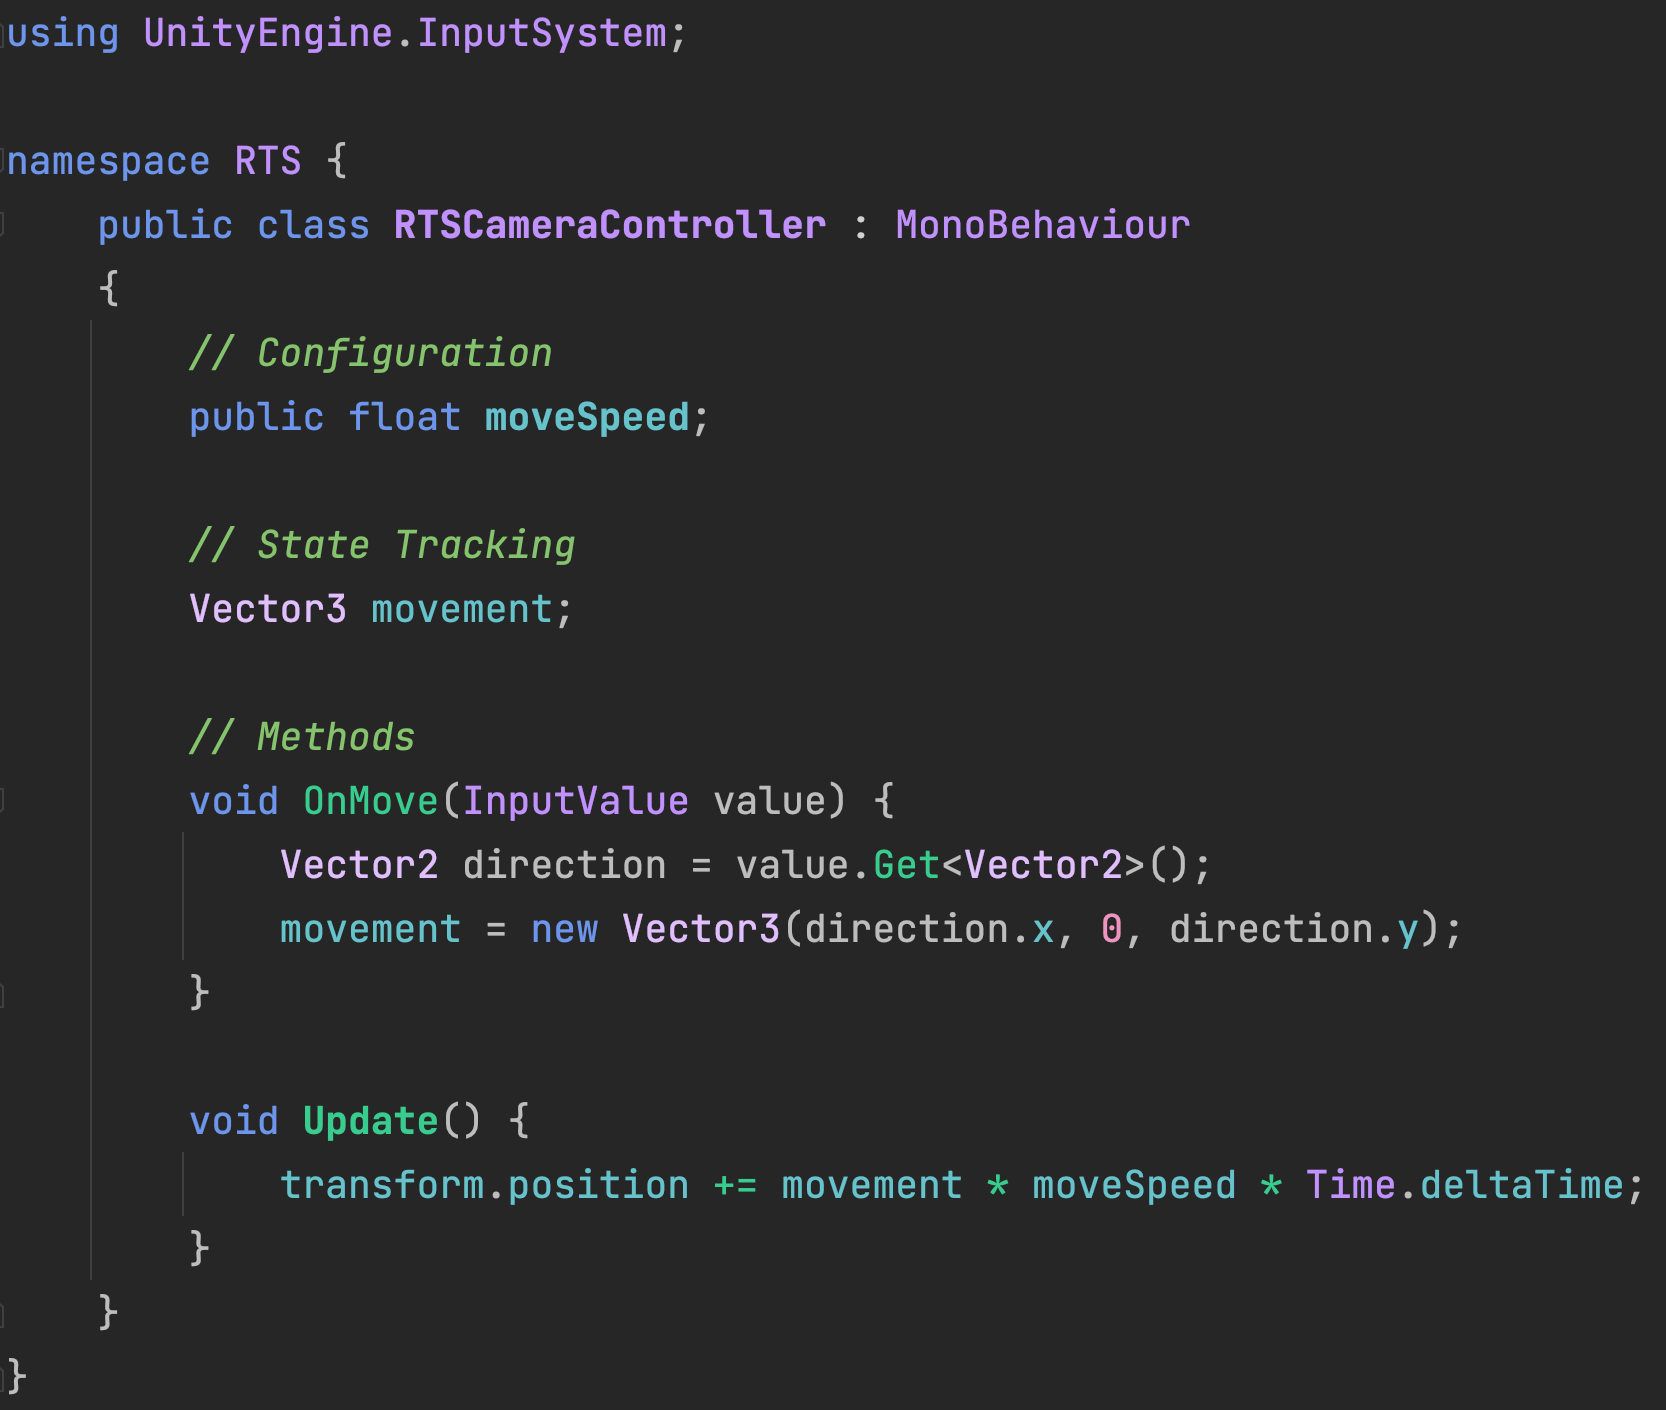
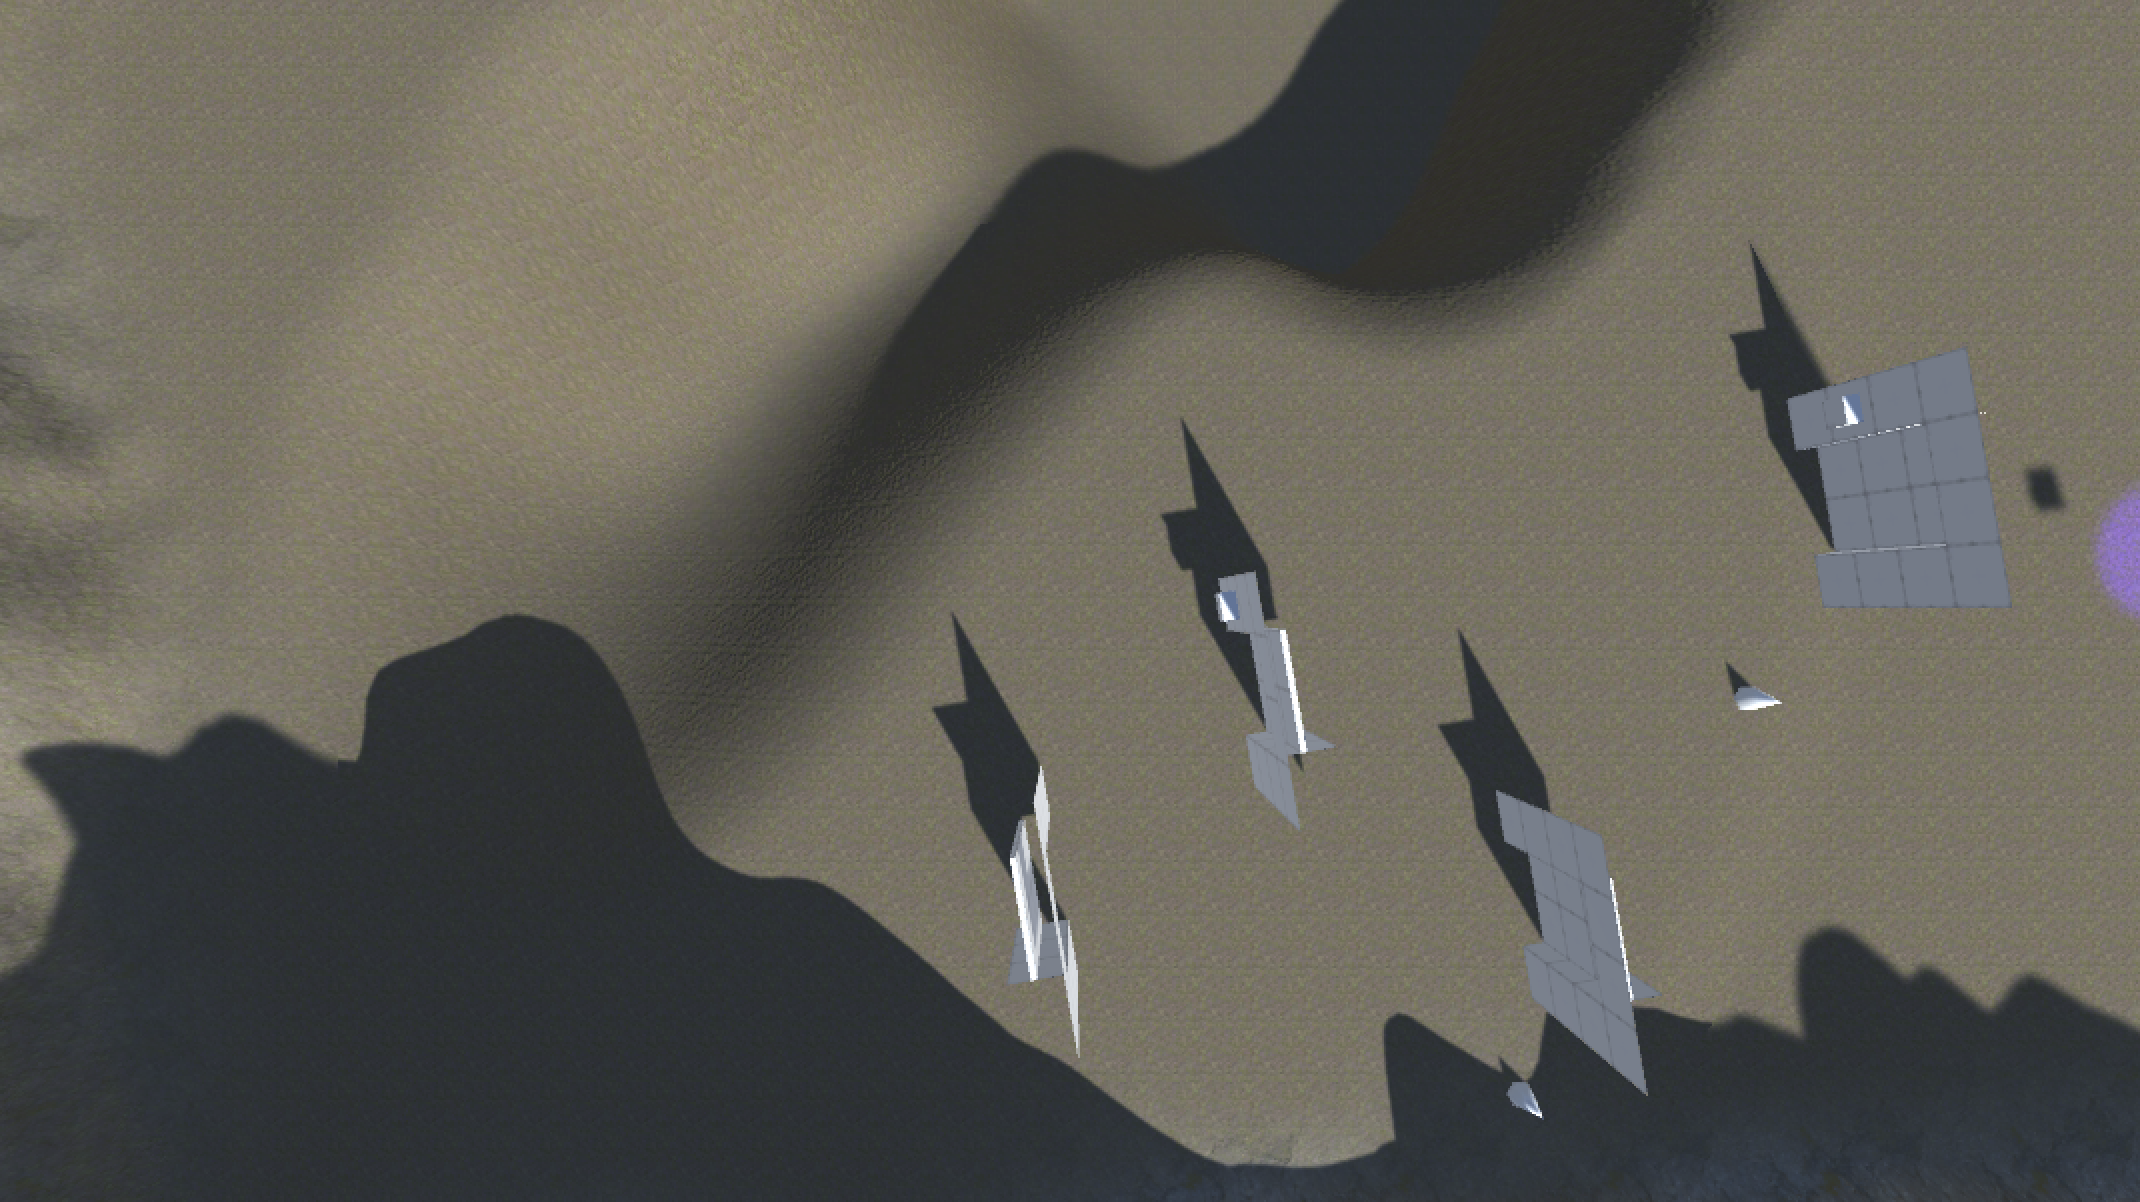
Your terrain may differ, but a move speed of 10 should allow you to traverse the landscape at a usable rate. Test your game. You should be able to move the camera view around the landscape using the WASD or arrow keys.

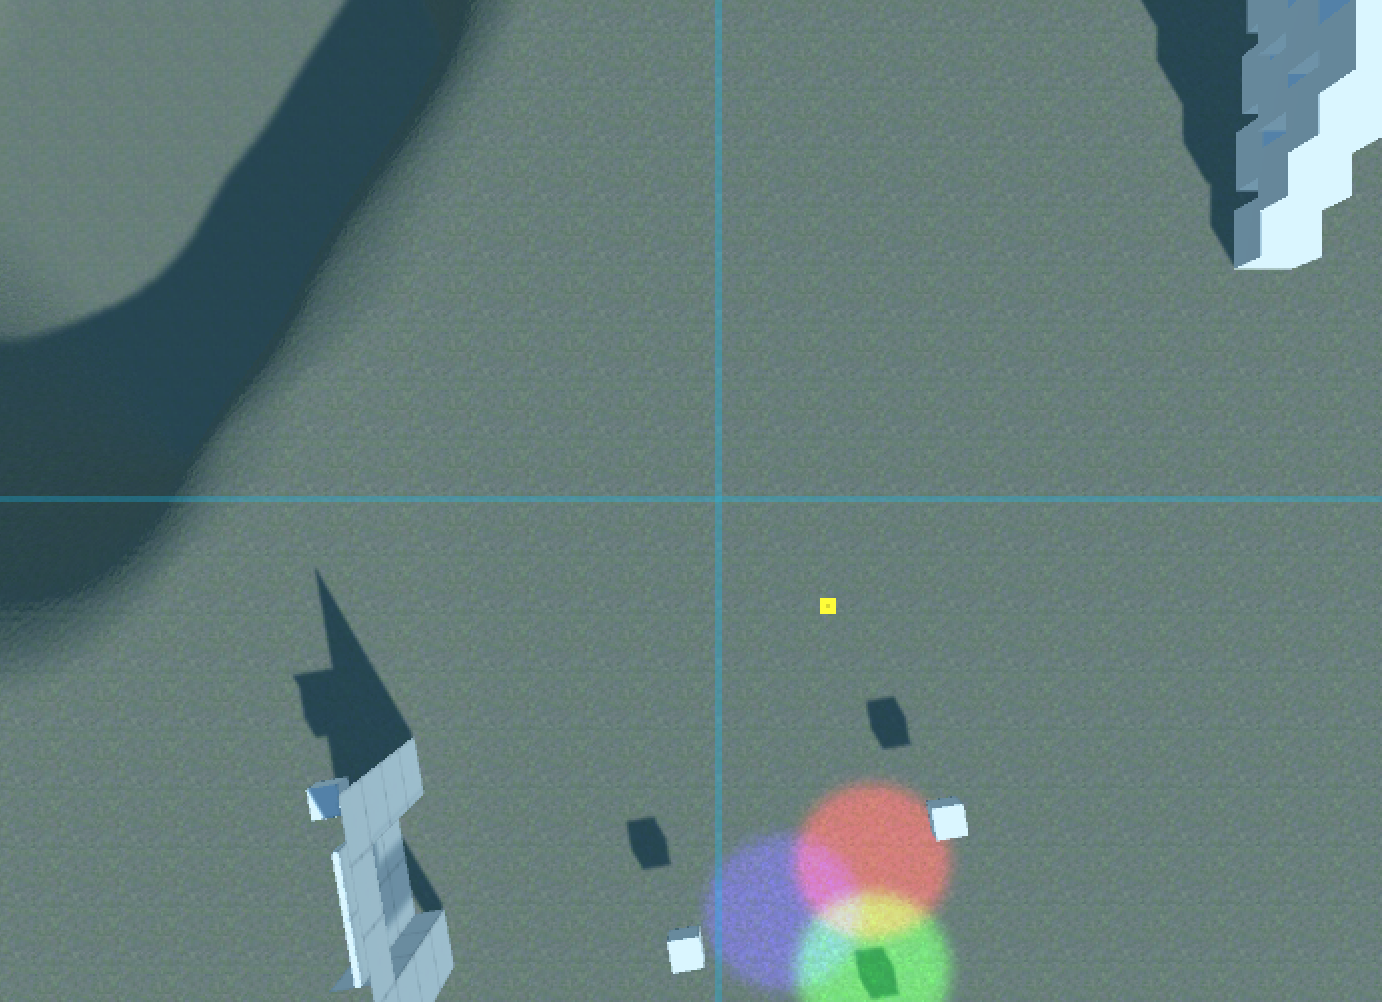
If you view the game window with the virtual camera game object selected, "Game Window Guides" enabled, and the "Body" section expanded, you will see how Cinemachine visualizes a camera follow target (shown as a yellow square) and smoothly follows it until it is centered in view.

Further Camera Refinement

Ideally, the camera should not move past map terrain. In order to recognize valid "Ground" for the camera, create a "Ground" Layer in Edit > Project Settings > Tags and Layers. We can't just check for a Terrain component because some levels may be built with ProBuilder or any other modeling software instead.

Take any landscape objects you have and set their Layer to Ground.

To prevent the camera from leaving the terrain, revise the Update method in RTSCameraController. We will raycast and check for ground below a candidate camera position before finalizing any movement in the CameraFollowTarget. If no ground is found, then that requested camera move will be rejected.

Playable Units

In a prior assignment, you created animated 3D characters that could traverse your map using the navmesh system. We will be using those characters and their animations again. These characters must maintain all of their animation and movement functionality from prior assignments.

Find one of your finished characters and duplicate them for this assignment. Place them somewhere accessible on the map where they can be selected and told to run around. Remove the Enemy script, so that you are left only with Transform, Animator, and NavMeshAgent. Prefab this RTSCharacter, since we will be making several of them for our game.

Create an RTSCharacterController.cs file and attach it to your RTSCharacter. (Be sure to keep your prefab updated with any changes.) The SetDestination public function will be called to tell this character where to go. This file maintains the same velocity code from the Enemy script for driving the animator.

Finally, in order for our player to be clickable, it needs to have a shape for the physics engine to compute raycast intersections. Add a CapsuleCollider to your RTSCharacter, and adjust its size to roughly approximate your character. (Full game productions would use character colliders of differing accuracy depending on the needs of the game.)

Unit Selection and Interactions

Create an RTSGameController.cs file and attach it to the CameraFollowTarget.

The RTSGameController manages interactions within the game. Left-clicking will select an object and set it as active by storing it in the currentSelection variable.

Whenever the player performs a left-click, a raycast will check if a valid object can be marked as a current selection, otherwise, the current selection is cleared.

If you playtest now and inspect the currentSelection variable, you will see that clicking the character selects it, while clicking anywhere else deselects the character.

On right-click, we will set that click location as the destination of the character (if one is selected).

If you playtest now, the character should move to locations pointed out on right-click once the character has been marked as active with left-click.

Multiple Units

Duplicate the RTSCharacter in the scene until there are at least 3 characters to choose from. Playtest to ensure they can each be independently selected and commanded to move.

Save and Test

Playtest to ensure all interactions work as expected and that the addition of any new features hasn’t broken any earlier interactions.

Submit Assignment

SAVE any open files or scenes.

Submit your assignment for grading following the instructions supplied for your particular classroom.