Particle Effect 2 - Rocket Trails
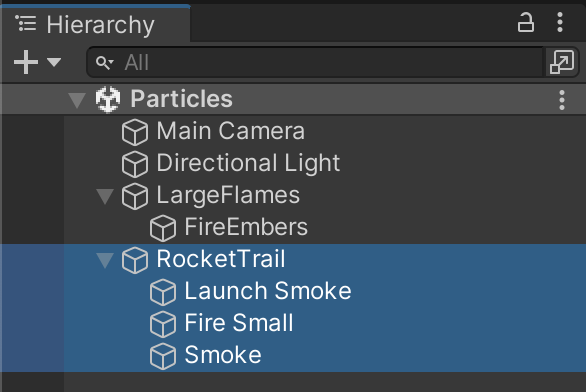
Create a RocketTrail game object with these 3 child game objects.
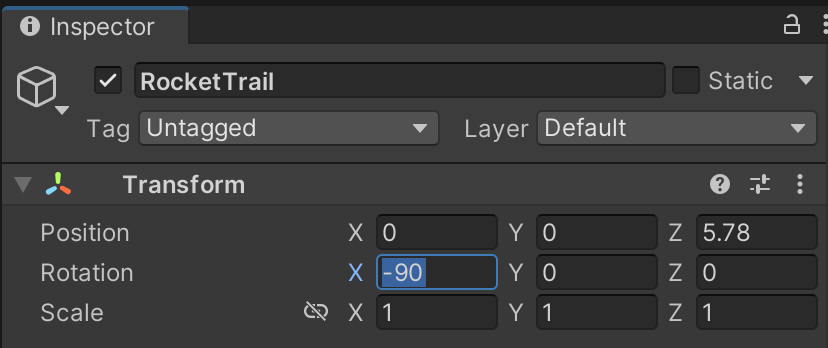
Rotate the parent, so that our rockets fire in the proper direction.
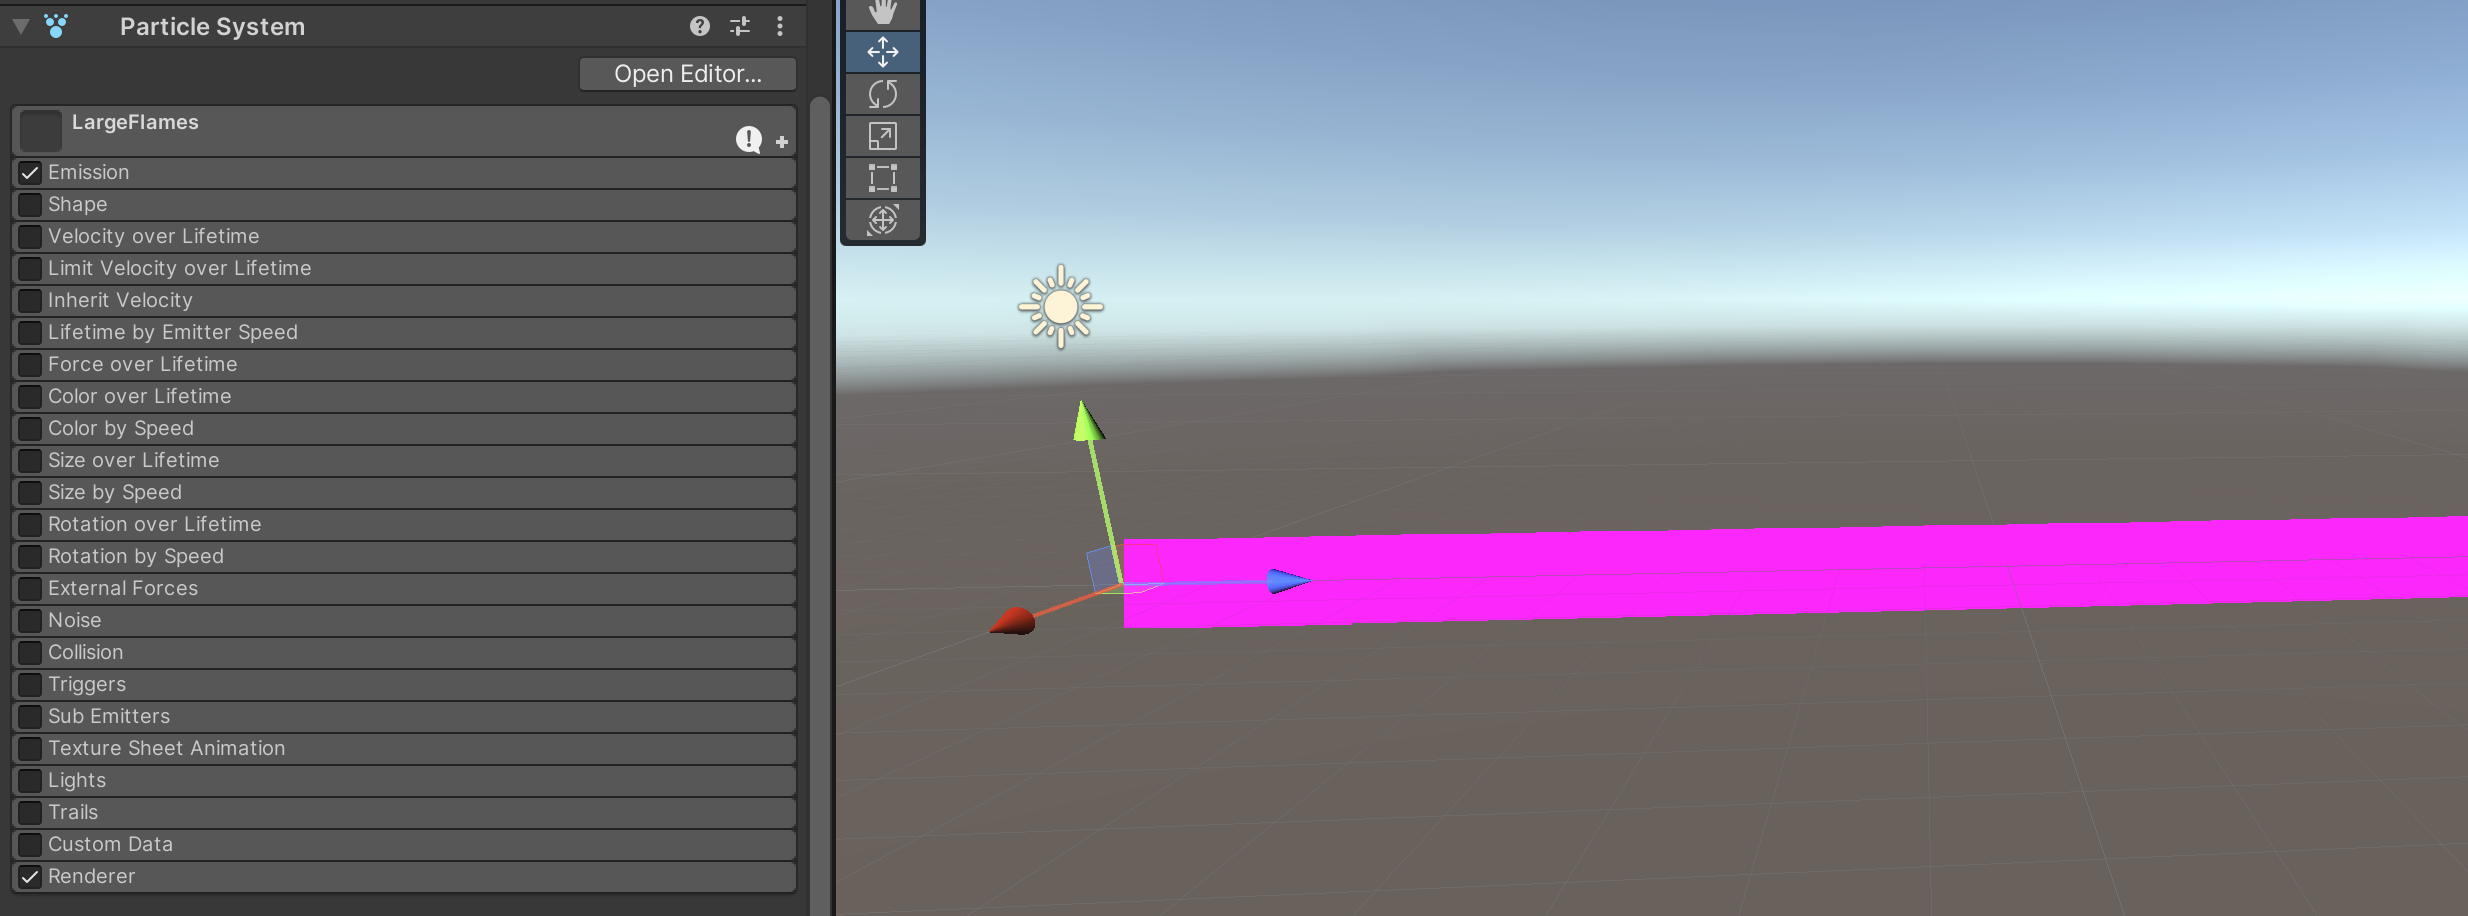
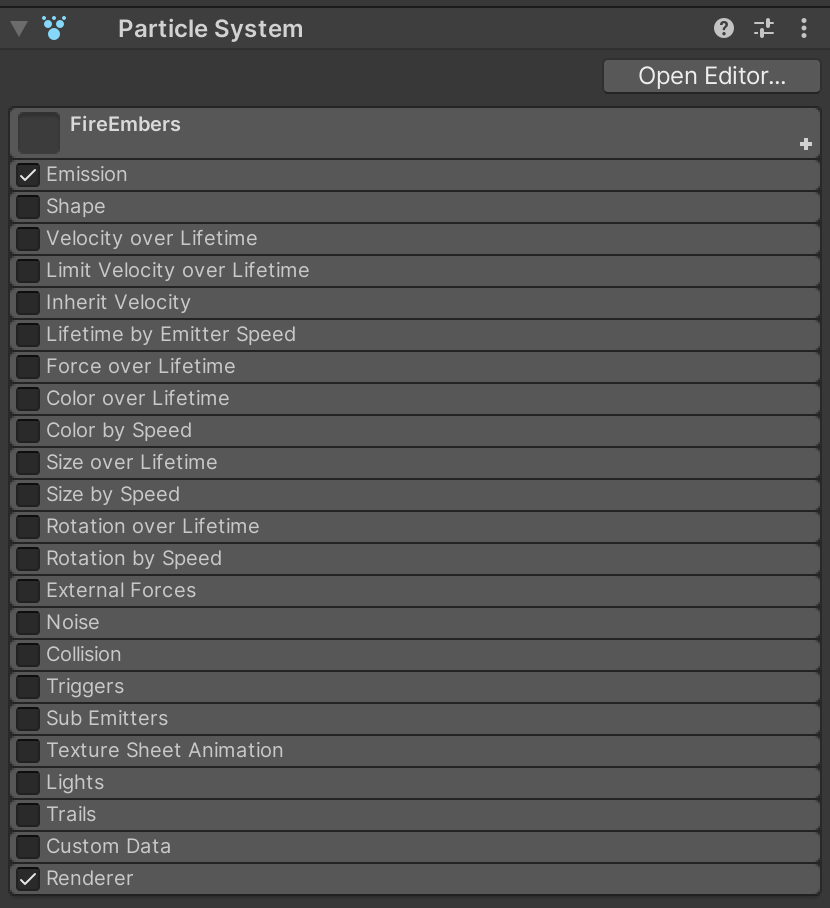
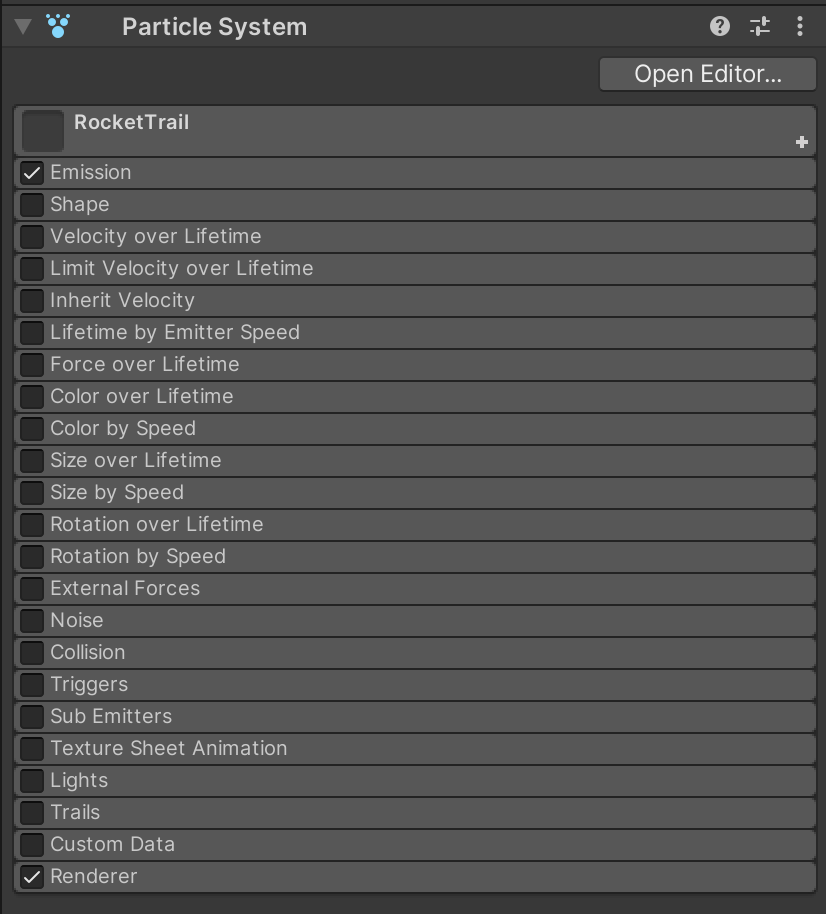
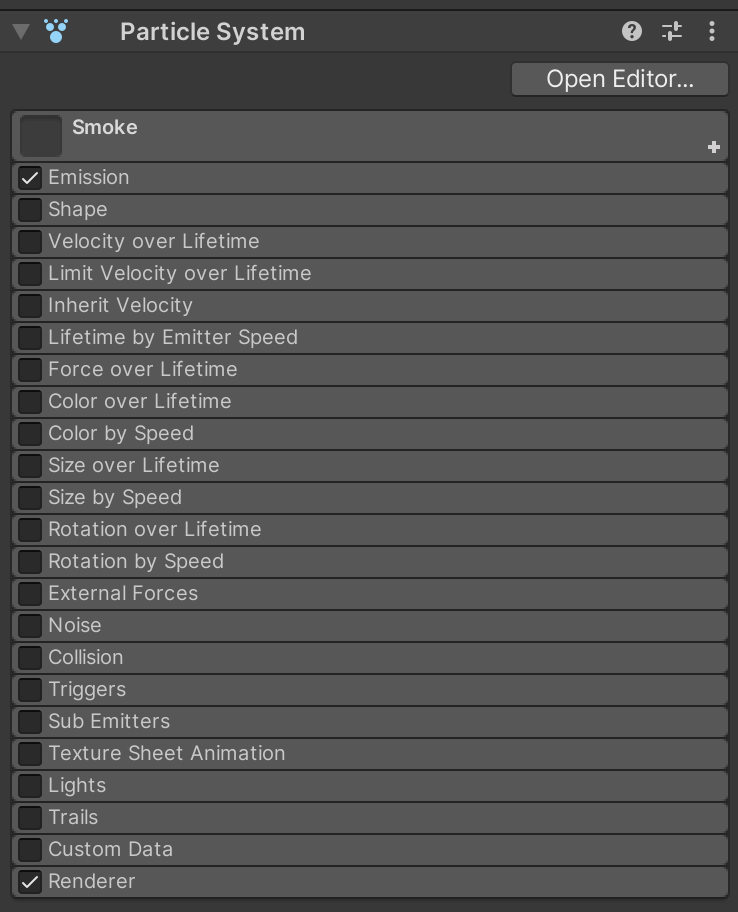
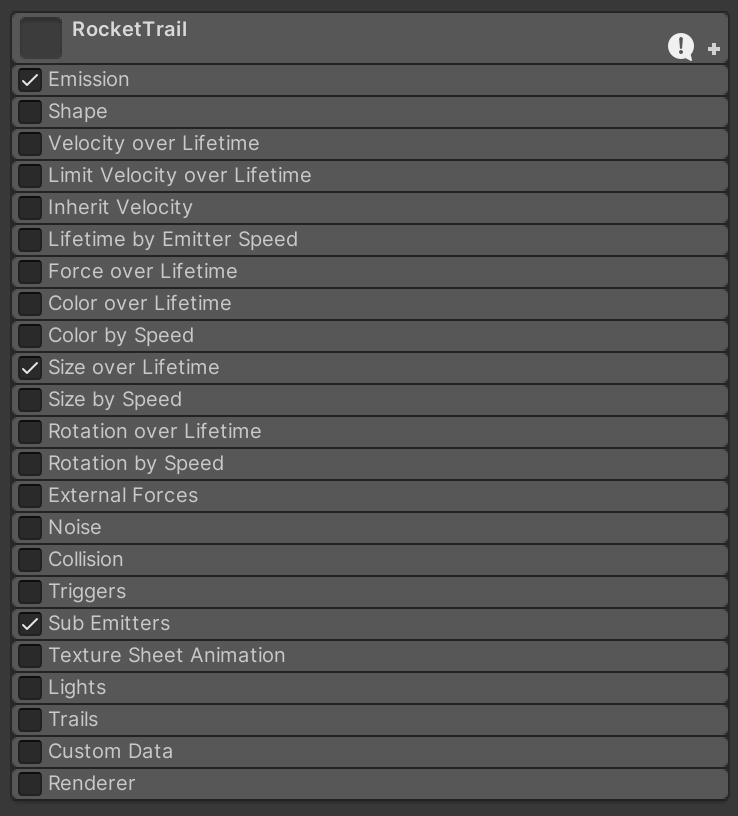
We'll start with the parent RocketTrail system and then work through the children systems. Attach a Particle System component to Rocket Trail. Turn off all of the components except Emission and Renderer. We will eventually turn off the renderer on this system. For now, it is on for debug and visualization purposes.
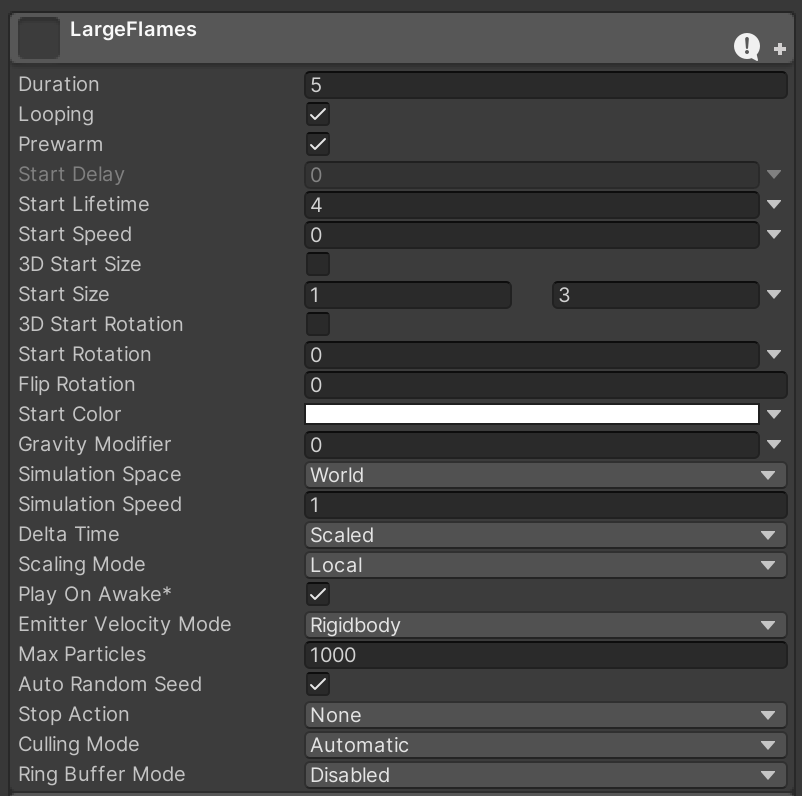
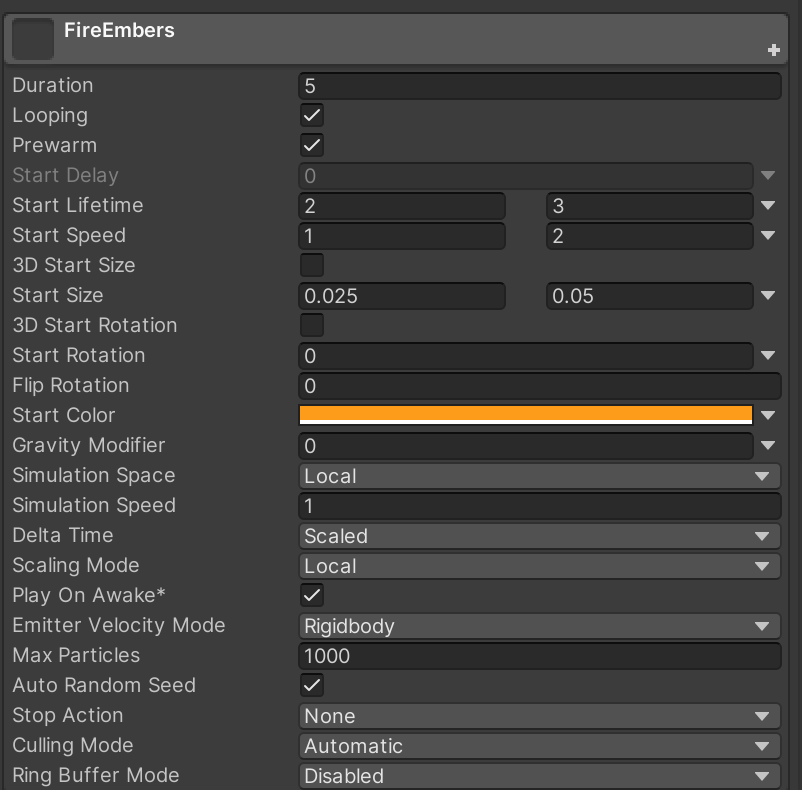
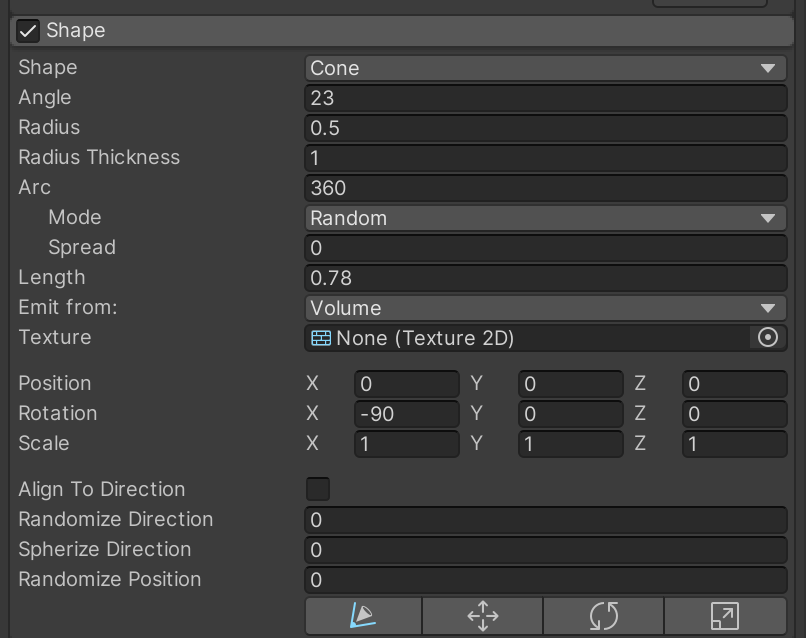
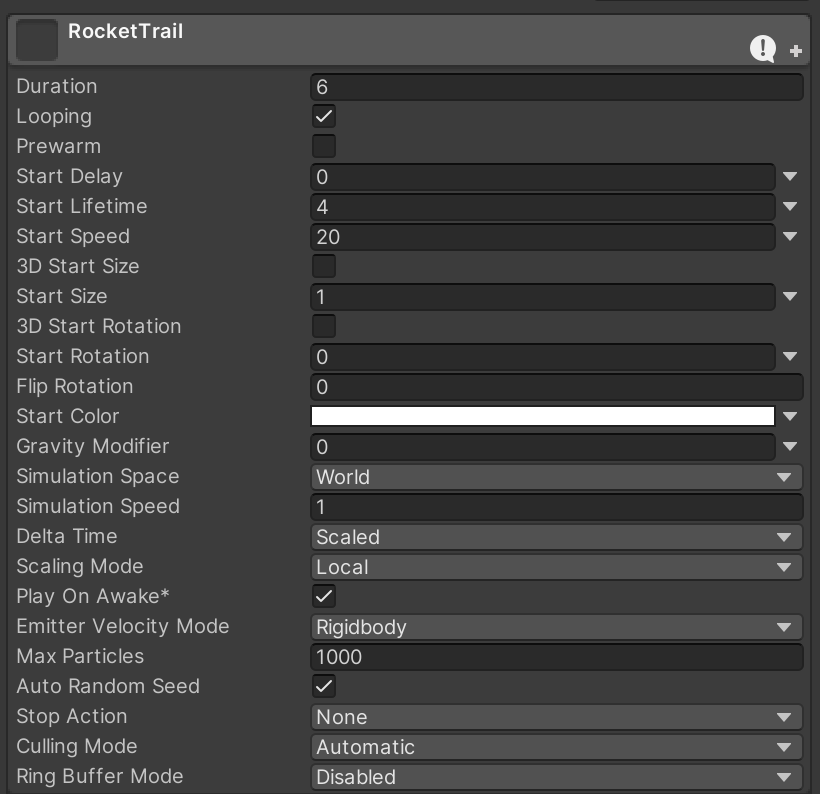
Use these settings for the main configuration.
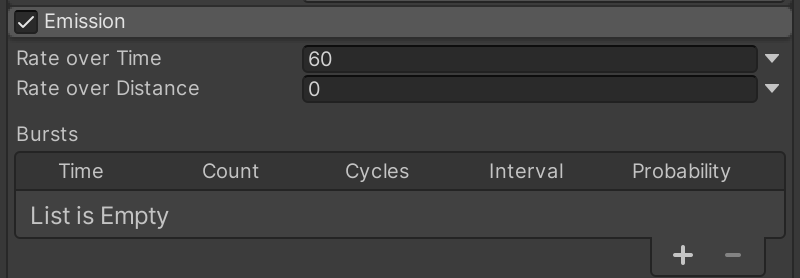
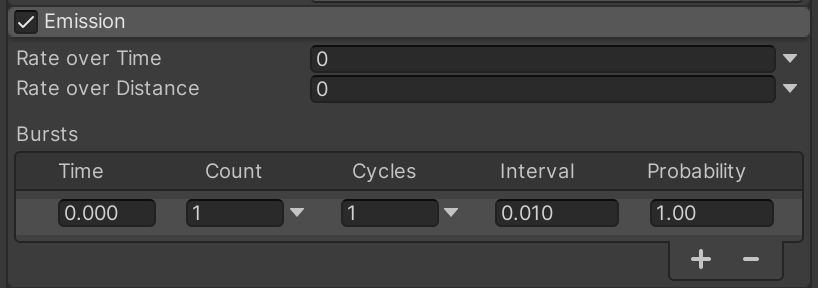
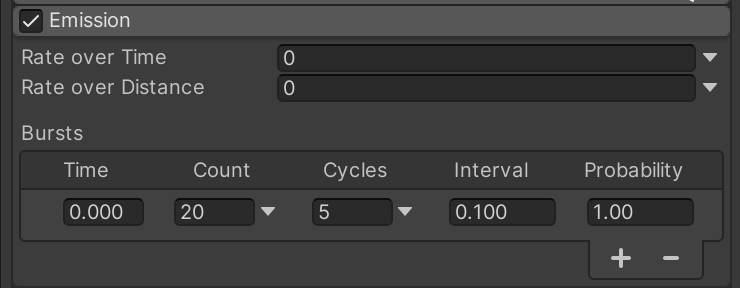
Emissions can be configured to emit in bursts every time the particle system starts (including after it loops back to the beginning).
Enable and configure "Size over Lifetime" to finish the parent system for now. Even though this parent system will eventually be invisible, some of its sub-emitters will inherit this size.
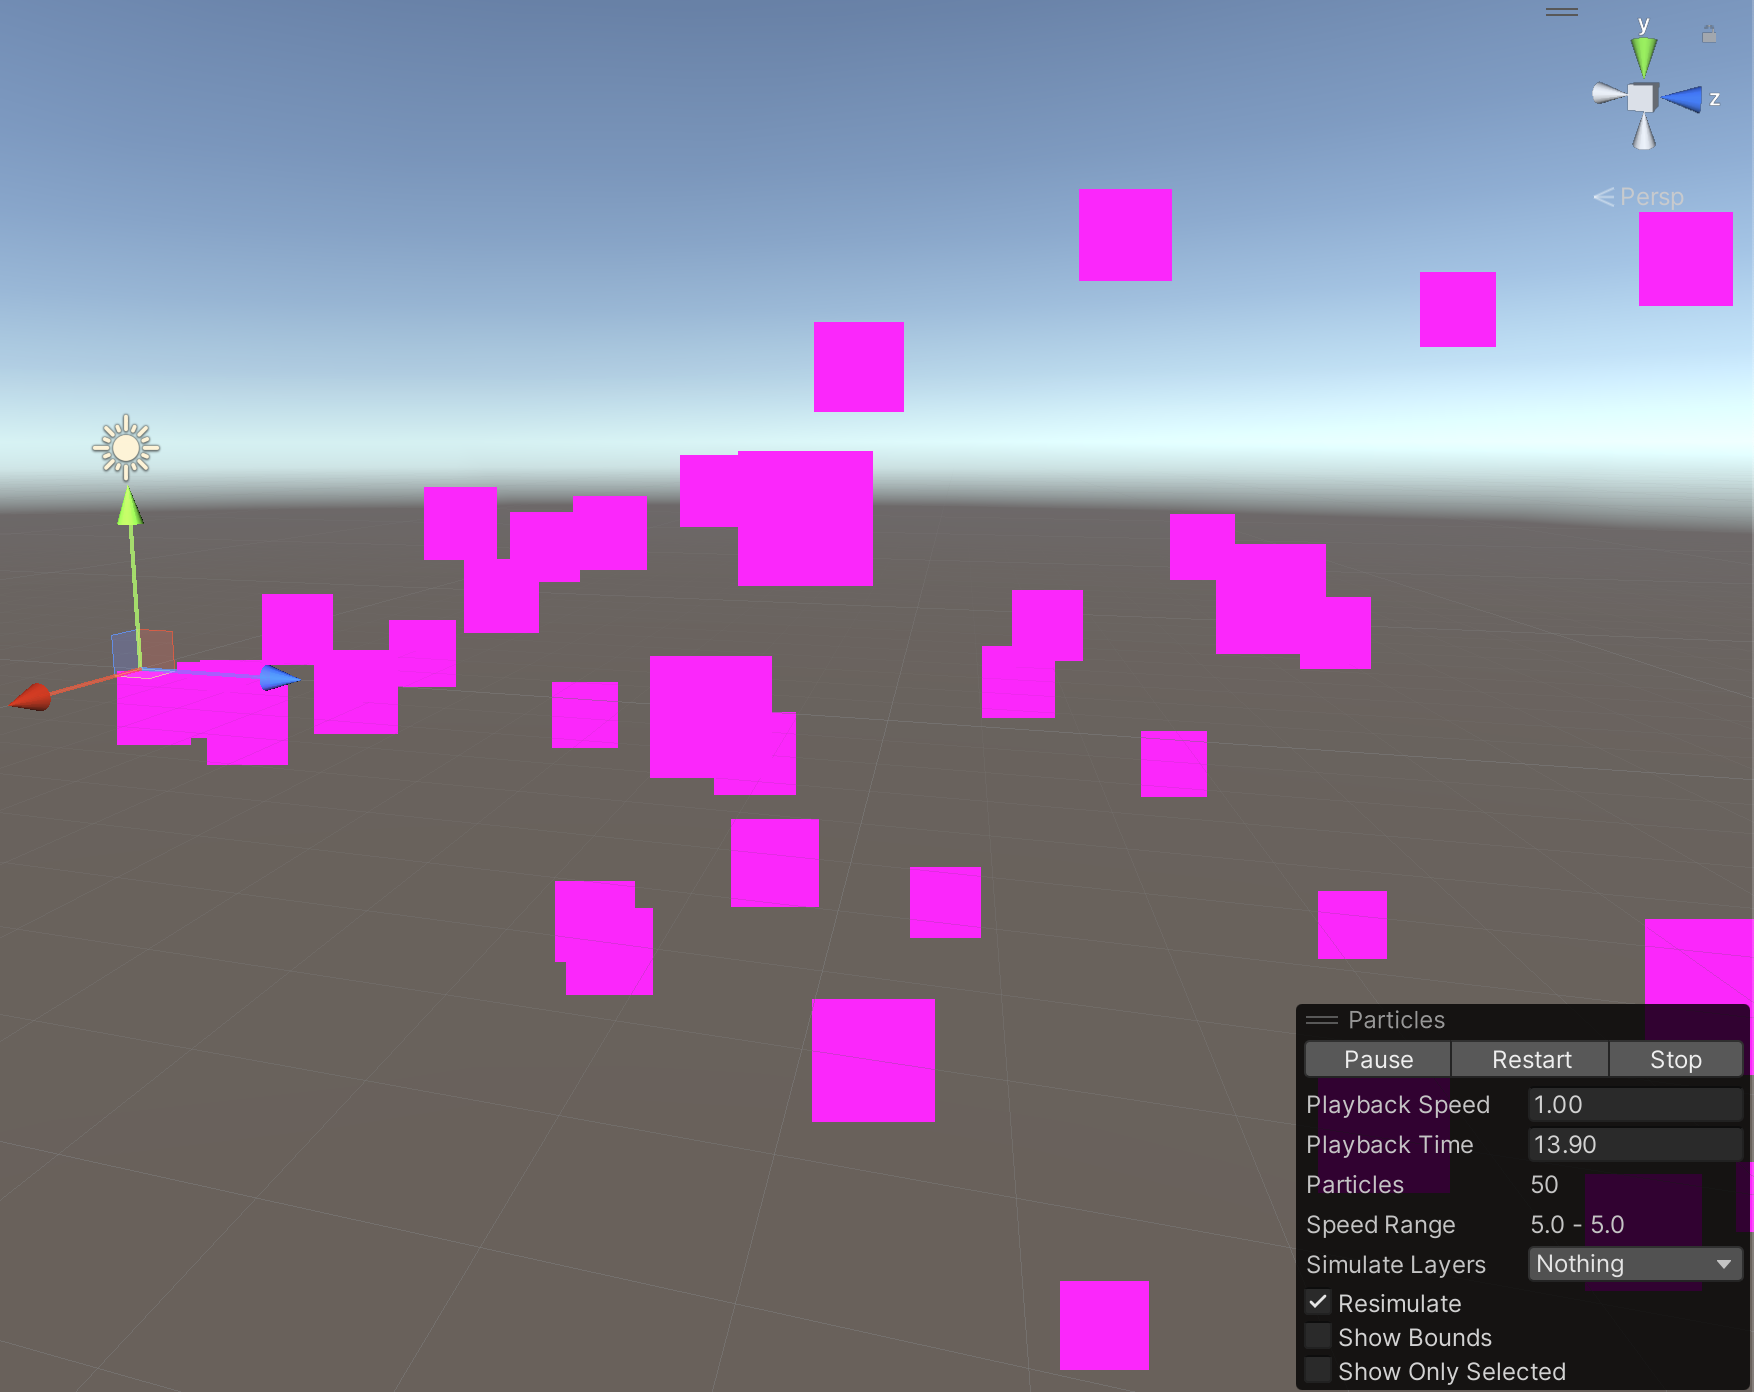
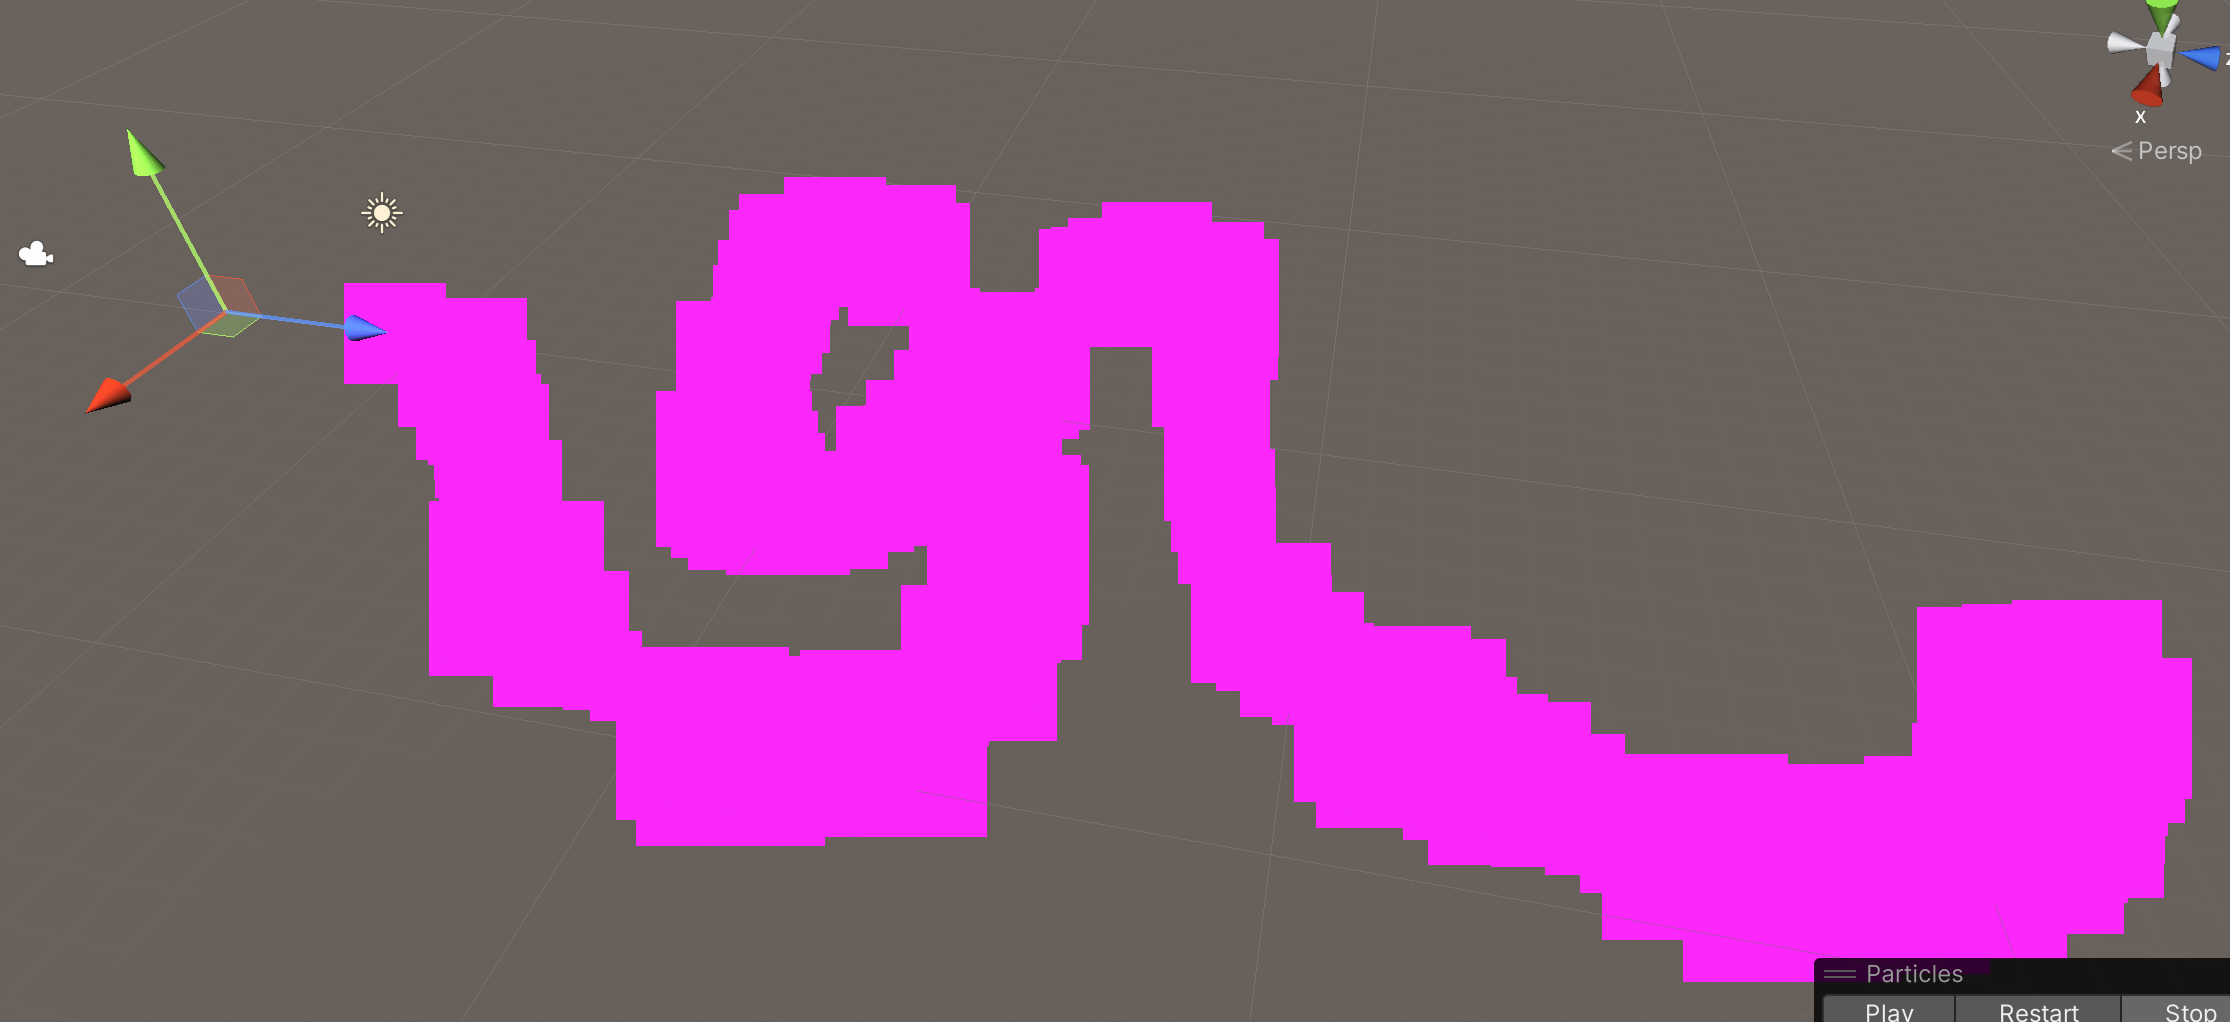
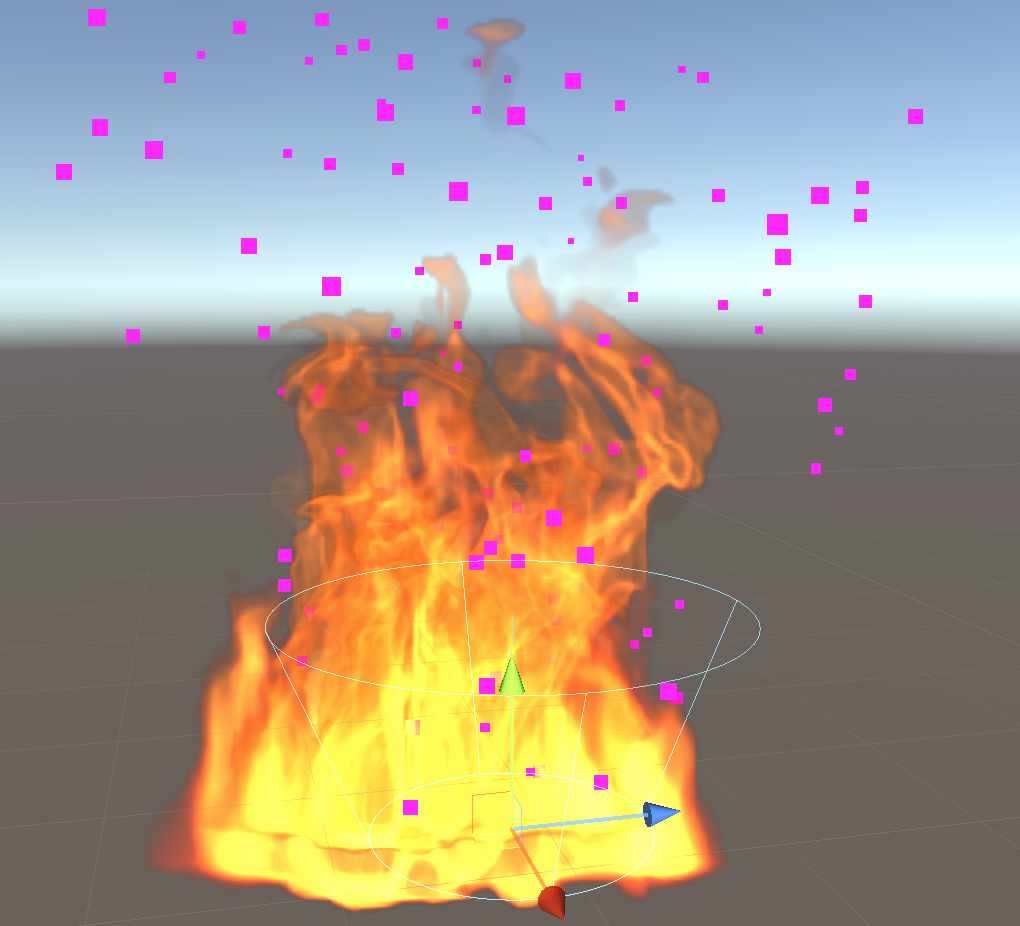
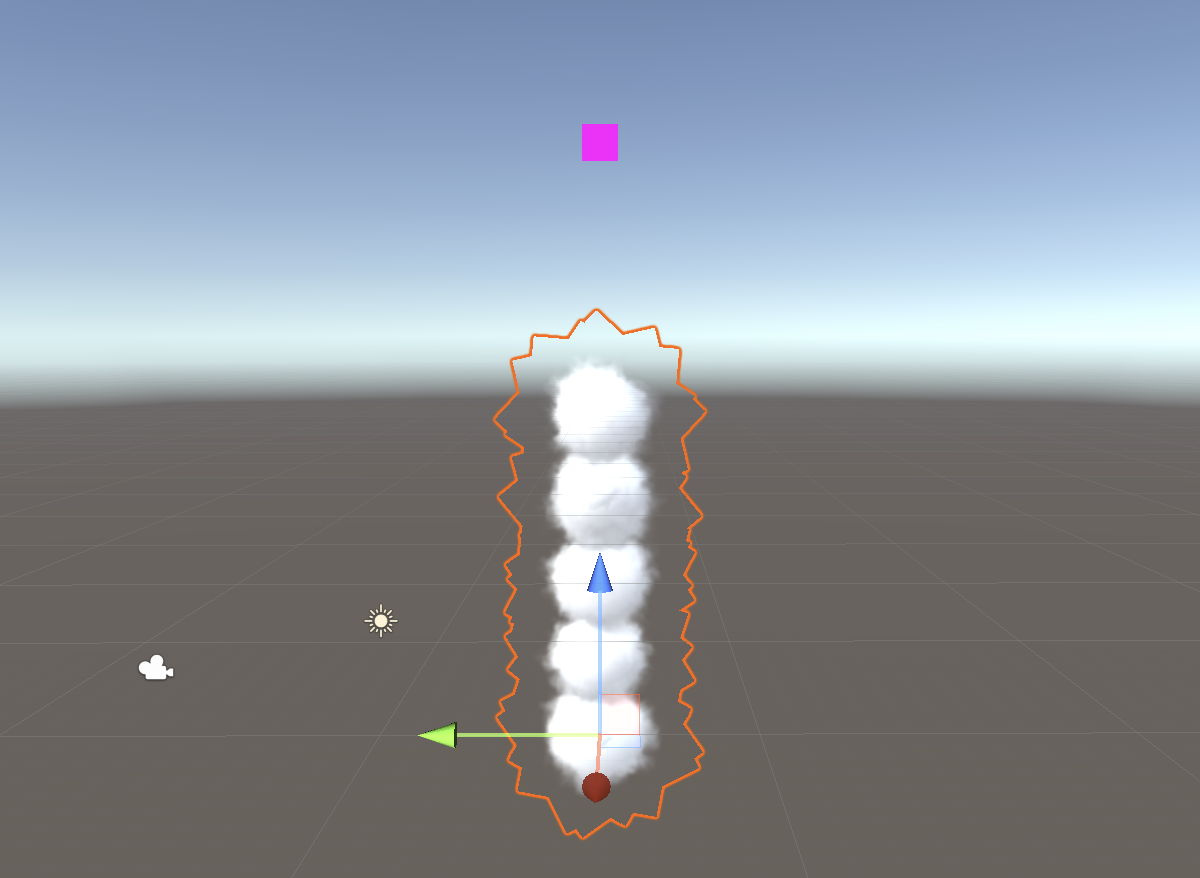
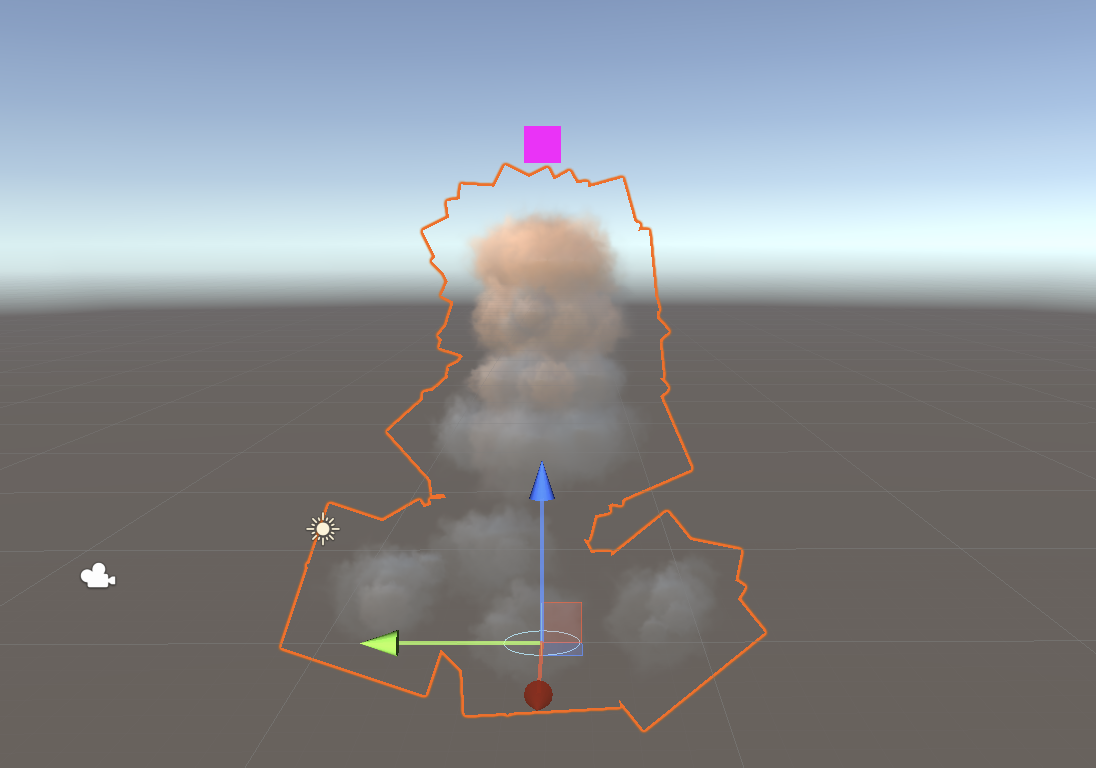
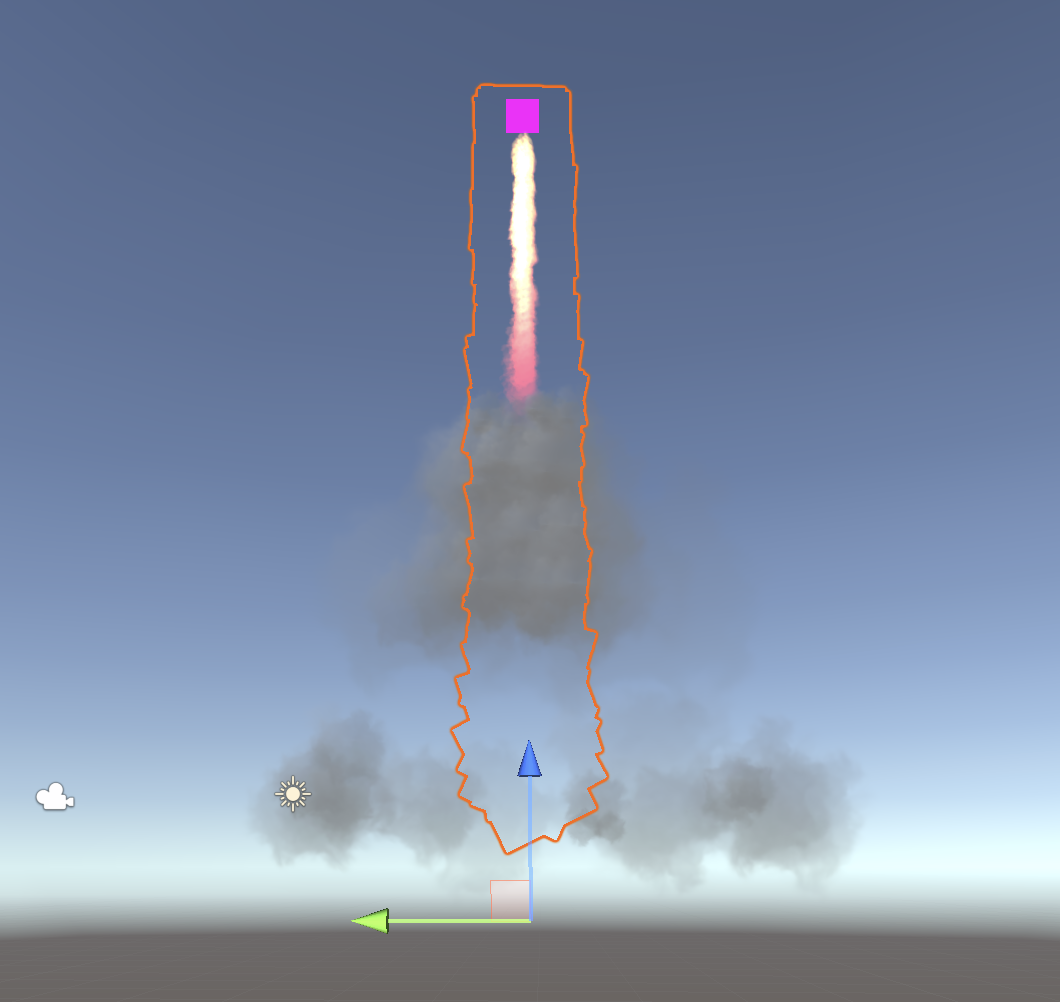
You should see a pink square intermittently shoot into the sky. This represents our rocket flying through the air. The RocketTrail particle effect is interesting because the parent particle system will be invisible. (We will turn off this pink square in a future step.) As this particle travels through the air, it will generate other particle systems which will be visible instead.
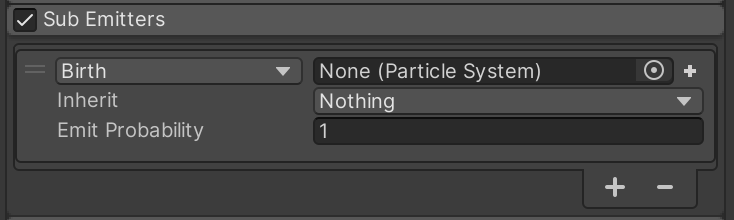
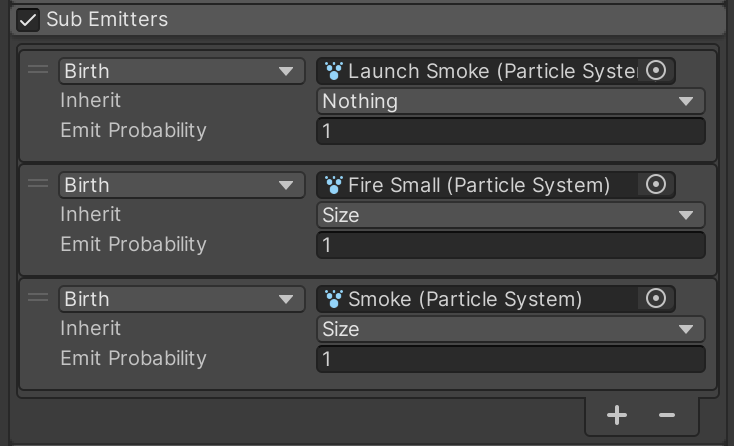
To prepare for this concept, enable the Sub Emitters section, but leave it unconfigured for now. We will revisit when we finish the other particle systems.
Launch Smoke
Add a particle system to Launch Smoke, and turn off all categories except Emission and Renderer.

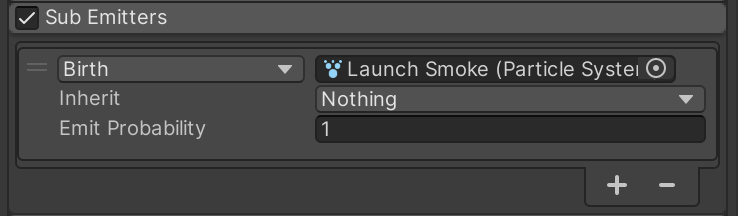
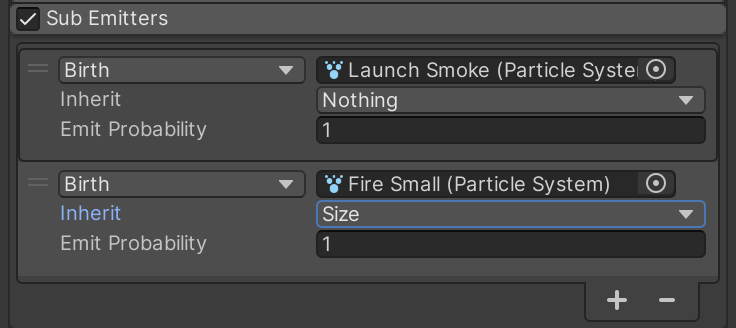
Back on the parent RocketTrail particle system, add the Launch Smoke particle system as a child sub-emitter.
Return to the Launch Smoke particle system and configure the main settings for Launch Smoke. Notice how Start Color shows a white rectangle with a partial black bar on the bottom. This means the overall color is white, but it is partially transparent. Make sure to configure your settings to match this shape.

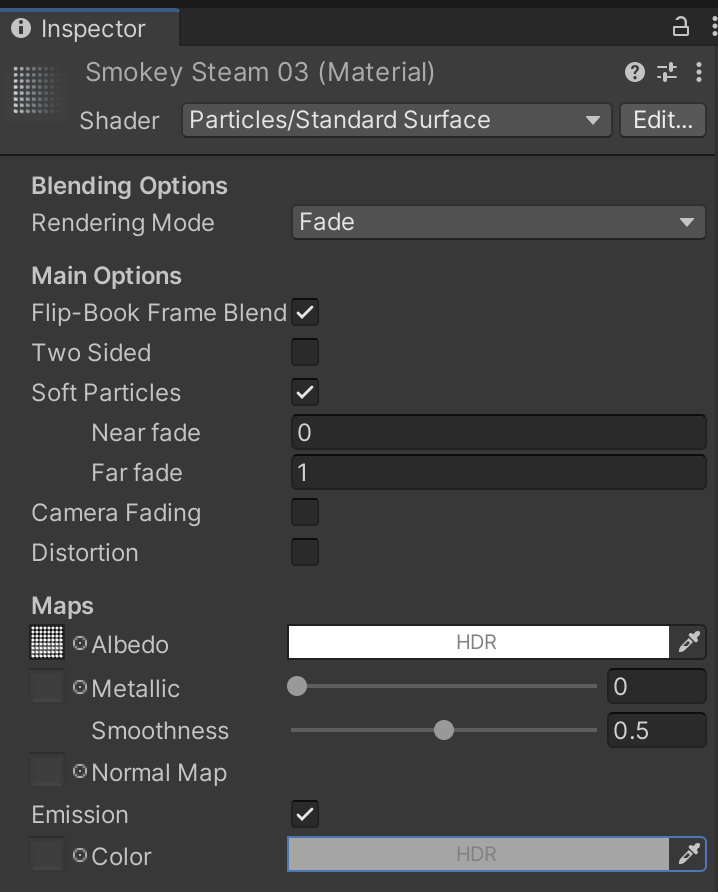
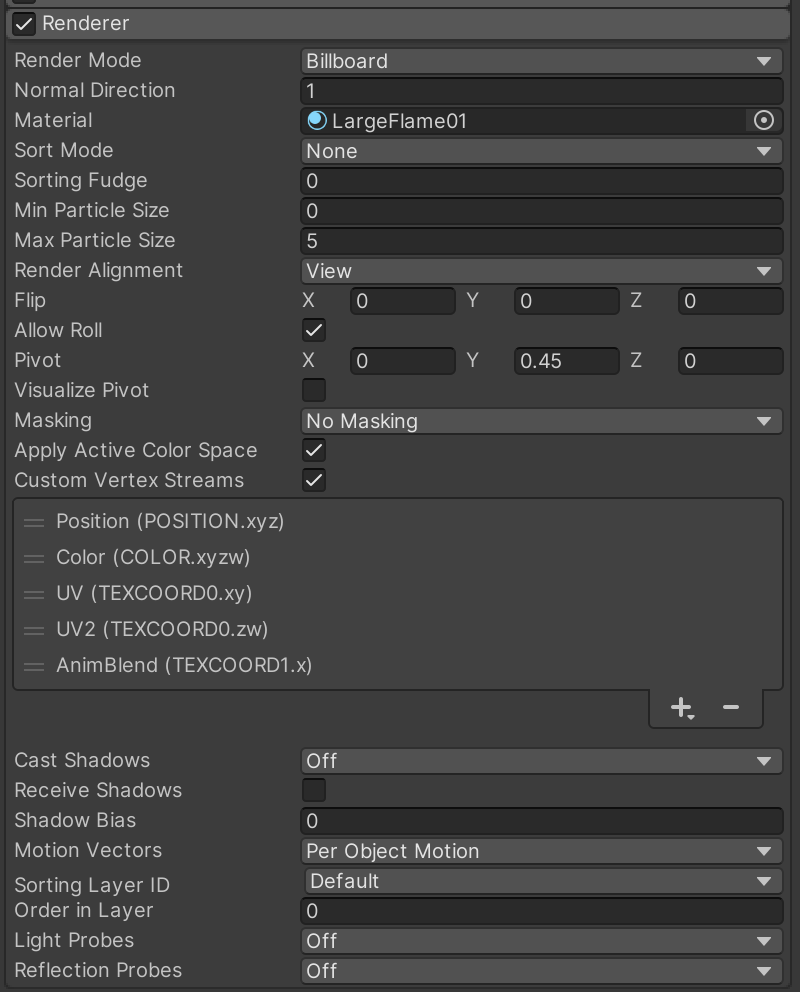
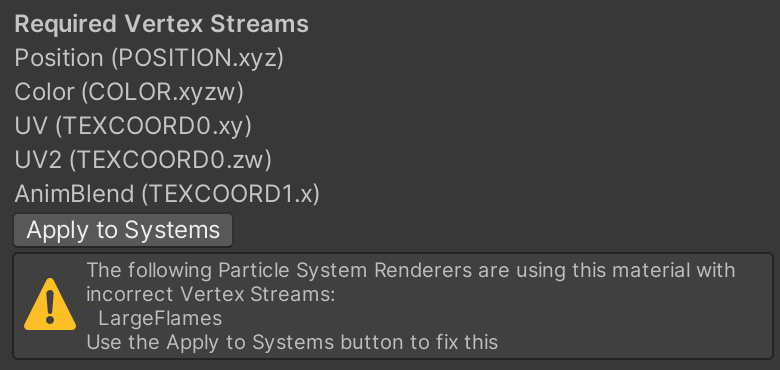
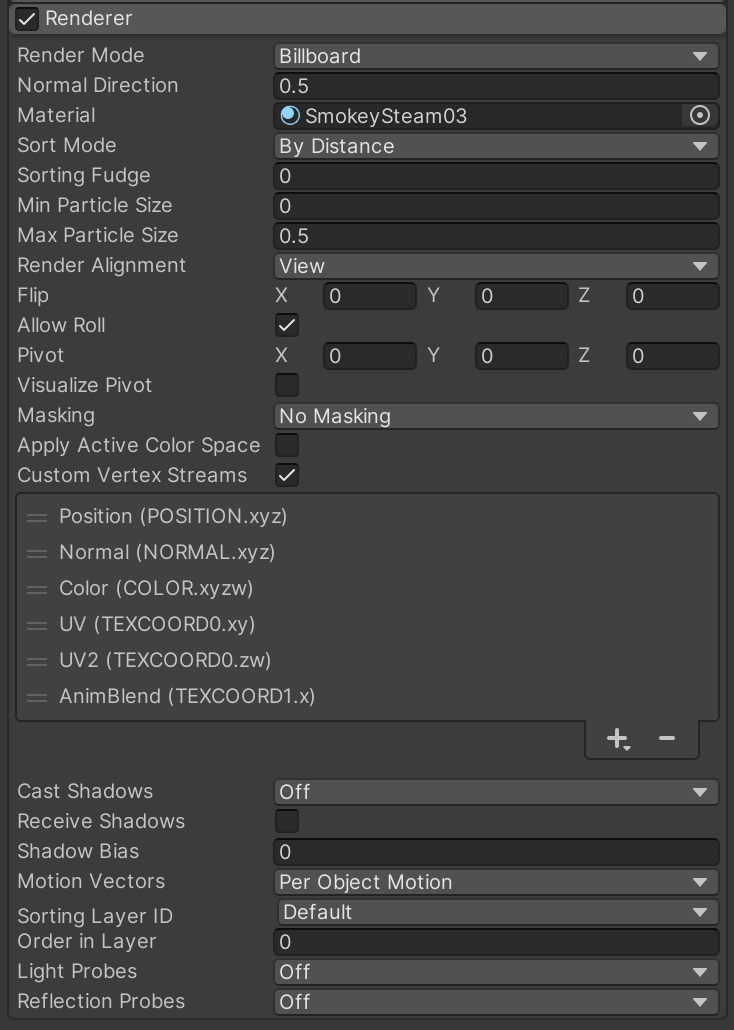
Skip to the Renderer for Launch Smoke and fill in these settings so the smoke will be properly visible as we configure it. Remember that you can automatically fill in all of the Custom Vertex Streams by inspecting the SmokeySteam03 material asset and clicking "Apply."
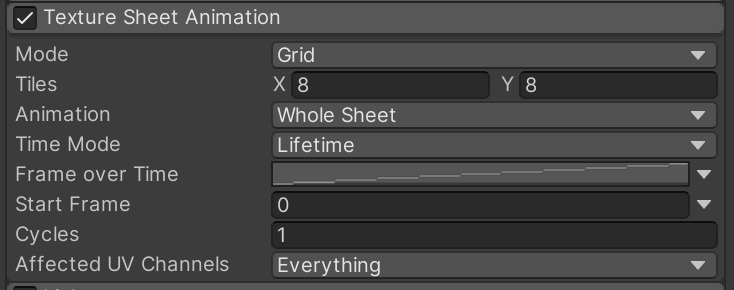
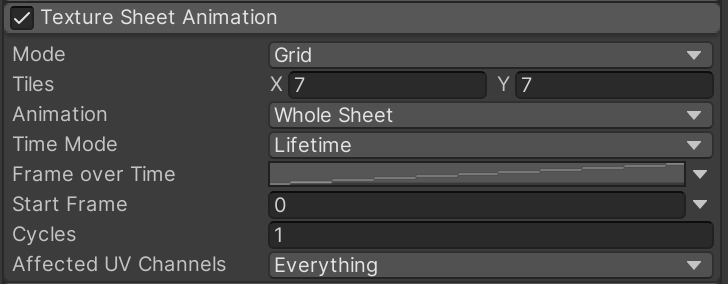
The Texture Sheet Animation settings will ensure the particle actually portrays animated smoke instead of a grid of graphics.
These Emission settings will emit the particles in several bursts when the rocket launches. You can see how this peppers the air with smoke near the launch point.
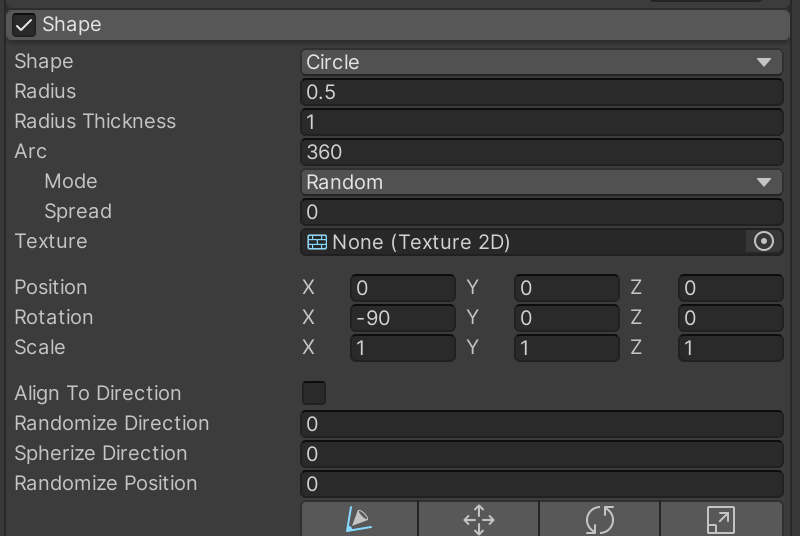
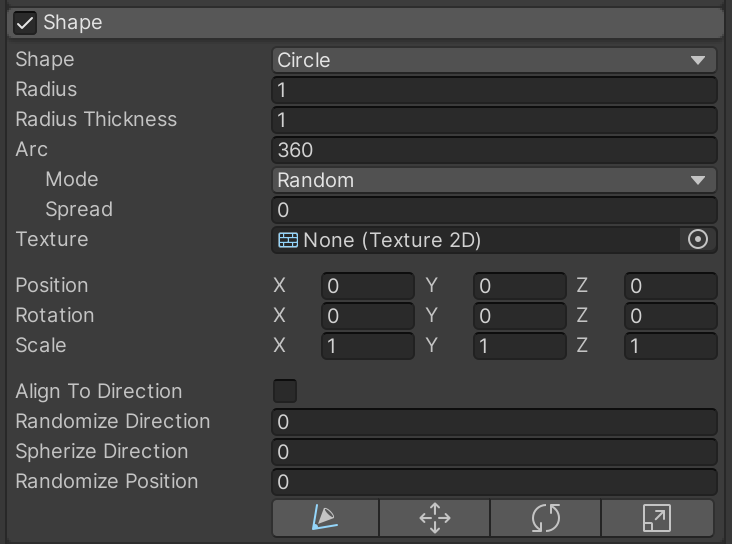
Refine the Shape of the particle spawn area.
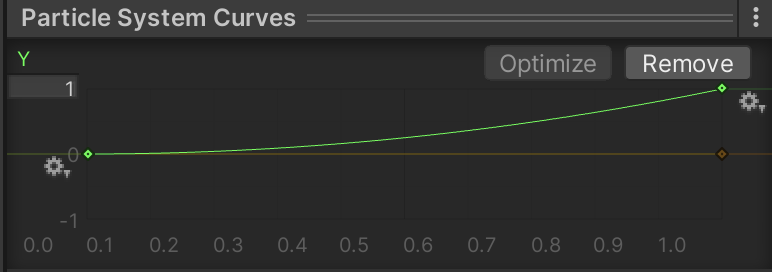
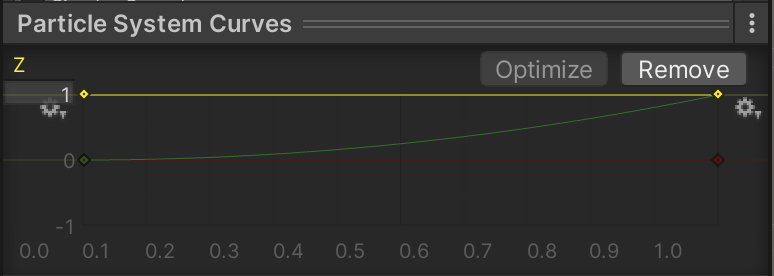
These Velocity over Lifetime settings will cause the particles to increasingly rise over time (y-axis velocity) and spread out (z-axis velocity). Take special notice of the Radial value which will project the particles outward from their origin.

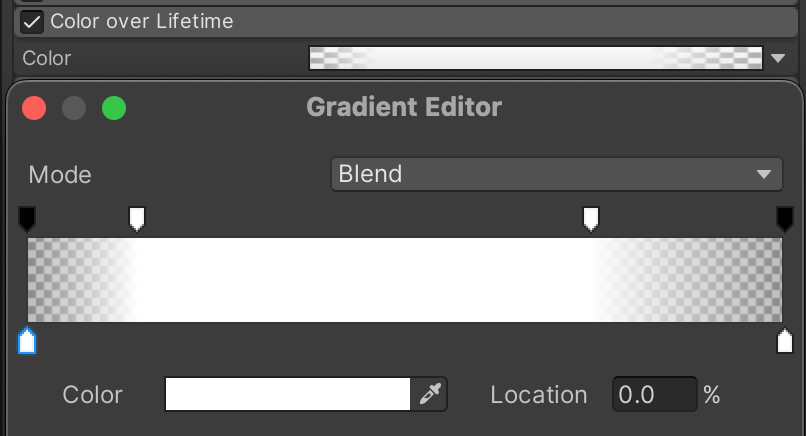
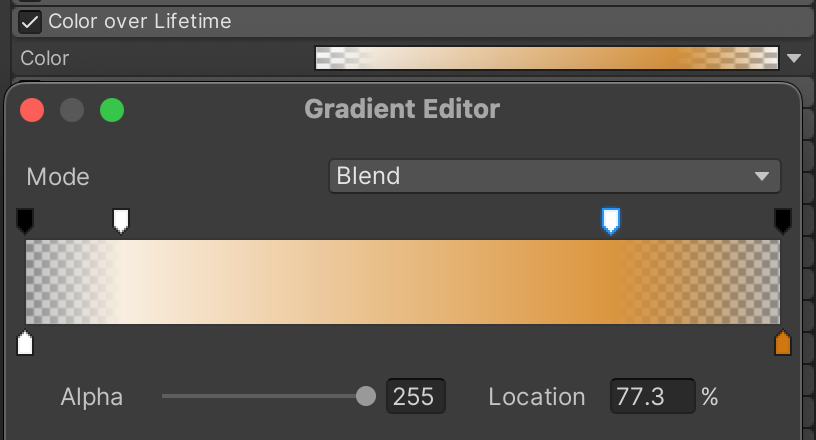
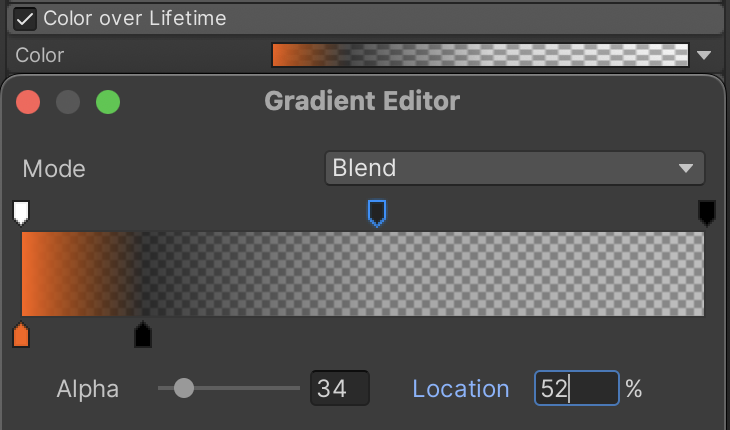
This Color over Lifetime gradient causes the smoke to briefly flash a burnt orange before burning out to black and fading out. Notice how one of the markers is explicitly defined in the screenshot, since it is harder to guess these settings at a glance.
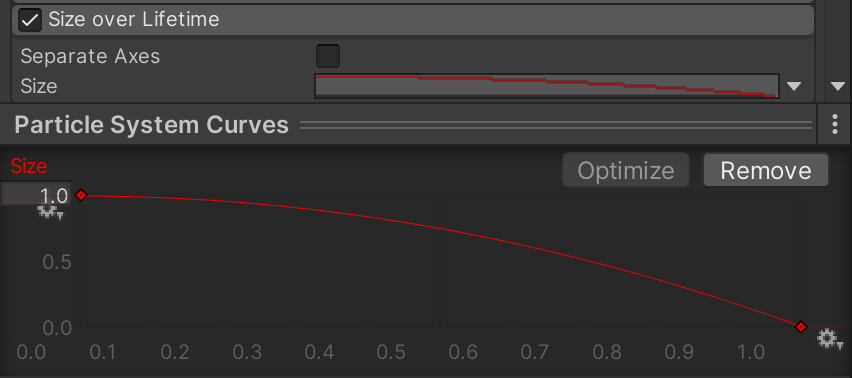
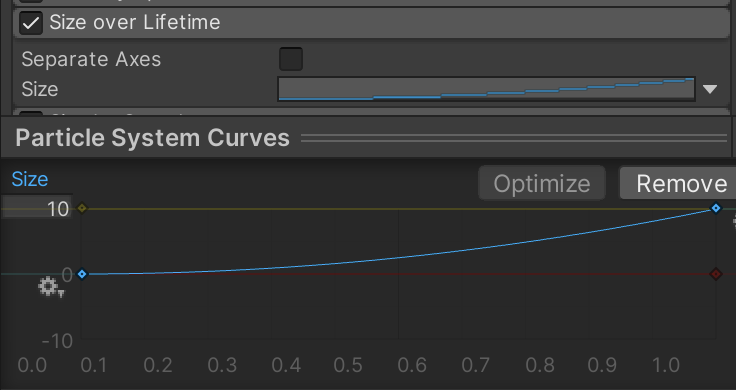
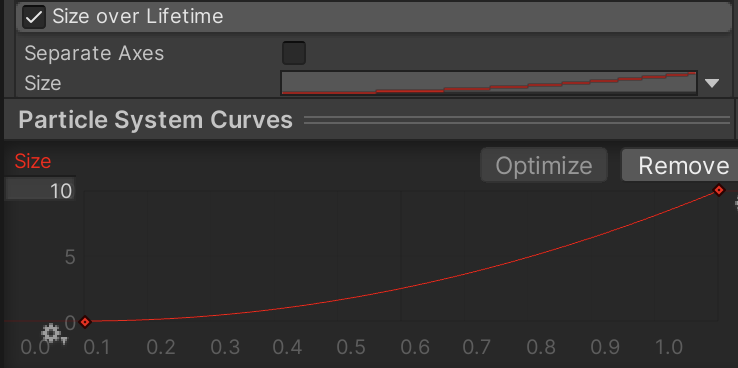
We want this smoke to aggressively expand its Size over Lifetime. Notice that these settings use both an upward curve and a scale of 10.
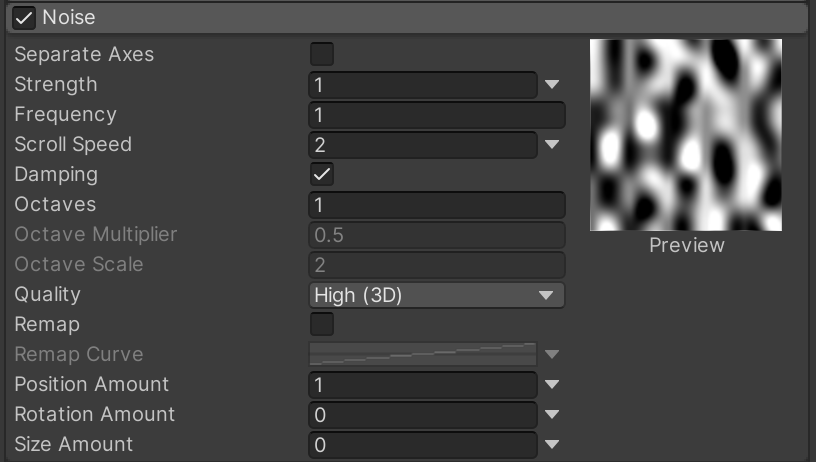
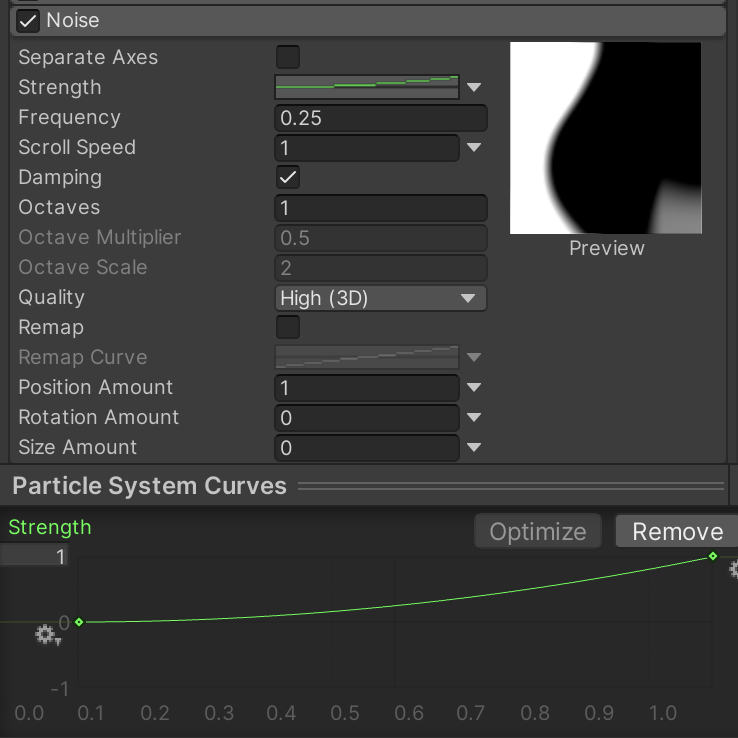
Finally, some Noise will add some organic randomization to the smoke's movement so it appears more realistic as the smoke naturally "disperses" through the air.

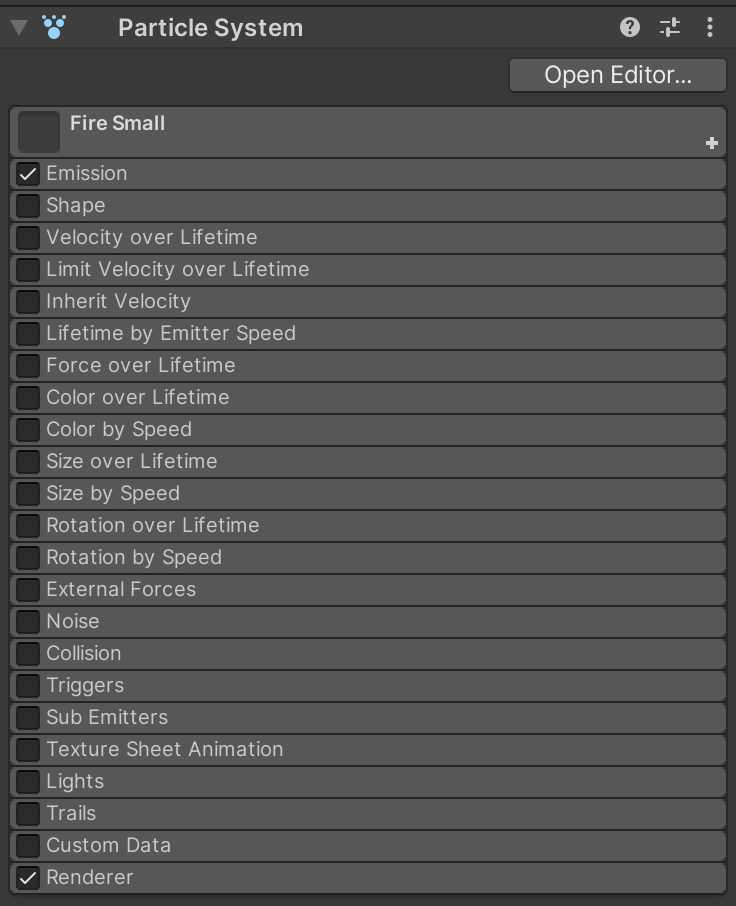
Fire Small
The second sub-emitter is the small fire that follows the parent rocket particle. Add a particle system to Fire Small and turn off all categories except Emission and Renderer.
Back on the parent RocketTrail particle system, add the Fire Small particle system as a child sub-emitter. It should inherit the size of the parent Rocket Trail particle system.
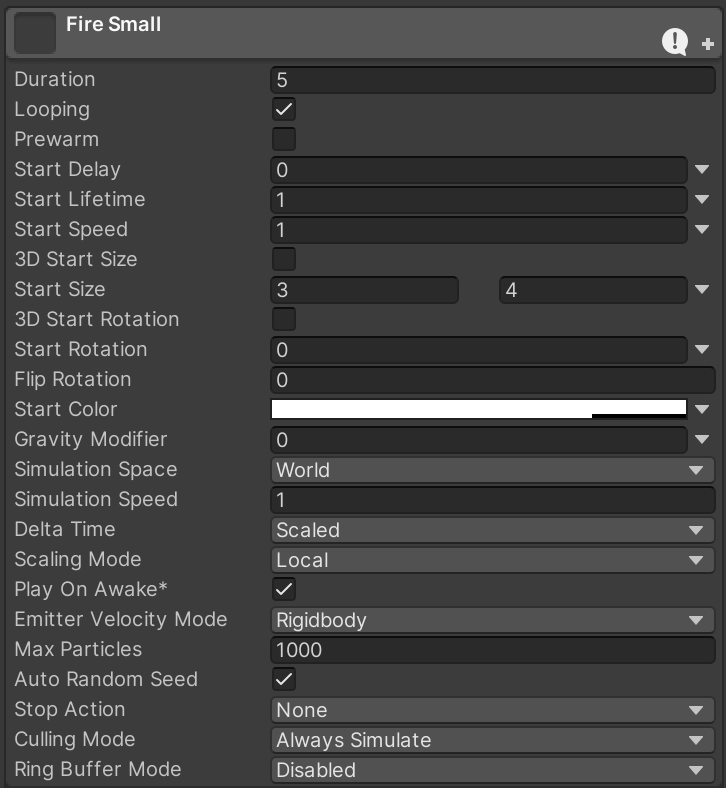
Return to the small fire particle system and configure the main settings for Fire Small.
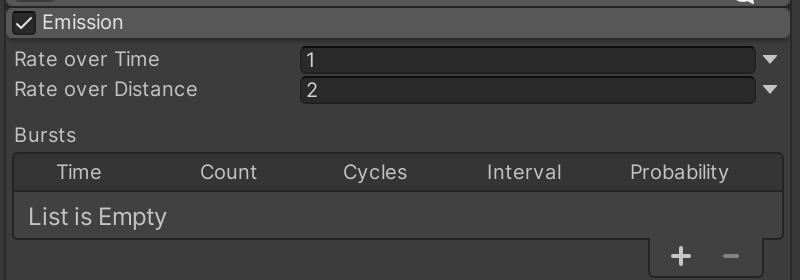
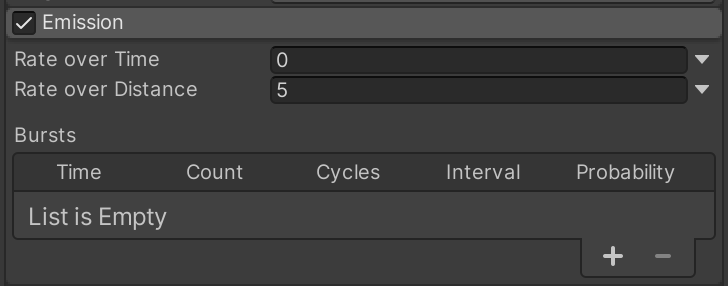
To achieve the fire trail look, Fire Small should emit over a distance based on the movement of its parent rocket particle.
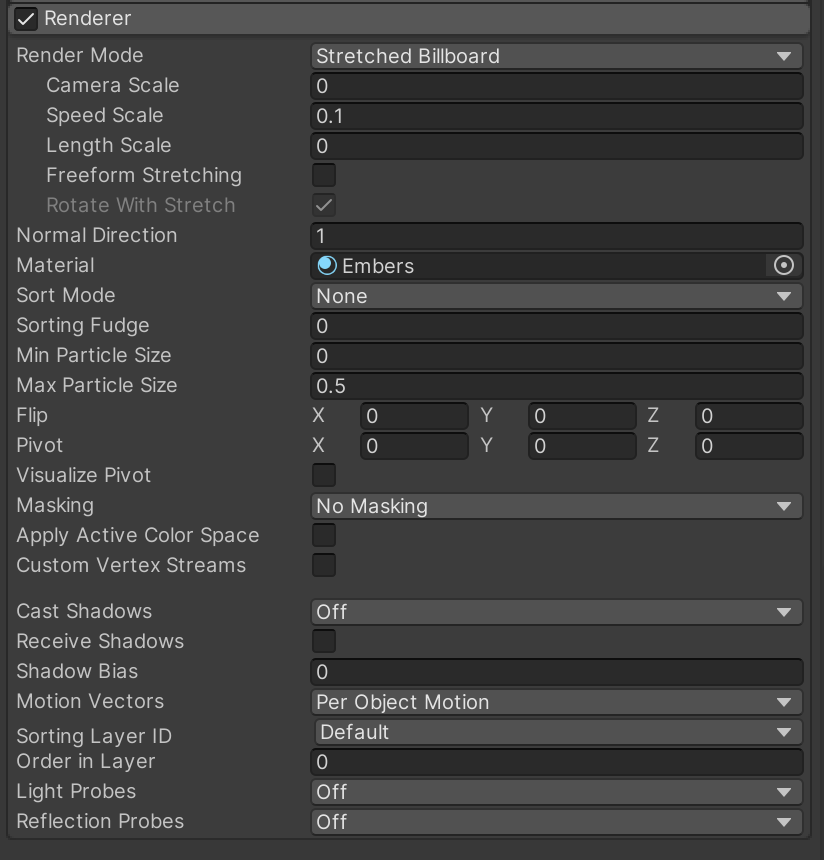
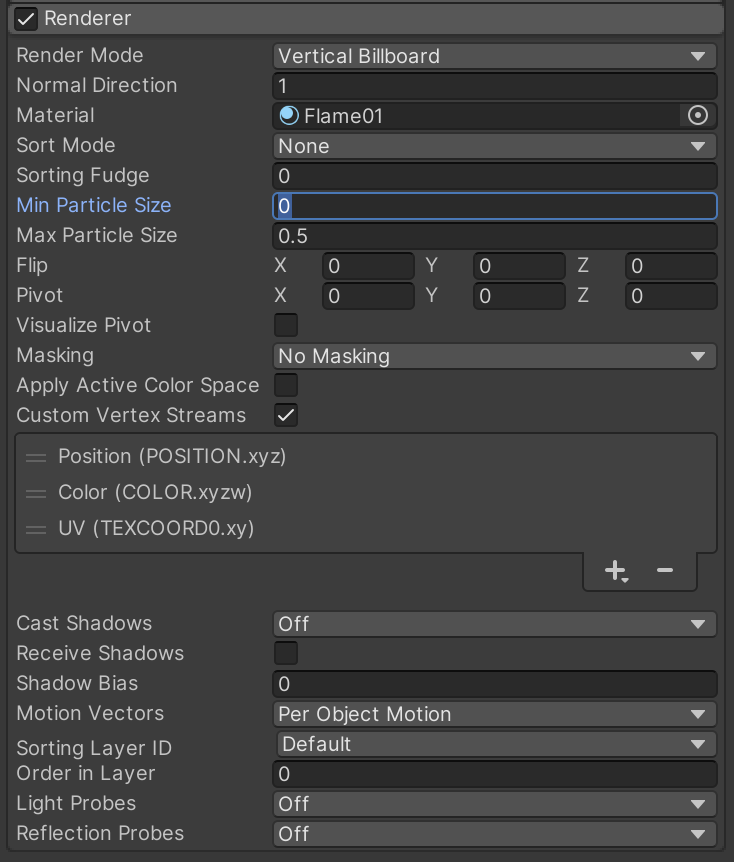
To better visualize the fire trail as we configure it, configure its Renderer.
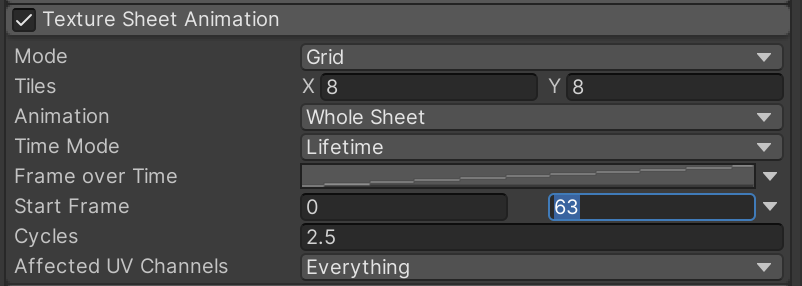
Texture Sheet Animation converts the grid of graphics into an animated flame.
Rotation over Lifetime will give the flame trail a slight spiral motion.

This color gradient naturally fades the fire trail in and out, while also giving the fire some definition as it appears to burn out near the tip of the flame below the rocket.

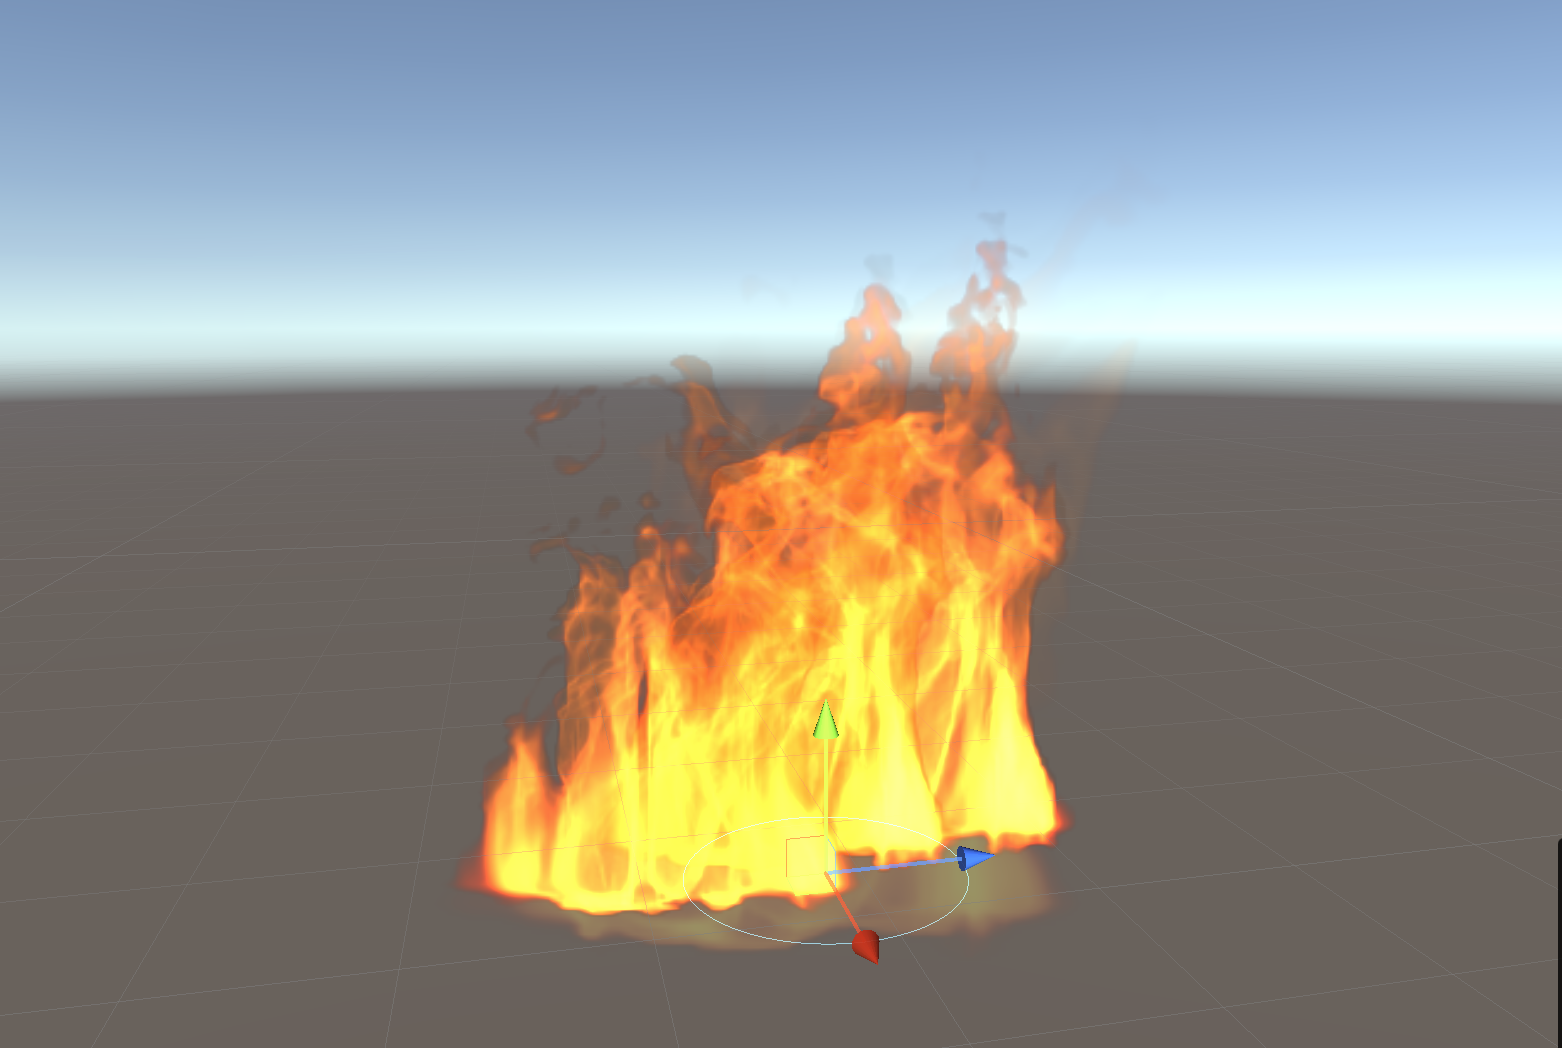
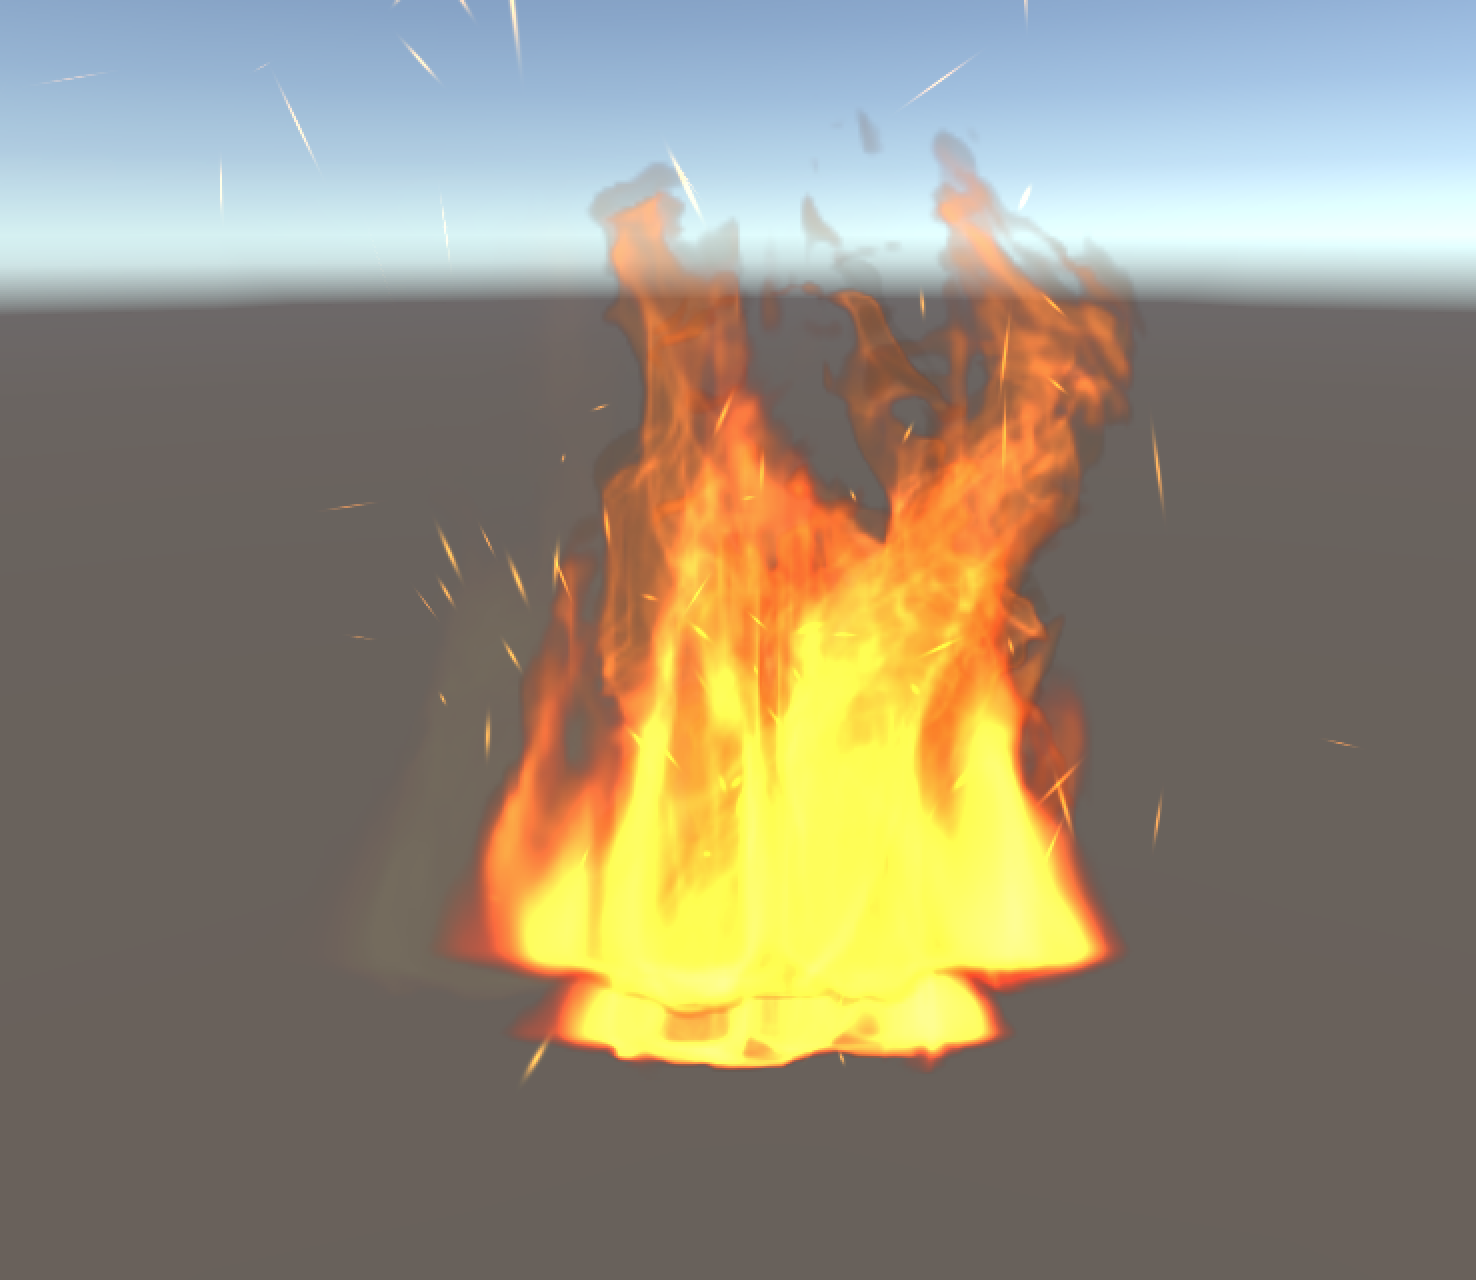
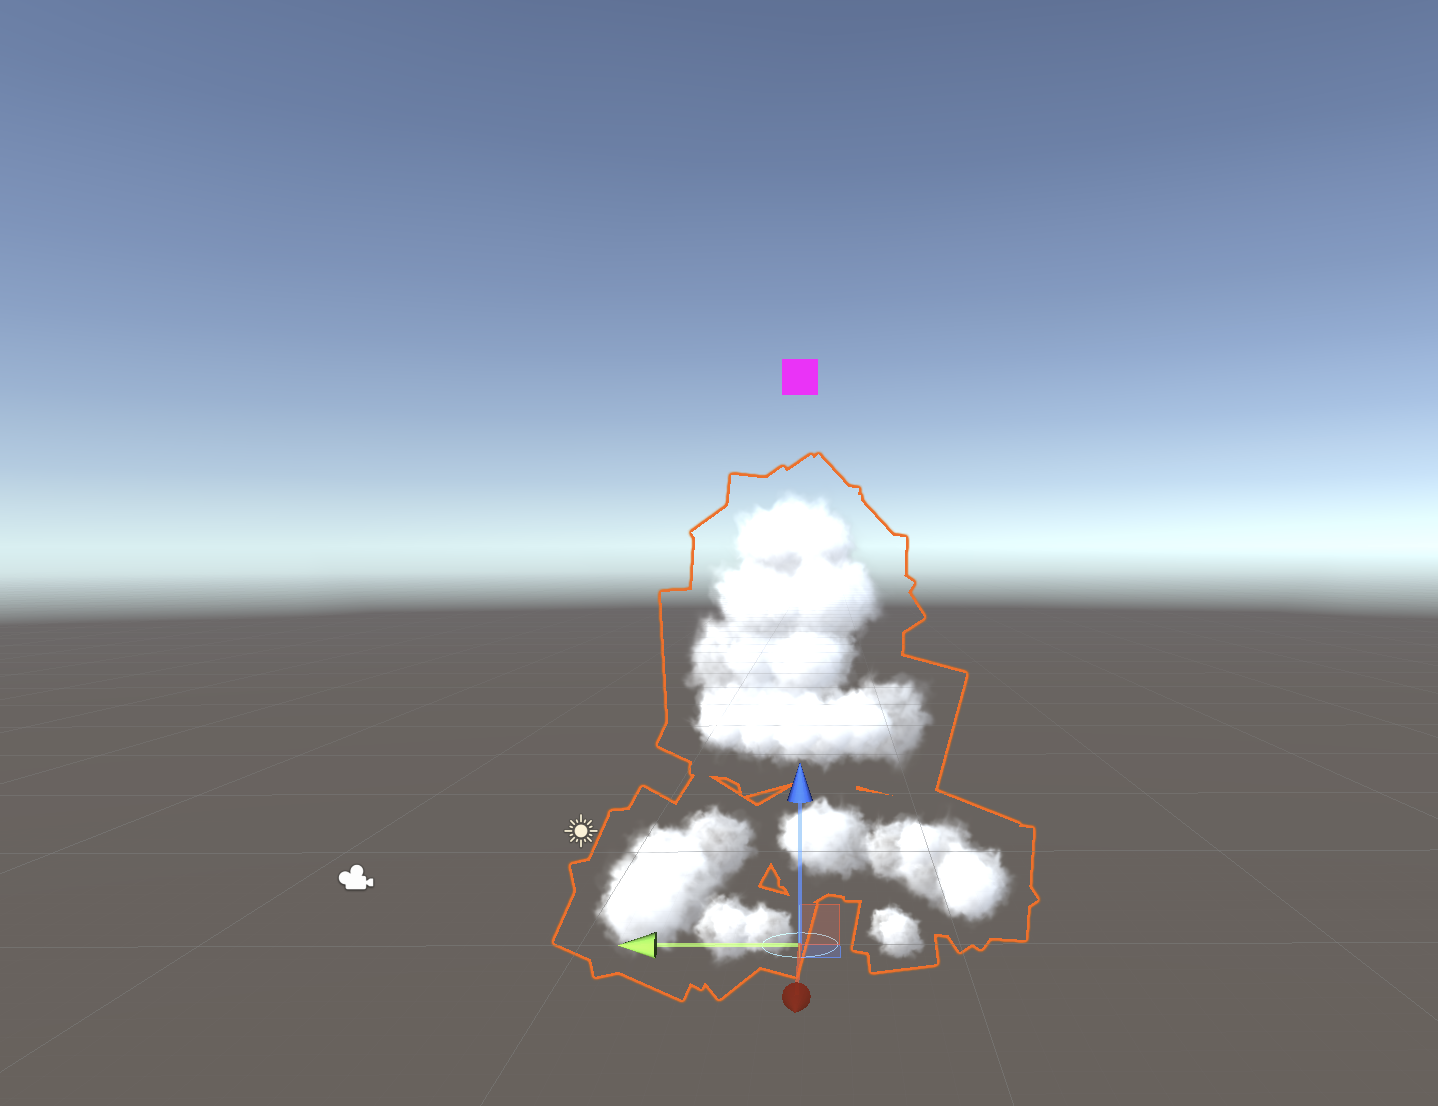
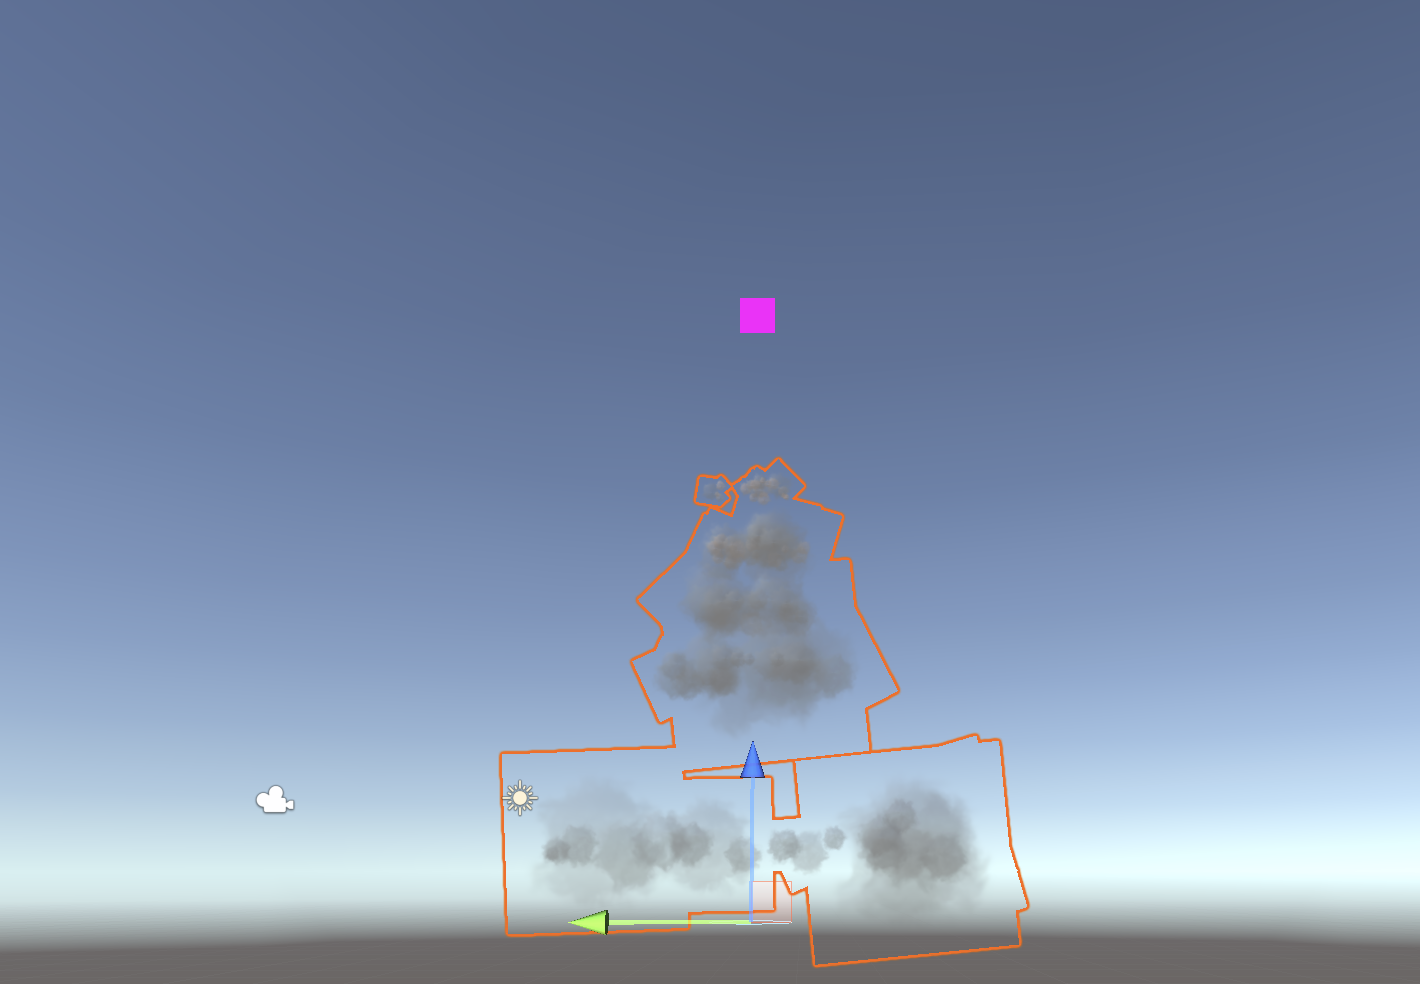
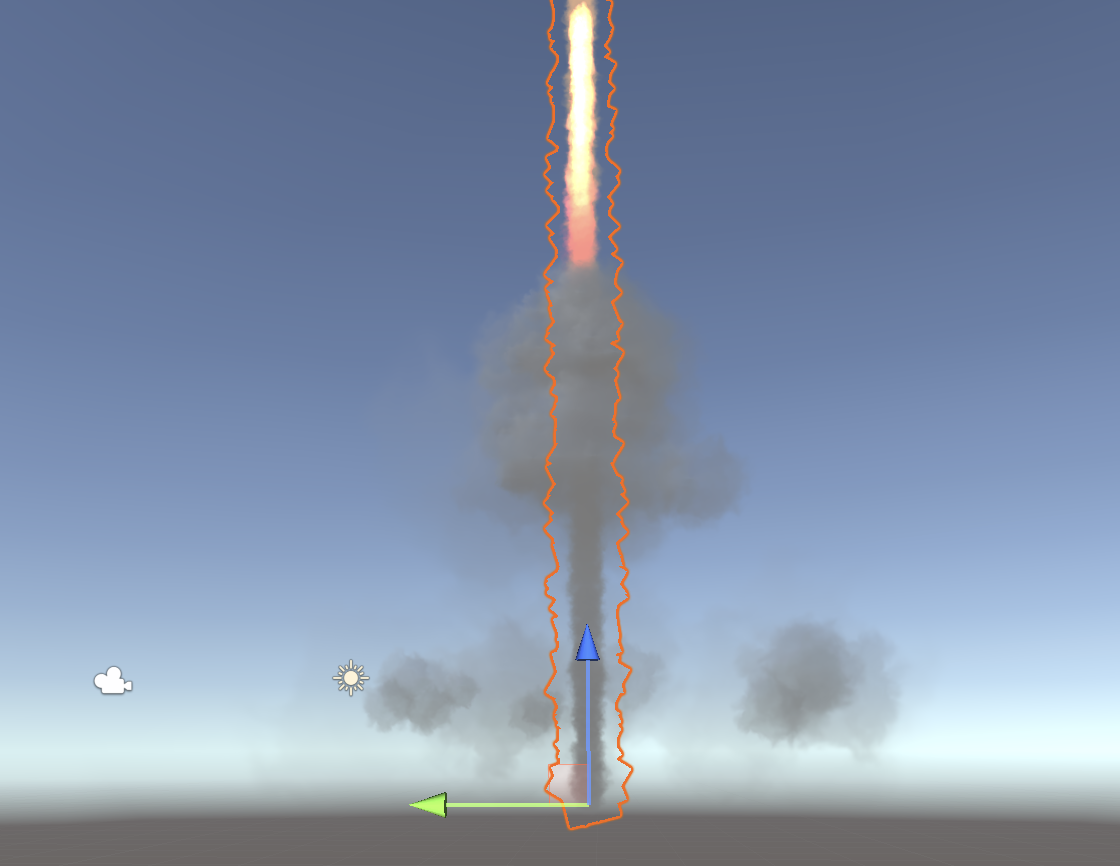
The particle effect so far shows the rocket, launch smoke, and fire trail systems together.
Smoke
The last sub-emitter is also the smoke that follows the parent rocket particle. Add a particle system to Smoke and turn off all categories except Exmission and Renderer.
Back on the parent RocketTrail particle system, add the Launch Smoke particle system as a child sub-emitter. It should inherit the size of the parent Rocket Trail particle system.
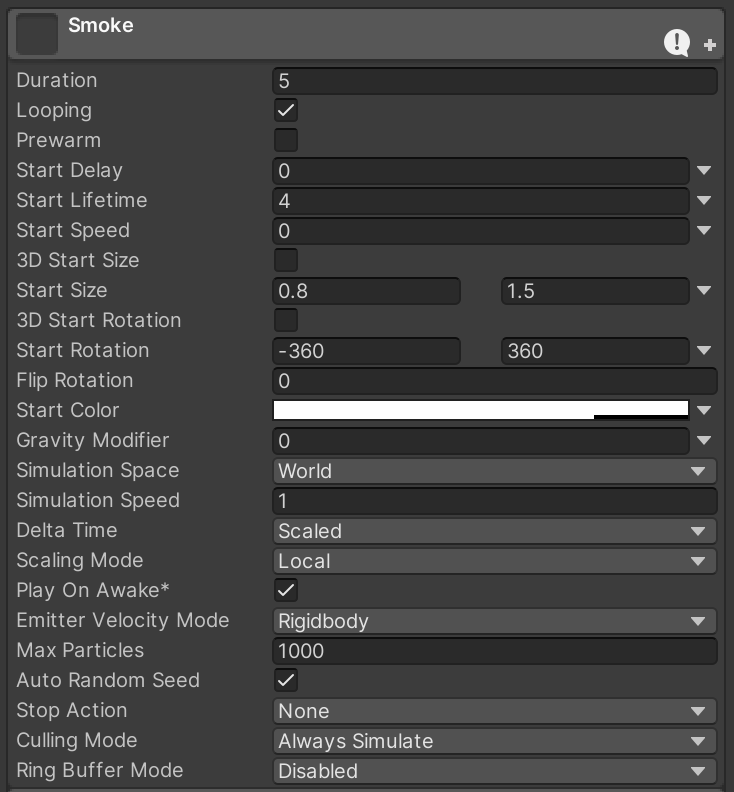
Return to the Smoke particle system and configure the main settings for Smoke.
To better visualize the system as we configure it, skip to the Renderer.

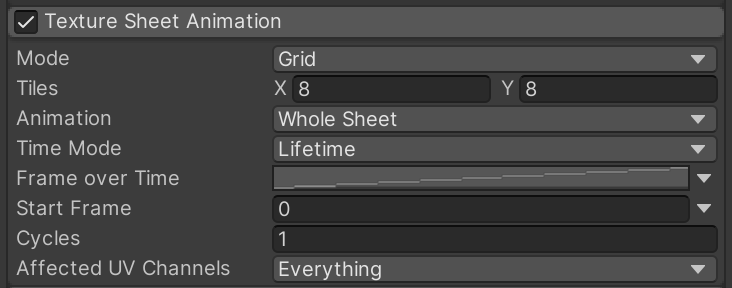
Texture Sheet Animation converts the grid of graphics into animated smoke.
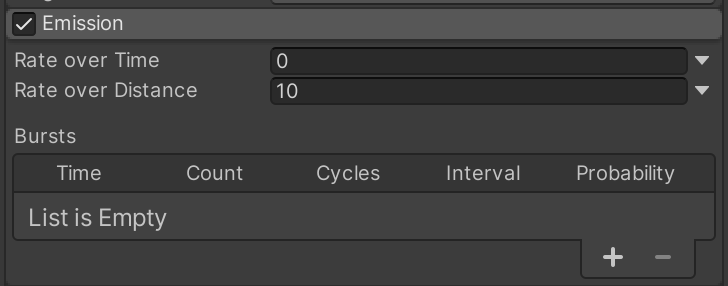
As a smoke trail, it makes more sense for the smoke particles to be left behind based on the distance movement of the parent rocket.
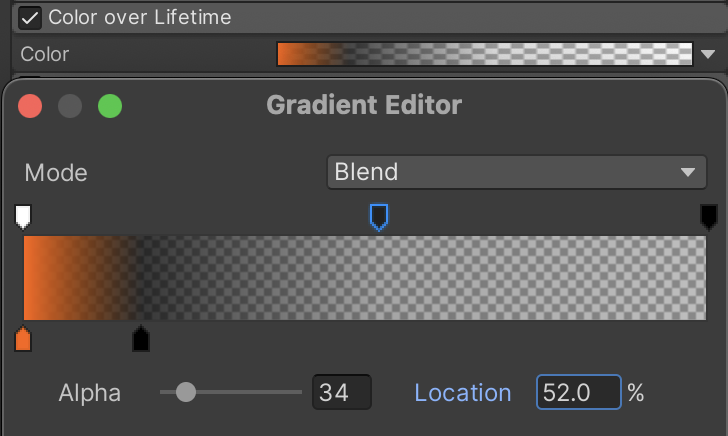
At the moment, the smoke trail looks a little bit like steam instead. Coloring it can help give the feeling that it starts off firey hot before burning out into dark smoke.
Similar to the launch smoke, we want this smoke to aggressively expand as it leaves the rocket. Take note of the scale of the curve.
As the smoke progresses through its timeline, we want it to be increasingly affected by random forces to simulate smoke dispersing in the air.
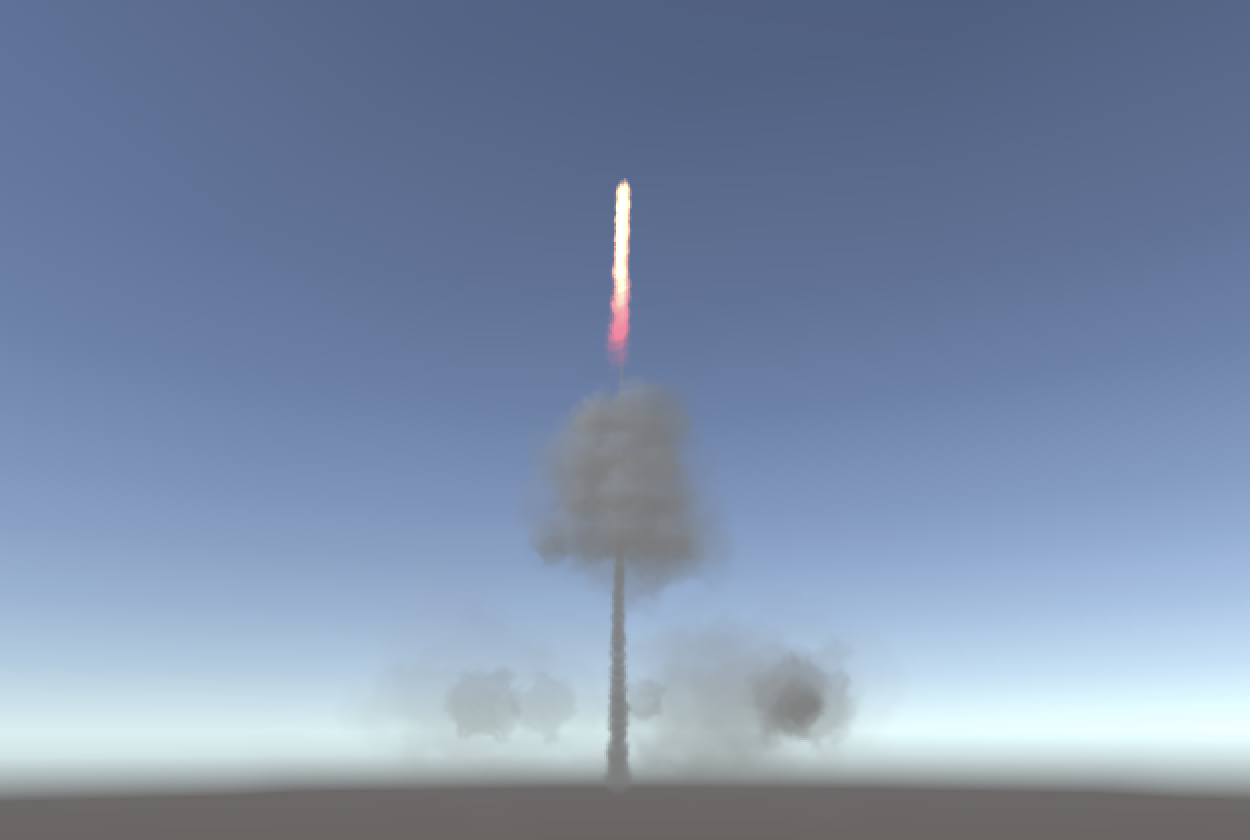
Completed Rocket Particle Effect
You must turn off the renderer on the parent Rocket Trail particle system, so that it does not show a pink square rising in the sky. The other sub-emitters will still render to complete the effect.
The completed rocket launch effect with sub-emitter systems for launch smoke, fire trail, and smoke trail: