Set Up Scene
We will continue to re-use all scene setup from the prior assignment. Duplicate your Q5 scene and name it Q6. Make sure you have opened Q6 and are conducting your edits in the correct scene.
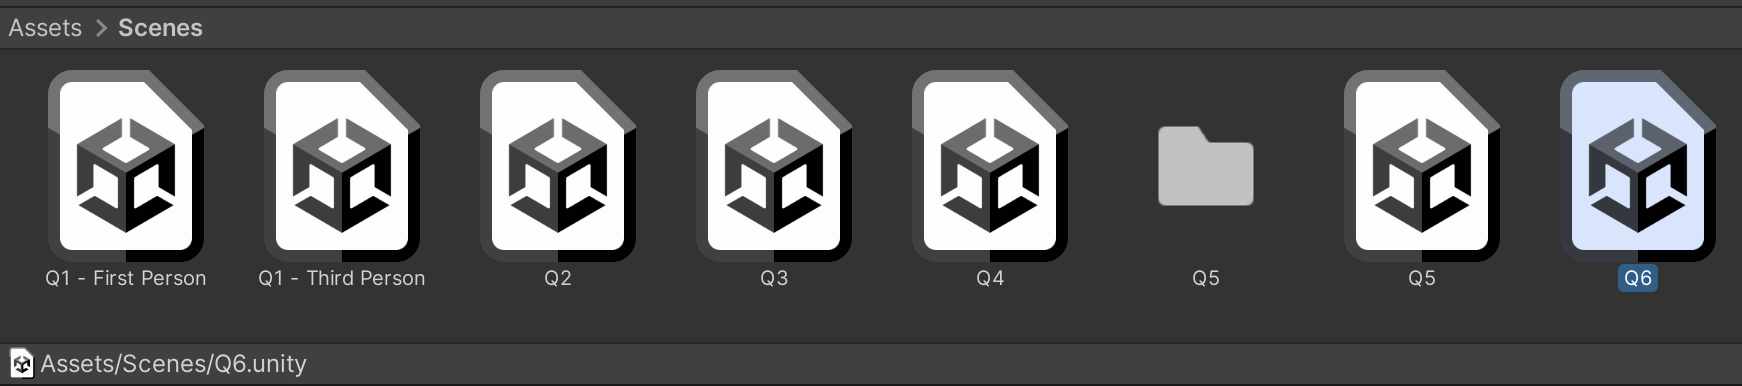
Supporting files for VG2 quests are part of a single archive that you can download here.
We will continue to re-use all scene setup from the prior assignment. Duplicate your Q5 scene and name it Q6. Make sure you have opened Q6 and are conducting your edits in the correct scene.
We will be using the Sci-Fi Weapons pack from DevAssets. They are available for free from http://devassets.com/assets/sci-fi-weapons/.

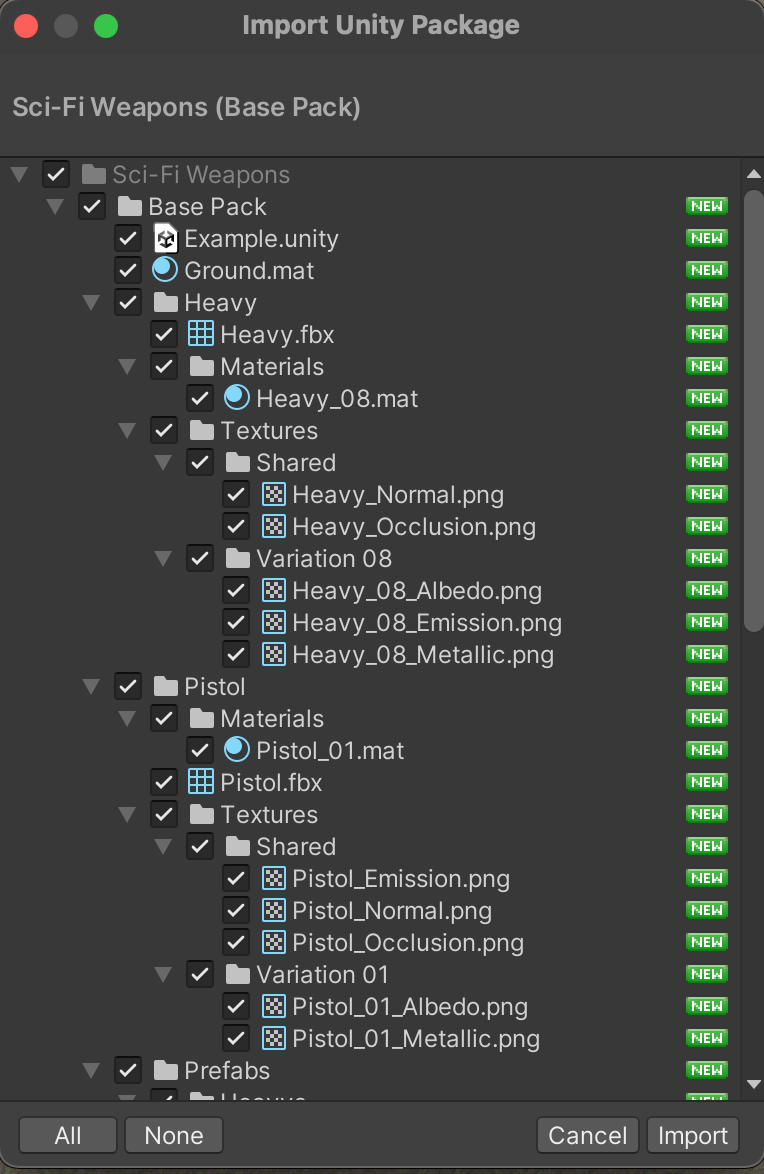
Upon download, you will receive a zip file. Unzip the archive and double-click the UnityPackage to begin the import process. Do NOT drag the UnityPackage into your project assets.

As always, review what you are importing so that you are aware of what is in your project at all times.
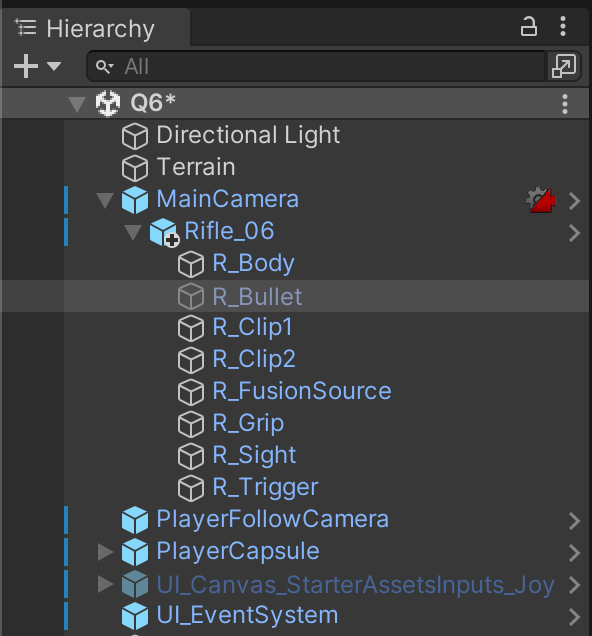
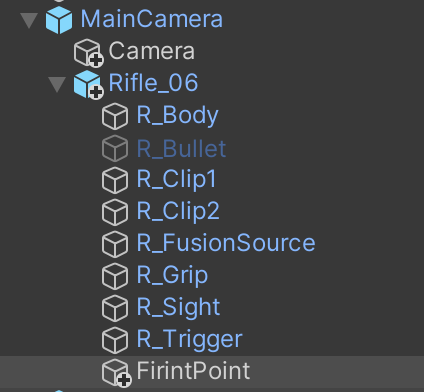
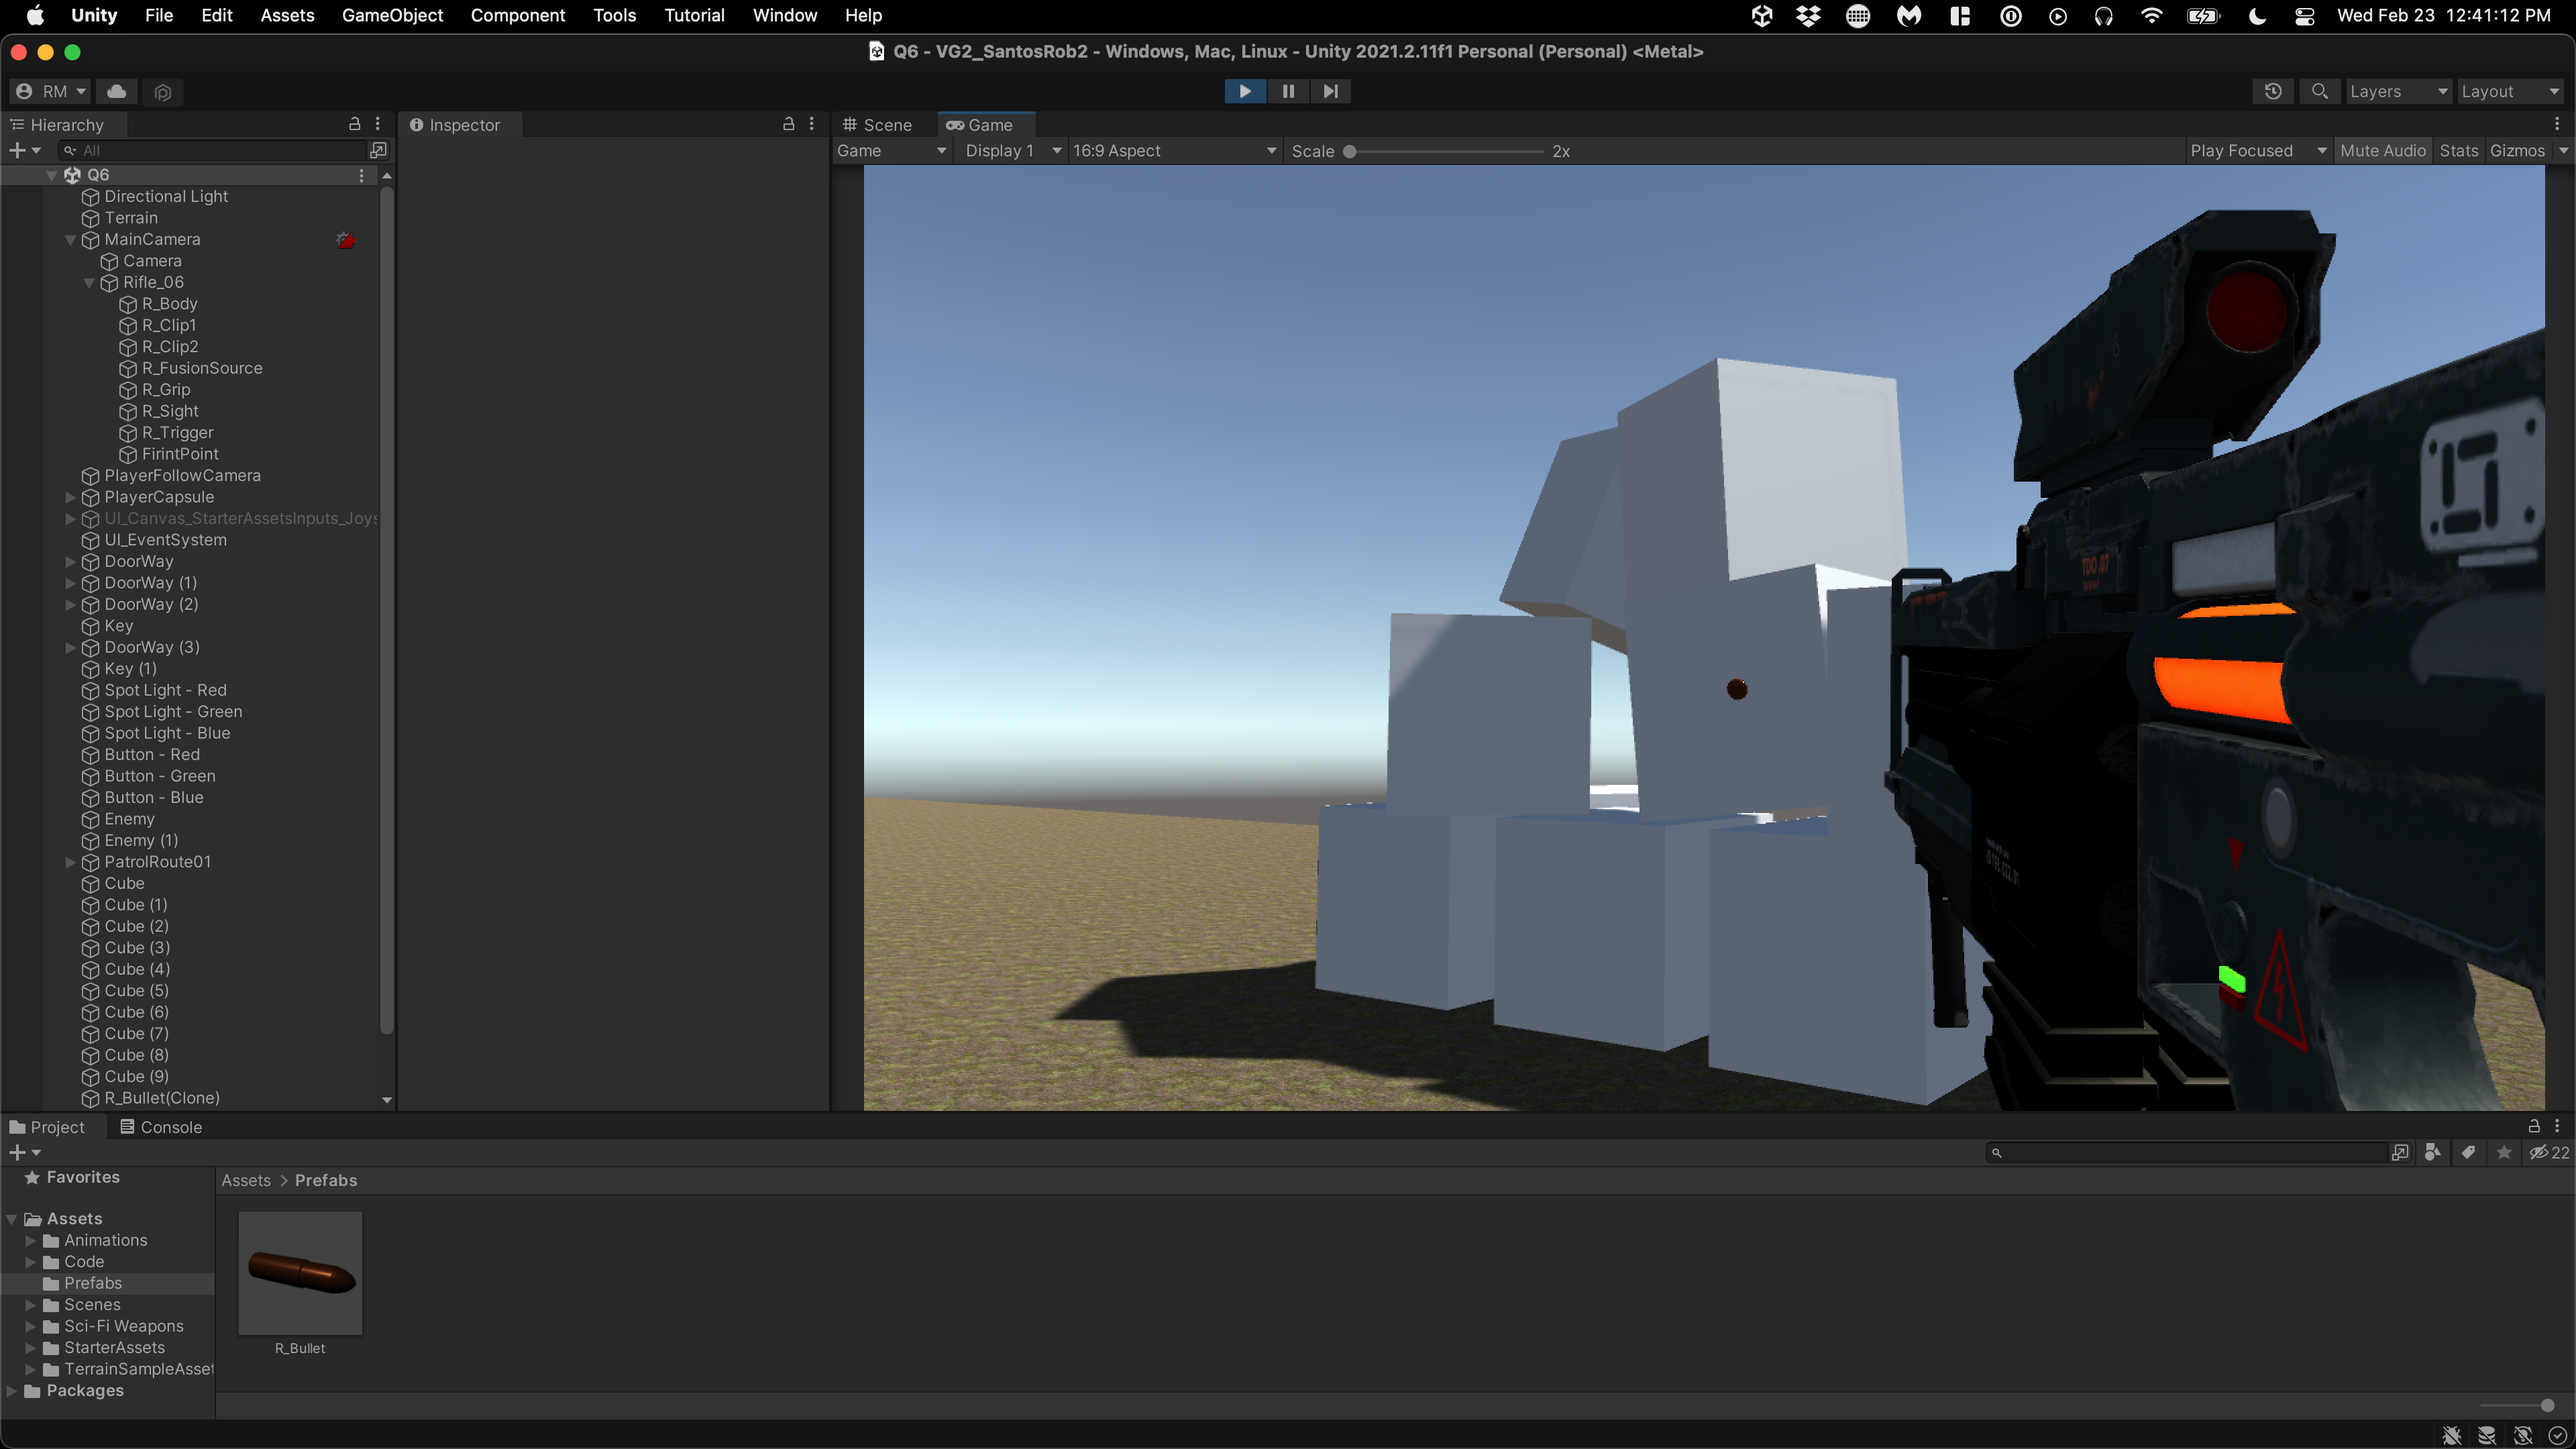
Find the Rifle prefab in /Assets/Sci-Fi Weapons/Base Pack/Prefabs/Rifles and drag it into your scene as a child of MainCamera. Do NOT use the FBX models directly or your model will be improperly set up and will have missing graphics. Turn off the R_Bullet child object to prevent it from just floating around in front of our character.
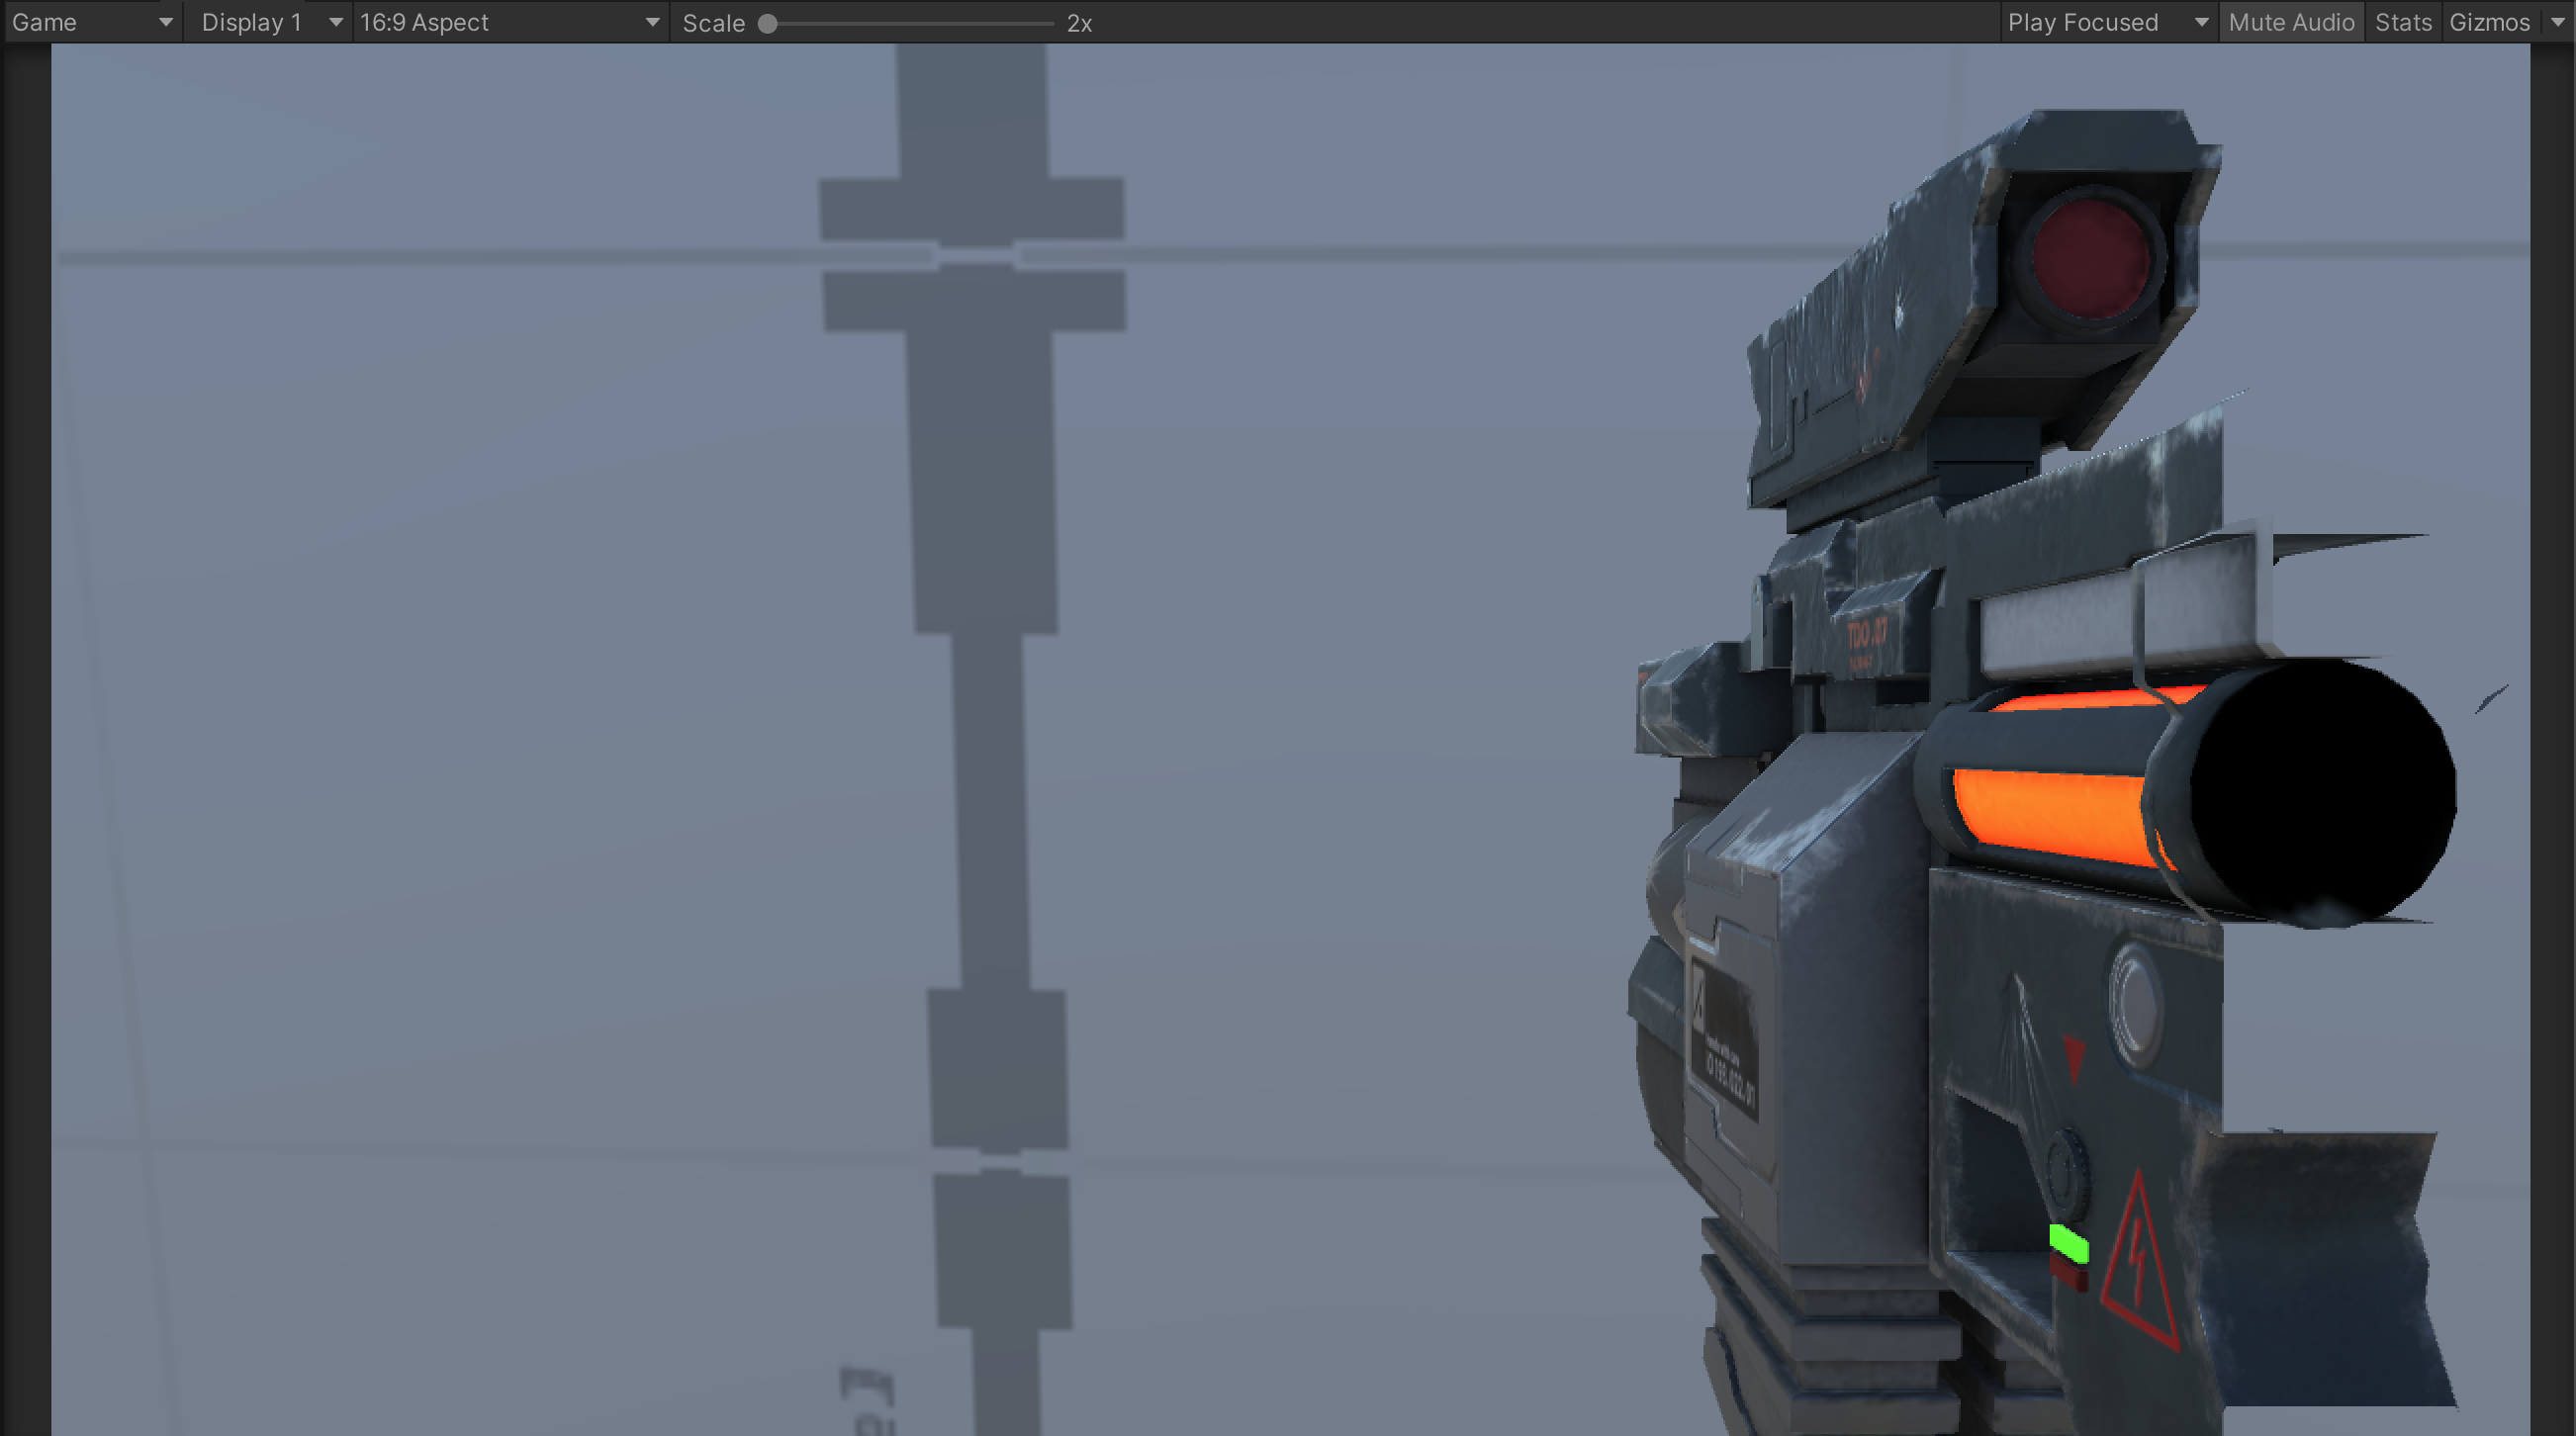
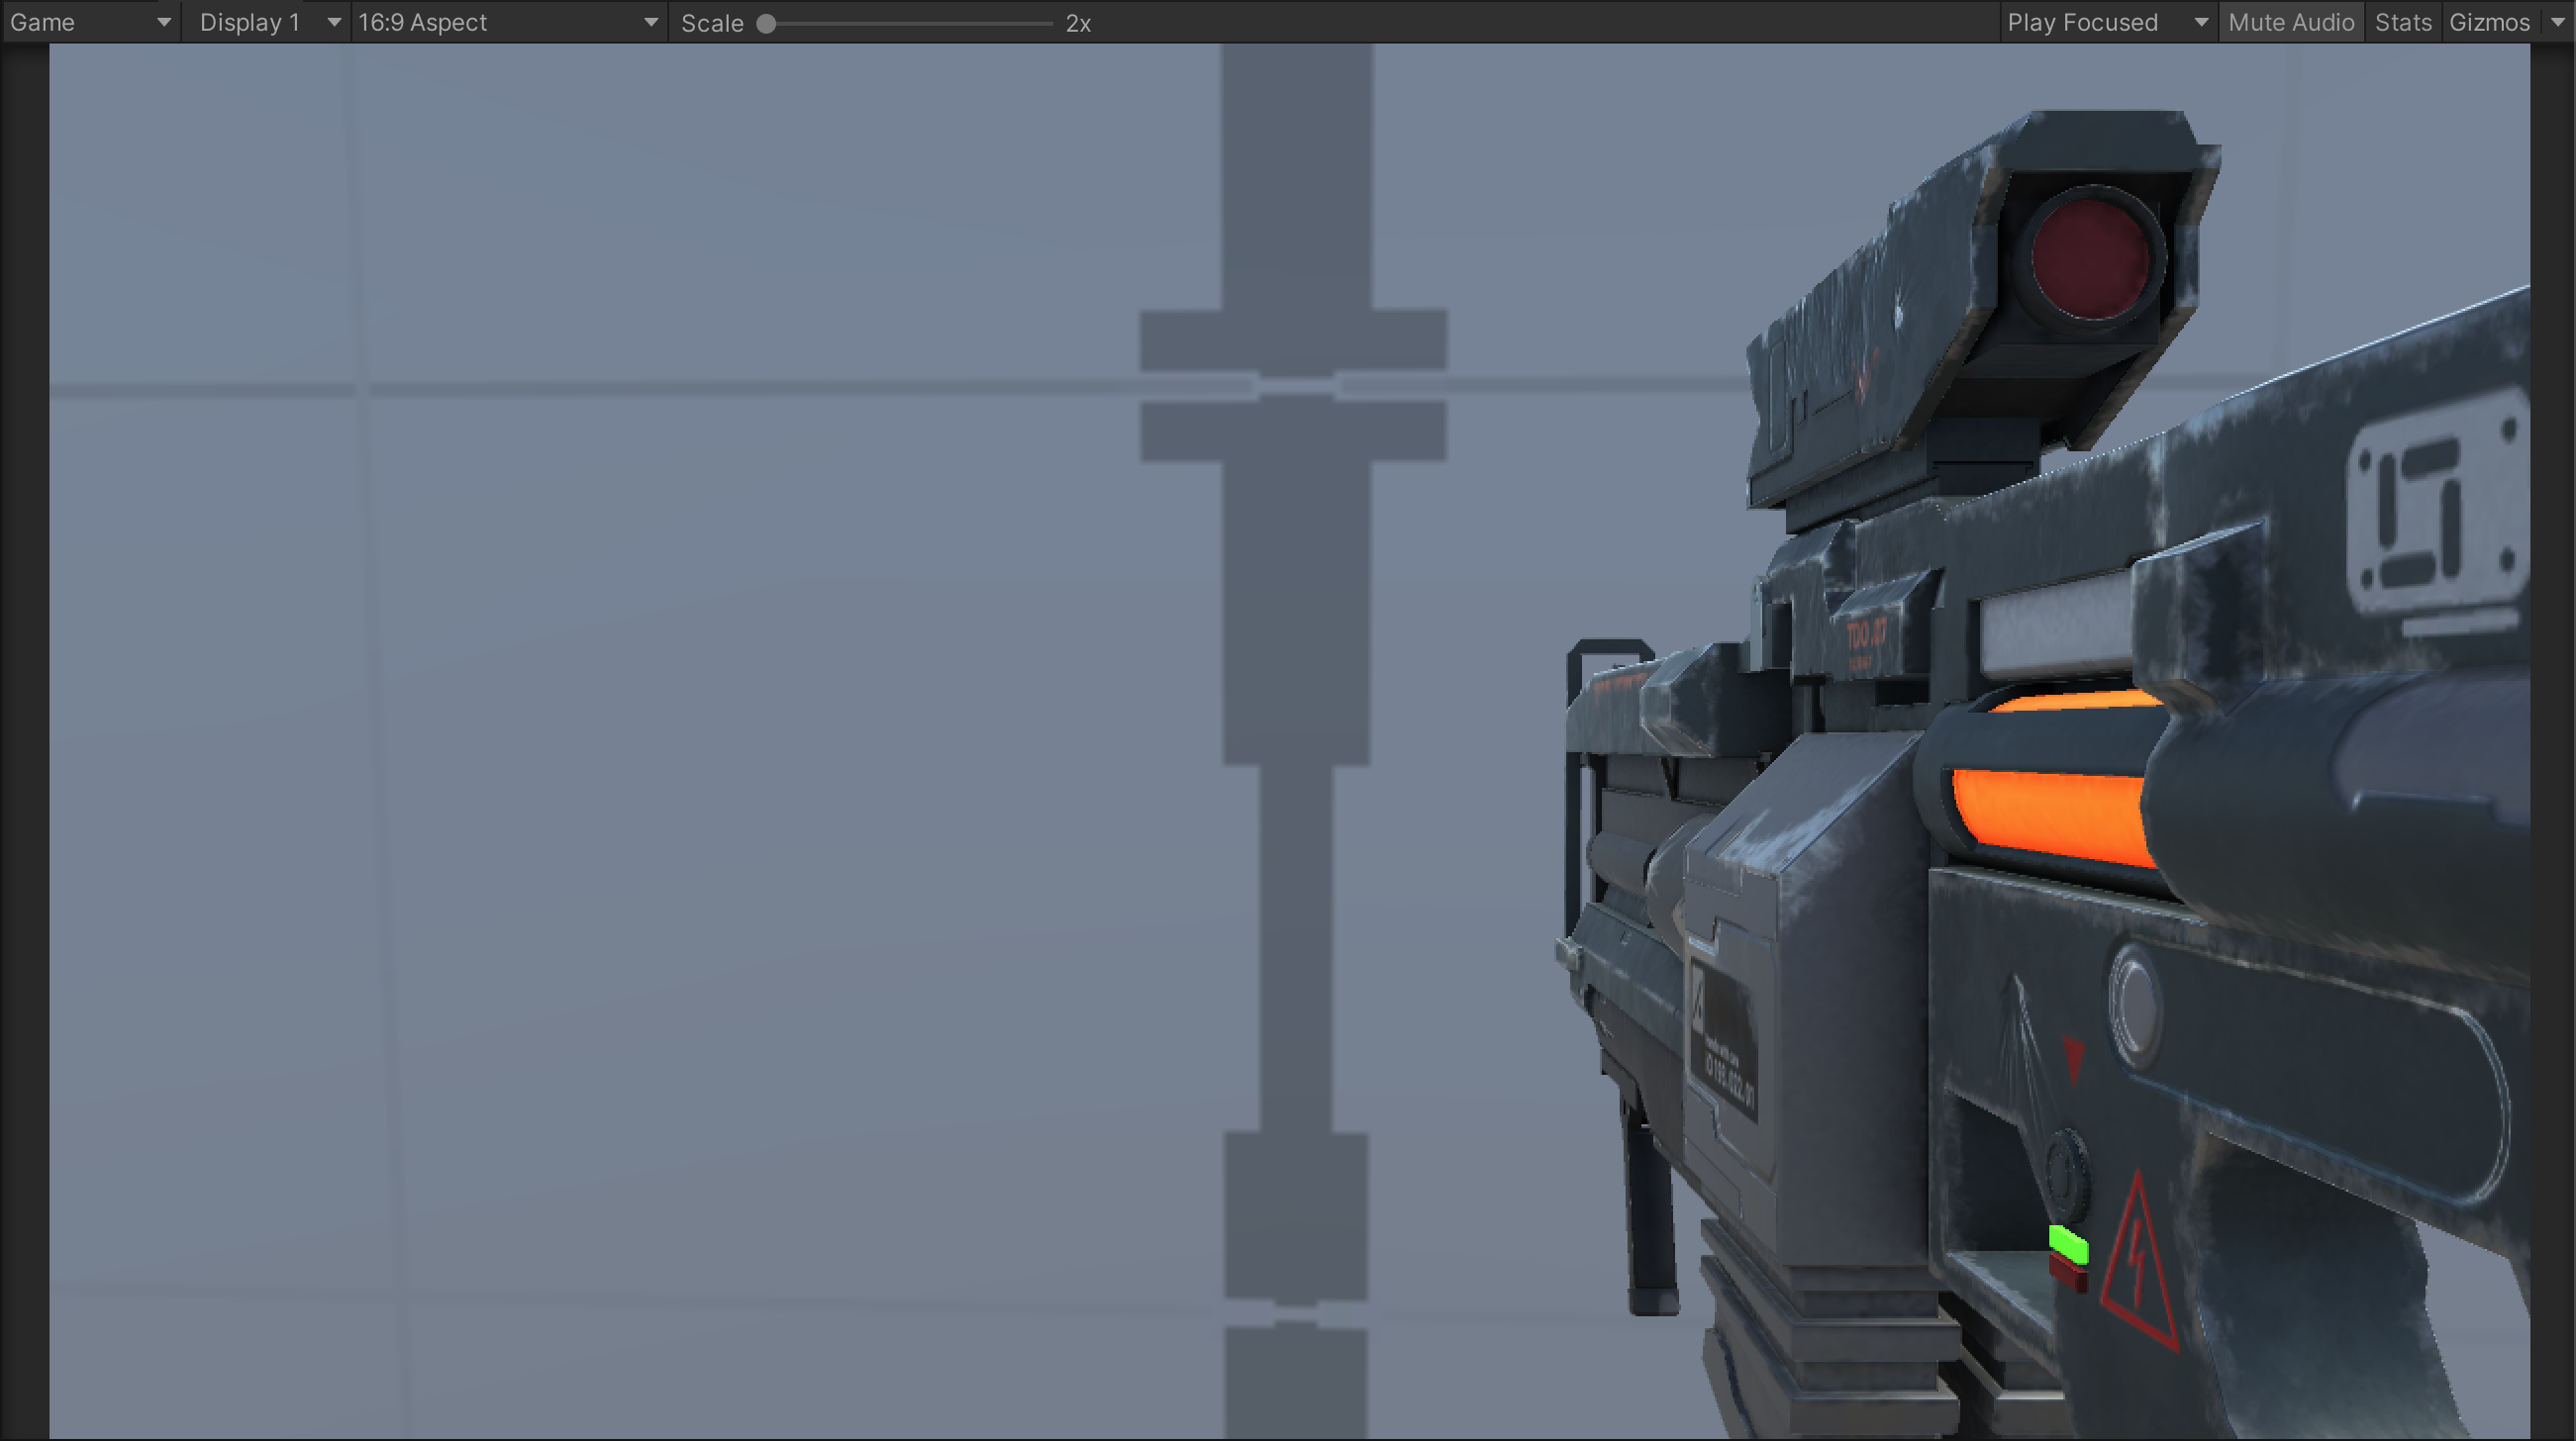
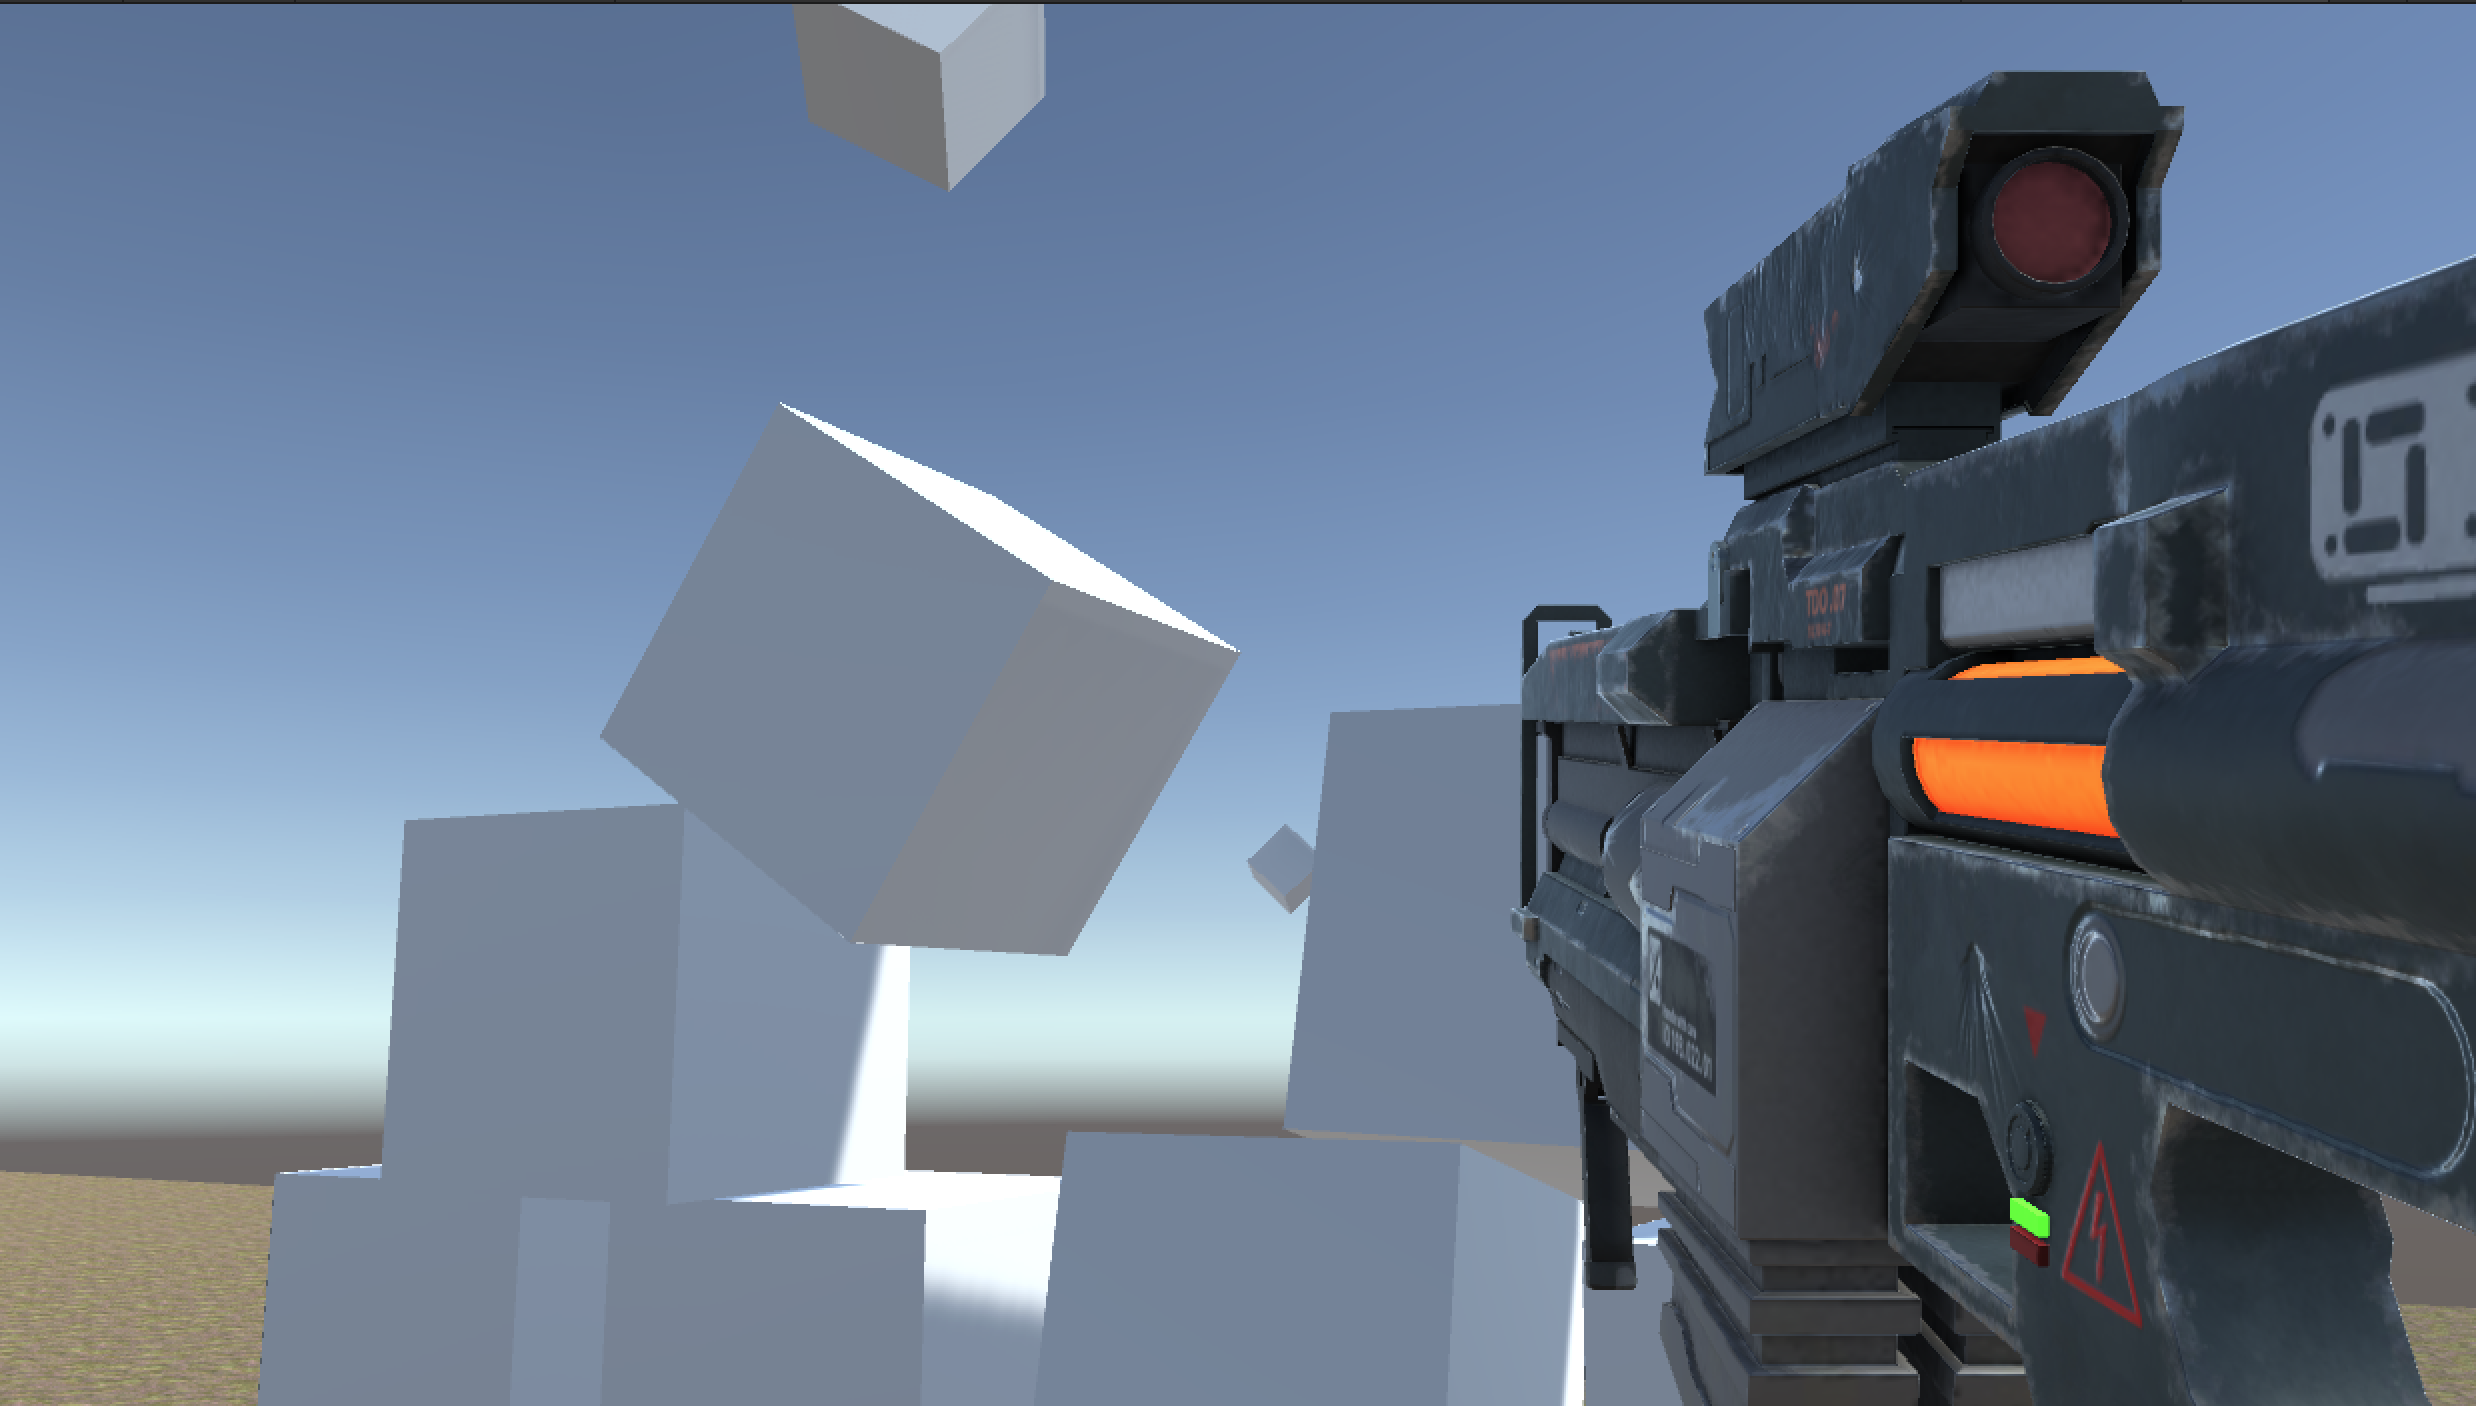
Align the rifle so that it appears on camera but off to the side as shown in this example. We will fix the graphical issues in the next step.
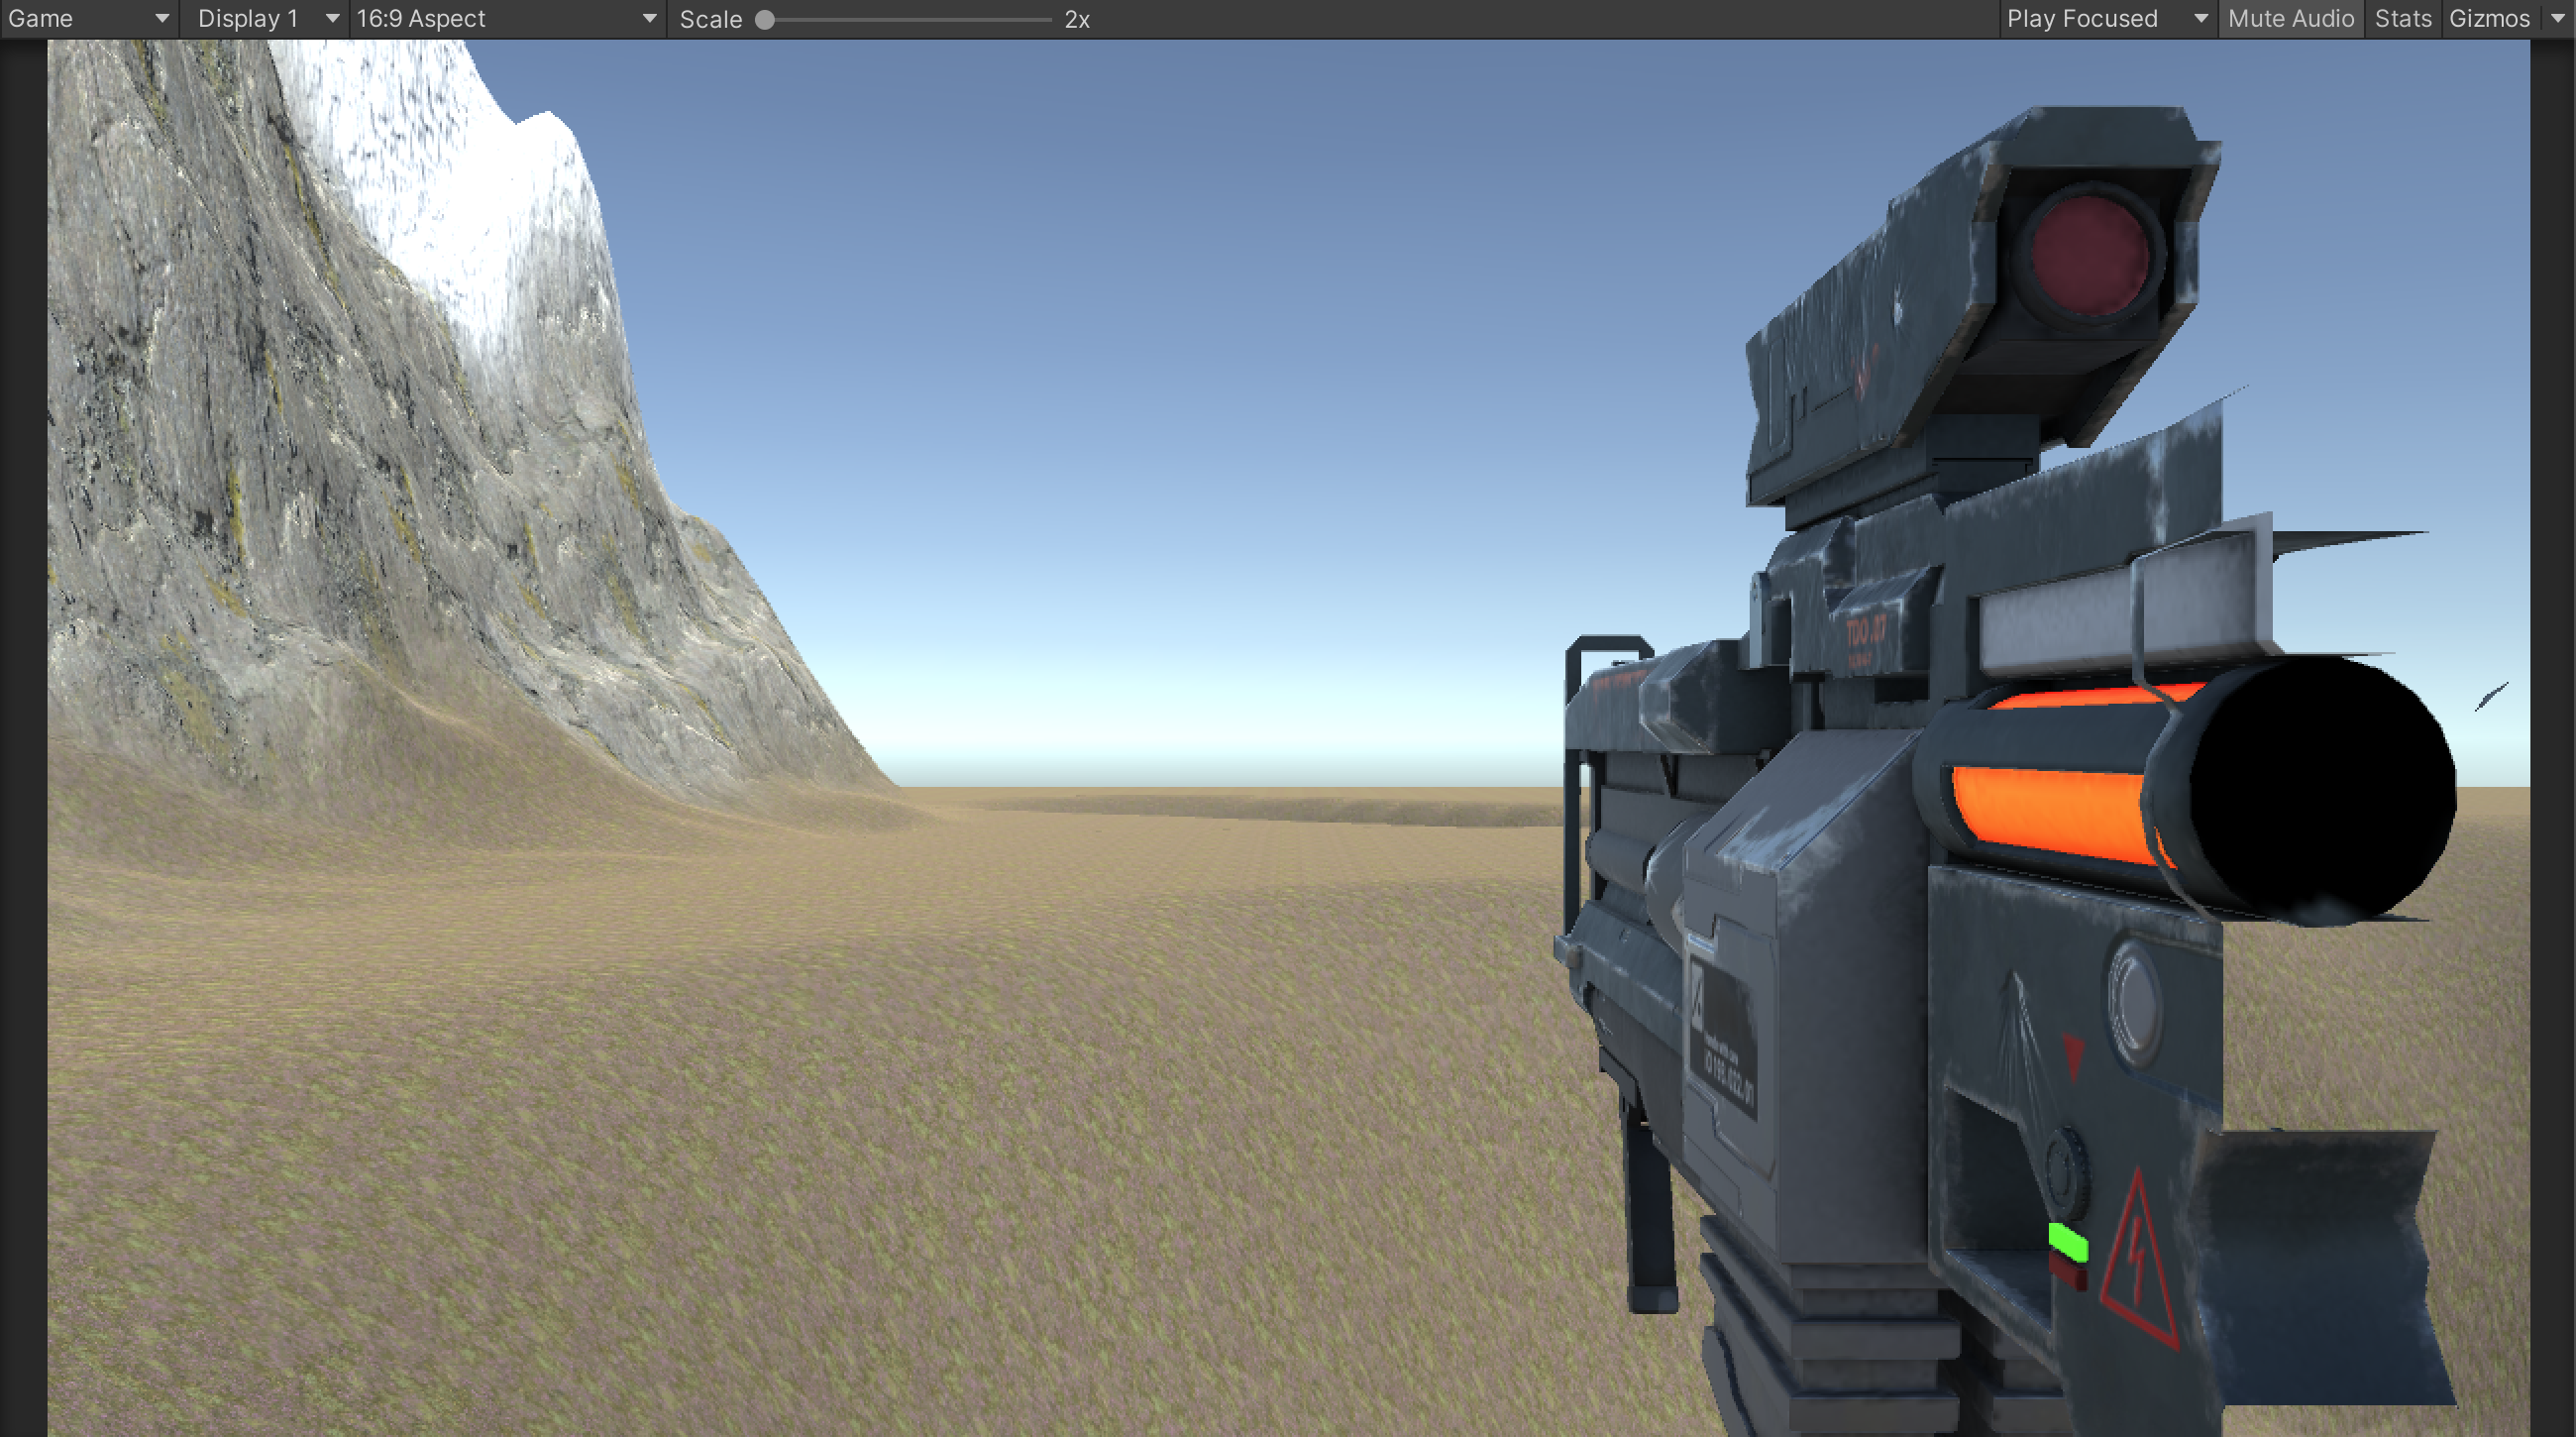
At this point, a few visual artifacts are present when playtesting. The visual of the gun is cut off close to the camera and the gun can pass through the environment.
To fix this, we will actually make use of 2 cameras layered on top of each other. The existing camera will handle environmental objects, and a new camera will render point-of-view (POV) first-person objects on top like an overlay.
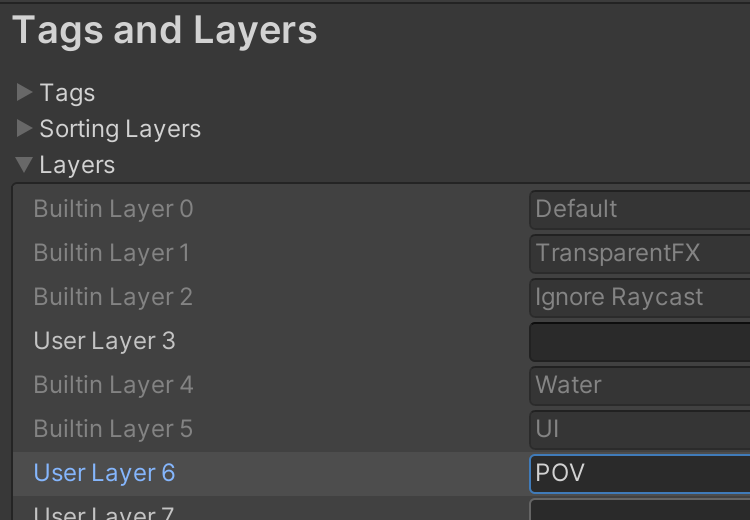
Create a POV layer in Edit > Project Settings > Tags and Layers.
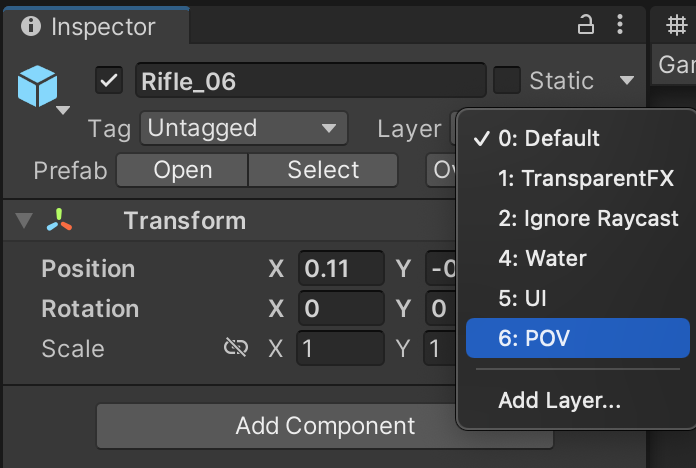
Assign the Rifle and all children objects to the POV layer.
To control what layers each of the different cameras can see, update the MainCamera so that its Culling Mask excludes rendering the POV layer.

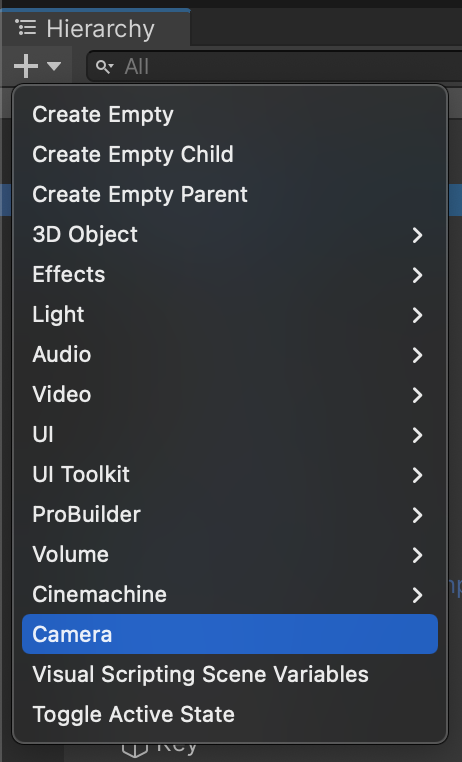
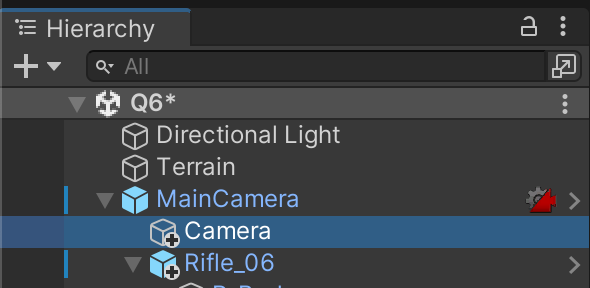
For the POV perspective layer, create a new Camera object.
Nest the new camera within the original MainCamera.
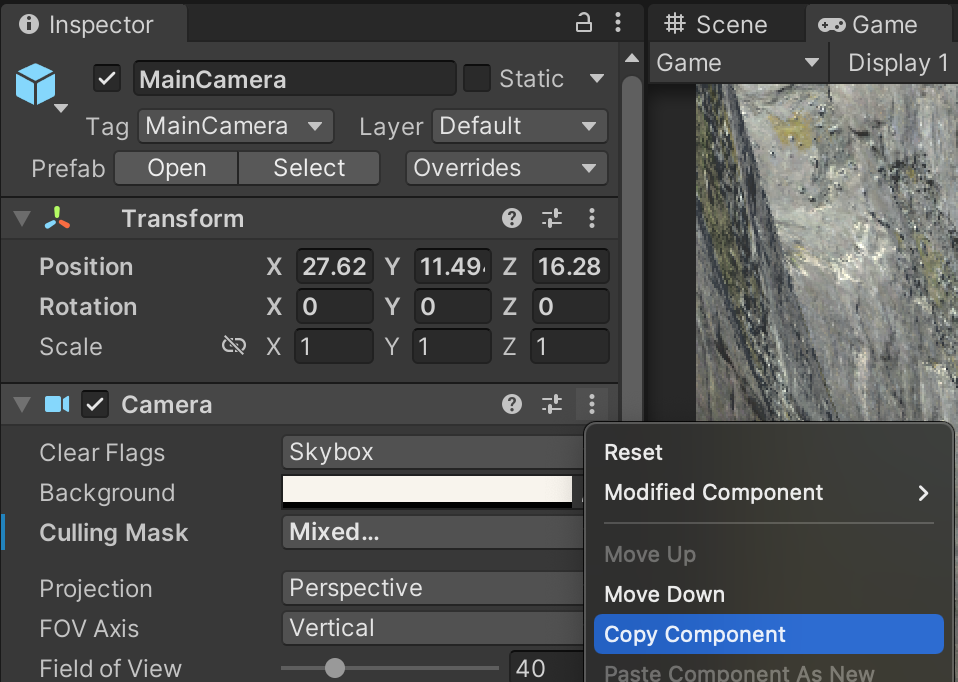
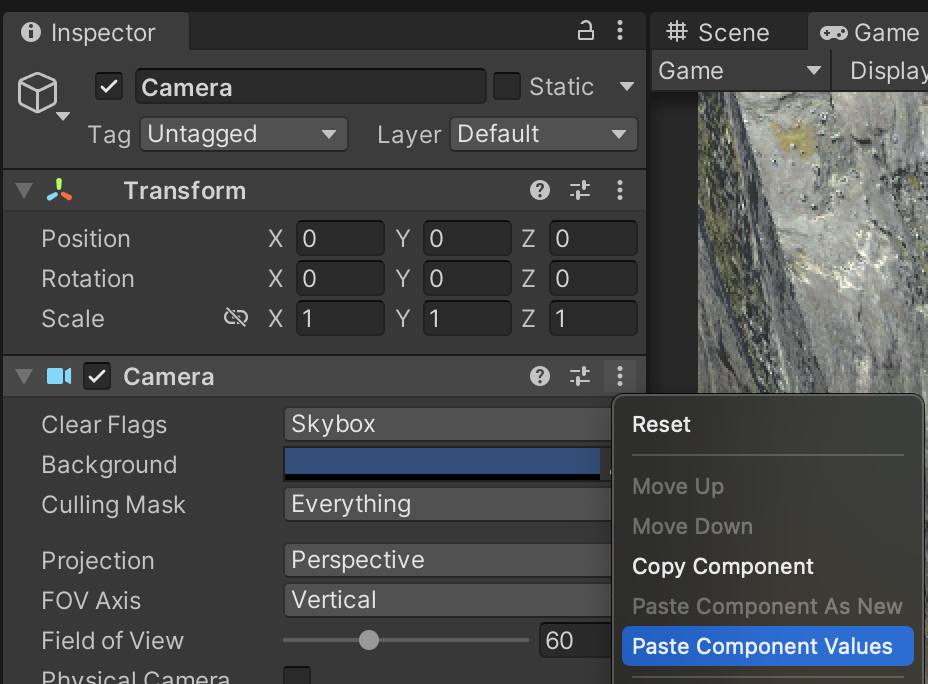
To make sure these two cameras line up perfectly, zero out the new Camera Transform’s position and rotation values. Remove the AudioListener component. Copy the values of the MainCamera’s Camera component and paste them into the new Camera’s Camera component using the triple-dot menu.
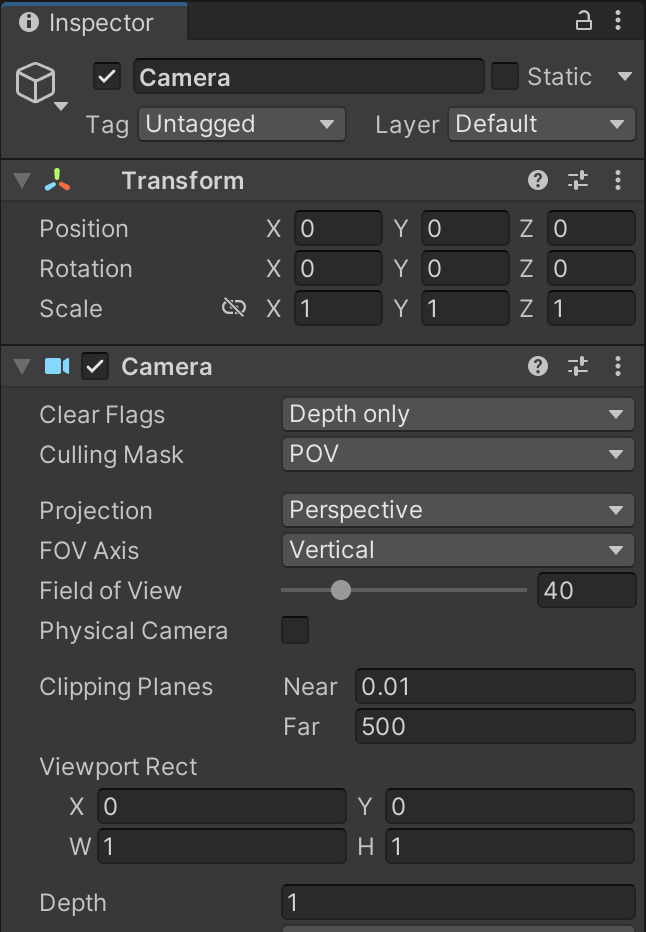
Update the Culling Mask of the POV camera to be POV only. Set its Clear Flags to "Depth only." Reduce the Near Clipping Plane and set the Depth to 1, so that the POV camera renders on top of the MainCamera.
With these settings, the rifle should be completely visible even if you walk up to a wall. An additional benefit of this technique is that the POV objects will still experience the same environmental lighting effects as the rest of the world.
Using your existing object creation and physics knowledge, create a stack of physics-enabled cubes.
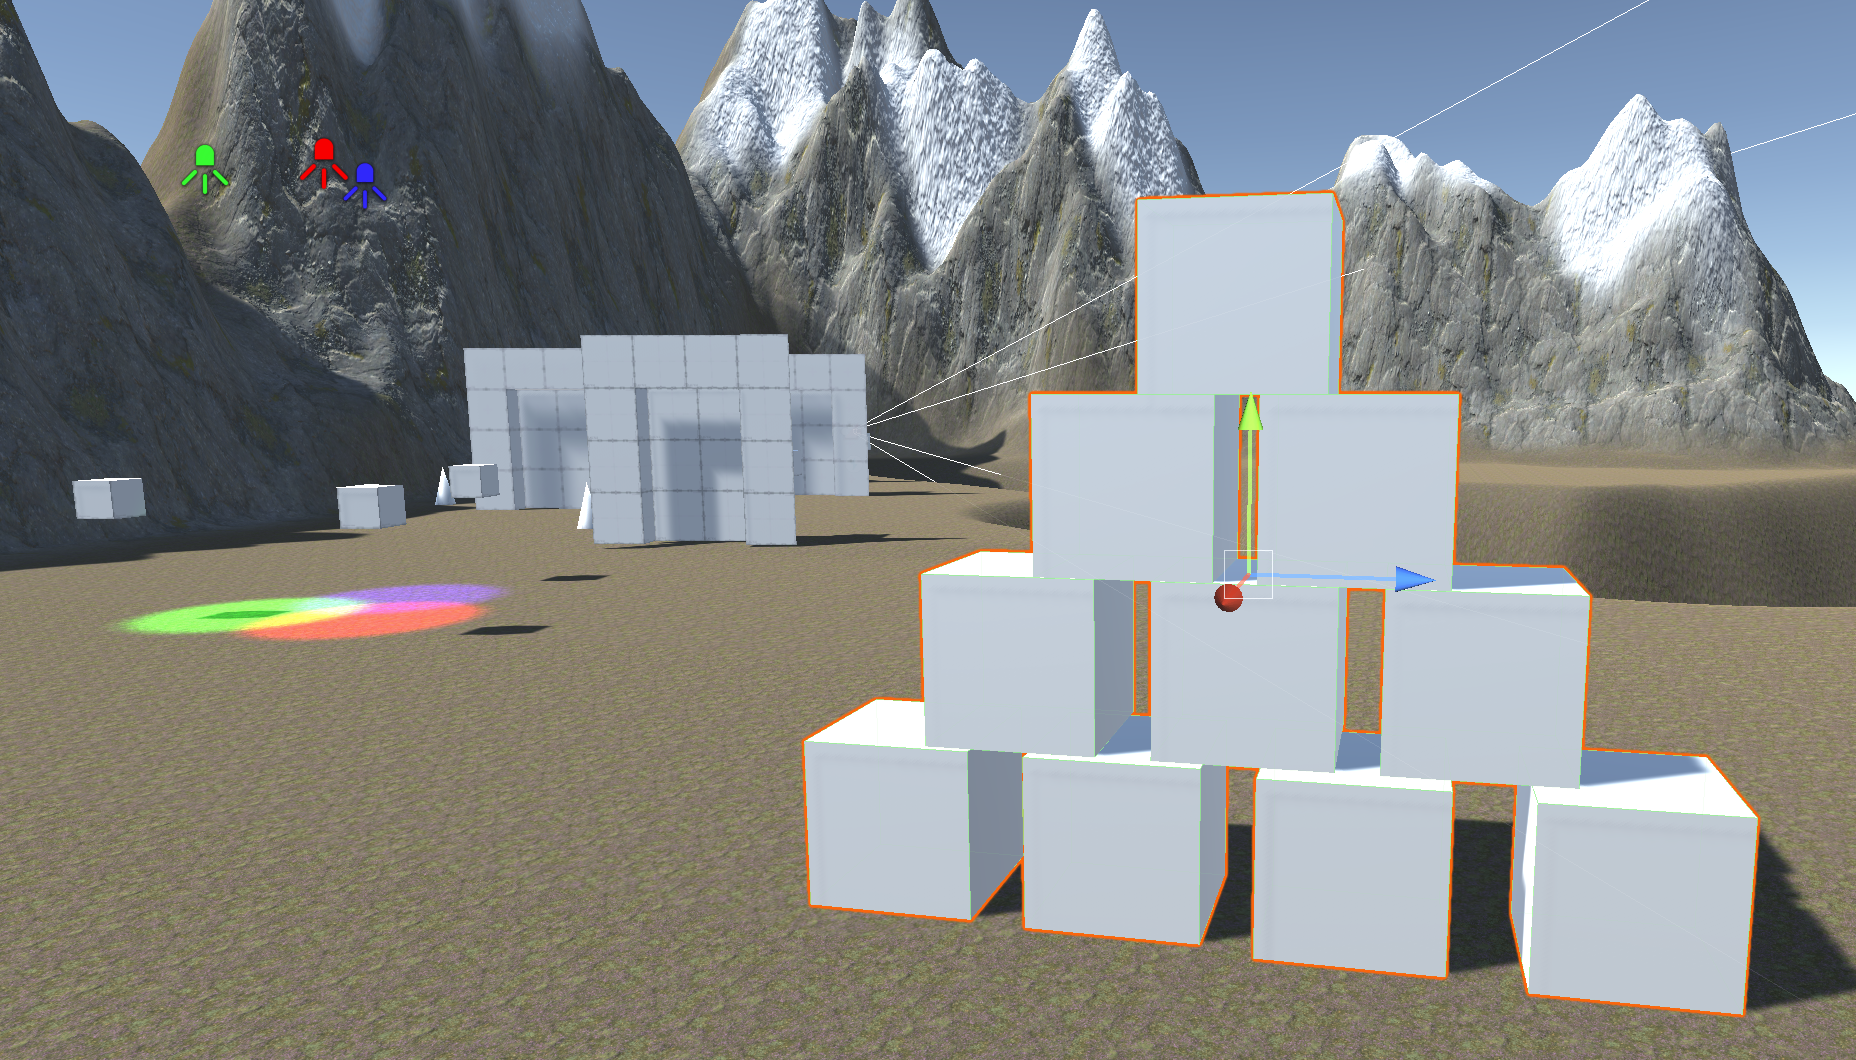
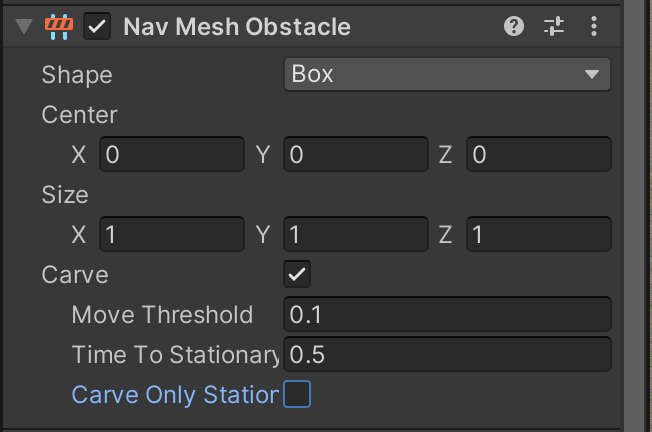
To make sure the cubes work with the existing AI NavMeshAgents in the scene, add a NavMeshObstacle to each of the cubes. The cubes should always be carving the baked Nav Mesh.
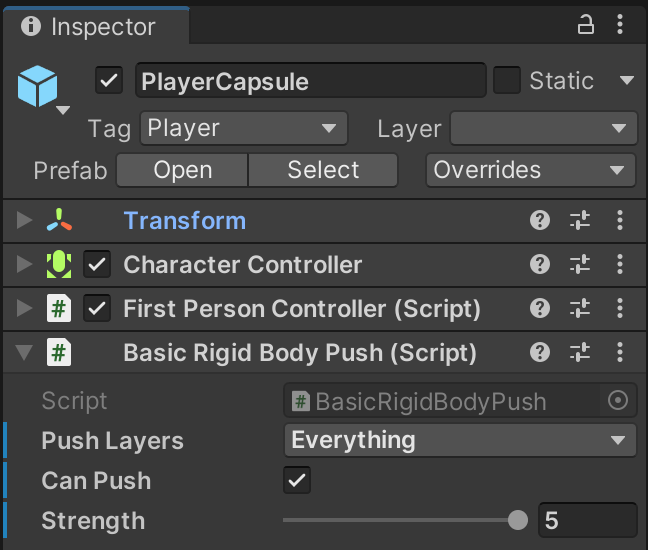
The PlayerCapsule from the Unity Starter Pack needs additional settings in order to push environmental physics objects.
Playtest and ensure that you can shove these cubes around.
Left-clicking will trigger a hitscan attack, which means it is an interaction that uses a raycast (or related technique) to immediately determine the effect of an attack. While hitscan attacks can be portrayed with a variety of aesthetics, they generally describe attacks that do not need time to "travel" to the target because the raycast happens instantly. Common examples include melee attacks, laser beams, and some bullets (if they are fast enough to be considered instant).
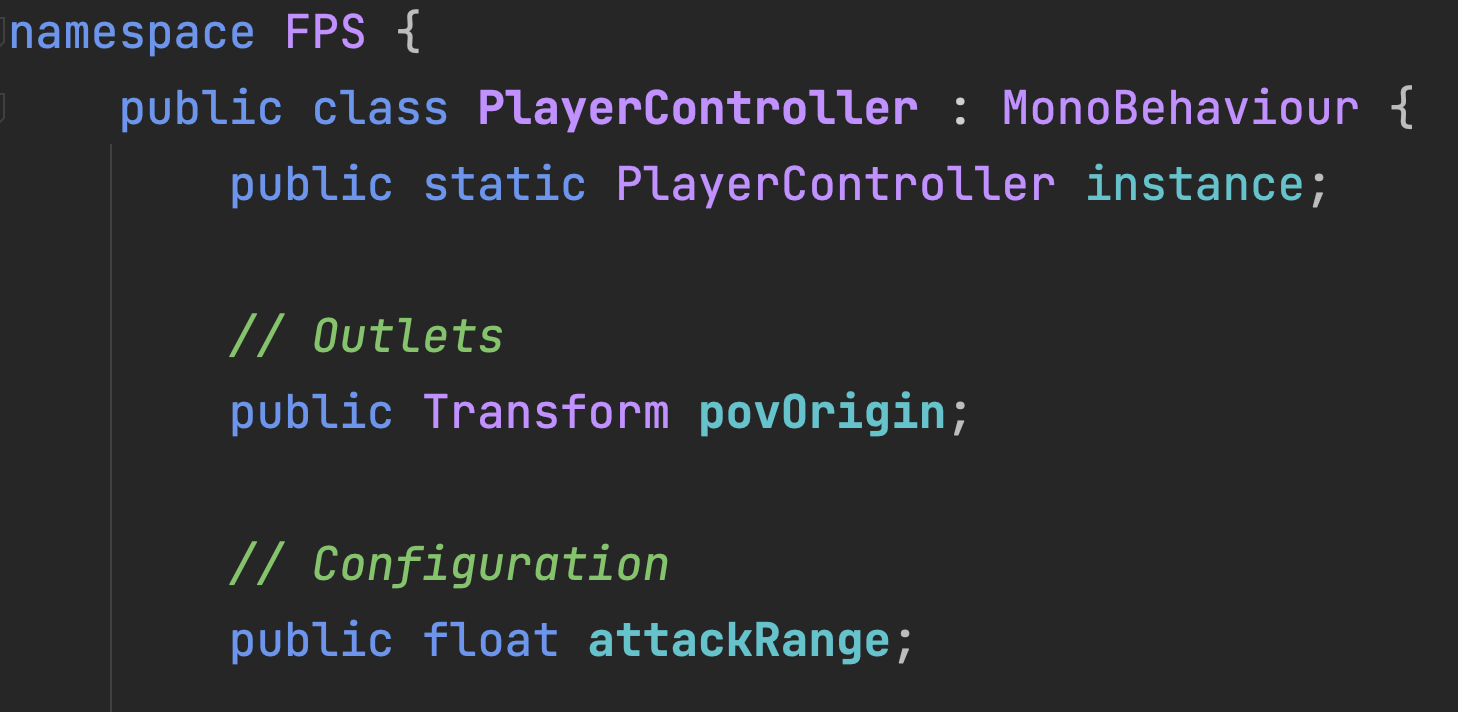
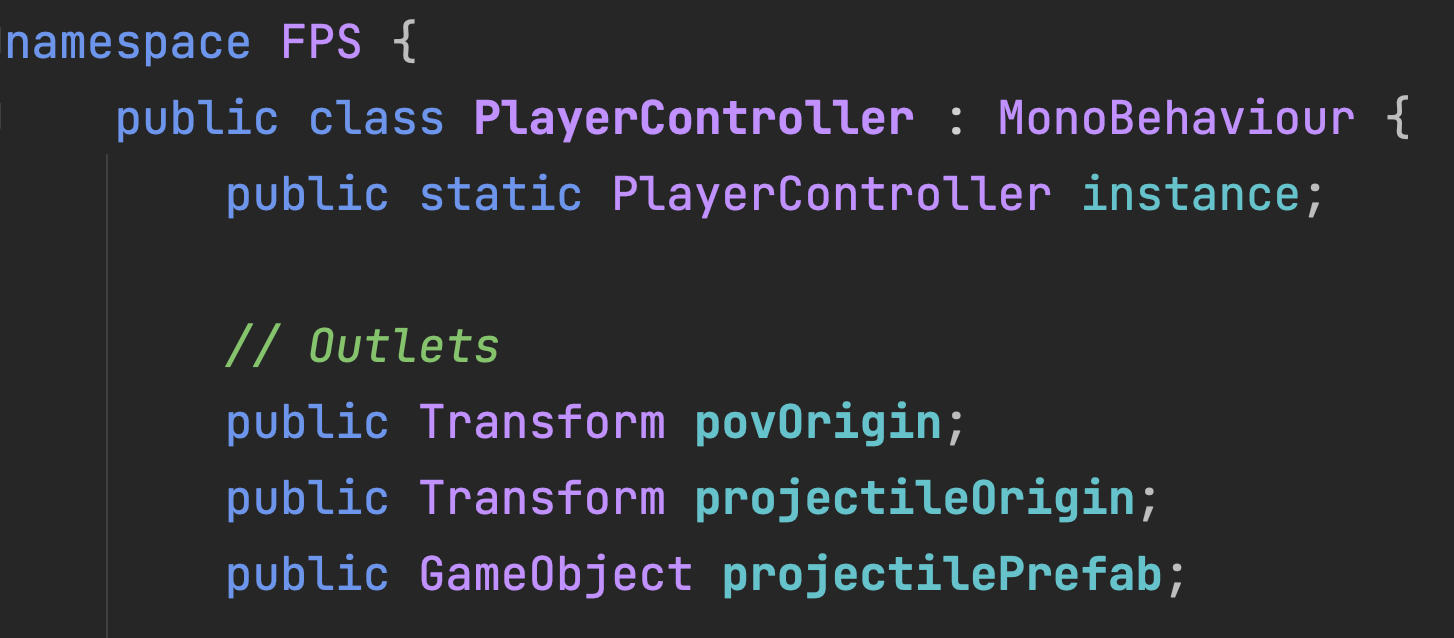
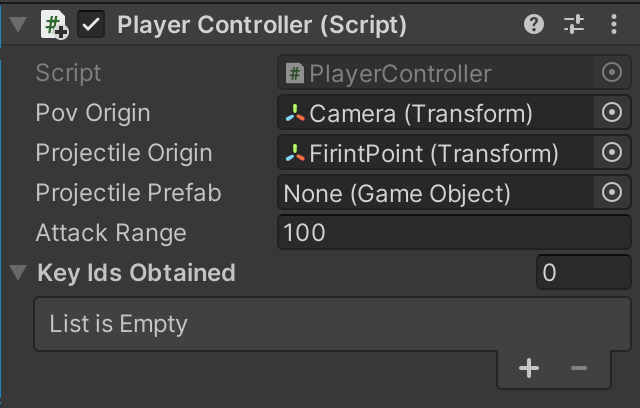
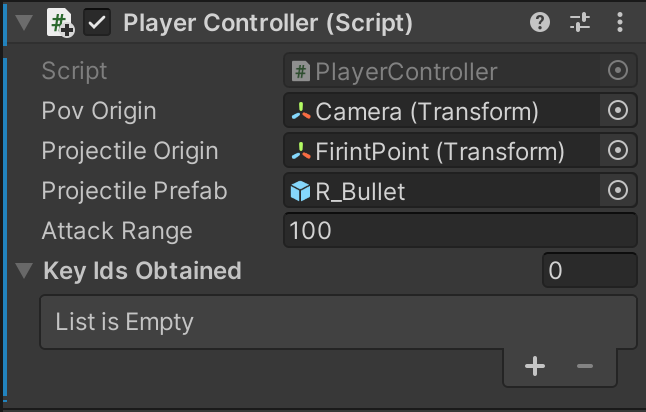
Hitscan attacks must originate from a specific perspective (even though they might appear to come from a handheld weapon. Usually this perspective is the active player’s camera view. In PlayerController, we will specify the location of this perspective with the povOrigin variable. The range of the attack will also be configurable.
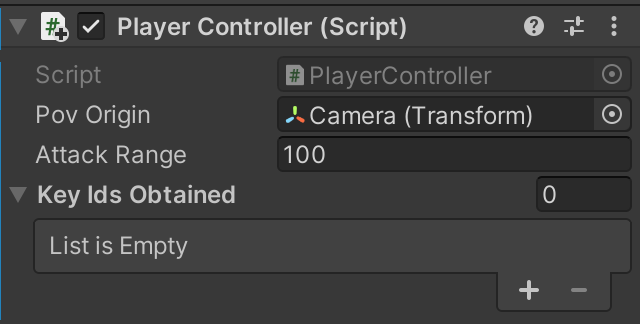
In the inspector, povOrigin will be the POV Camera from the previous step. Attack Range will be 100, which means we can use this attack from 100 meters.
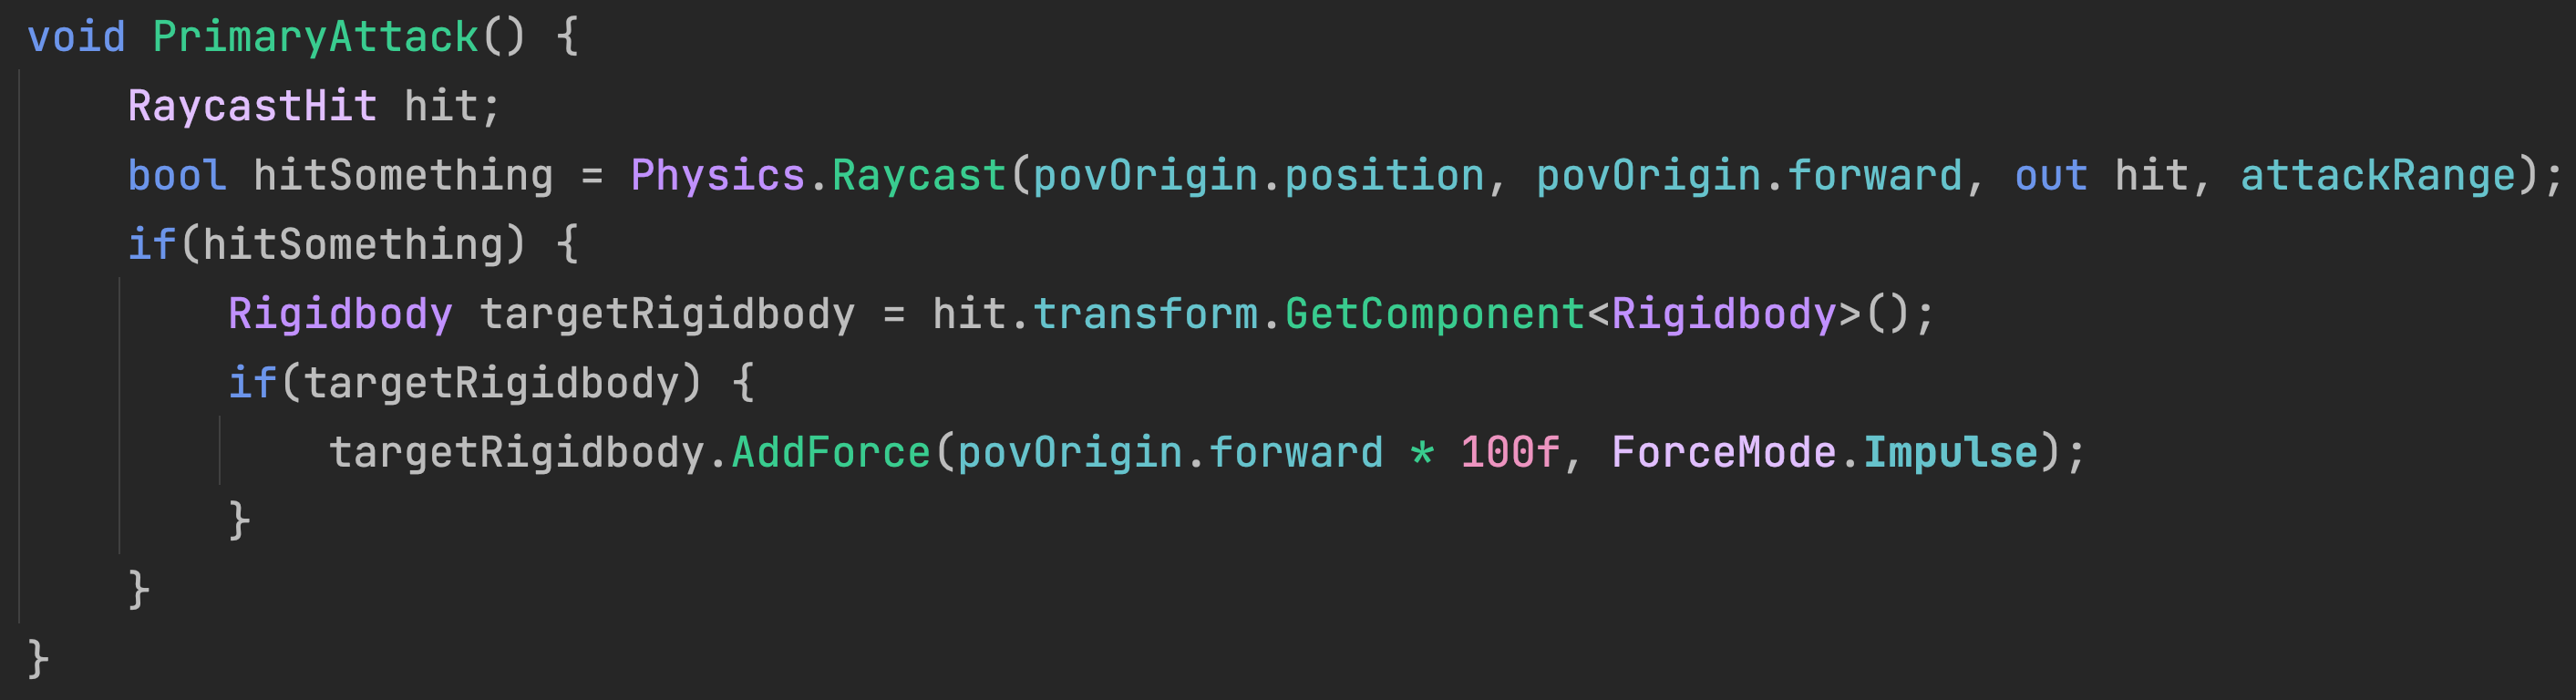
The PrimaryAttack function raycasts from the source perspective in the direction faced by the player for the configured range. If an object in range is hit by our attack and has a rigidbody, it will be shoved in the direction of the attack.
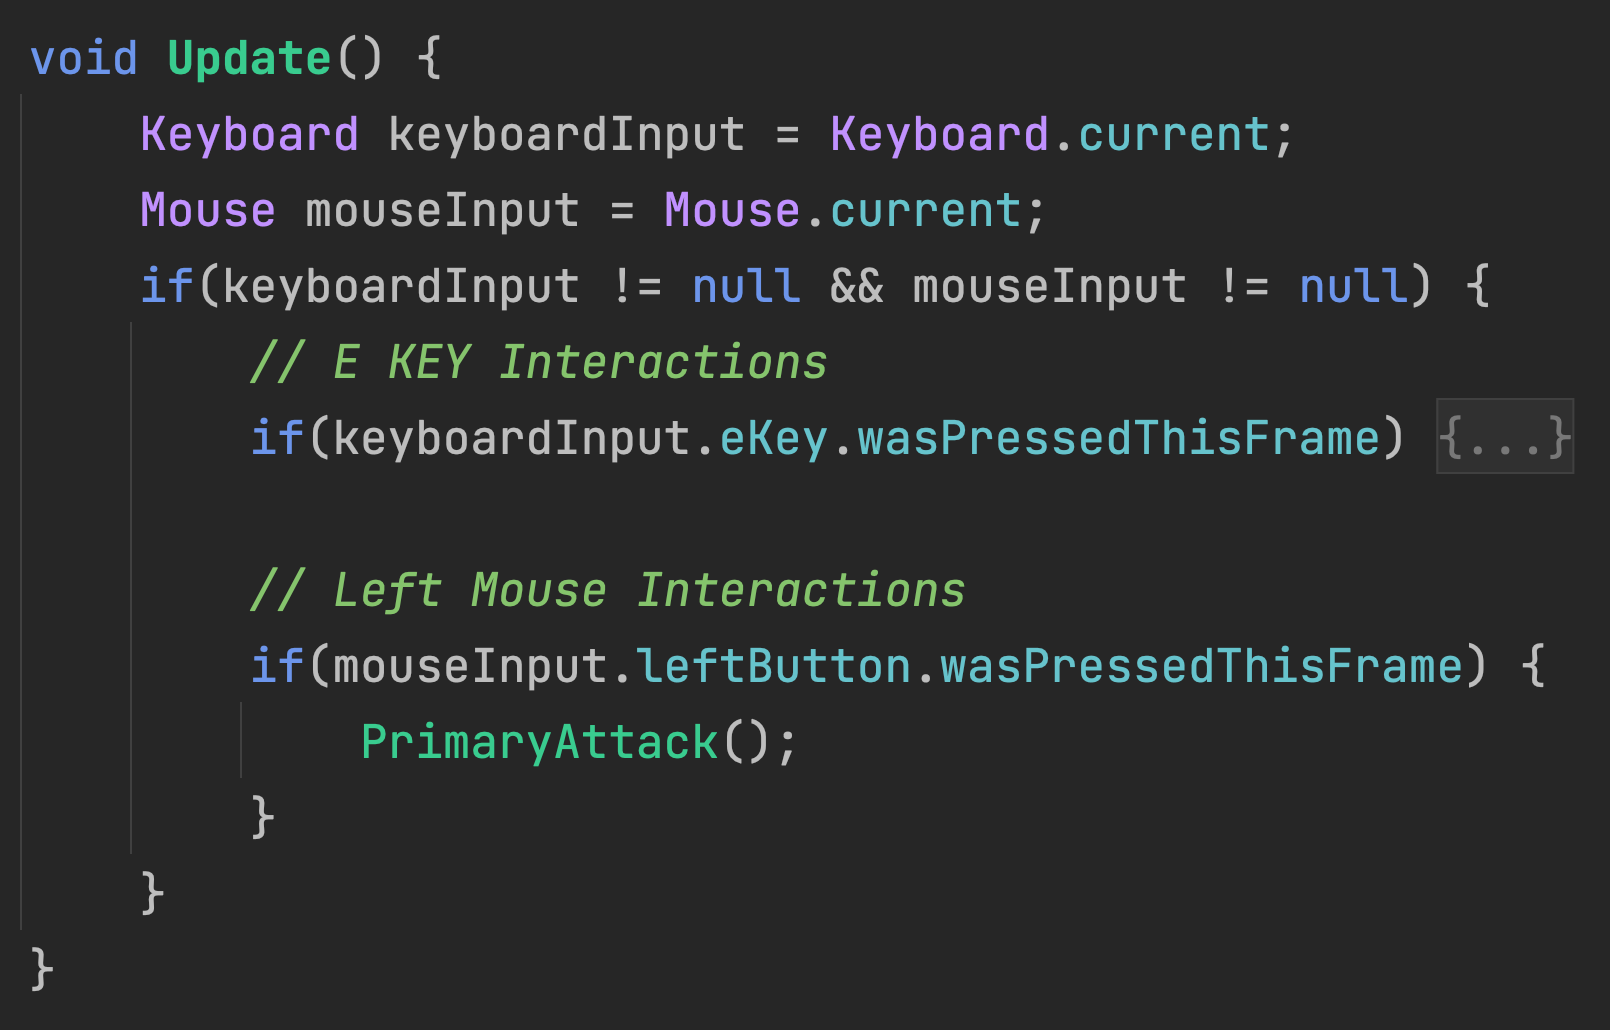
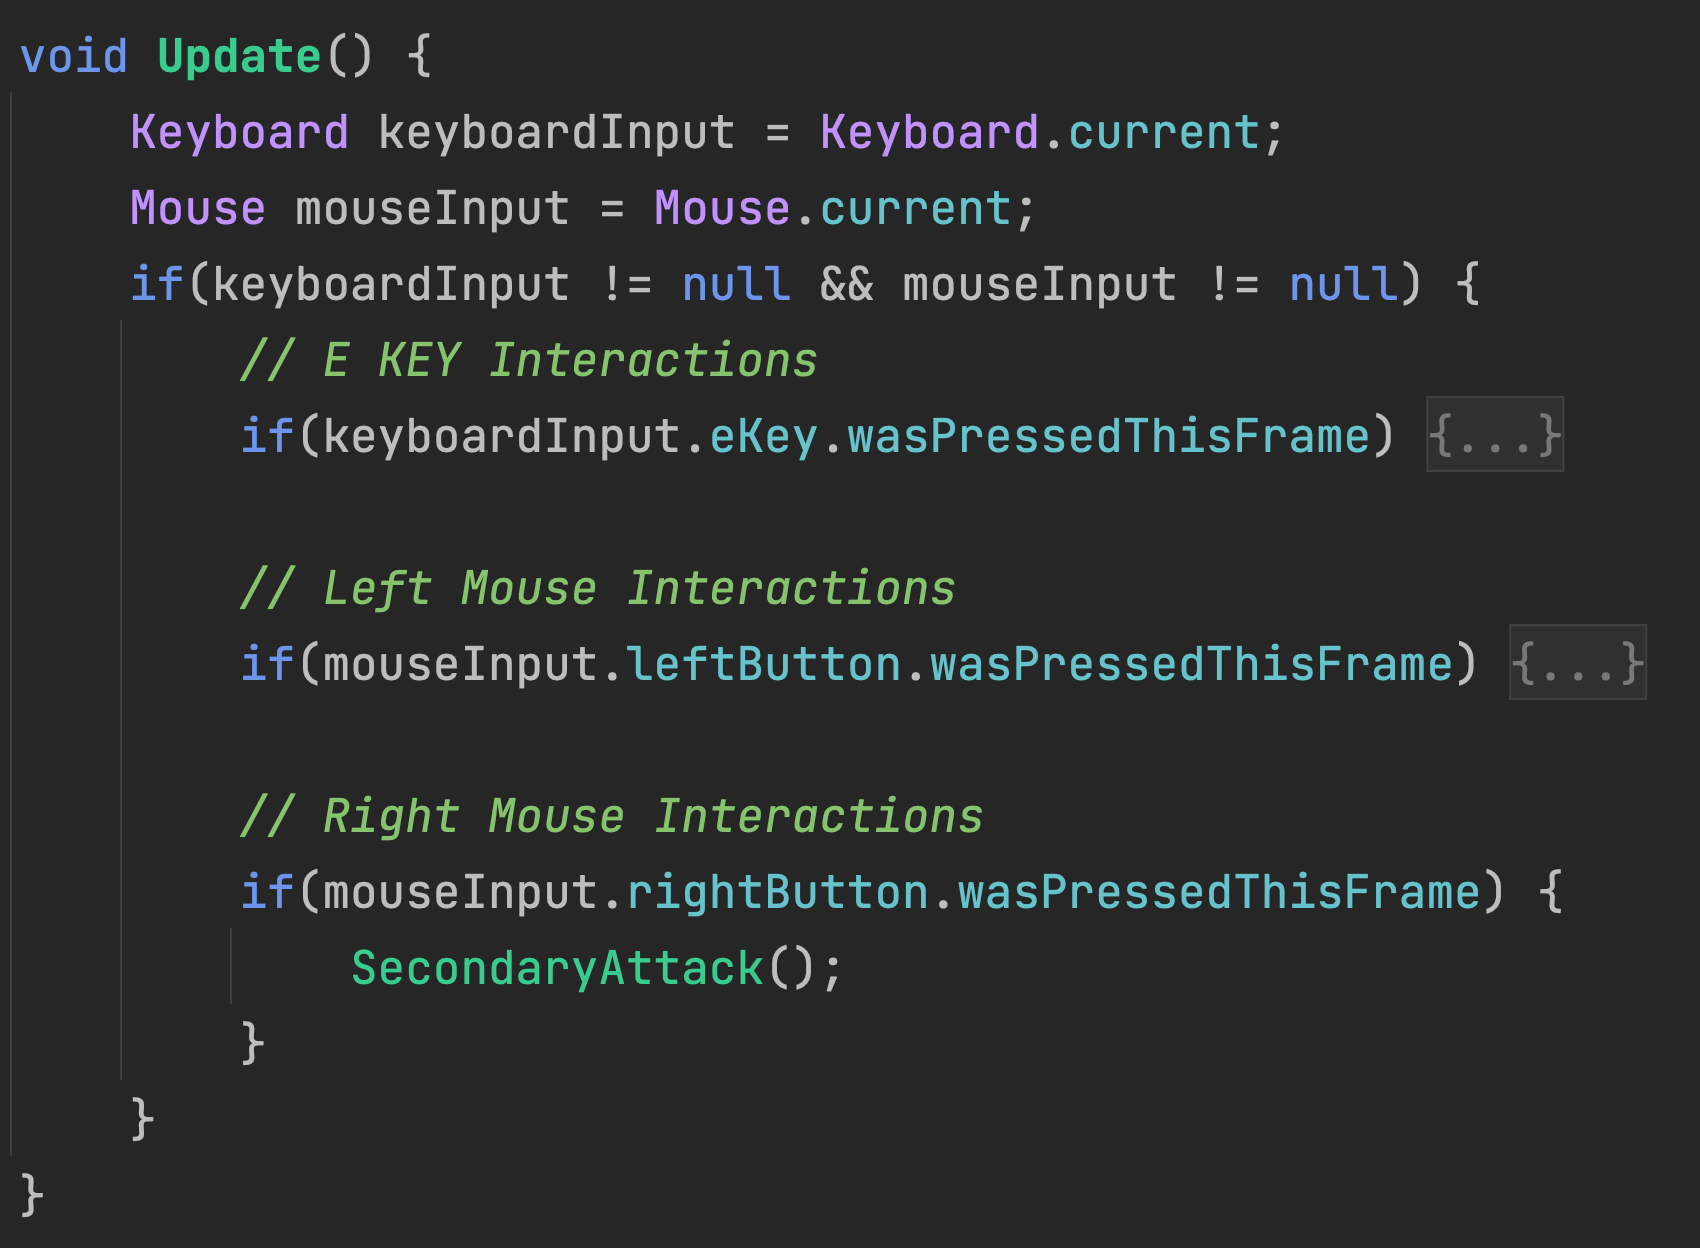
This attack is called by pressing the left mouse button.
Playtest your game to make sure left-clicking boxes within range shoves them away.
Right-clicking will cause a projectile attack, which will spawn a game object that must travel through the world before it has an effect. Projectile attacks have the feature of allowing physics and time to influence the outcome of the mechanic.
Projectile attacks usually originate from an object such as a handheld item instead of the character’s perspective. We will need to specify the projectile’s origin and the prefab to be used as a projectile.
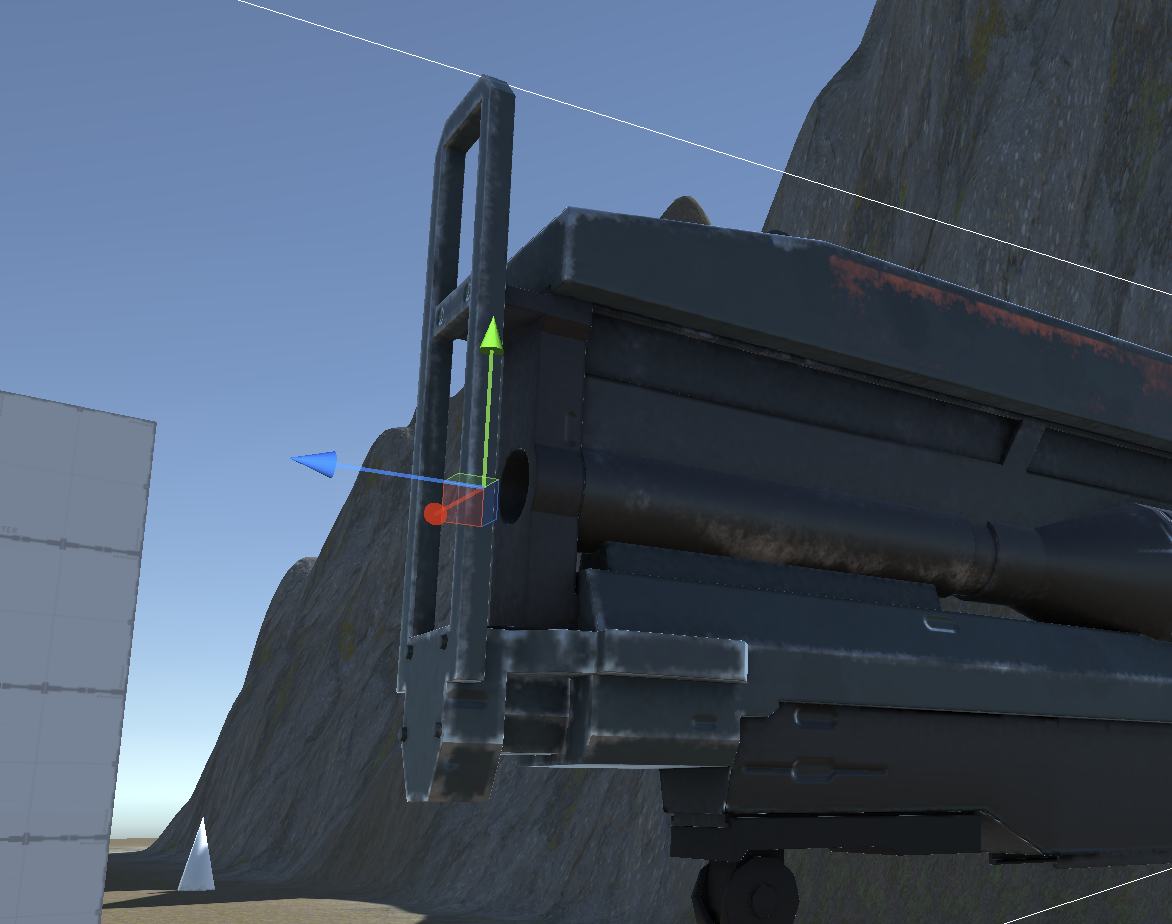
Create an empty child game object under the Rifle and rename it "FiringPoint." Position it just in front of the rifle where the projectile should originate from.
In PlayerController, choose FiringPoint as the Projectile Origin.
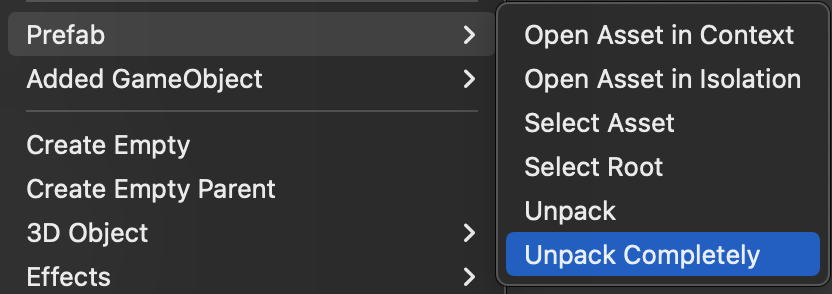
Right-click the Rifle in our scene and completely unpack the prefab. This will detach the Rifle from the prefab template and give us more freedom to break it into separate objects.
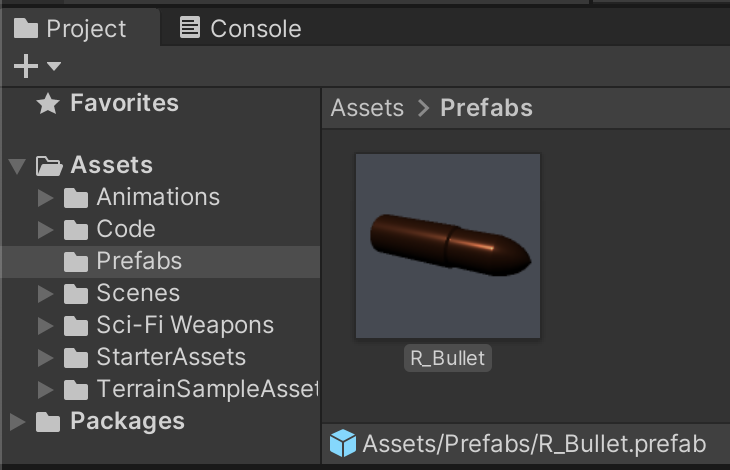
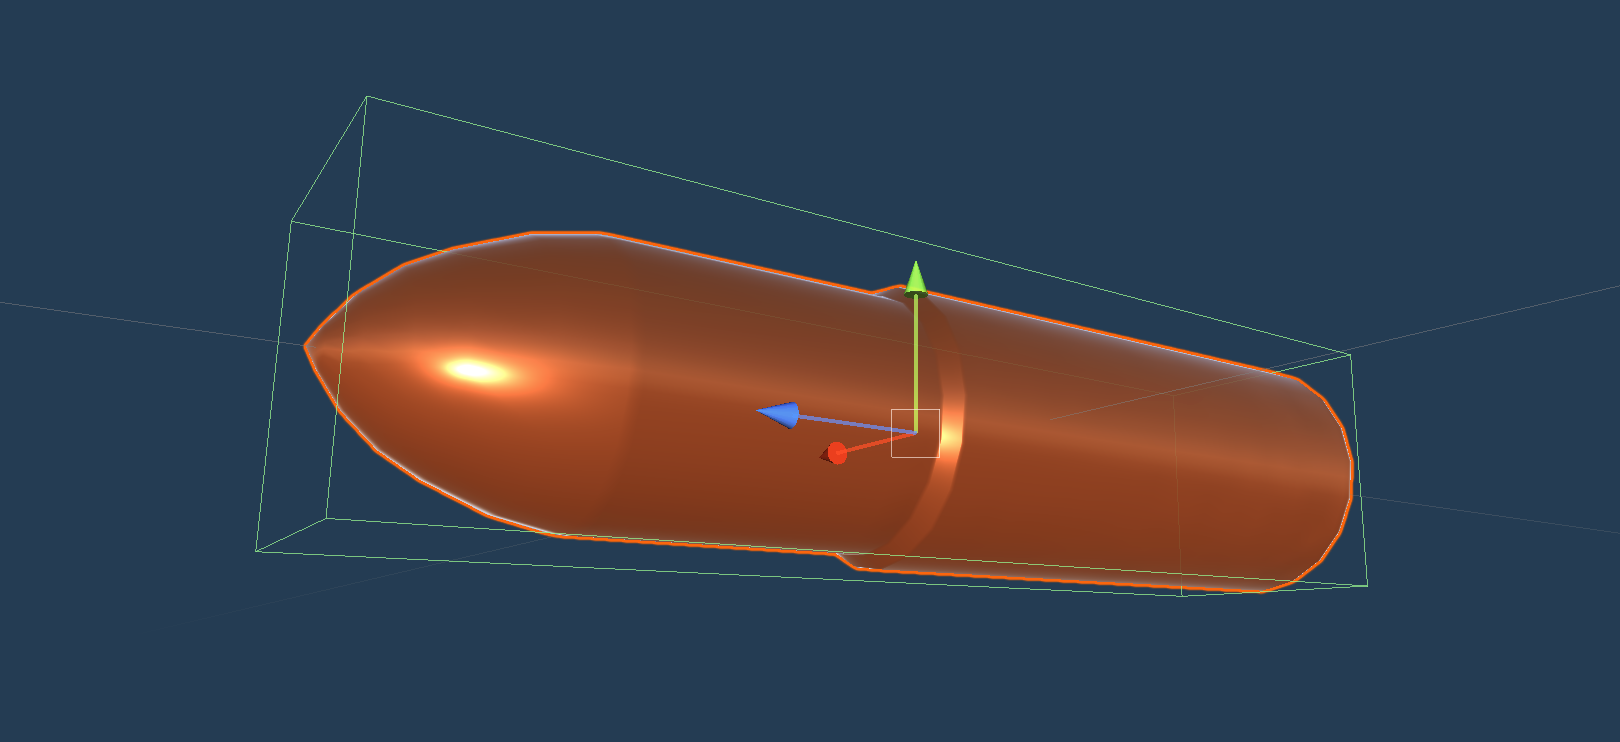
Next, prefab the Rifle's child Bullet game object in /Assets/Prefabs/.
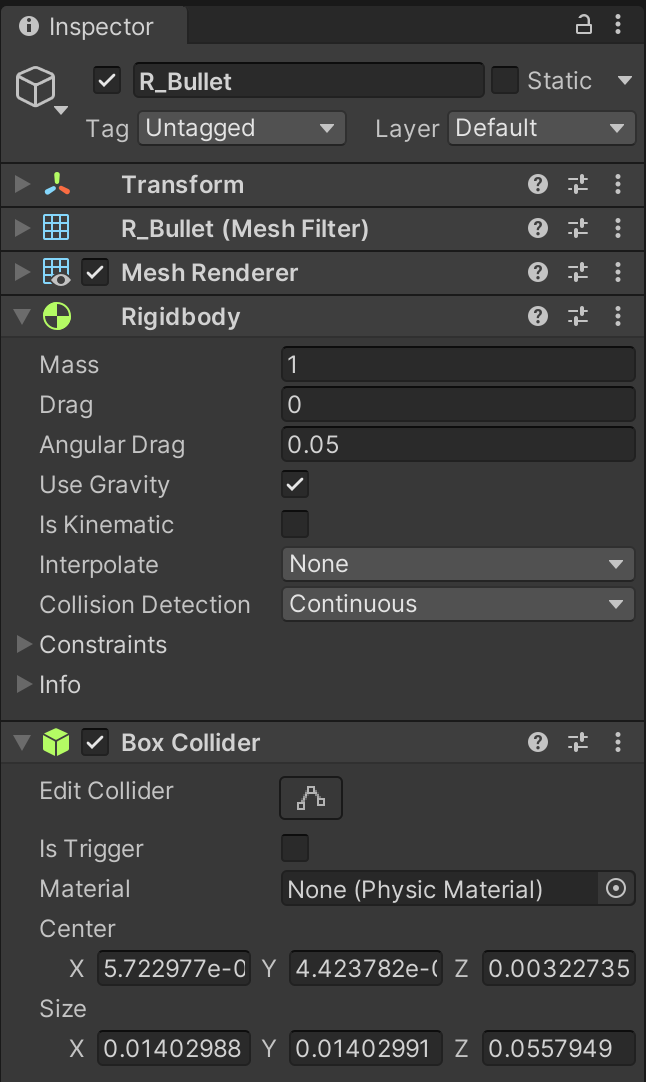
To make the bullet usable in our game, revise the bullet prefab with a Rigidbody and Collider. Because it will now be used as an environmental object, change it's layer back to Default instead of POV.
Finally, delete the Bullet from our scene. We do NOT want to start the scene with a bullet already attached to our gun.

Assign the Bullet from the prefabs folder as the Projectile Prefab on PlayerController.
The SecondaryAttack function in PlayerController will instantiate the prefab at the projectile origin point and send it forward using physics. For easier visualization, this attack function exaggerates the size of the projectile by scaling it up.

This attack function is called from udpate with the right mouse button.
By playtesting, you can see that the environment does not react to the right-click shot event, but instead reacts to the projectile game object itself. Over long distances, the projectile even falls due to gravity instead of traveling in a straight line.
Up to this point, we've been hardcoding our controller inputs to specific keys.
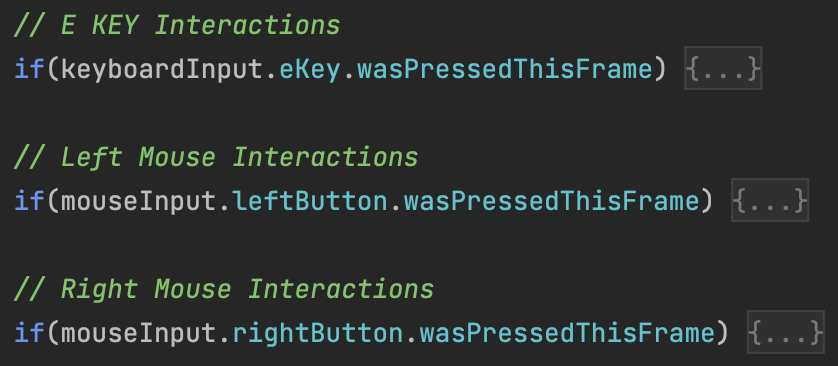
While this is functional code, this approach is not ideal for when players may need to reconfigure keys for their unique physical needs or when a game will be released on a platform that doesn't have the same inputs as PC keyboard and mouse. Using Unity's new input system, it is possible to configure game interactions to adapt to whatever input devices are available or even multiple input devices at the same time.
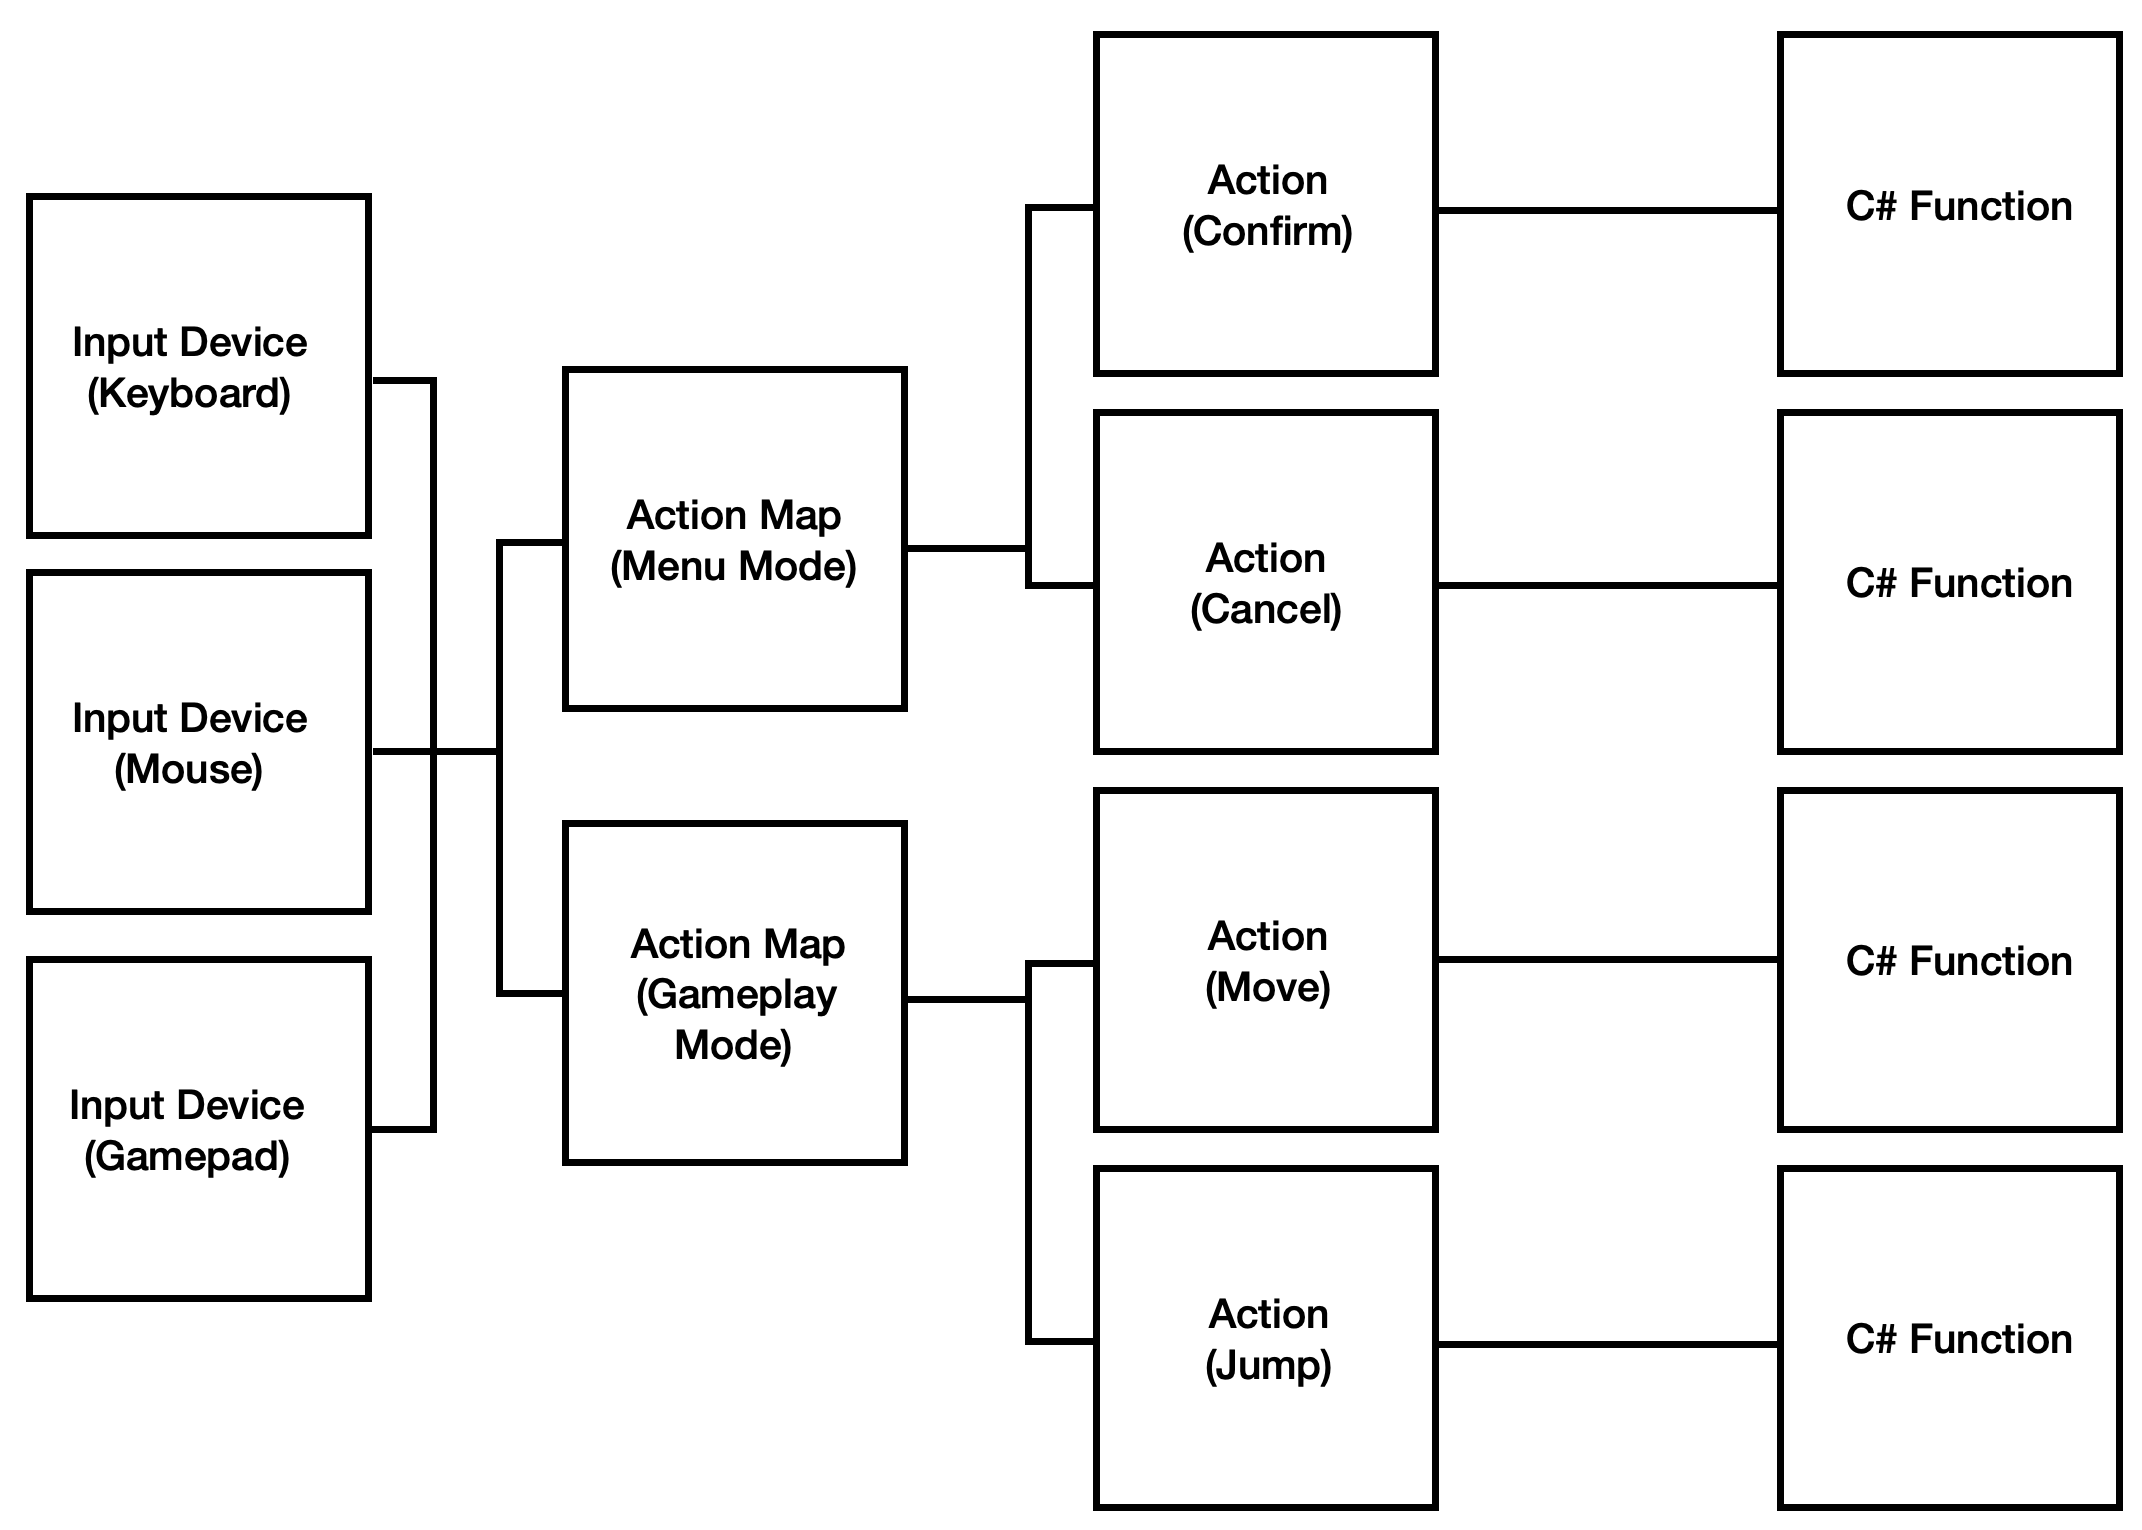
Abstracting gameplay inputs as actions is a way to make a game's controls hardware-agnostic. To avoid hardcoding to only one input, Unity's new Input System abstracts interactions as actions which can trigger different functions. Instead of your code waiting for the E key, for example, it waits for the Jump Action before triggering the Jump Function.
The system supports four general ways of connecting player input to our code:
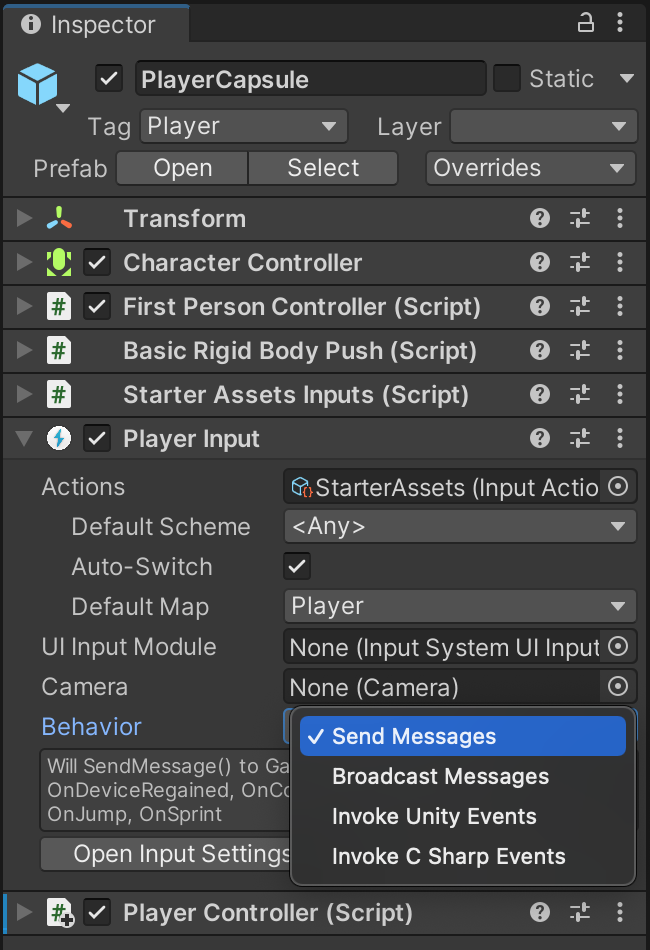
All four approaches are valid, but because the Unity First-Person Starter Pack is already using the second ("messaged events") approach, we will update our code to work the same way. Notice how our PlayerCapsule, which came from the Unity Starter Pack, already has a PlayerInput component. A PlayerInput component is required on any game object that wants to use the action mapping system. You can also see that the component was already configured to use the "Send Messages" approach of triggering events.
Within the PlayerInput component, single-click the value in the Actions field. Notice how it shows you where the Input Actions configuration is stored in the project. This one is called "StartAssets.inputactions."
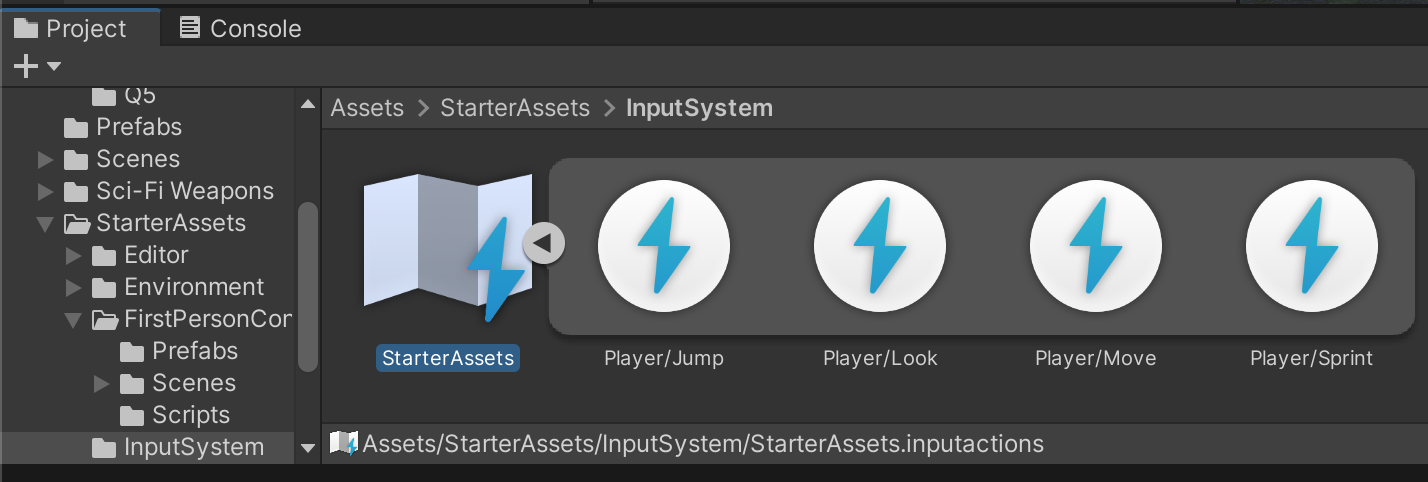
Double-click the StarterAssets input actions file to open the Input Actions configuration window.
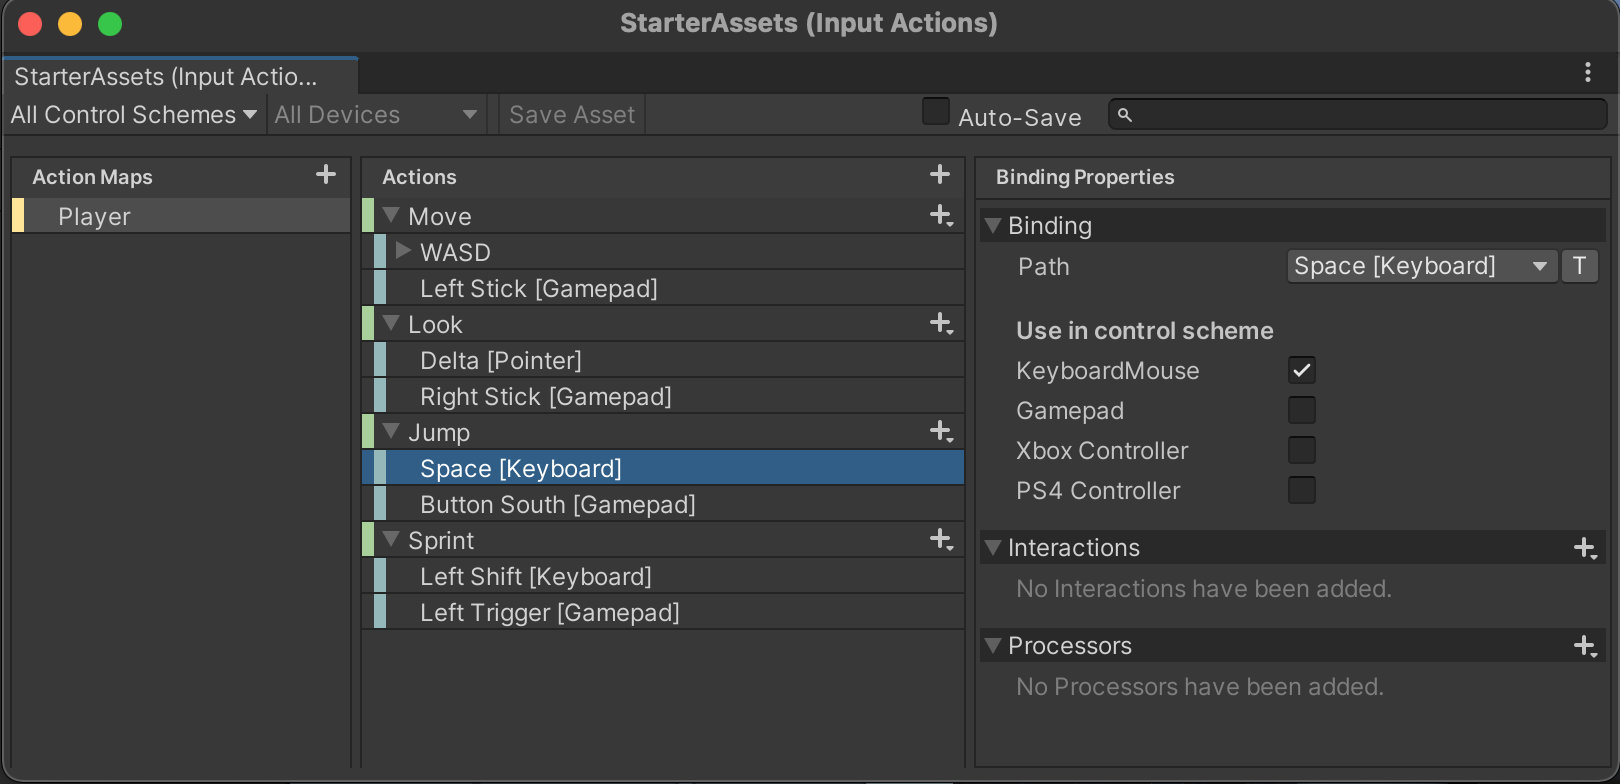
There are four areas of focus in this window (starting from left and going right):
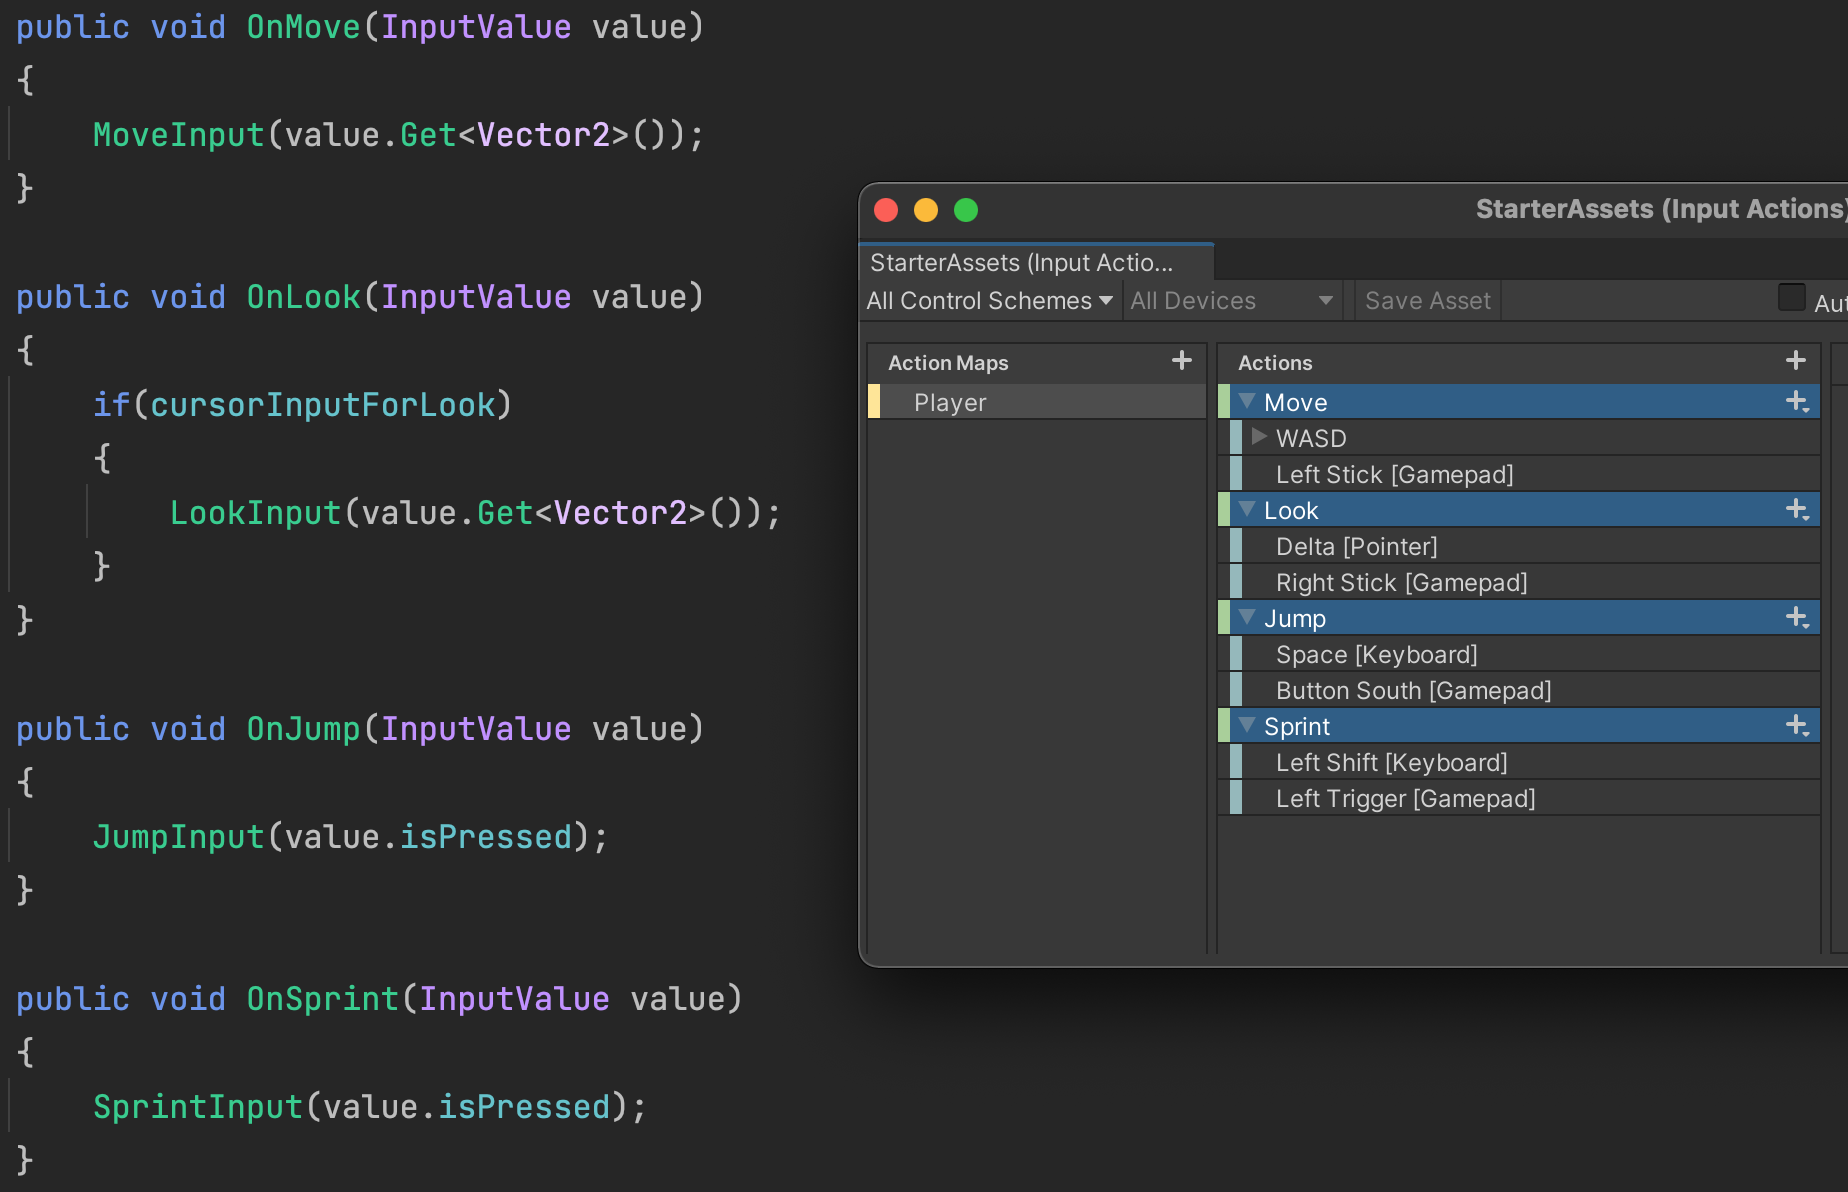
Looking into the StartAssetsInputs.cs that came with the Starter Pack, you will notice that the four actions (Move, Look, Jump, and Sprint) are mirrored in the code with functions (OnMove, OnLook, OnJump, and OnSprint). When the PlayerInput component is set to "Send Messages" as you saw earlier, On{Action} event functions will automatically be called similar to other Unity event functions such as "OnTriggerEnter."
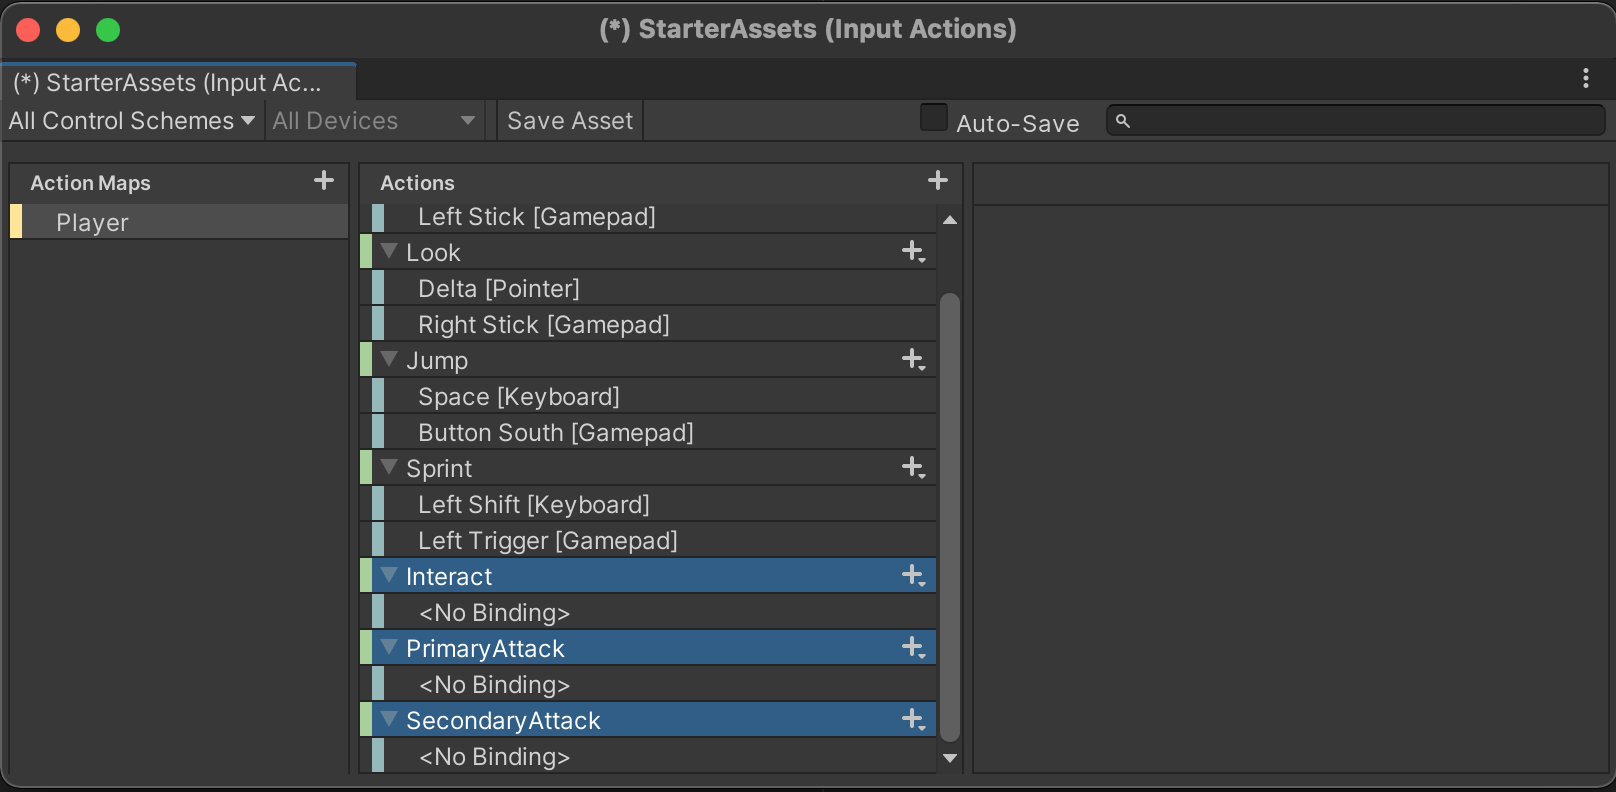
We will add our own Actions for Interact, PrimaryAttack, and SecondaryAttack to the input configuration. Using the + icon to the right of Actions, prepare these three new Actions.
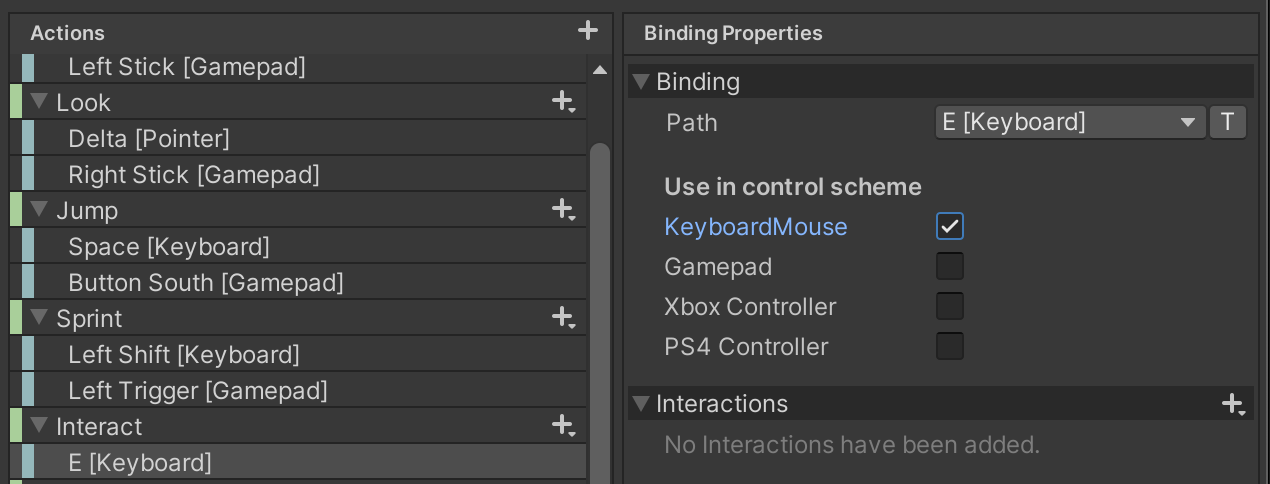
We will bind Interact to the E key and to the Gamepad West button.

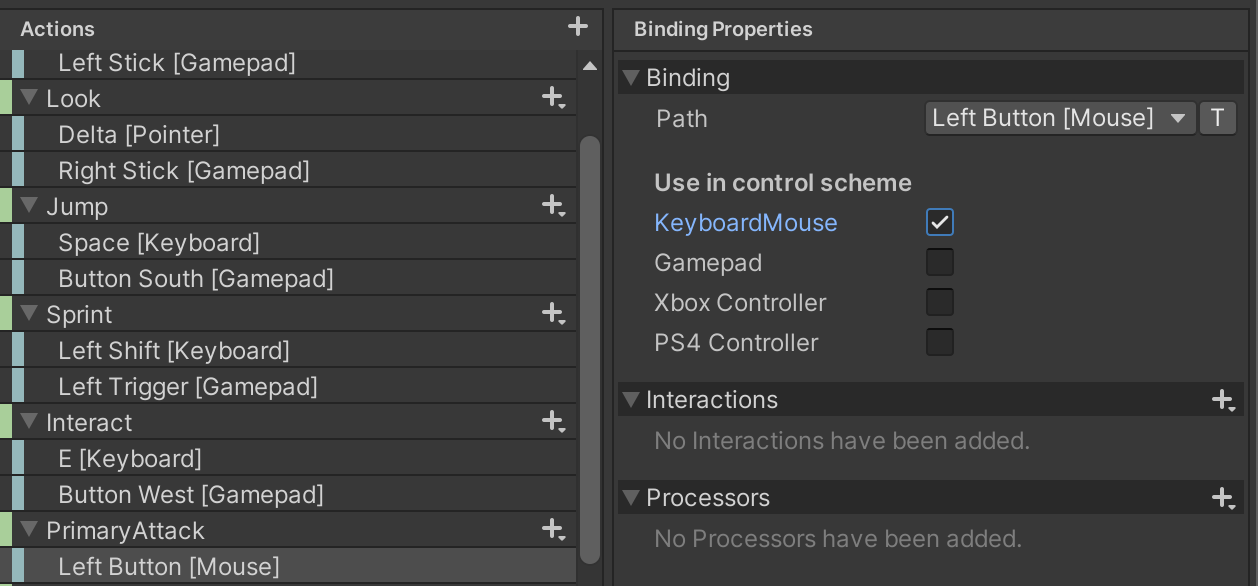
We will bind PrimaryAttack to the Left Mouse Button and to the Gamepad Right Shoulder button.

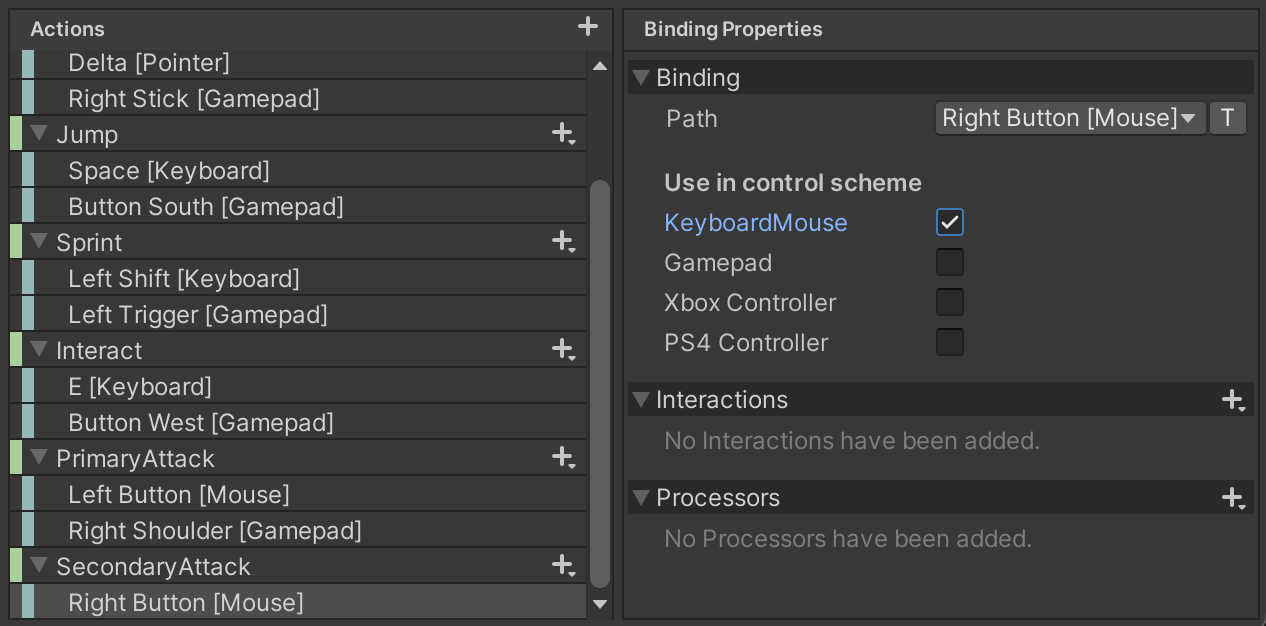
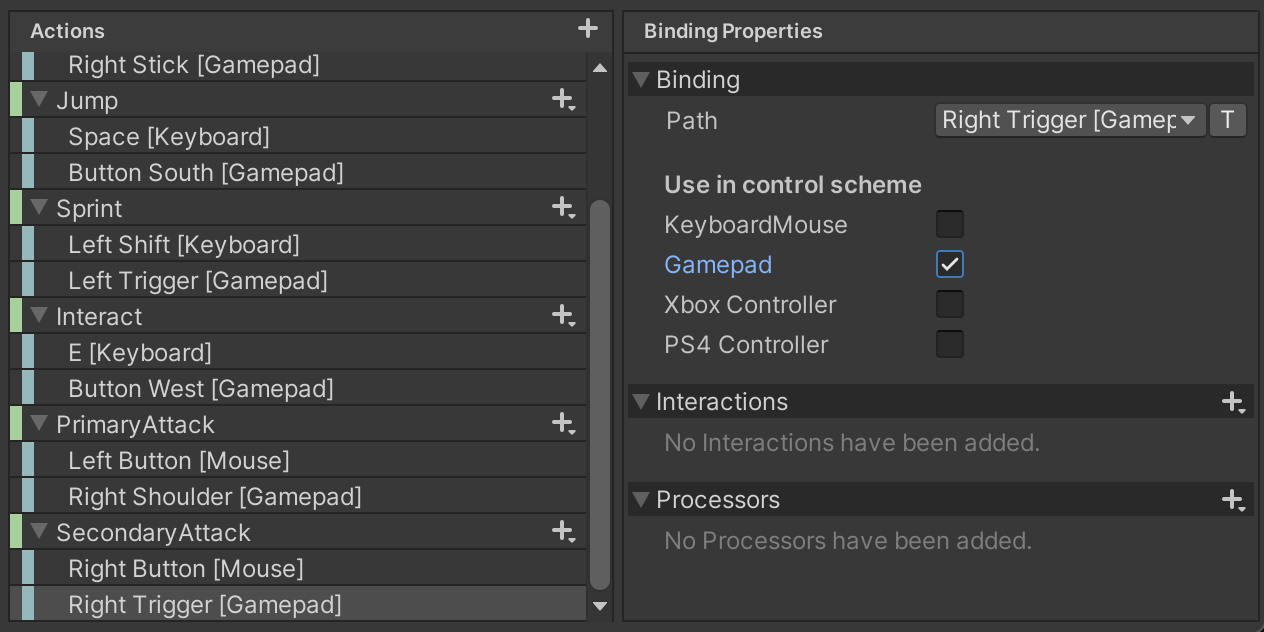
We will bind SecondaryAttack to the Right Mouse Button and to the Gamepad Right Trigger button.
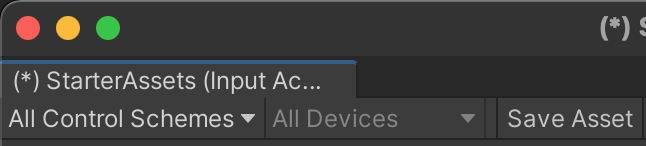
Don't forget to save your changes by clicking "Save Asset" near the top of the input configuration window.
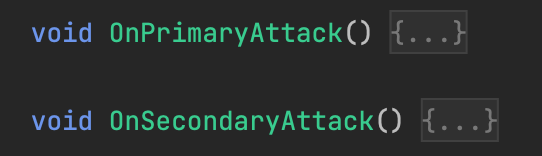
Within PlayerController, we need three matching functions named On{Action} for our new Input Actions. We already wrote PrimaryAttack and SecondaryAttack. Simply rename them OnPrimaryAttack and OnSecondaryAttack.
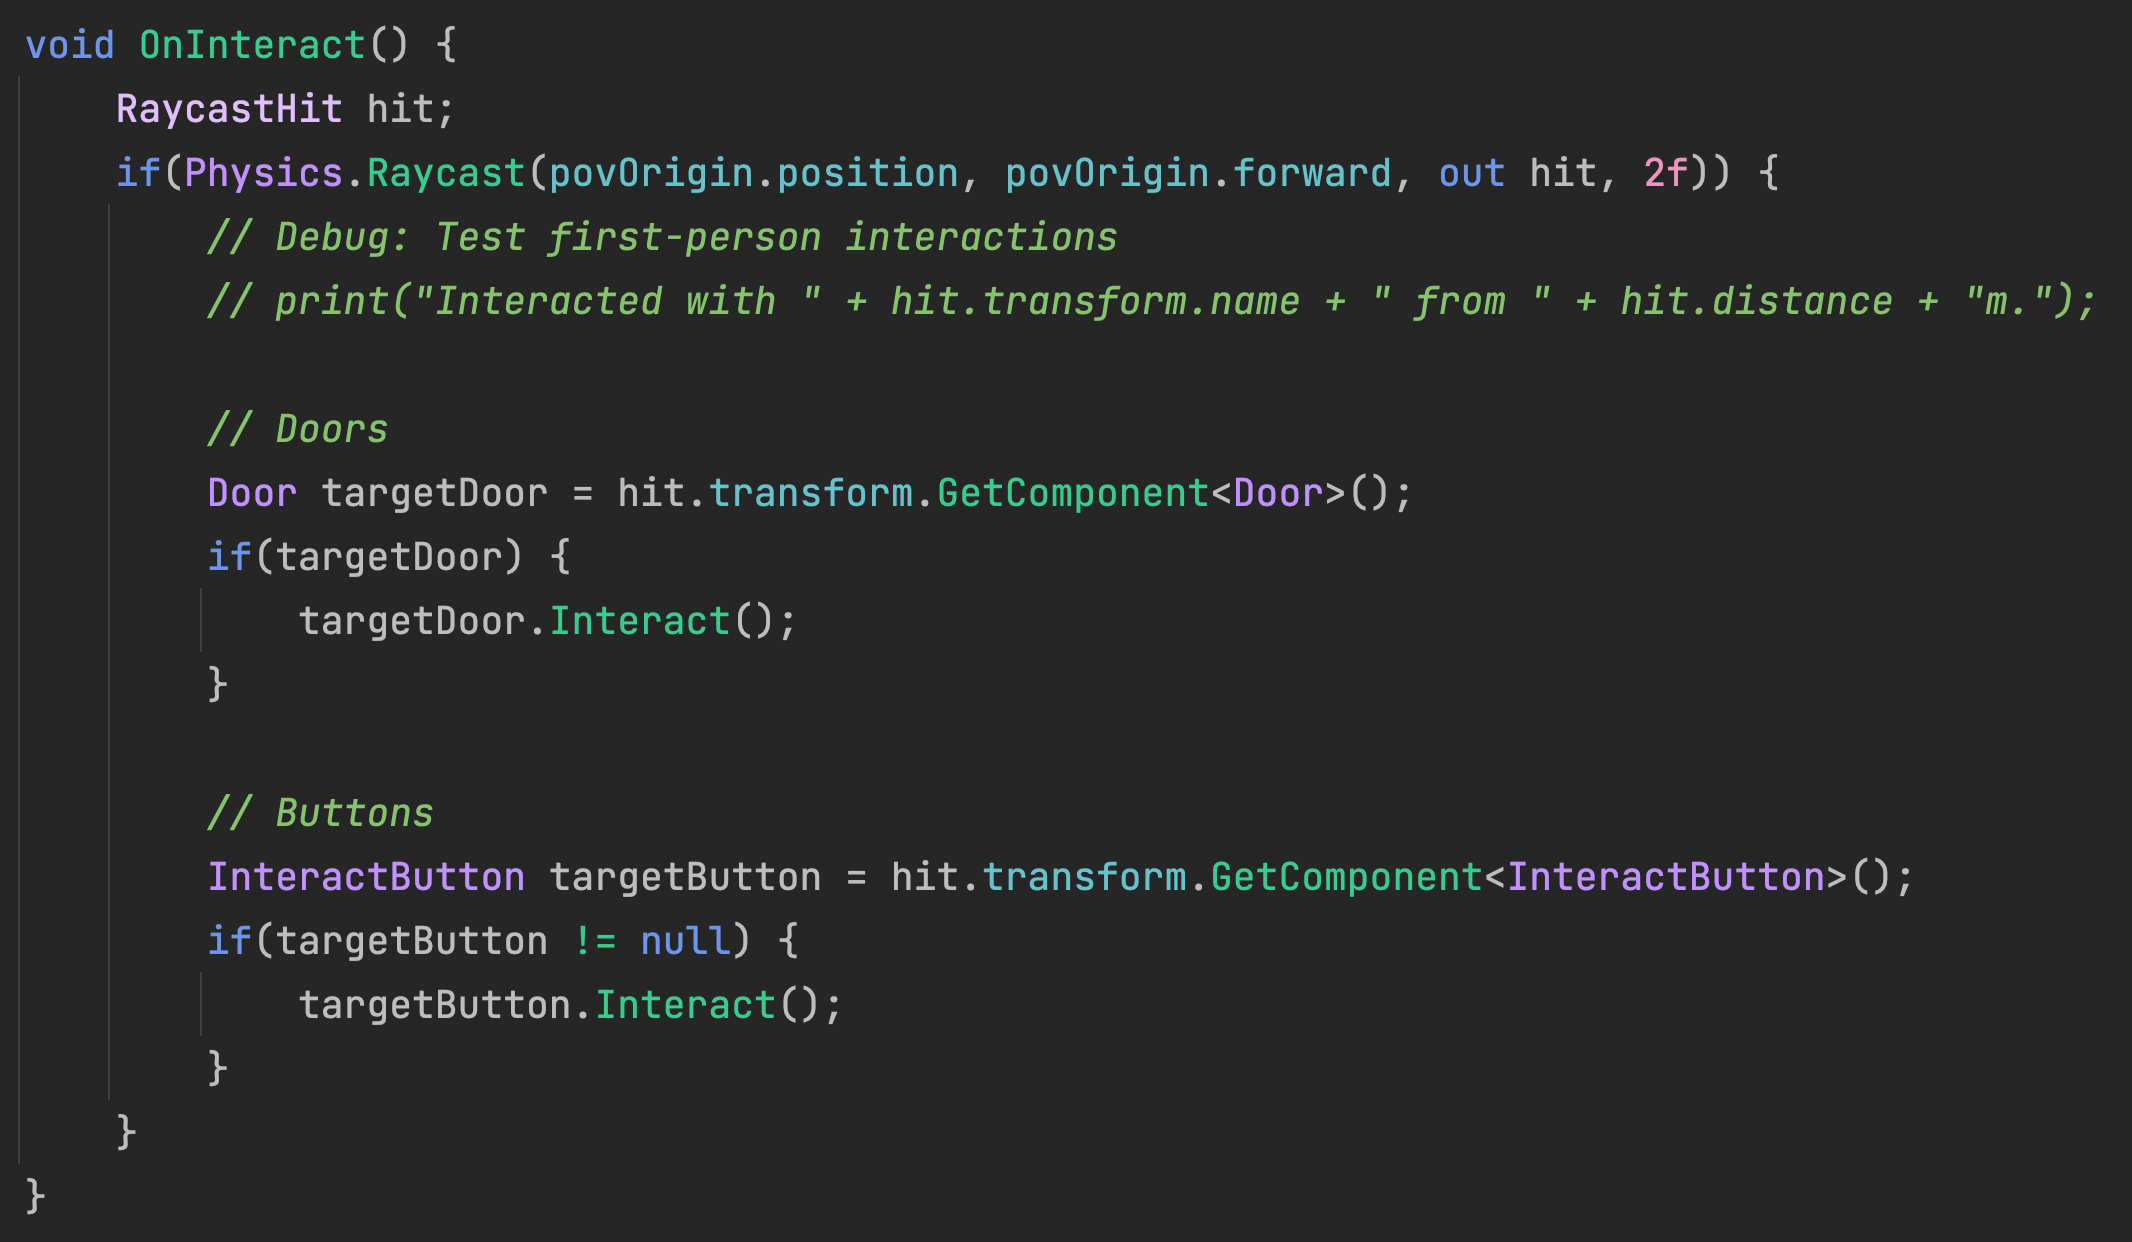
The third function should should be named OnInteract and will be nearly identical to your old E key code currently in the Update event.
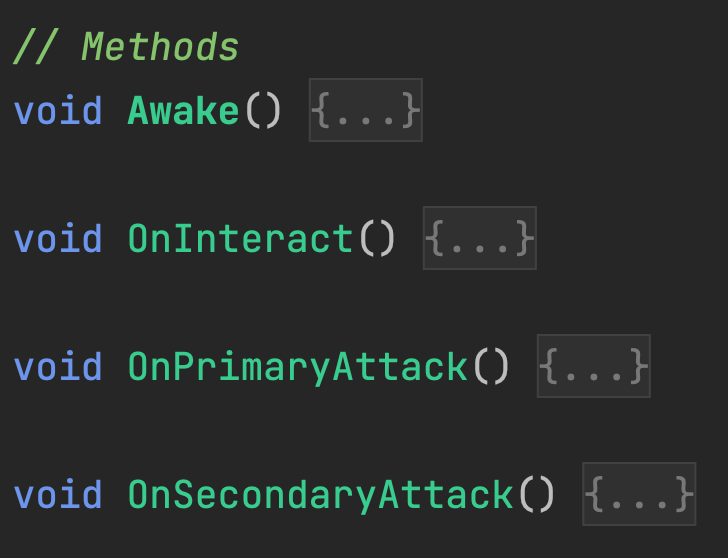
Because we are using the new Input system, there is no need for the old code in the Update function. You can delete the Update function entirely. After clean-up, these should be the only methods you have in your PlayerController class.
Playtest to ensure all interactions work as expected and that the addition of any new features hasn’t broken any earlier interactions.
SAVE any open files or scenes.
Submit your assignment for grading following the instructions supplied for your particular classroom.