Set Up Scene
We will re-use all of the terrain and character setup from your prior assignment. Duplicate your Q4 scene and name it Q5. Make sure you have opened Q5 and are conducting your edits in the correct scene.

Supporting files for VG2 quests are part of a single archive that you can download here.
We will re-use all of the terrain and character setup from your prior assignment. Duplicate your Q4 scene and name it Q5. Make sure you have opened Q5 and are conducting your edits in the correct scene.
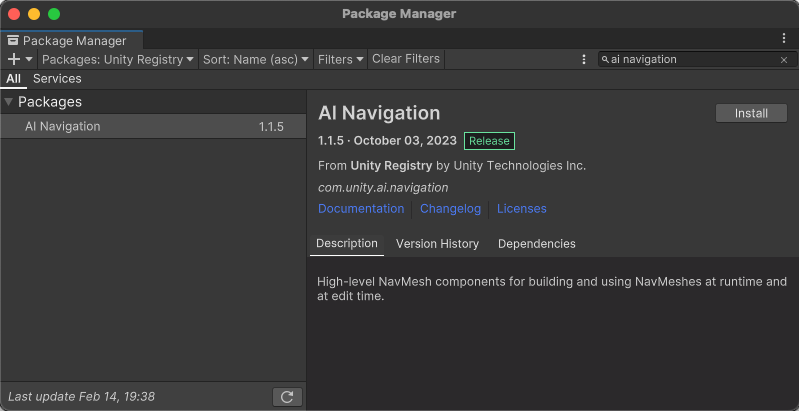
Open the Package Manager through Window > Package Manager. Make sure your Packages filter is set to Unity Registry. Find "AI Navigation" and install it.
The NavMesh is a computation of what landscape is navigable by Unity’s built-in pathfinding AI. Compatible environments can include terrain or any other static mesh objects.
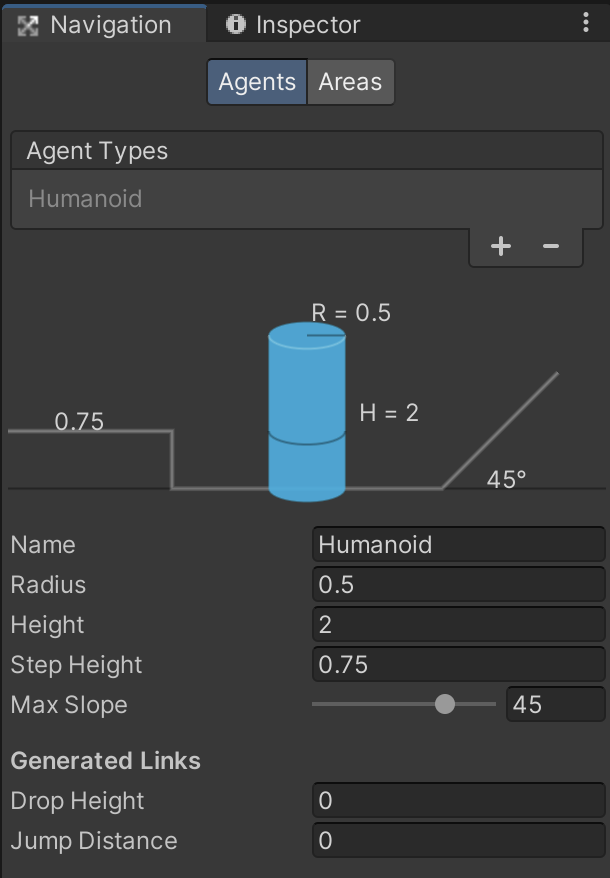
Open Window > AI > Navigation. The first section "Agents" is where you describe the different shapes of AI-driven characters who may need to navigate your environment. An agent's different sizes and capabilities affect its ability to navigate the terrain and will change the paths it chooses.
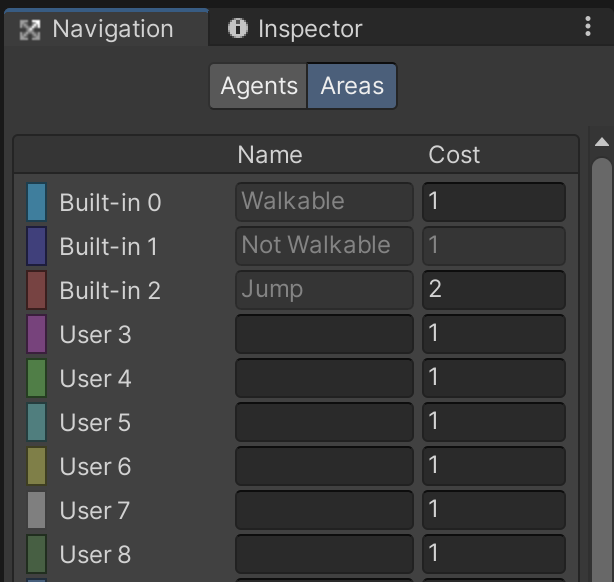
The second section is "Areas" which allows you to assign a traversal cost to different regions. For example, Normal "walkable" terrain may have a cost of 1, while "poison gas" environments may have a cost of 5. Despite the drastic difference in cost, there may be some circumstances where it is still more cost-effective to take a shorter route through a more costly area.
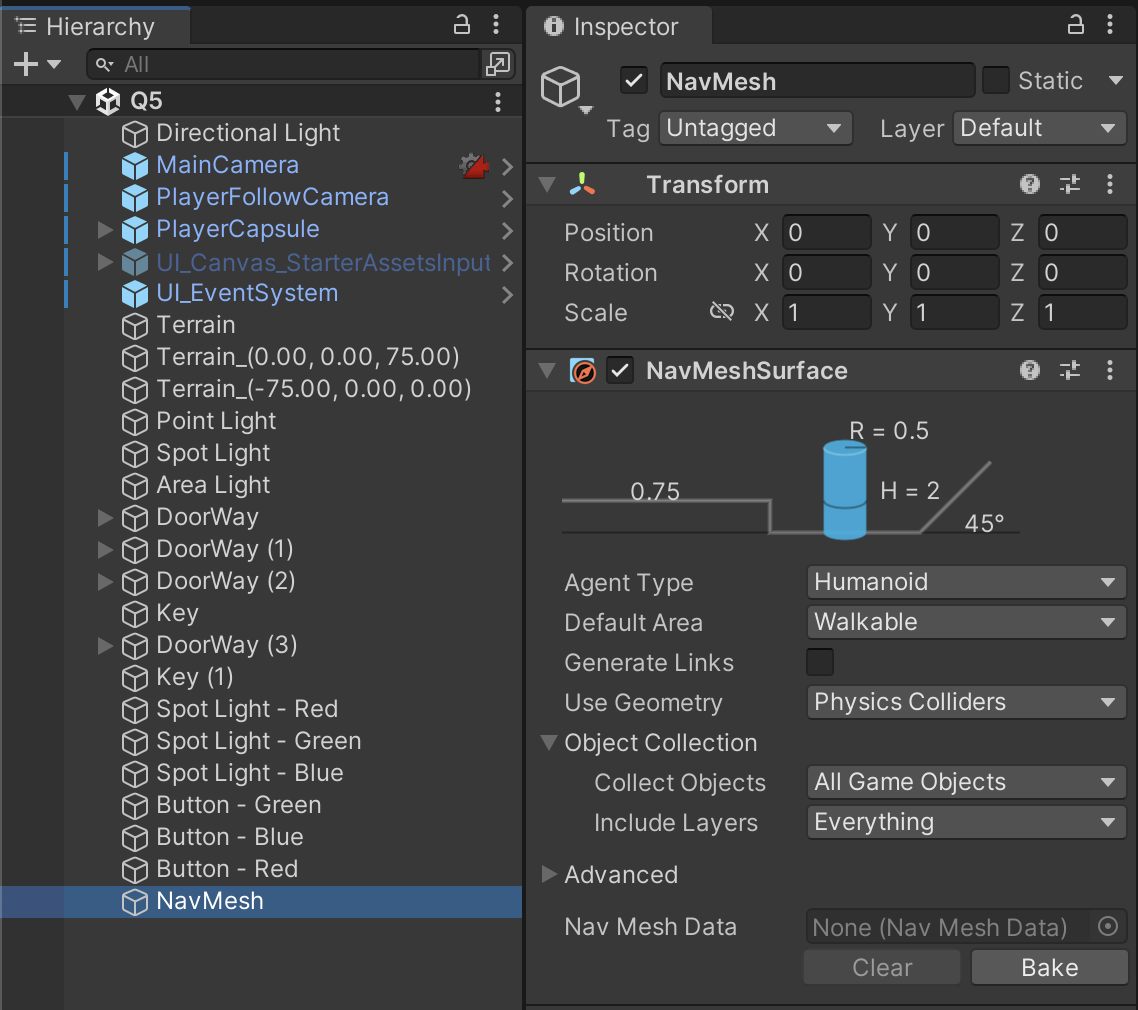
Create a new game object named NavMesh and attach the component NavMeshSurface. Change "Use Geometry" to "Physics Colliders" otherwise AI agents won't be able to navigate some trigger zones.
"Bake" is the process of pre-computing how the terrain will be navigated. Real-time computation can be too costly on performance on some low-end devices, but Unity makes it possible to do much of the computation before the game runs. This allows us to offset hardware requirements and computation time onto the developer's machine rather than the player's computer. This configuration screen works very similarly to the "Agents" section. You should configure a Baked Agent that represents the most flexible common denominator of all the agents you intend to use in your game, so that its capabilities can be precomputed. Default settings are fine unless you are already certain of alternative character sizes.
Click Bake to trigger the pre-computation. Depending on the complexity of your landscape and the performance of your computer, this process can take awhile.
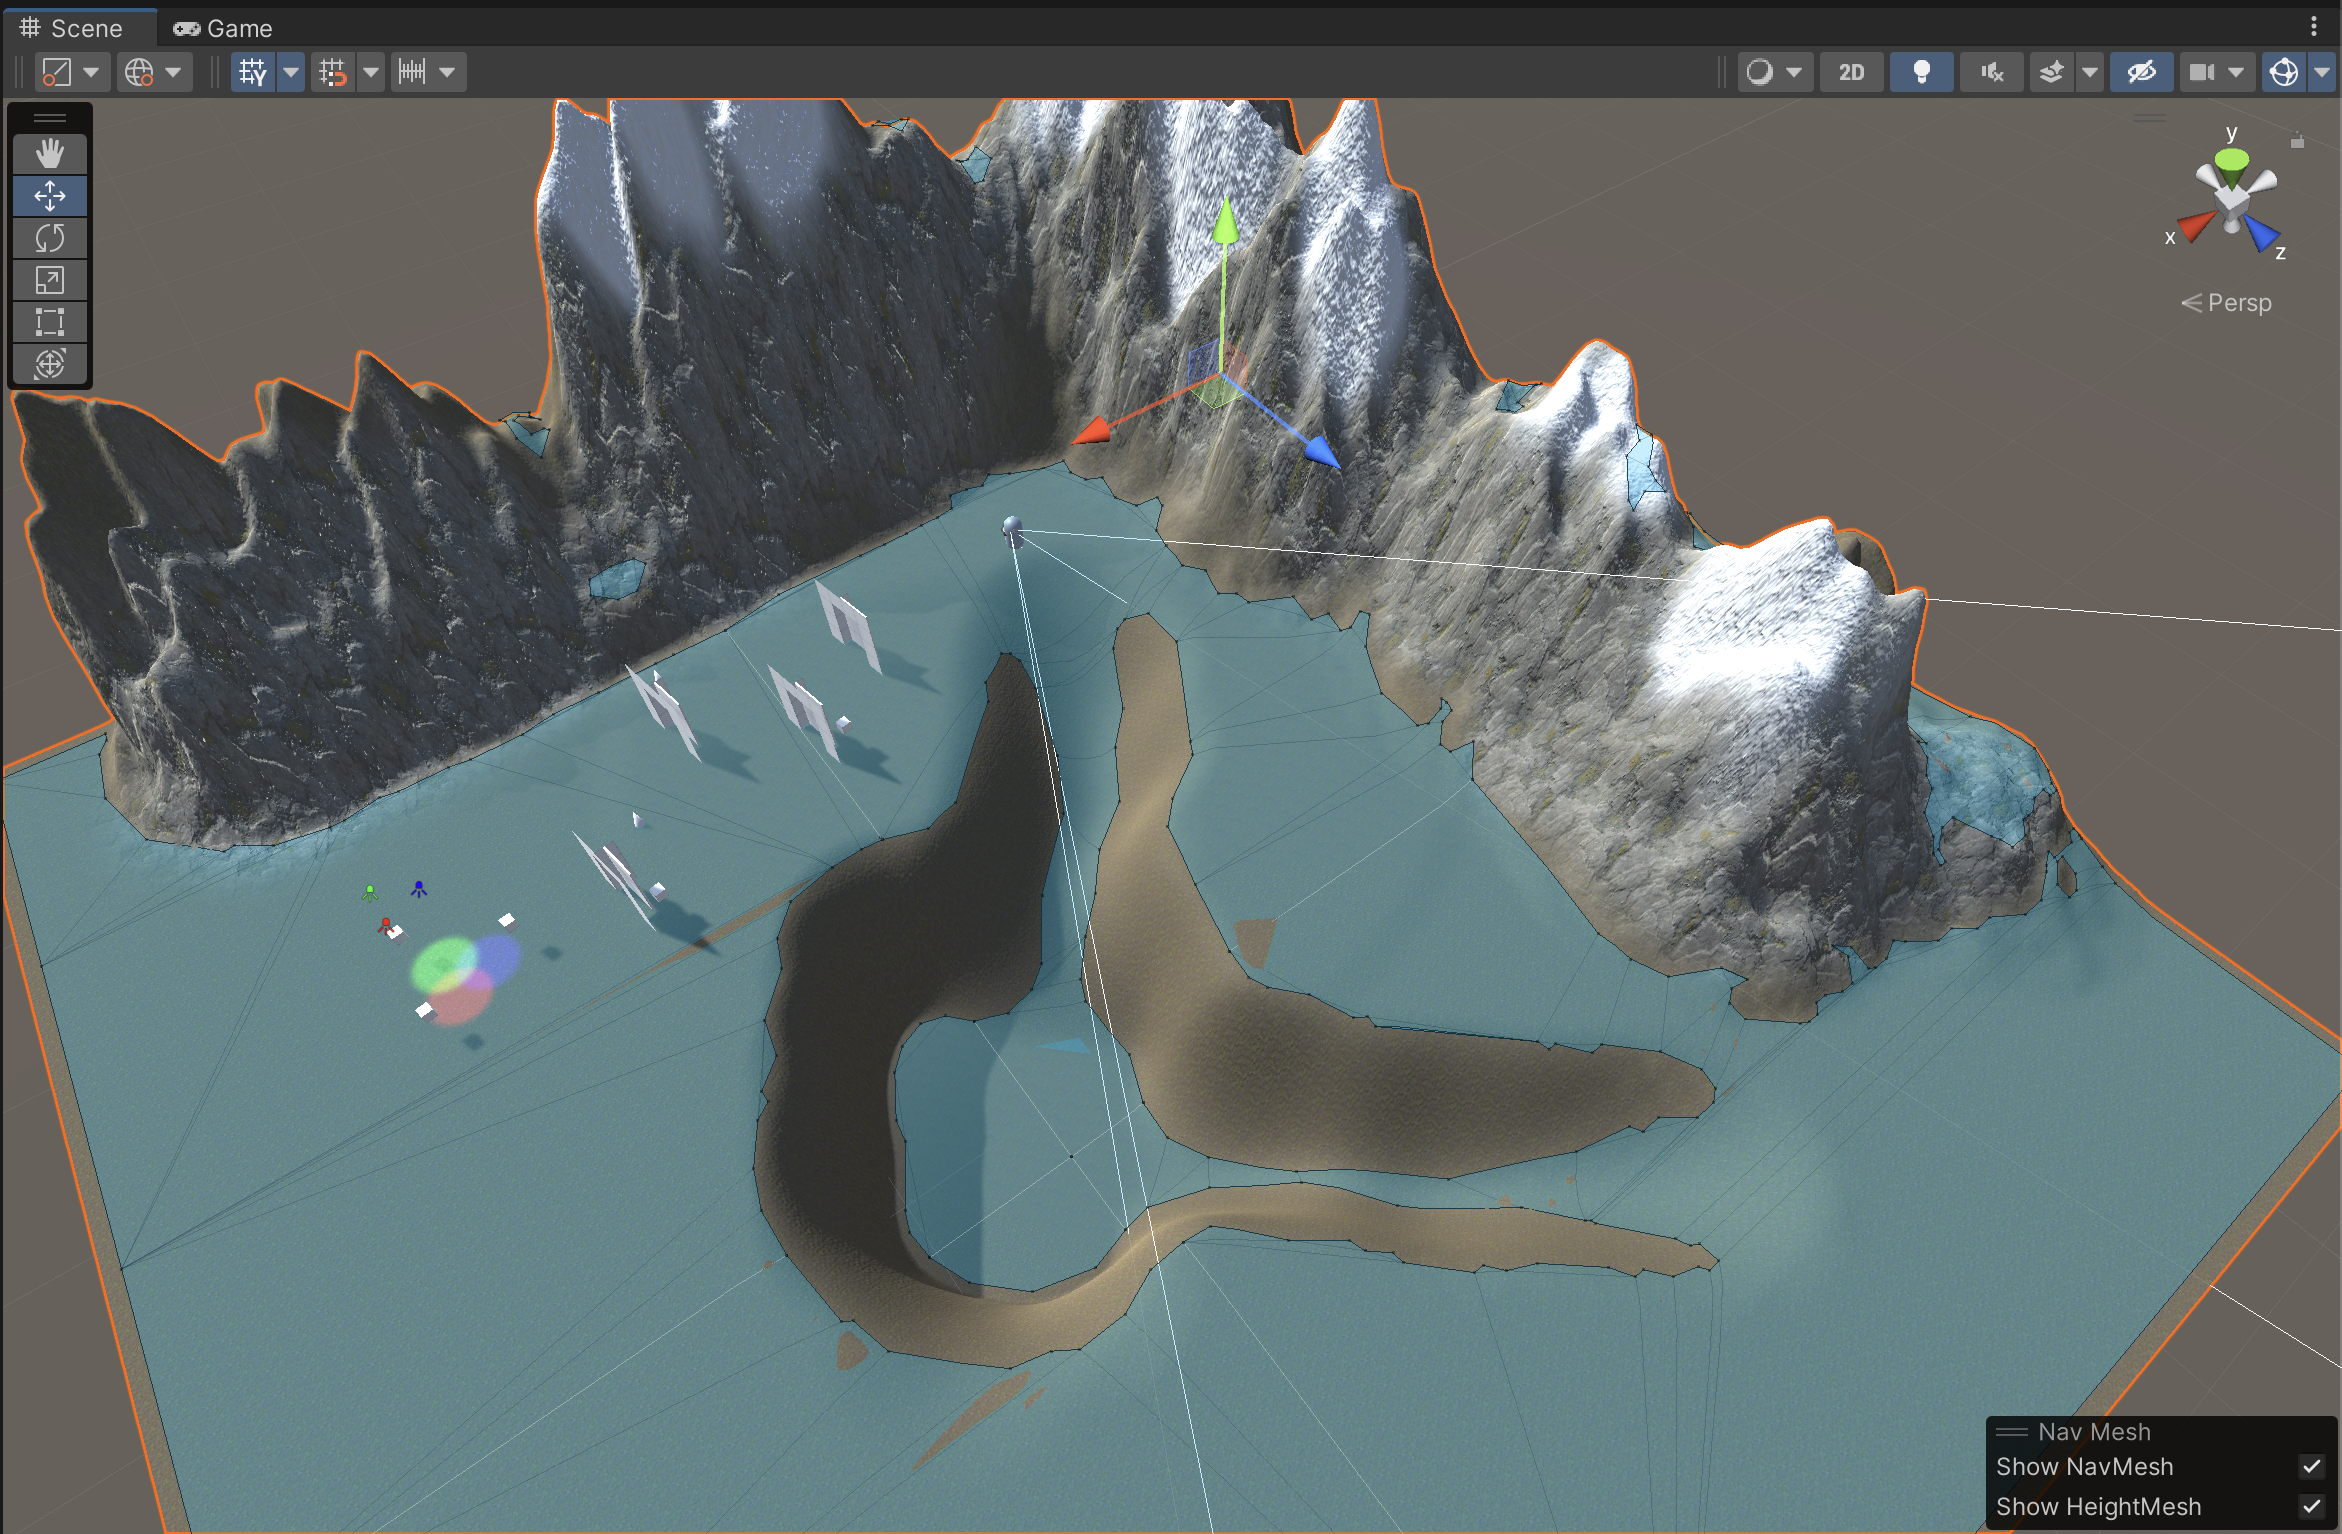
Once your computer has finished baking the navigation, you will see certain areas marked in turquoise in the Scene view. These are areas the Baked Agent would be able to navigate. Notice how the agent can't reach certain areas as well as how some navigable regions are isolated from others. If your landscape is not sufficiently navigable, you will need to make edits using the Terrain tool and Bake again until your environment is usable.
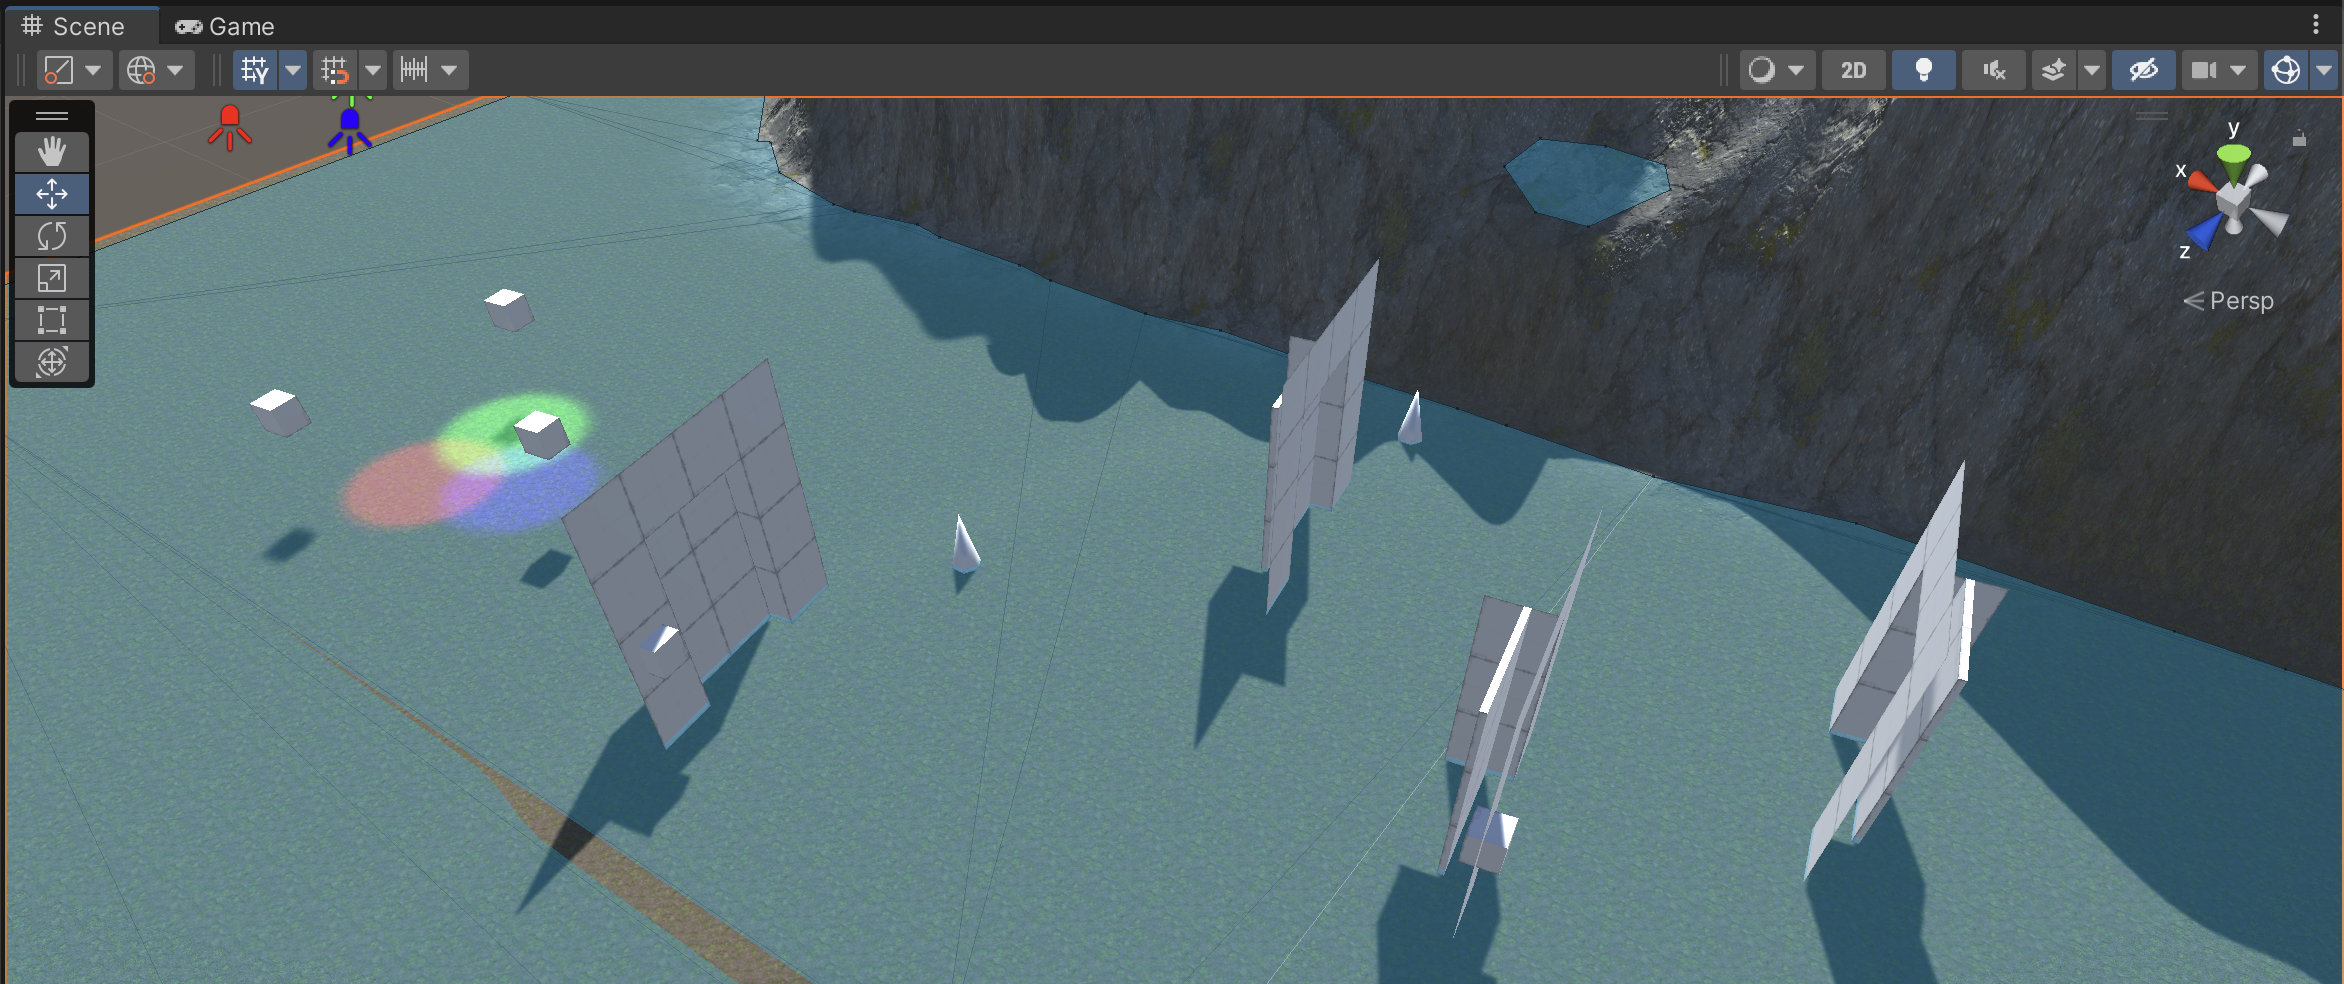
You may have objects that should obstruct the NavMesh but are currently marked as navigable.
We must mark these objects as obstructions by attaching a NavMeshObstacle component to the parent-most object containing the MeshRenderer.
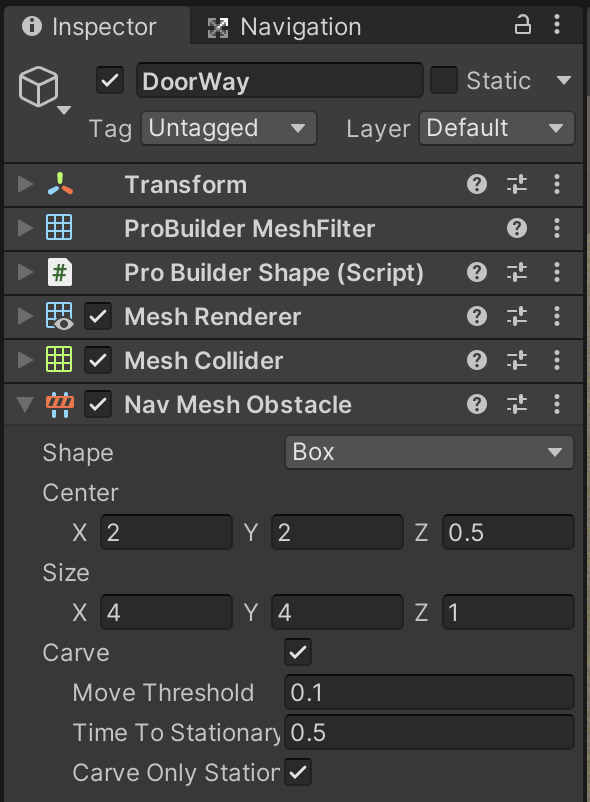
The Carve setting must be checked as well.
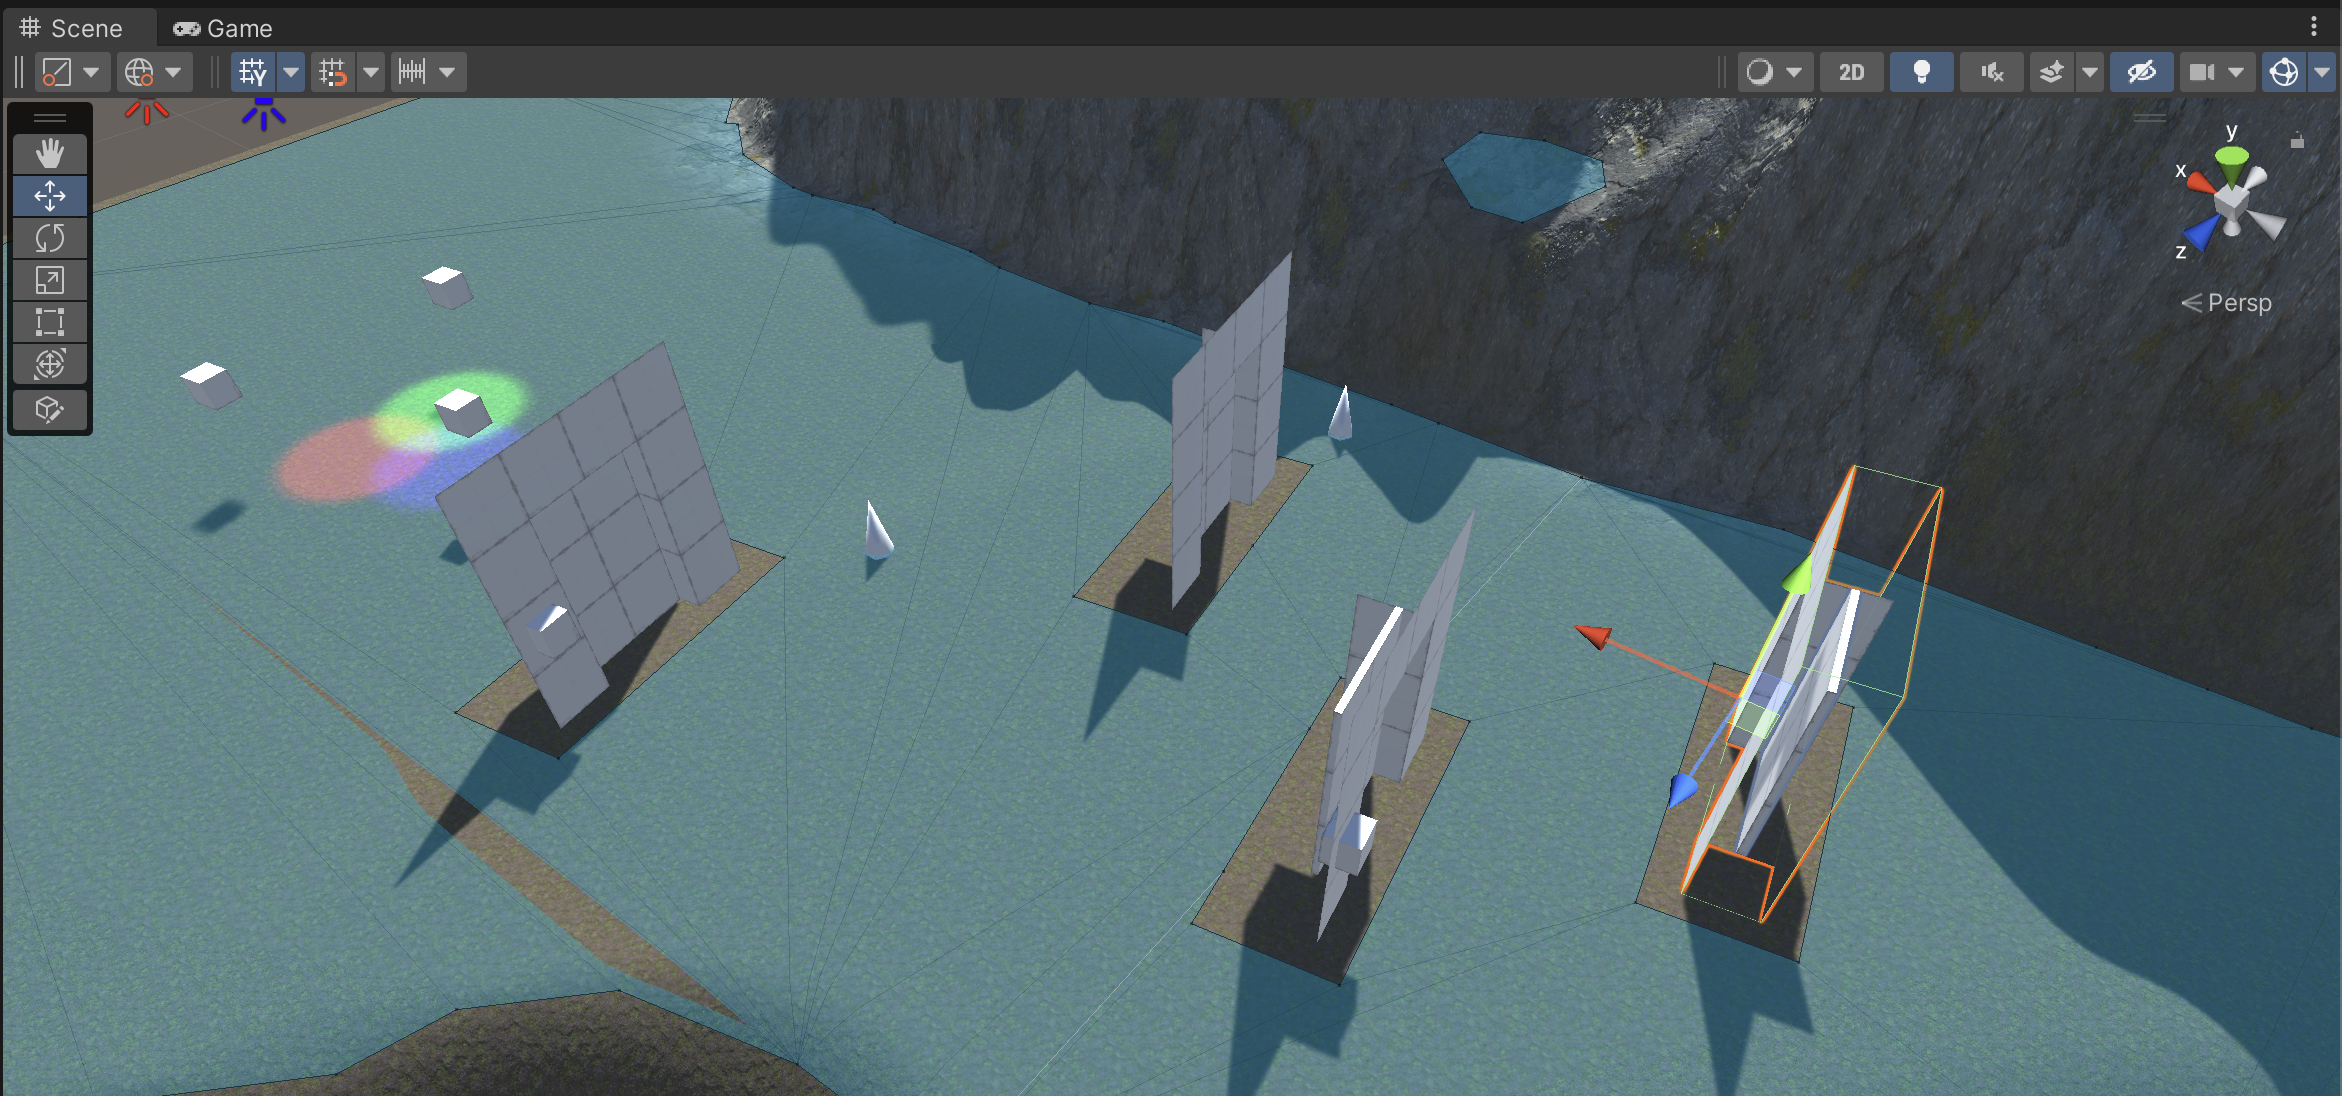
Notice how the area occupied by these doorways obstructs the turquoise navmesh.
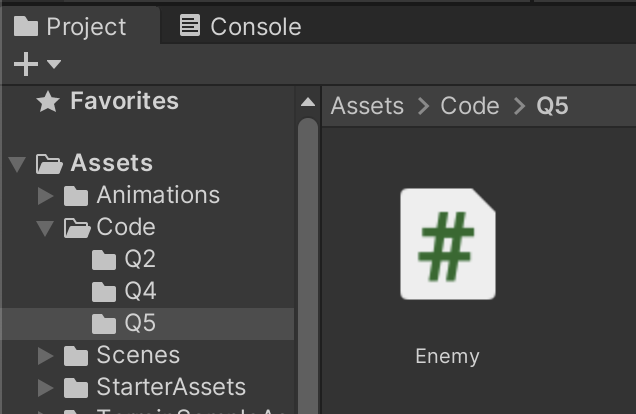
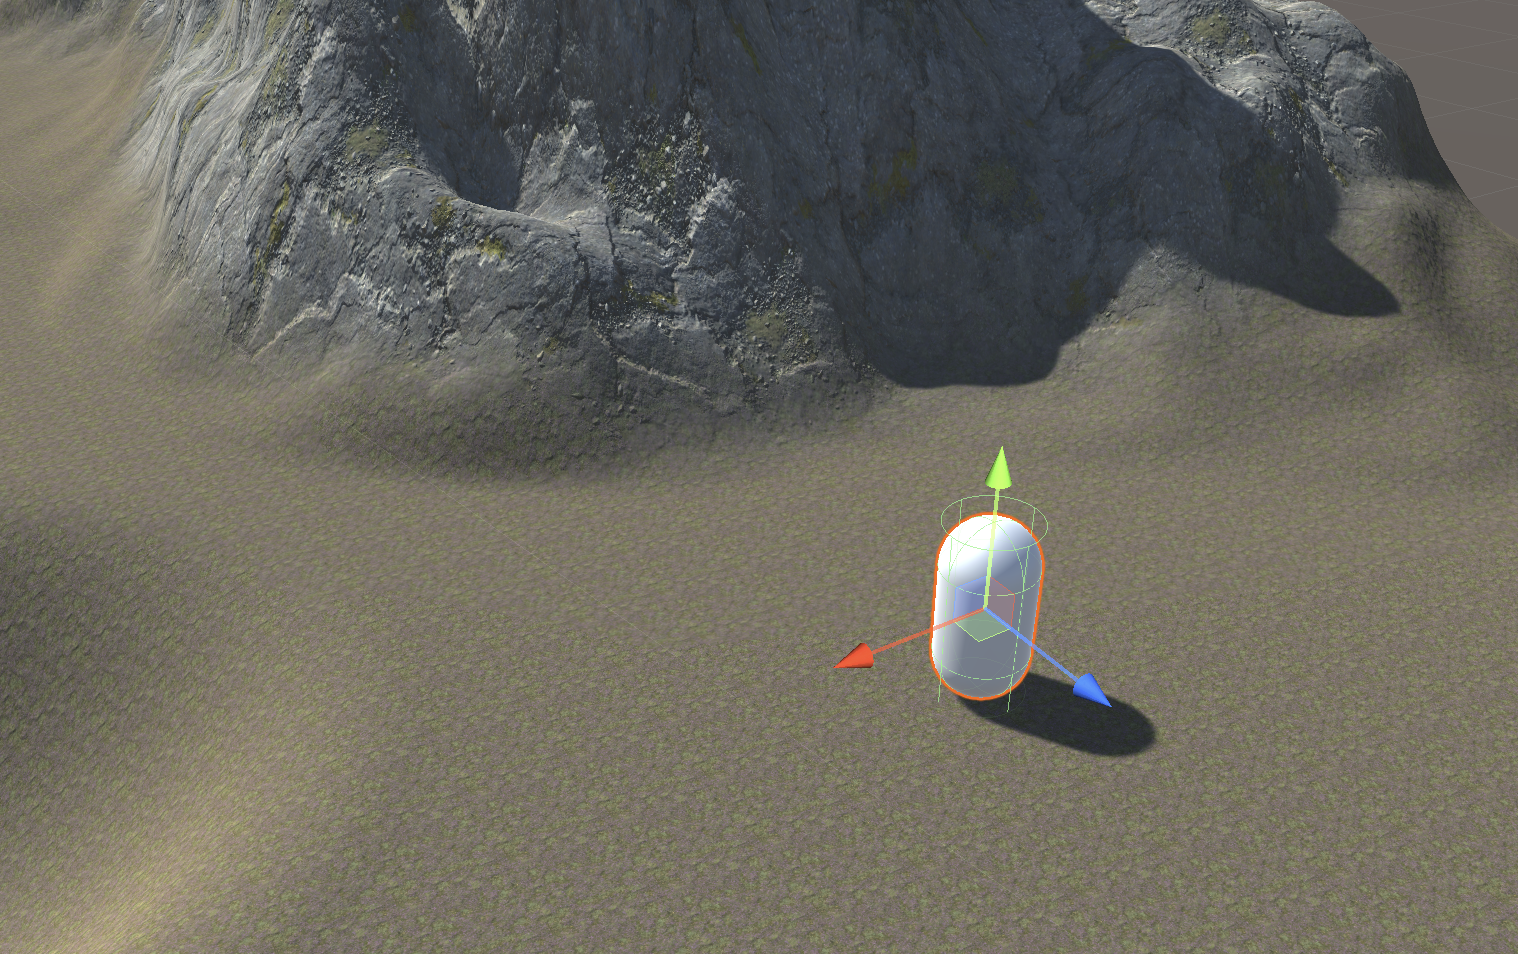
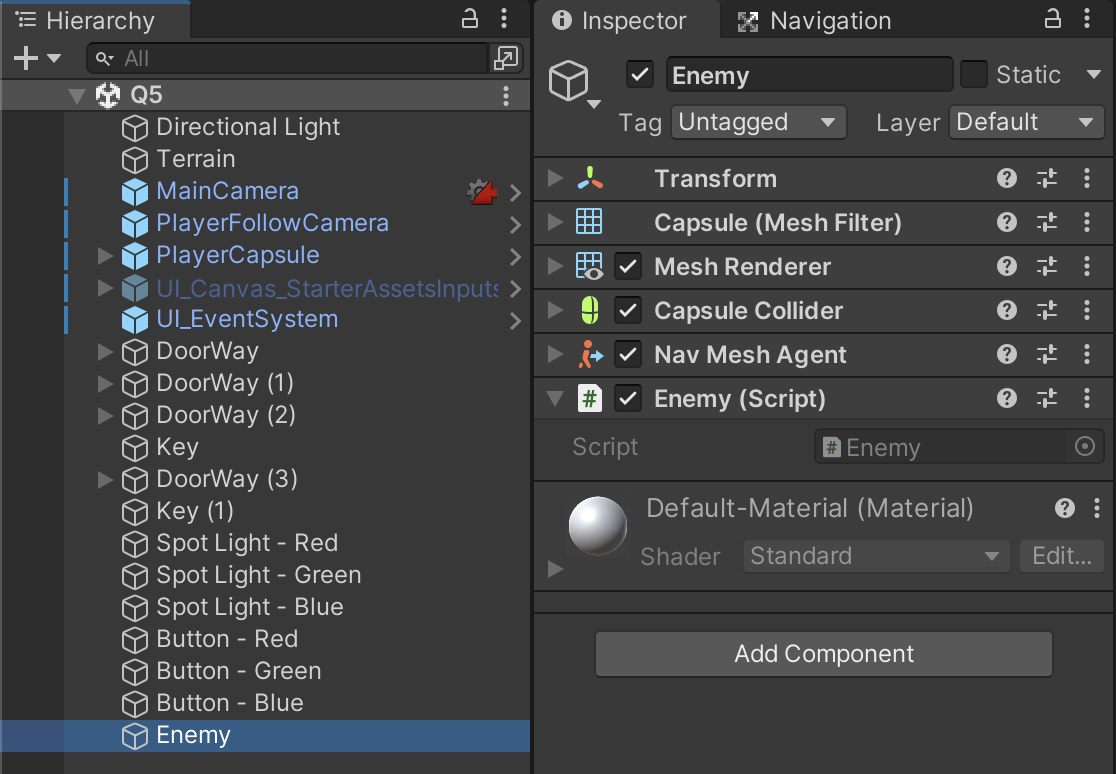
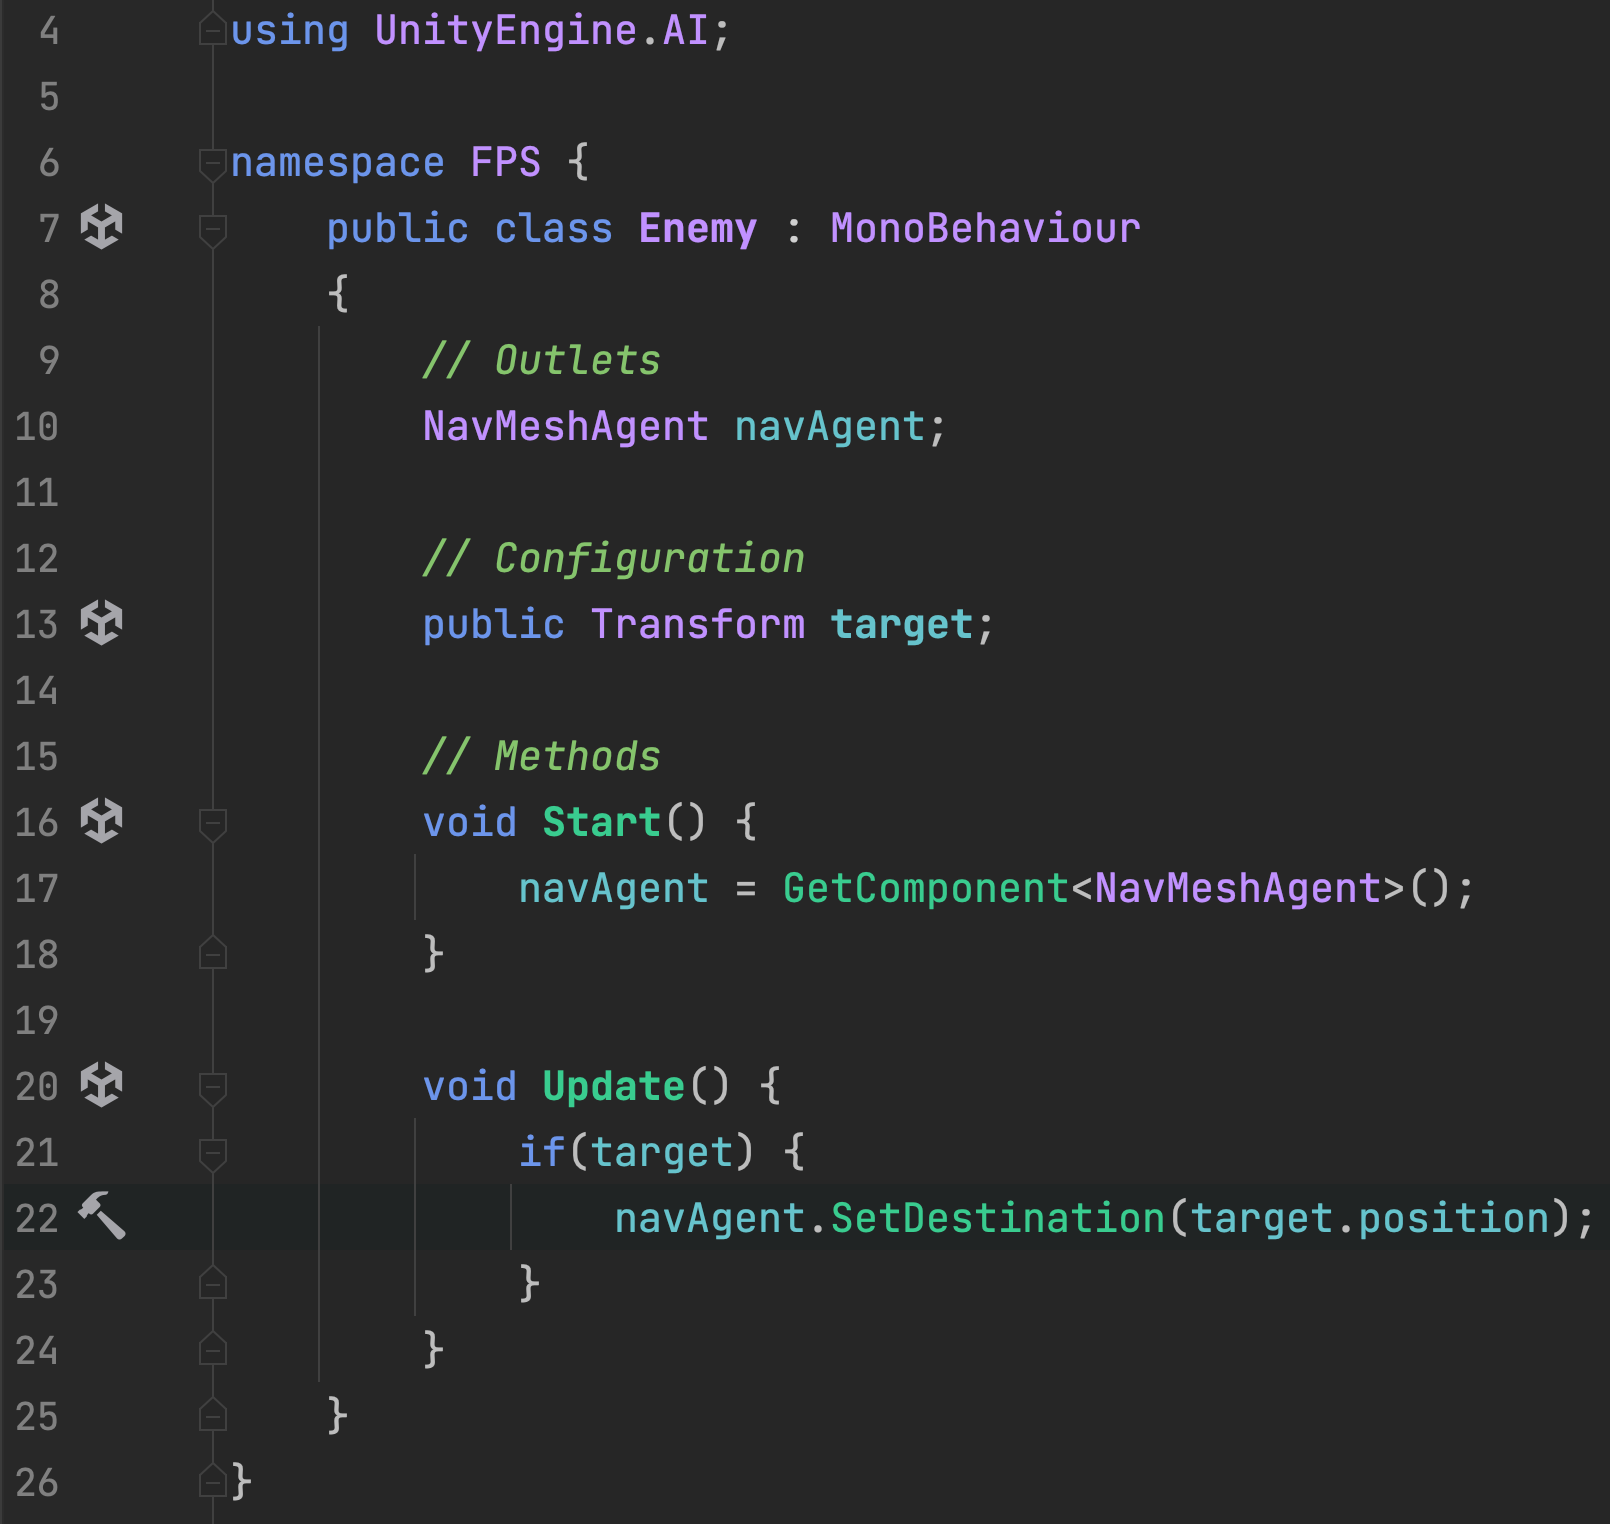
Create a capsule-shaped object to represent your first enemy, and attach an Enemy.cs component.
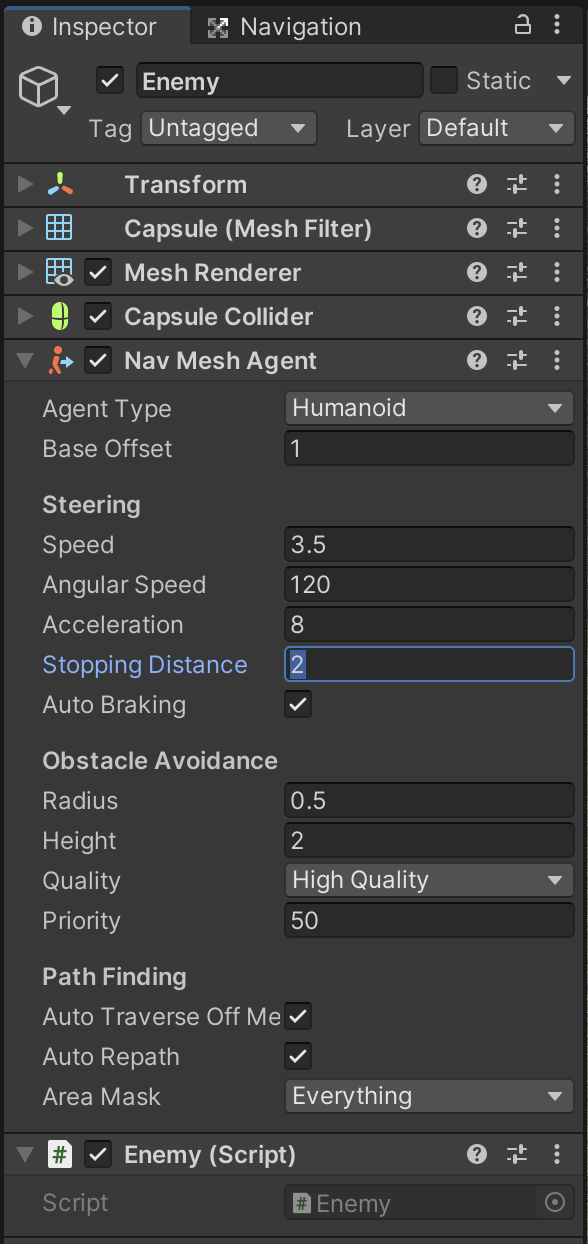
Add a NavMeshAgent component to your Enemy. This component allows your enemy to move according to AI Pathfinding computations.
If you consider that a Rigidbody simulates physics for movement, a NavMeshAgent simulates intelligence for movement instead. On the NavMeshAgent component there are many settings that describe the movement capabilities of this object. A key settings we will change is the Stopping Distance to prevent this object from shoving us around the level as it tries to chase our character.
(In other projects, if an object has BOTH NavMeshAgent and Rigidbody, the Rigidbody must be set to Kinematic, otherwise these two components will unpredictably compete with each other.)
The Enemy script will pass a destination to the NavMeshAgent. In this example, we are updating the destination every frame in case the target is moving.
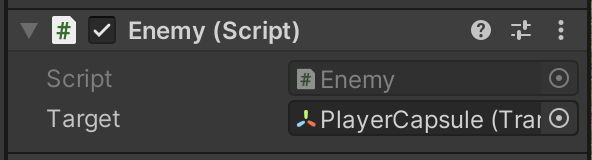
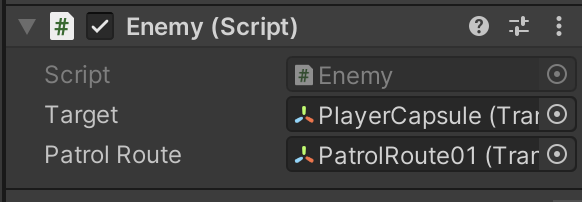
Set the Player as the target of the enemy, so that the enemy follows you during gameplay.
Playtest your game and ensure that the enemy travels toward the player’s position as best as the terrain allows. The enemy should know to walk around doors because they are viewed as obstructions.
Duplicate your Enemy. This second enemy will be assigned a patrol route, and it will only chase the player if the player is within a threshold distance. It will also forget about the player and return to its patrol route if the player escapes.

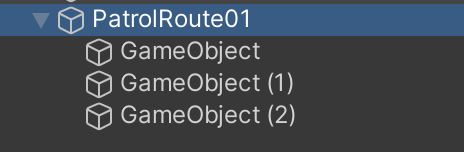
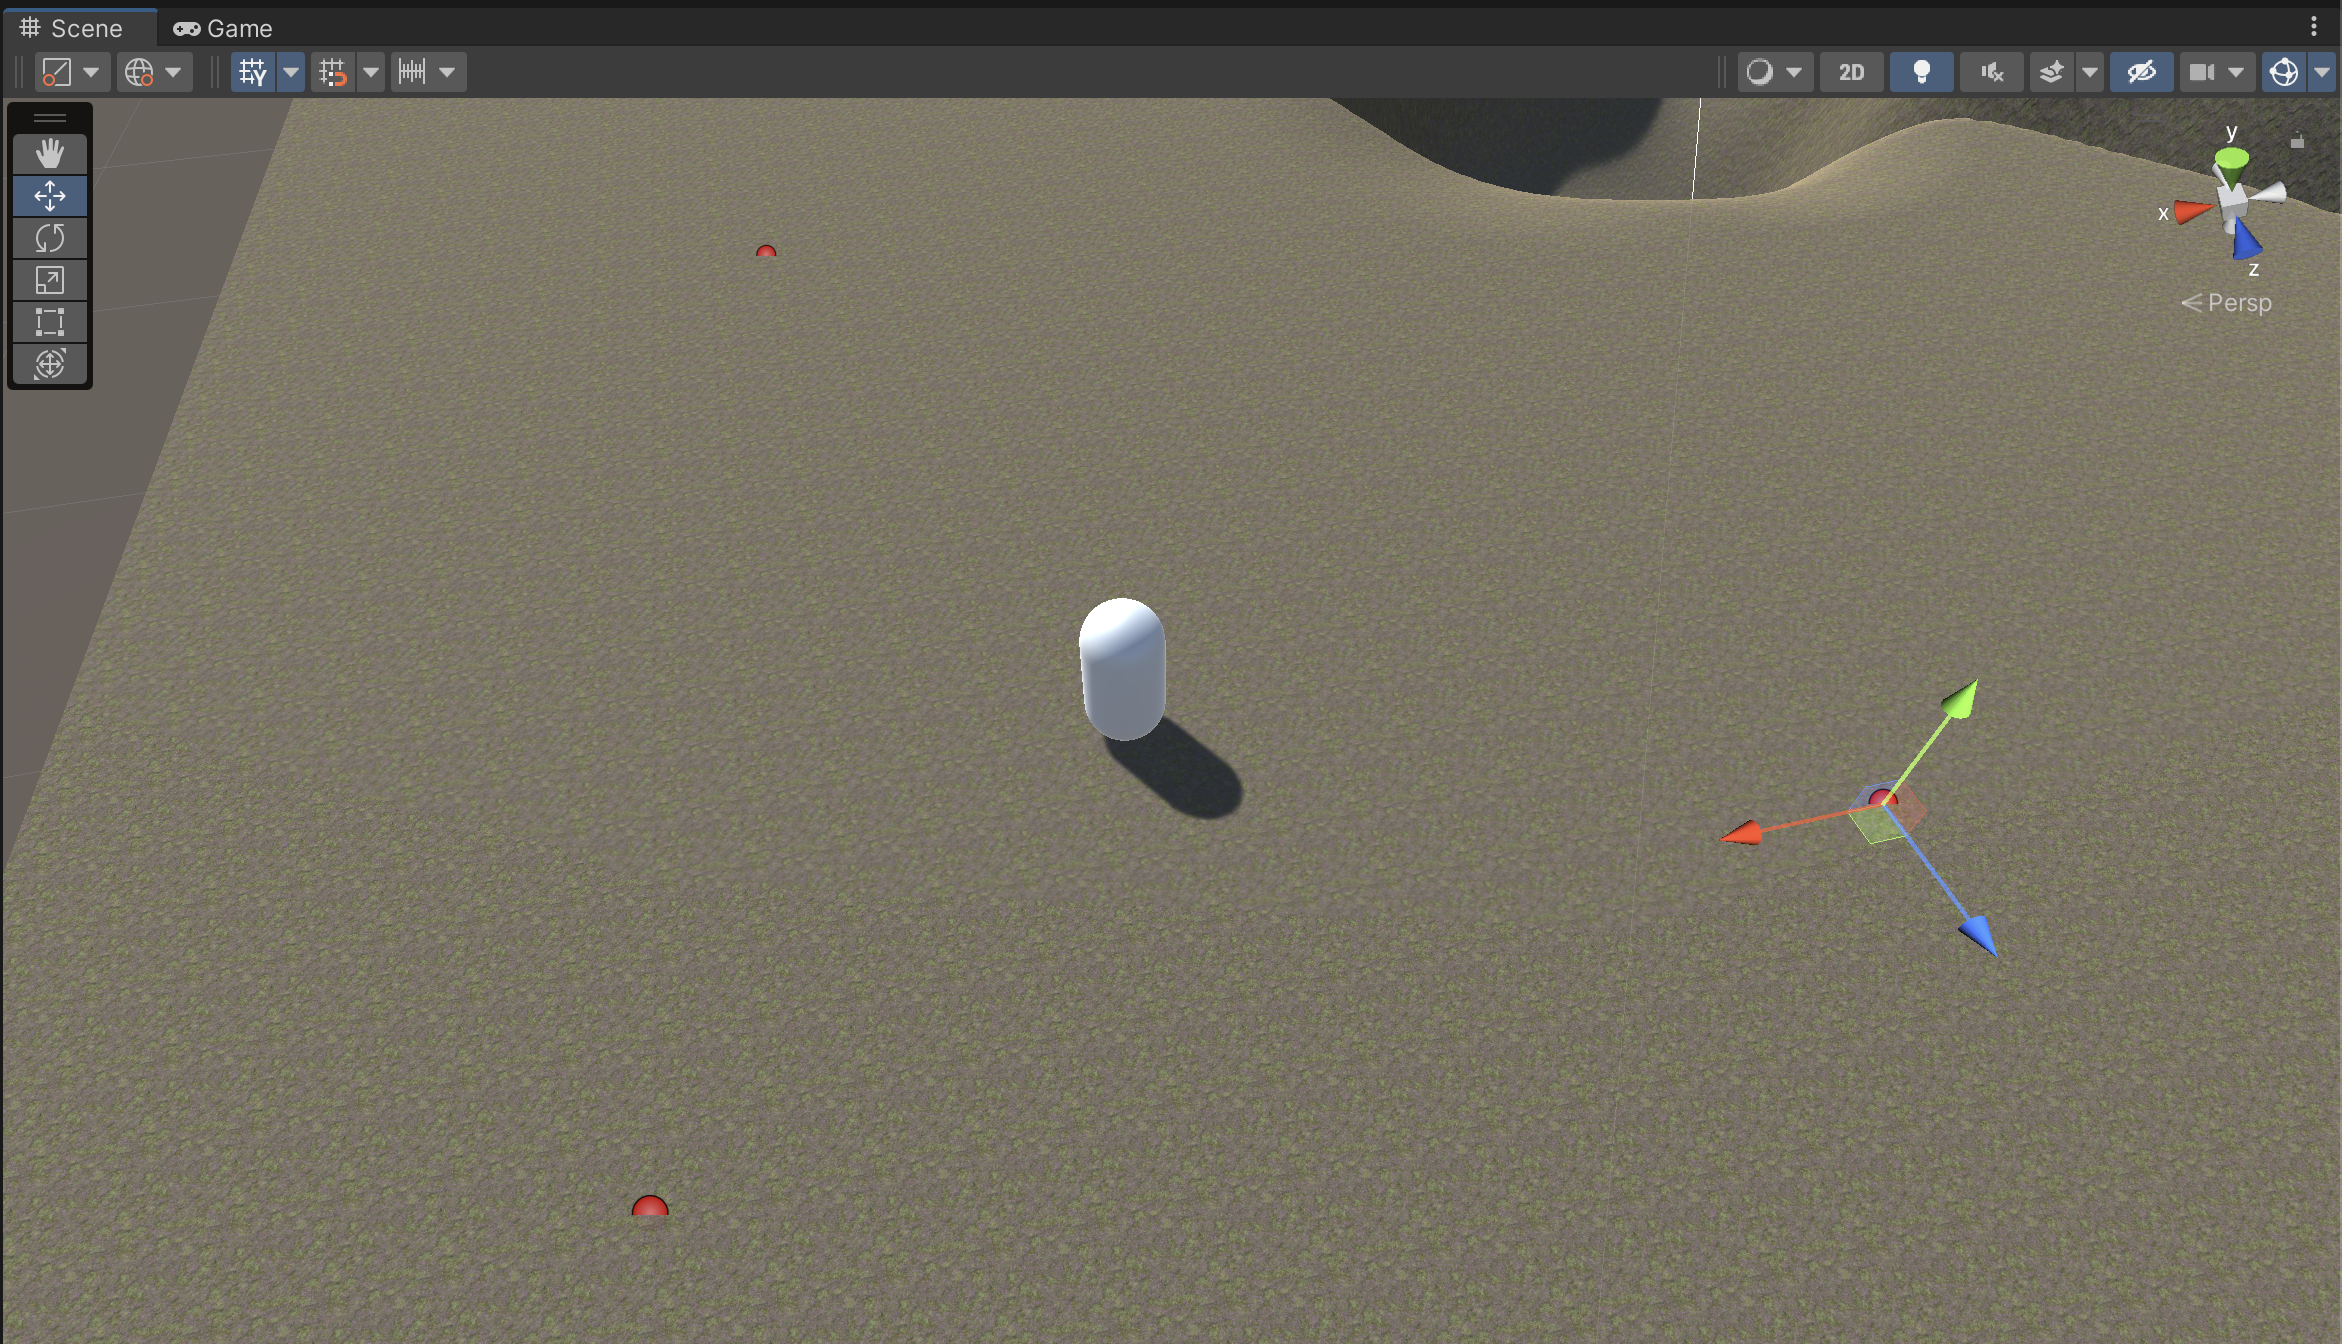
Create an empty game object and rename it PatrolRoute. The children of this object will be positioned as patrol points throughout the map.
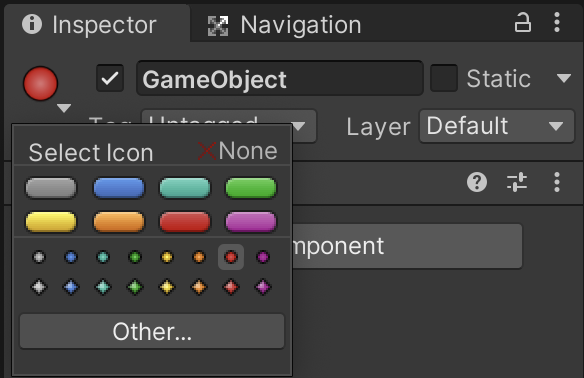
You can make patrol points easier to see and manage by changing their object icon. These icons are only visible during Scene view and do not affect gameplay.
Notice how the three patrol points have been positioned in a triangular route. Use Cmd+Shift (Mac) or Ctrl+Shift (Windows) to ensure the patrol points snap to the terrain and do not get stuck underground.
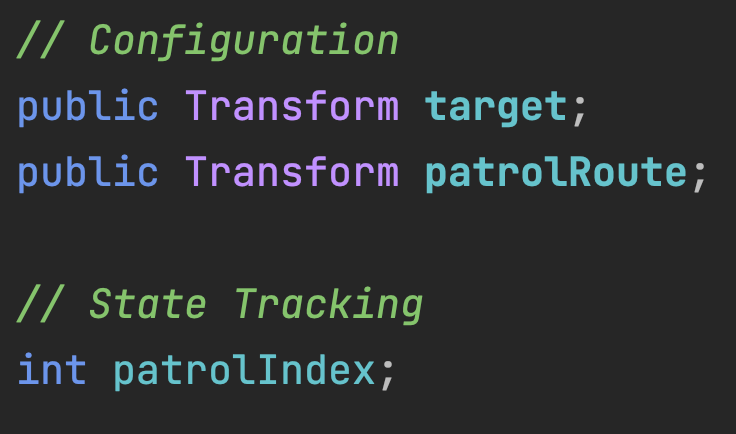
The Enemy.cs needs an outlet variable to tell it what object to use as a Patrol Route (whose children will be used as Patrol Points) and a state tracking variable to keep track of which Patrol Point we are currently tracking.
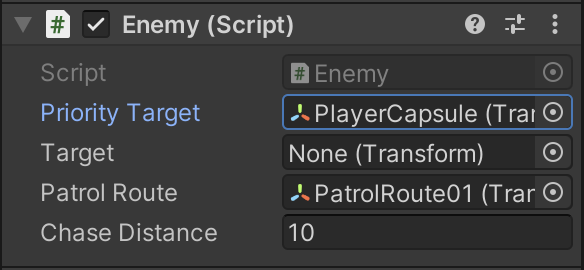
The Patrol Route needs to be assigned in the Inspector. Assign the parent object that holds all of the individual patrol points.
We will refine the tracking logic to cycle through the Patrol Points if a Patrol Route has been assigned.
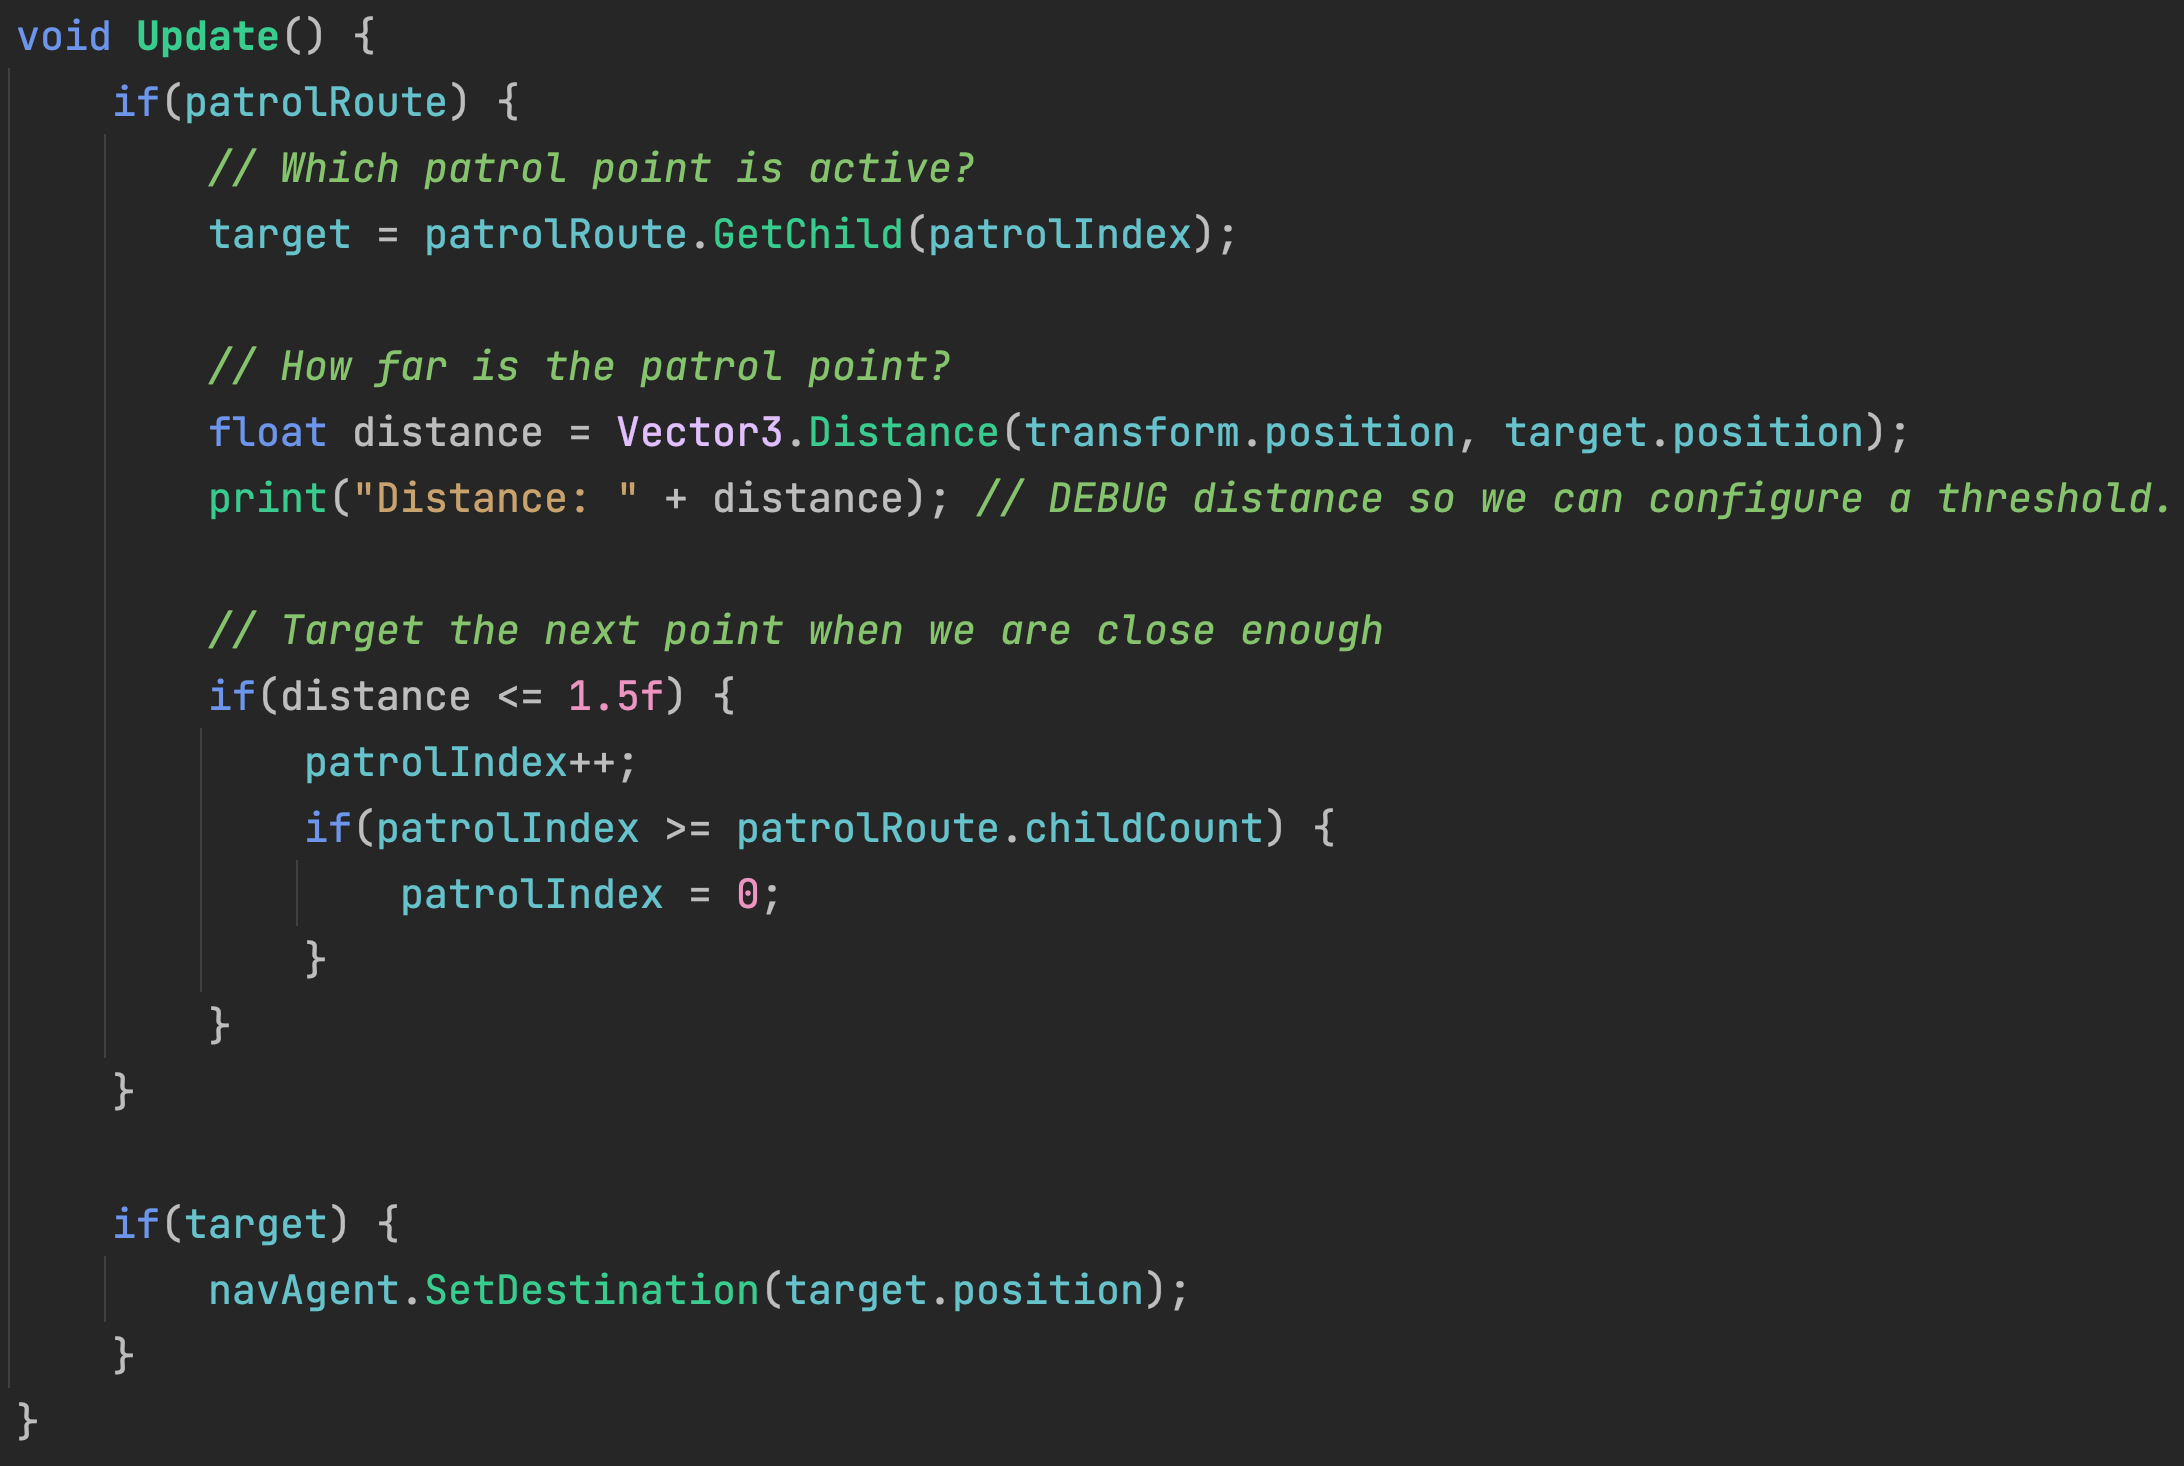
The threshold distance of 1.5 for switching patrol points may need to be adjusted depending on your terrain shape and the size of your character. In this code, I am printing distance to the console log to help you assess what that number should be.
If we playtest the game now, you should see that this enemy patrols its route by cycling through each patrol point in sequence. It does not yet know when to follow the player.
To have our enemy also chase the player, we need another outlet variable to define the player as a priority target and a configuration variable to define the range that will trigger a chase.
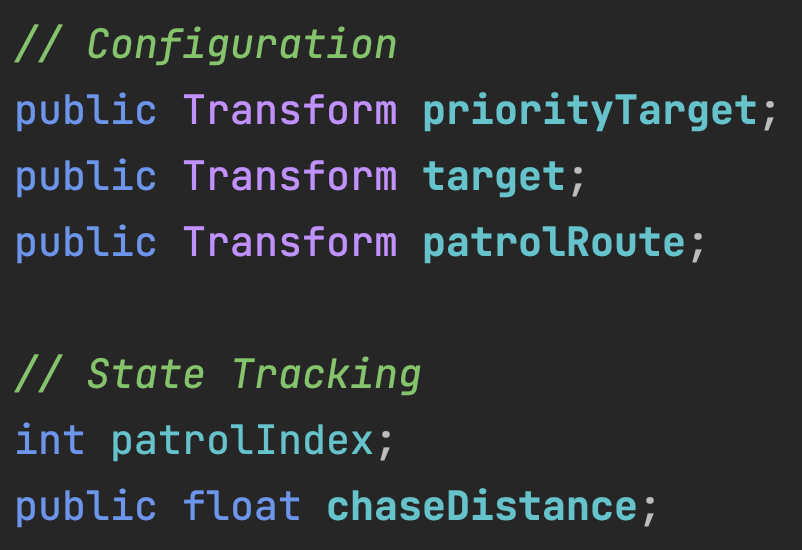
The player will be assigned as the priority target. (The target variable will change dynamically because of the patrol route.) A chase distance of 10 means if the player gets within 10 units of the enemy, they will be chased until they manage to get farther than 10 units again.
Finally, the patrol logic is refined with an extra condition that favors chasing the player if the distance conditions are met.
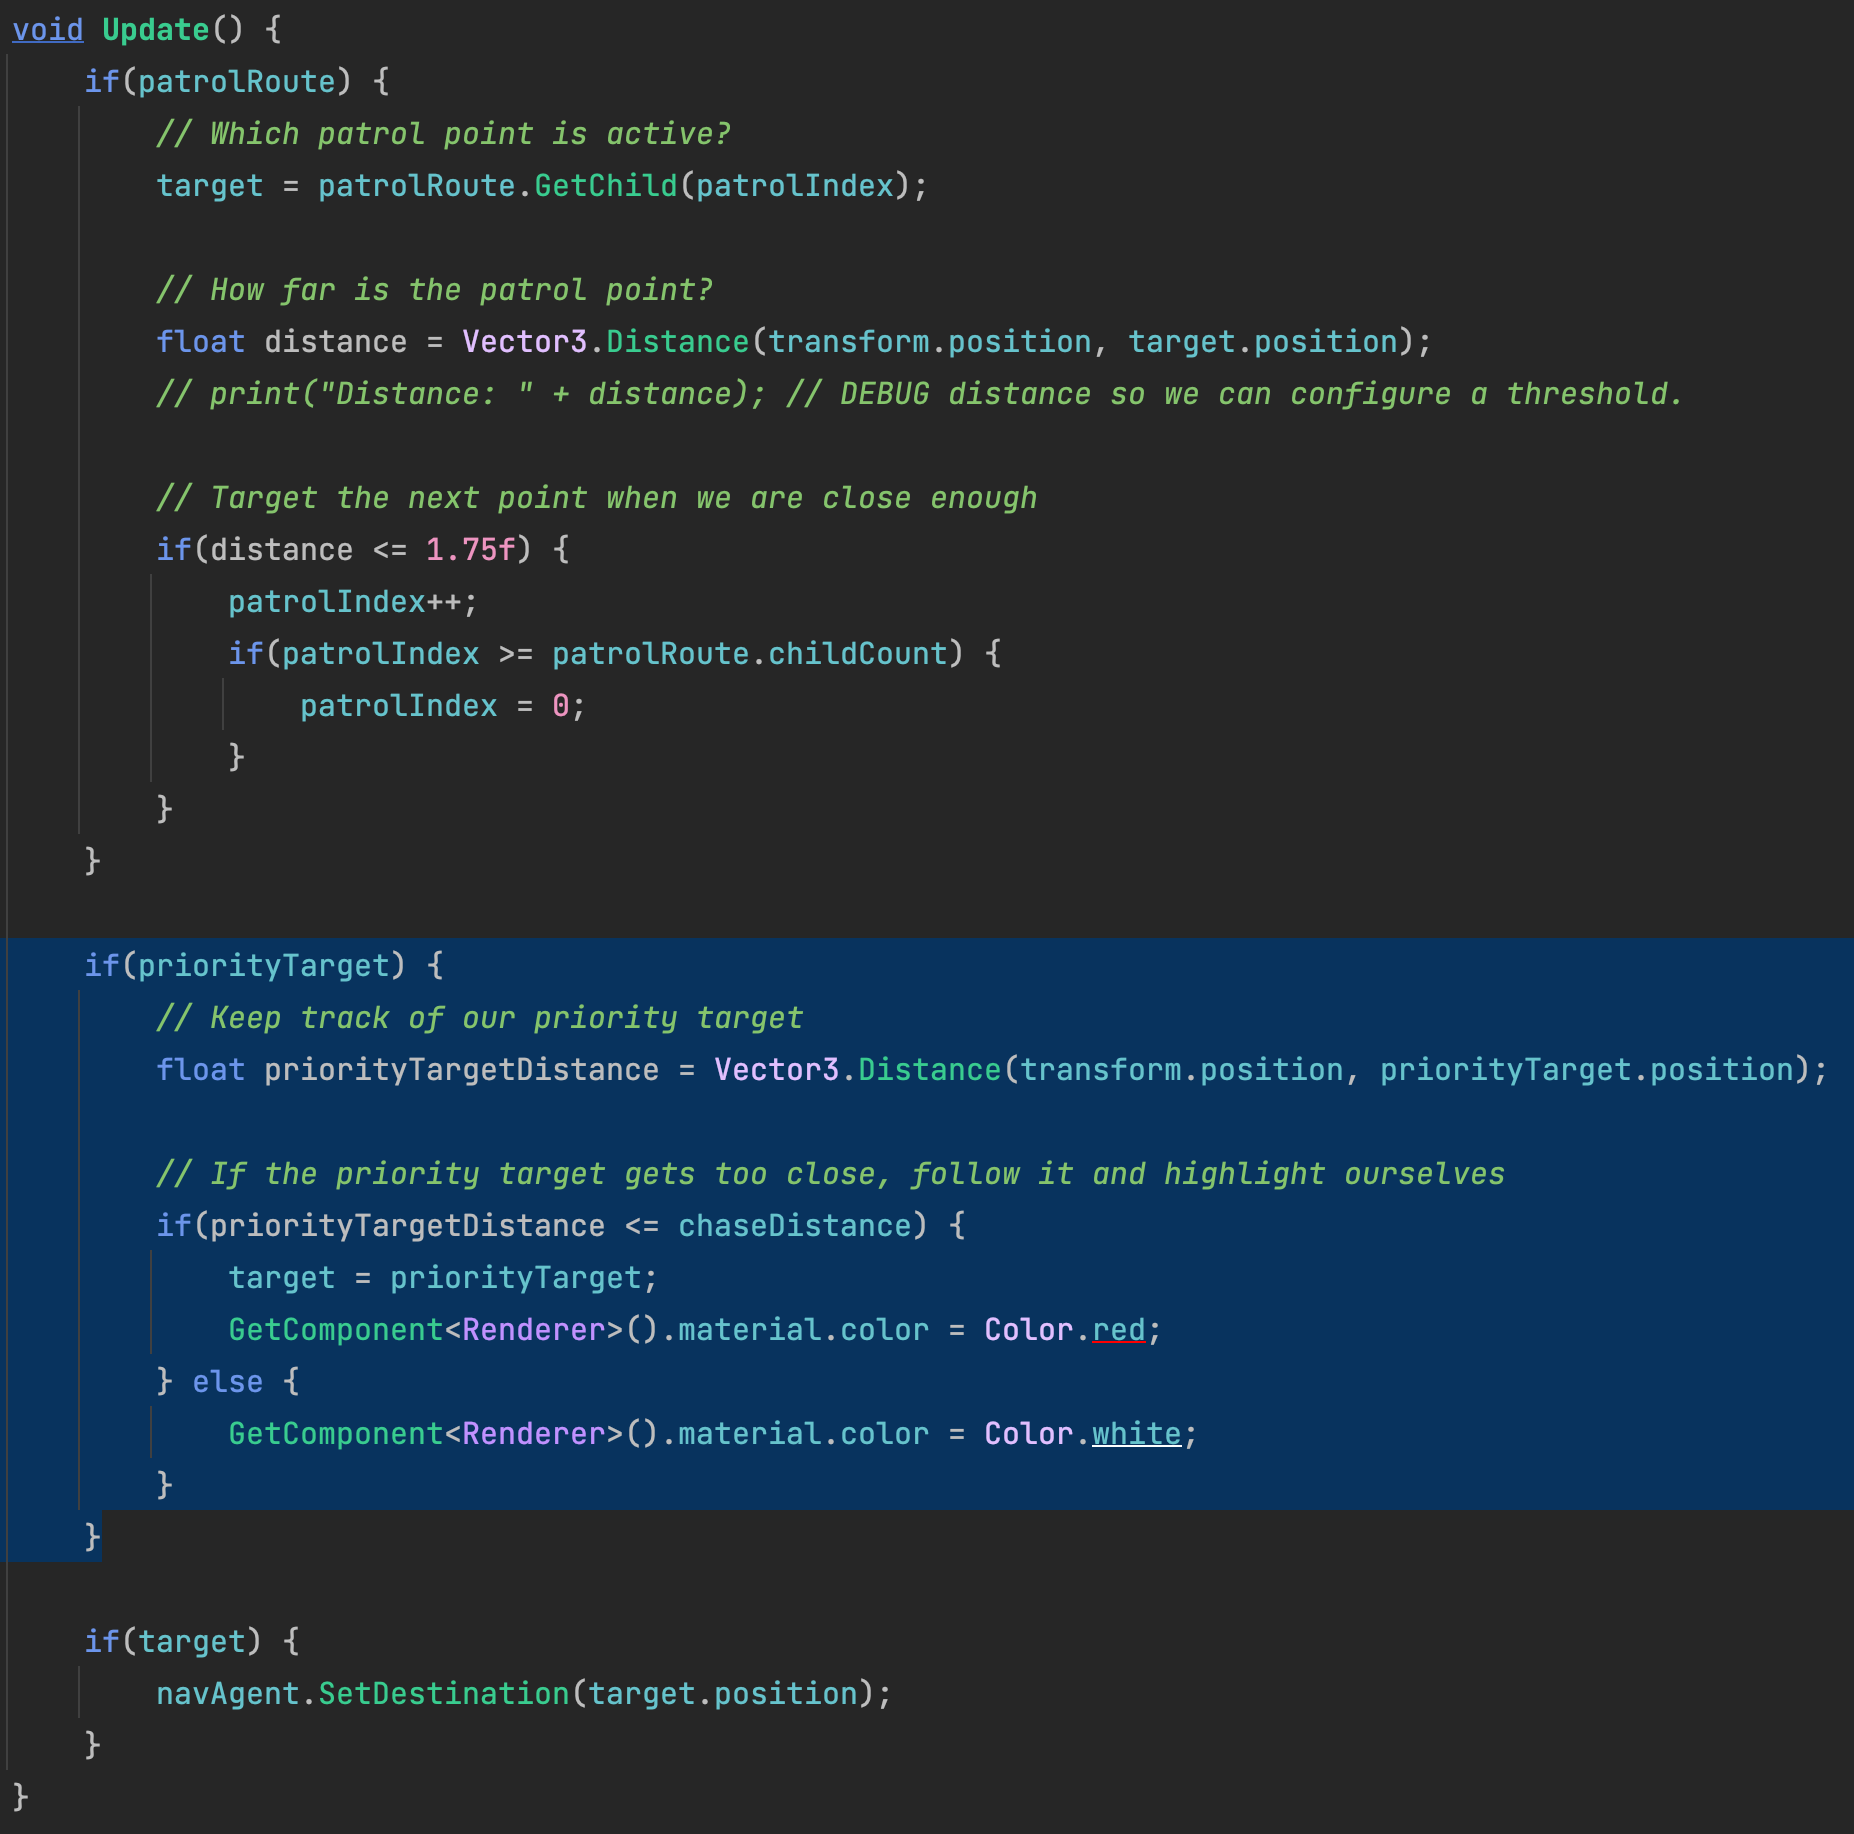
To help visualize the decision state of our enemy, we make it change its color to red when it is in chase mode.
Playtest to ensure all interactions work as expected and that the addition of any new features hasn’t broken any earlier interactions.
You must include both enemy behavior types as 2 separate entities:
SAVE any open files or scenes.
Submit your assignment for grading following the instructions supplied for your particular classroom.