Set Up Scene
Create an empty 3D scene in your scenes folder and name it Q3.
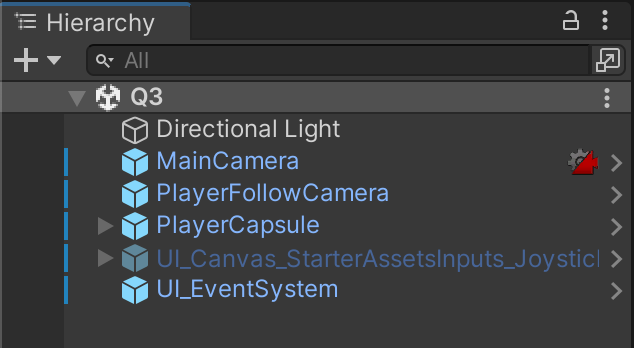
Set up a First-Person Character Rig in this scene as you learned in prior assignments.
Supporting files for VG2 quests are part of a single archive that you can download here.
Create an empty 3D scene in your scenes folder and name it Q3.
Set up a First-Person Character Rig in this scene as you learned in prior assignments.
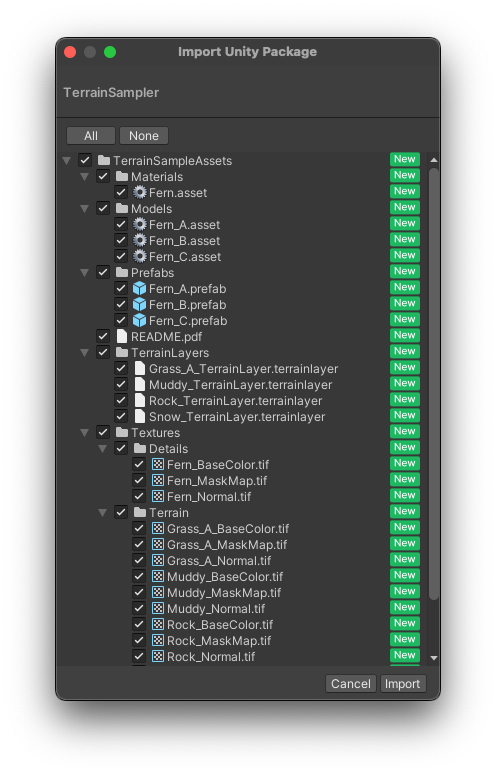
Find "TerrainSampler.unitypackage" in the course files and download it to your local drive. Do NOT drag this file into your Unity project.
This package is a small portion of Unity's "Terrain Sample Asset Pack" which we will use to create our landscape. The full pack is around 2GB and much too large for classroom purposes. To keep project size under control, I have provided a smaller package with only the necessary assets. If you would like to use the full asset in your own personal projects it can be found at https://assetstore.unity.com/packages/3d/environments/landscapes/terrain-sample-asset-pack-145808.
Do NOT use the full 2GB package for class. You will likely run into cloud storage limits.
Instead of dragging the unitypackage into your project, double-click it. Always review what files you are adding, so you are aware of what is in your project at all times.
Now that our project's packages are set up, we can begin creating our terrain environment. Create a Terrain game object from the Hiearchy tab using + > 3D Object > Terrain.
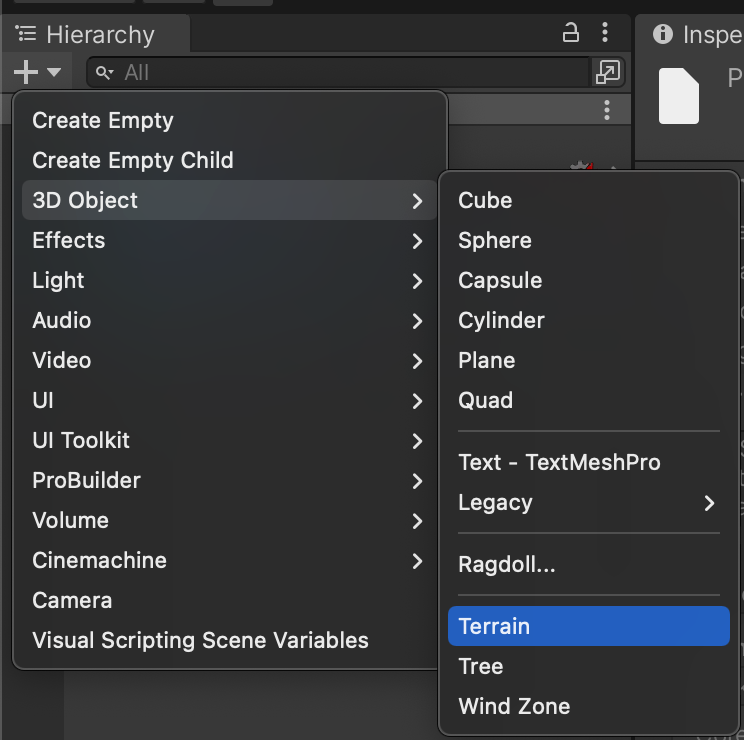
You will see your Scene populated by a vast flat landscape.
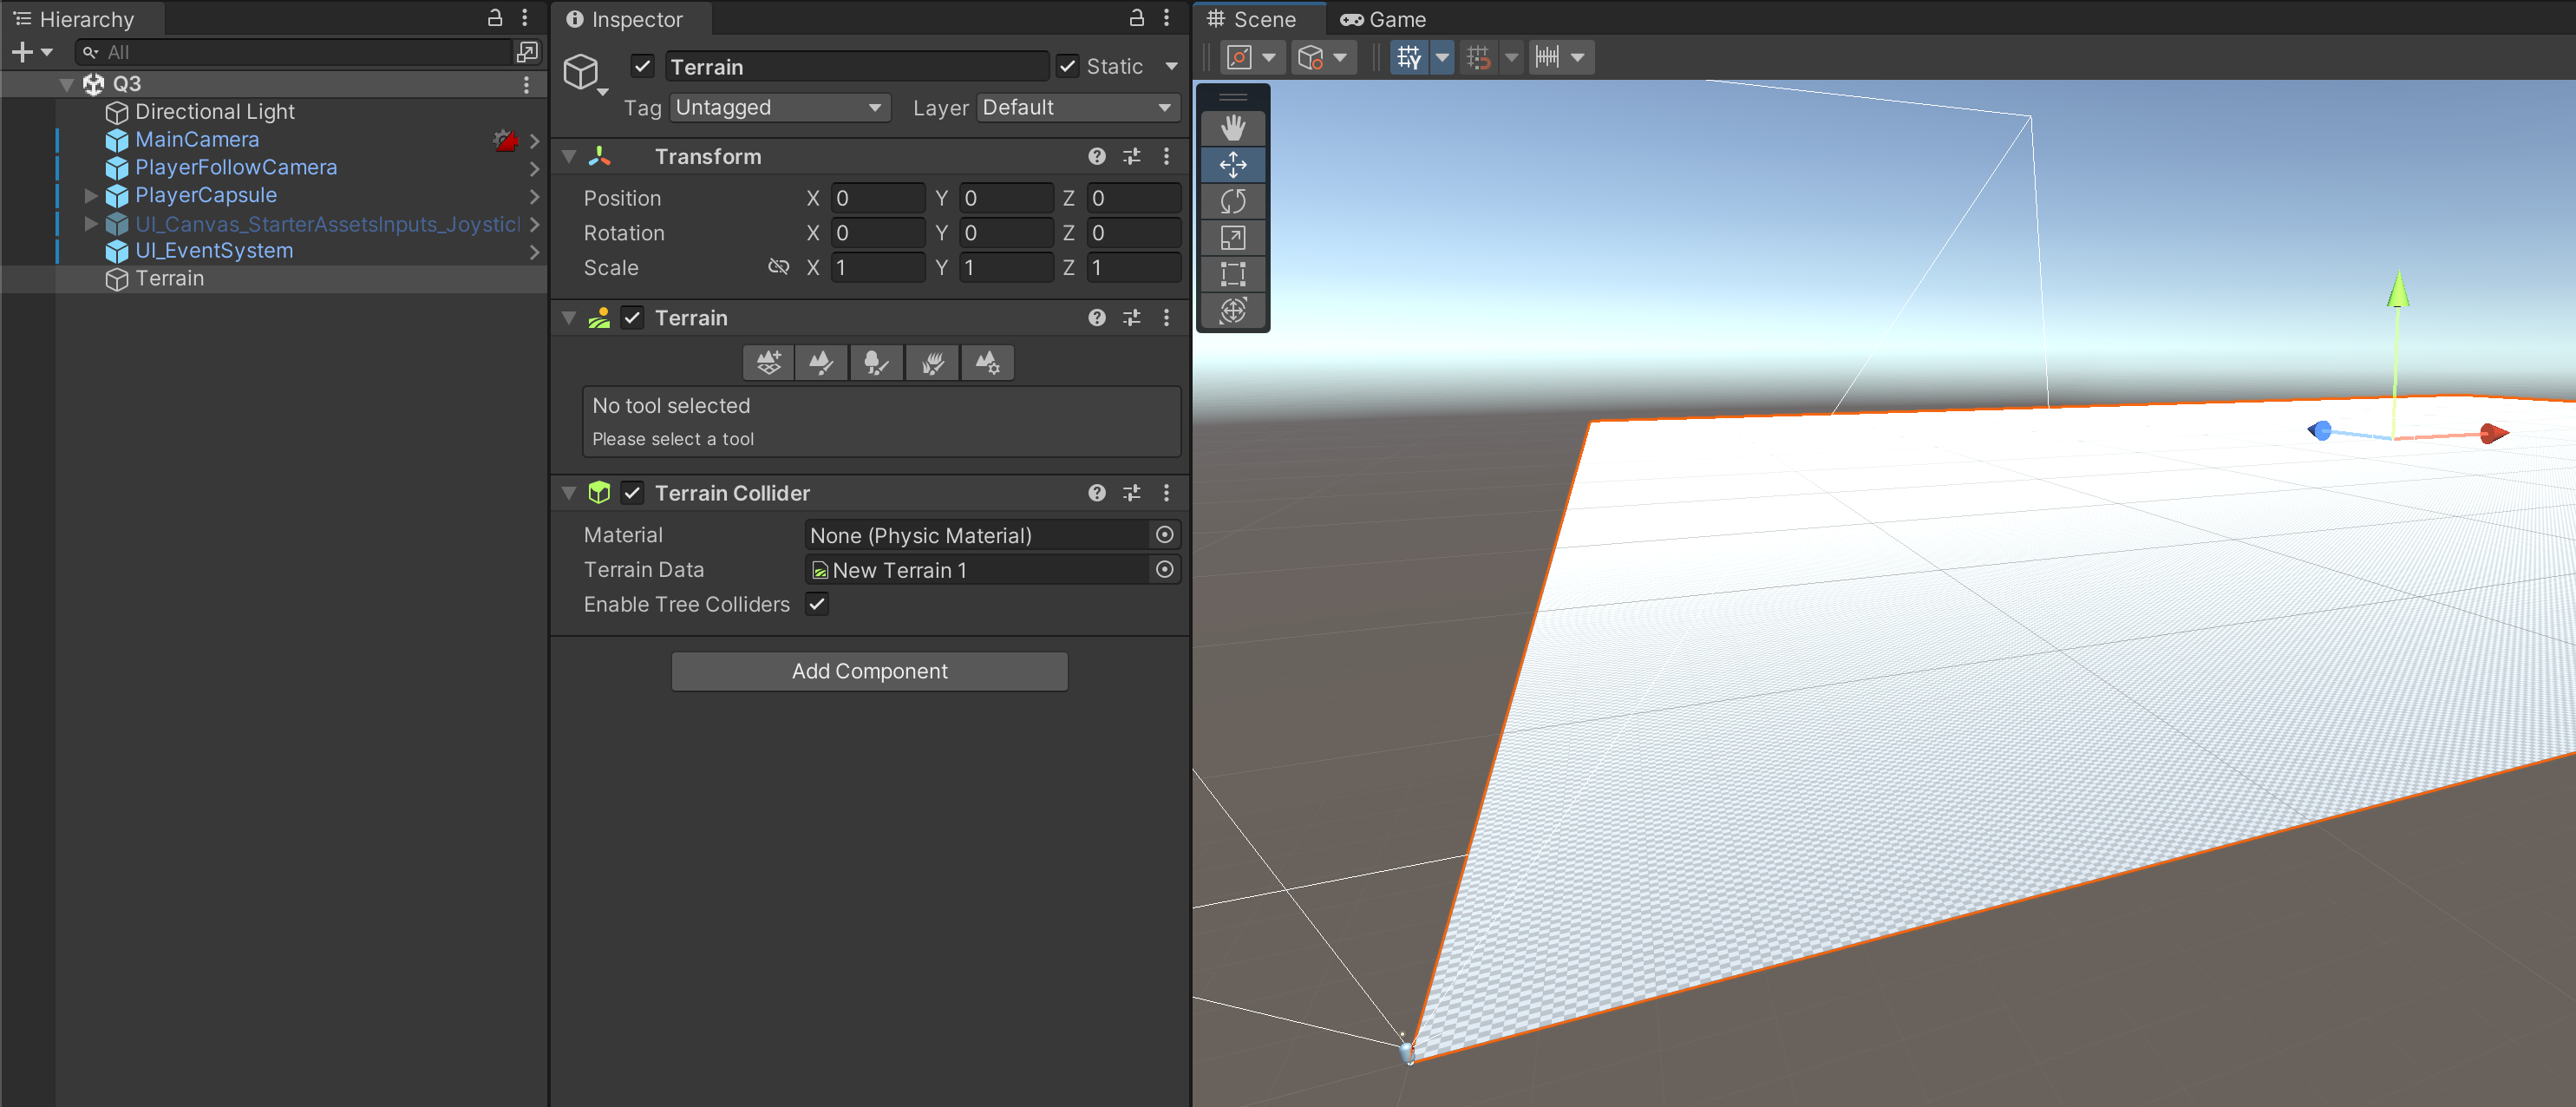
At first glance, you'll notice that this landscape is actually quite large. (Definitely too large for the expectations of this assignment.)
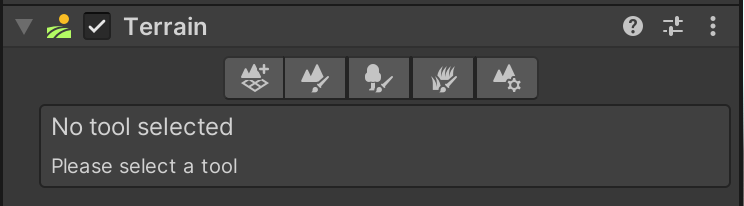
Examining the Terrain component on the Terrain game object, you will see five tabs that represent five categories of terrain tools.
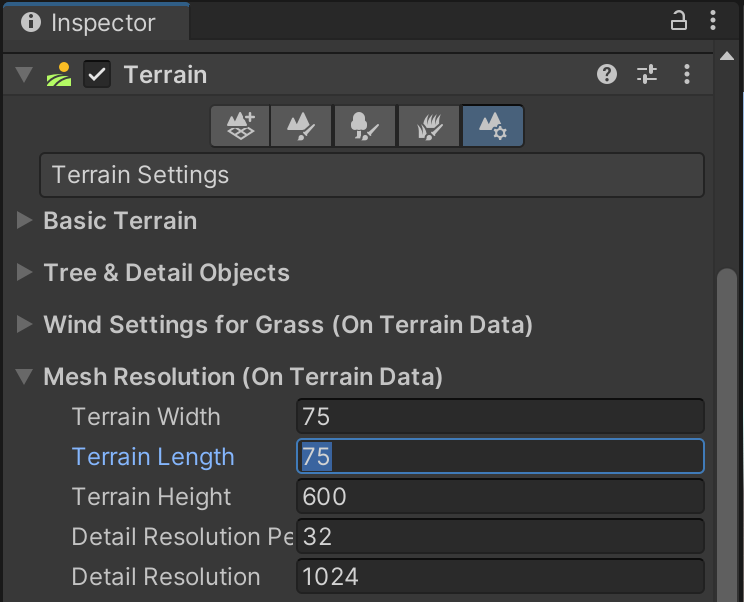
Using the fifth tab which is Terrain Settings, find the "Mesh Resolution" settings category. The default size for the Terrain Width and Length is 1000. Because Unity units are in metric, this means the default terrain is 1 kilometer squared.
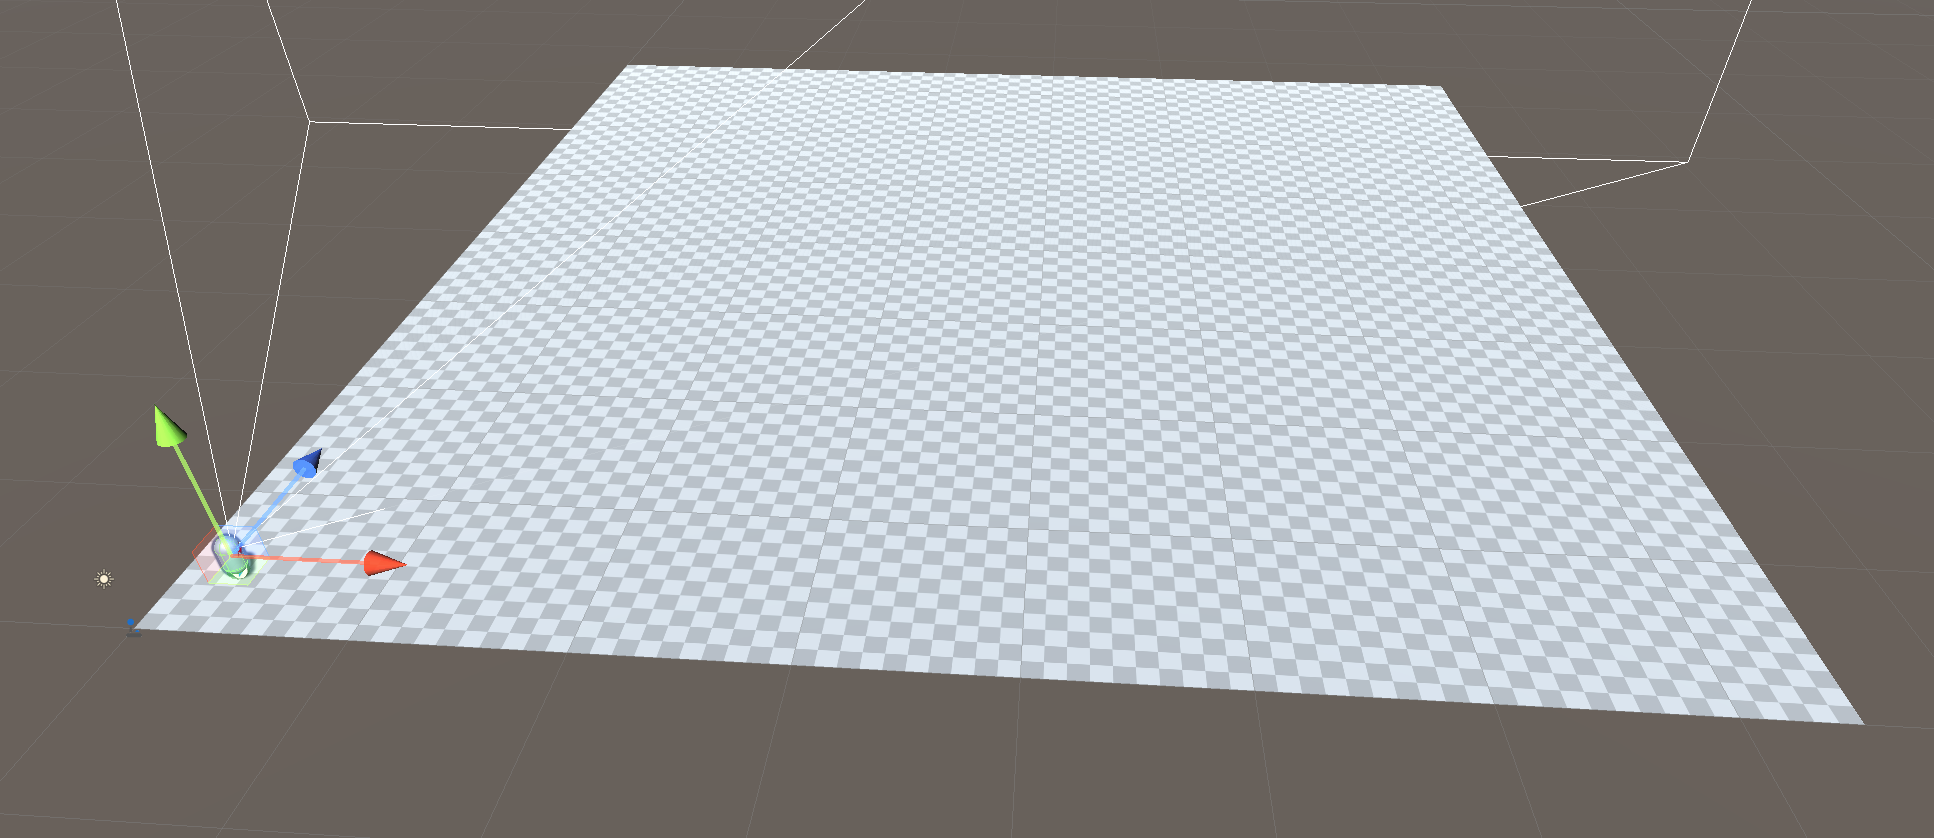
These instructions will reduce the terrain width AND length to 75 which is much closer to the size of a real-life city block. The actual size you use is up to you and your own design. Remember: It is always easier to add terrain later than to remove it.
Size can be deceiving. Always playtest your game and walk around your landscape before moving on to make sure the size is what you would expect.
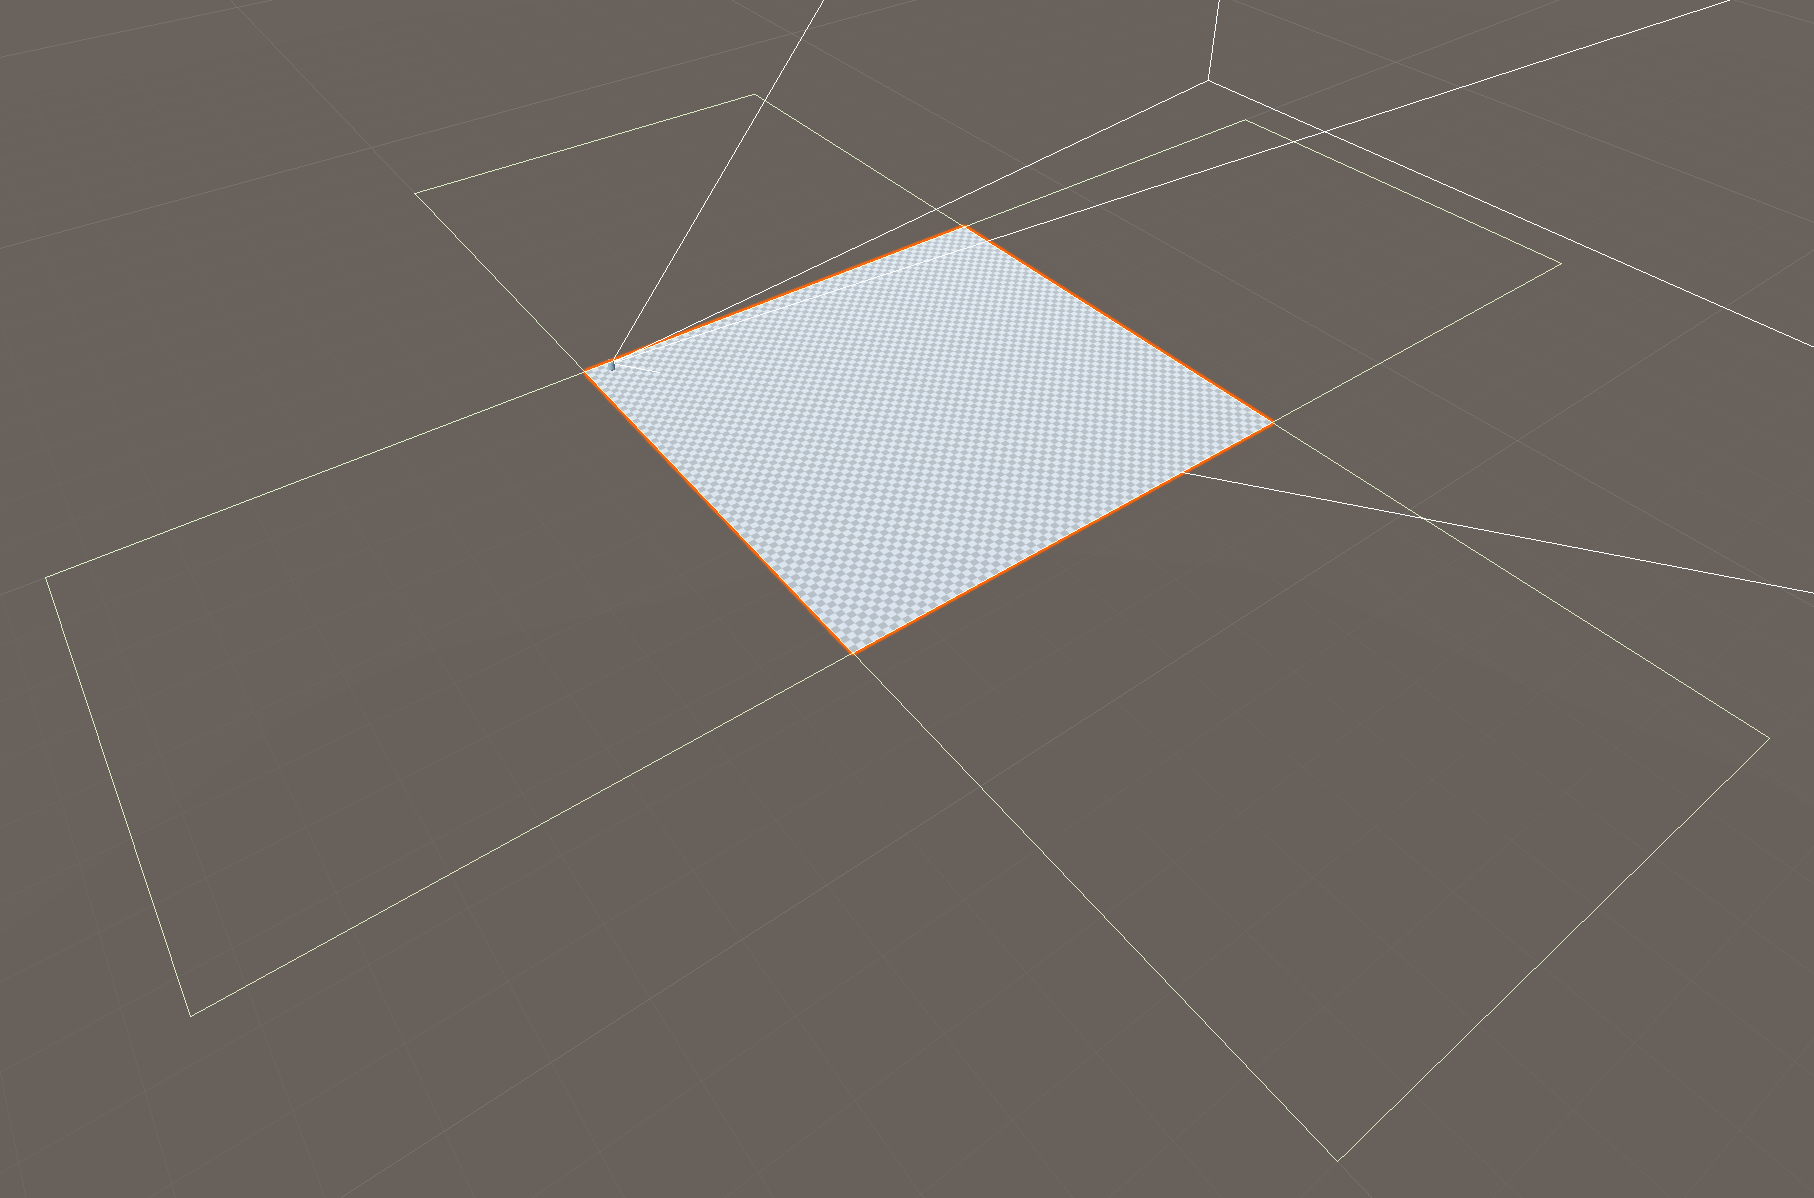
If in the future you decide to increase the size of your landscape, you can use the first tool in the Terrain component, which is the "Create Neighbor Terrains" tool.
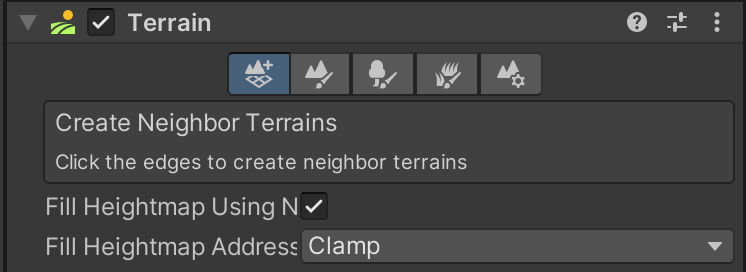
This tool lets you create additional neighboring Terrain objects that connect together like tiles. Starting with a small terrain size means we can add tiles in smaller workable chunks rather than an overwhelmingly huge landscape.
SAVE frequently. Terrain editing is a very nuanced and subjective process. It is very unfortunate to lose work that took a lot of experimentation to achieve.
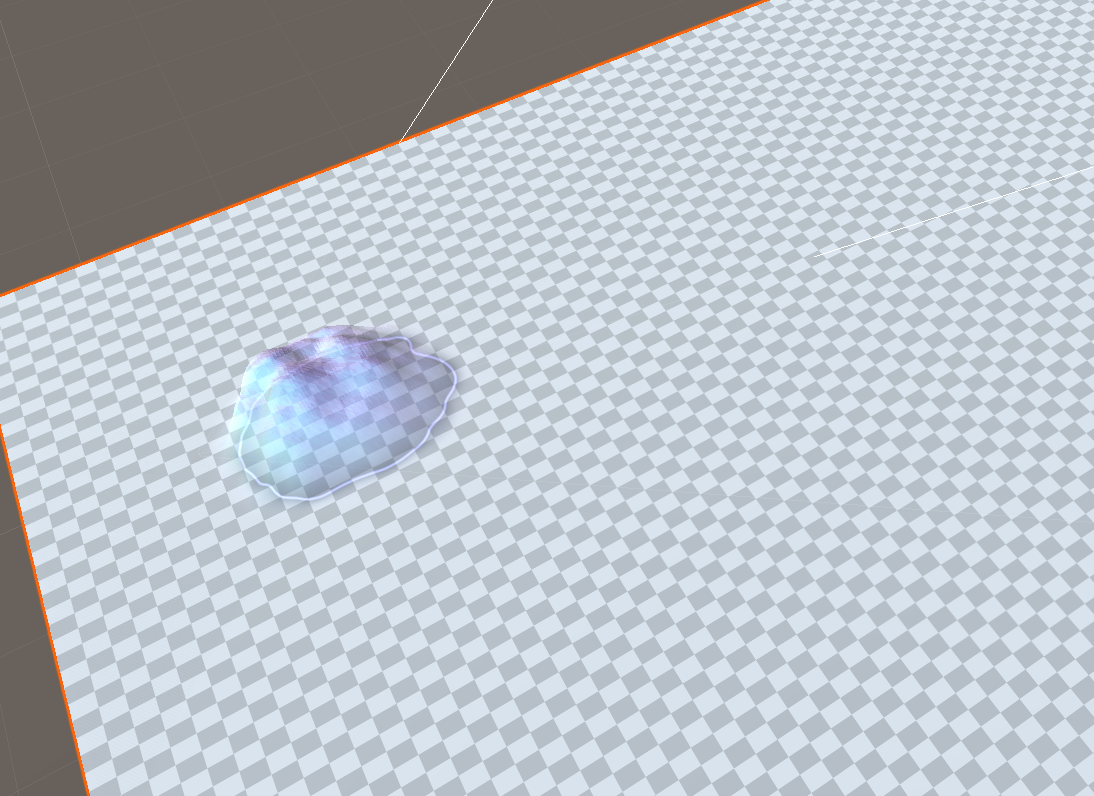
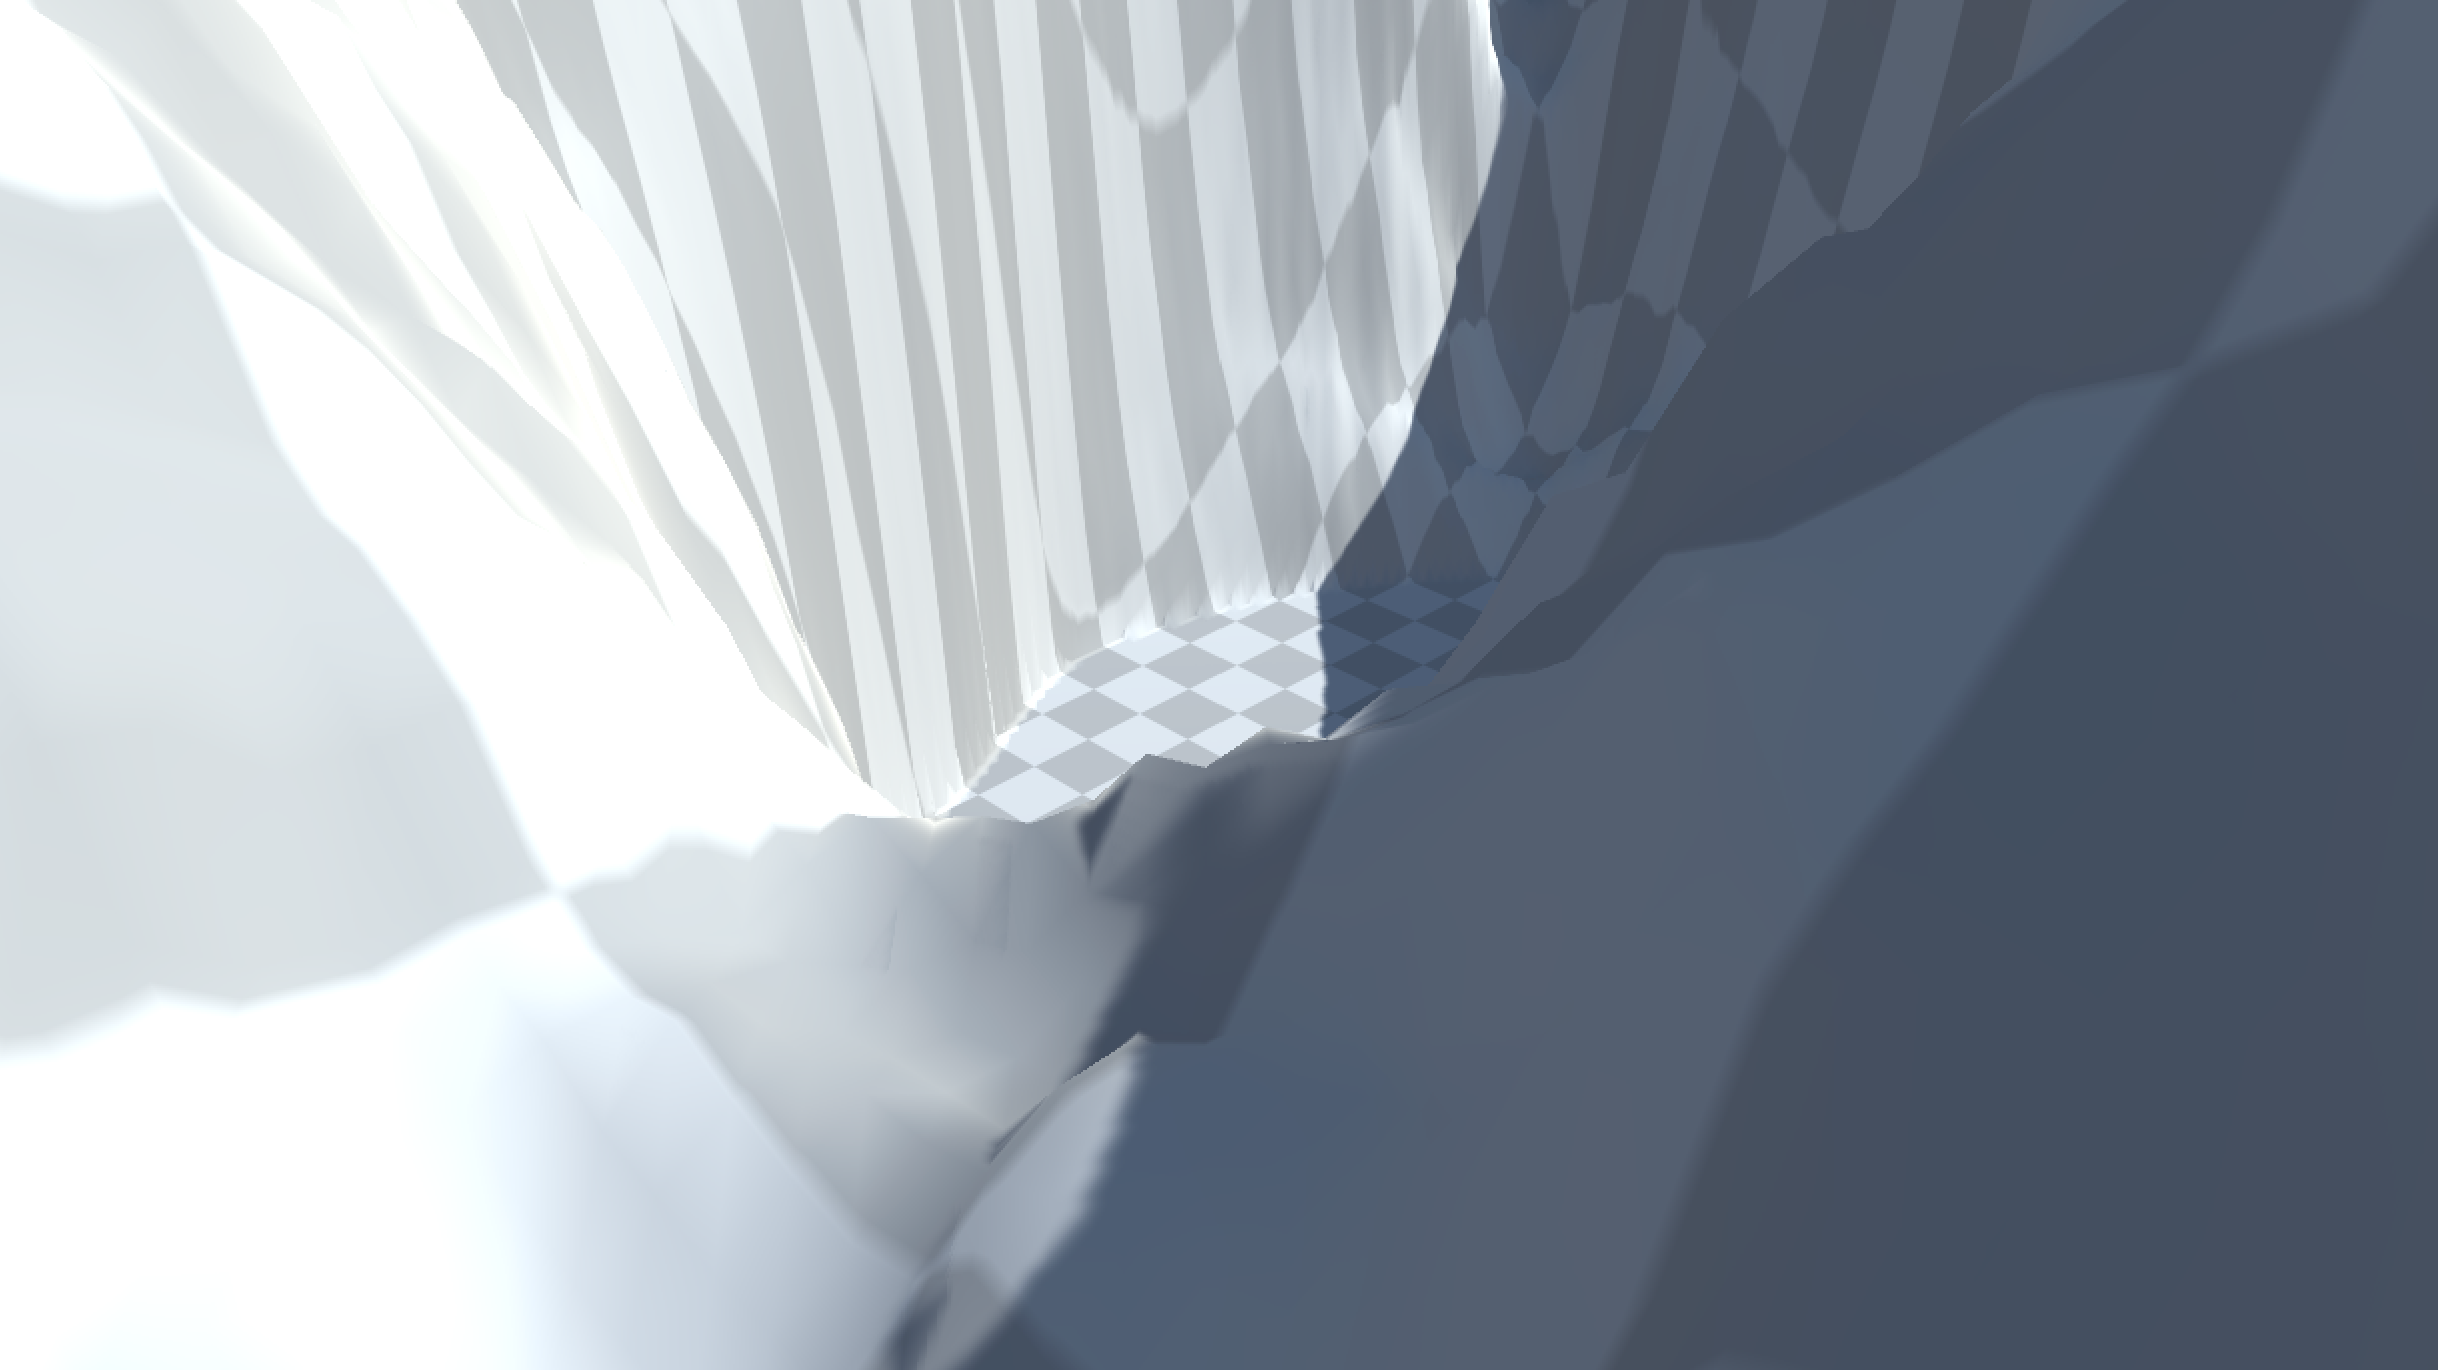
While both Terrain and ProBuilder operate on 3D meshes, Terrain differs in that it uses a height map to describe shape. A height map is a greyscale (black and white monochromatic) image where lighter pixels represent high altitude, while darker pixels represent low altitude.
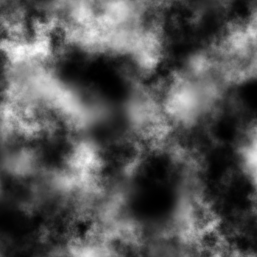
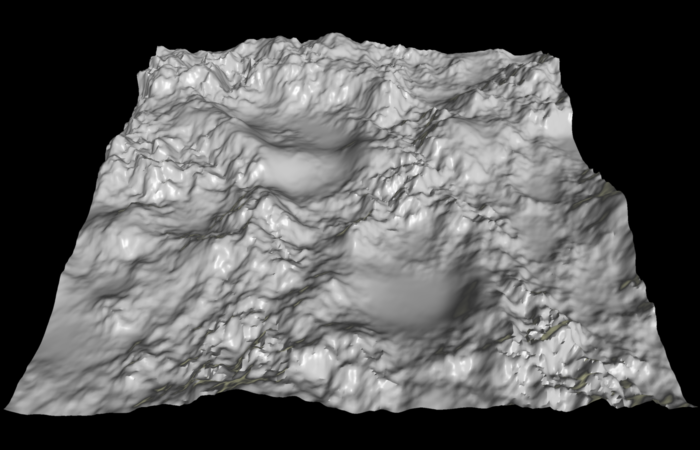
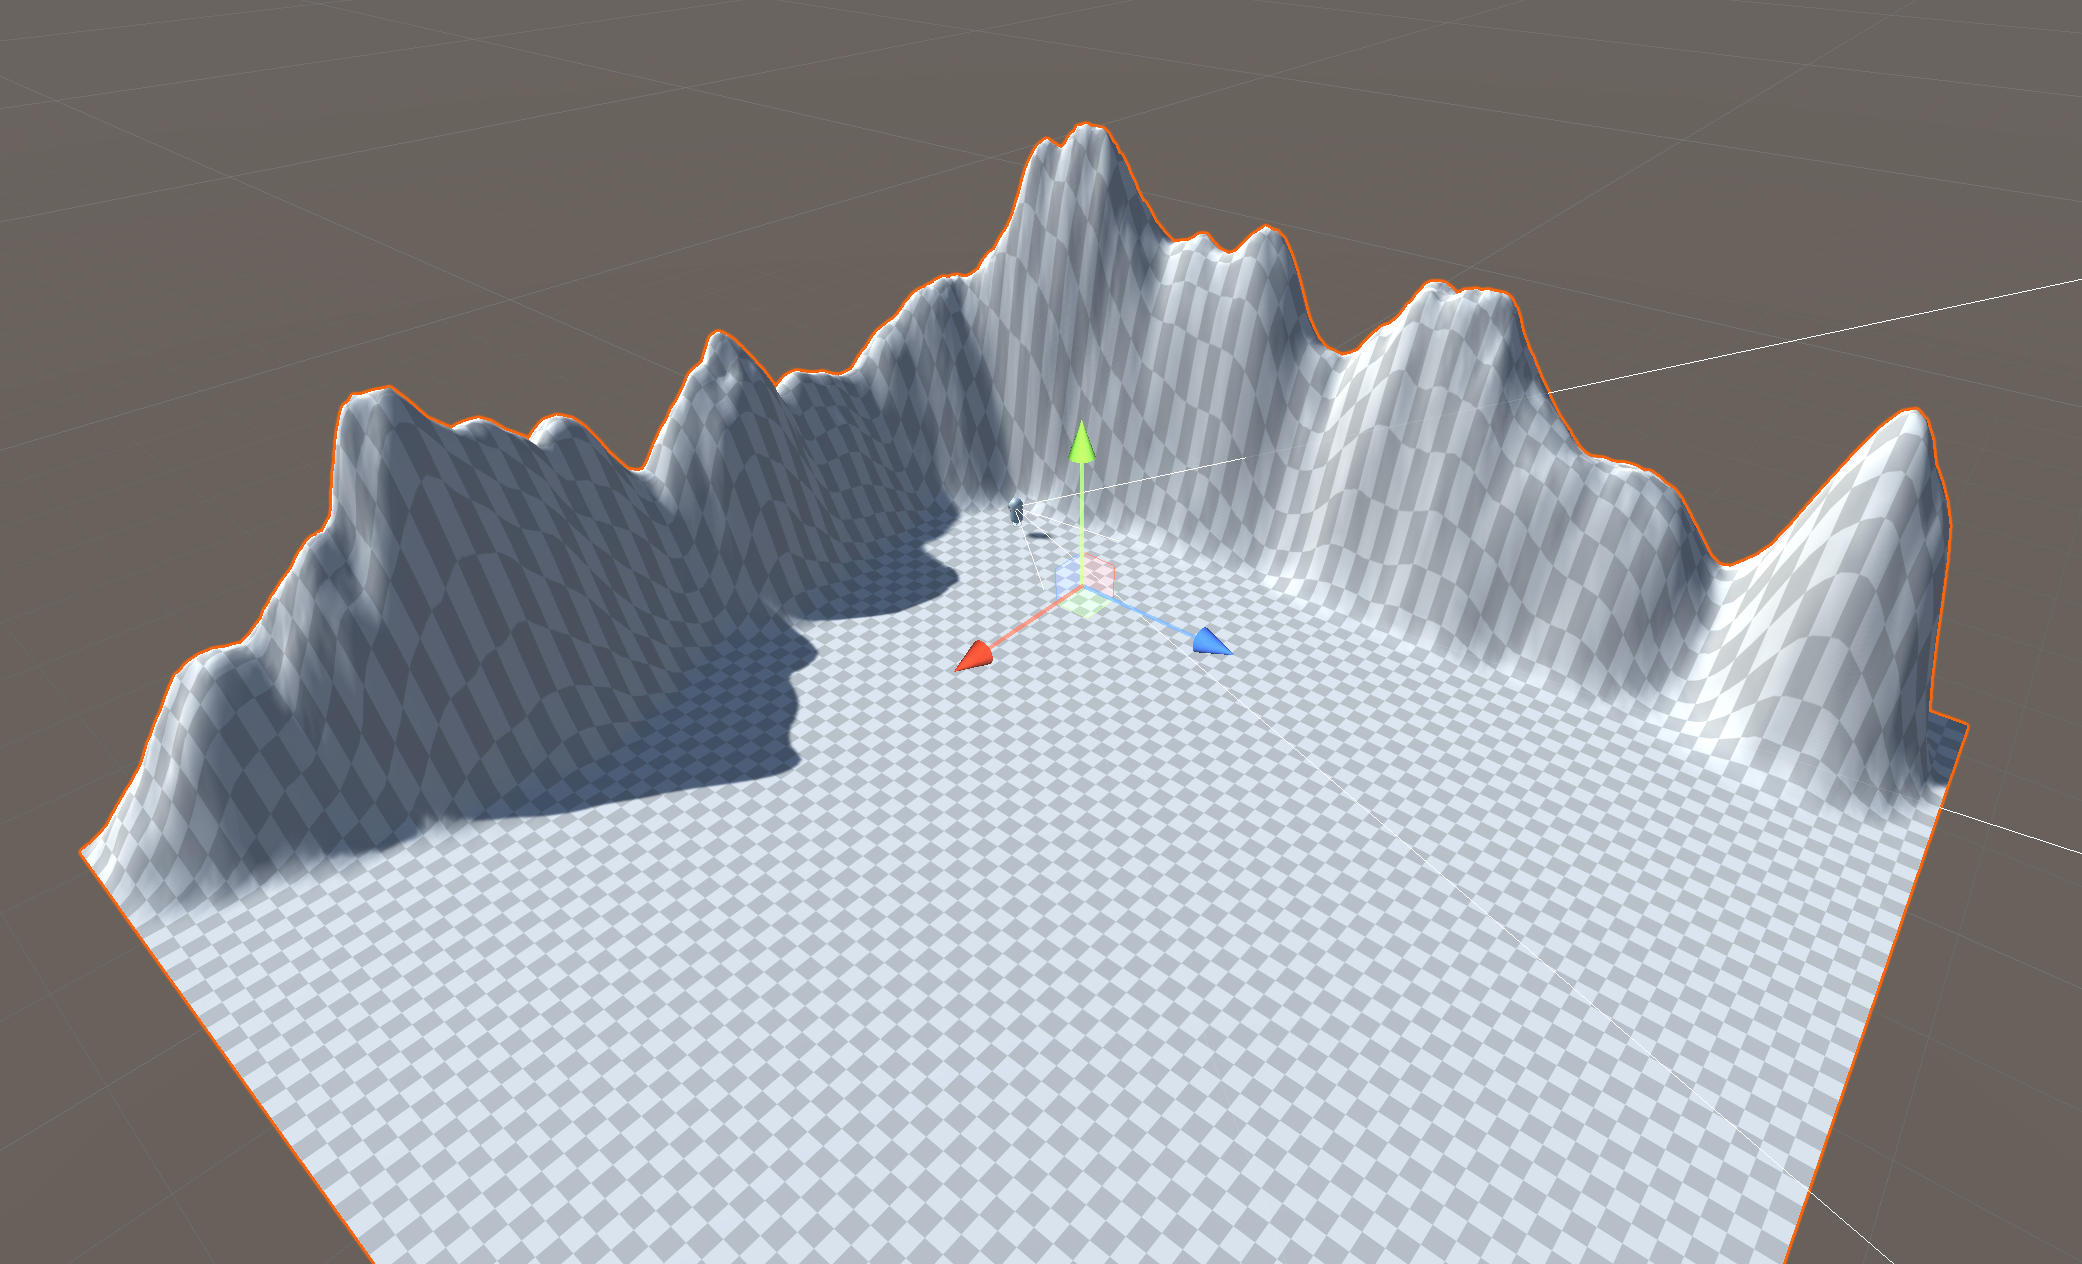
This same 2D image would be interpreted as this 3D landscape when used as a height map.
By using the Terrain component, you are essentially "painting" a 2D image to represent your 3D landscape. Because of this, many of the tools will imitate techniques you commonly see in other applications such as Paint and Photoshop. The second tool in the Terrain component has a variety of modes for this purpose.
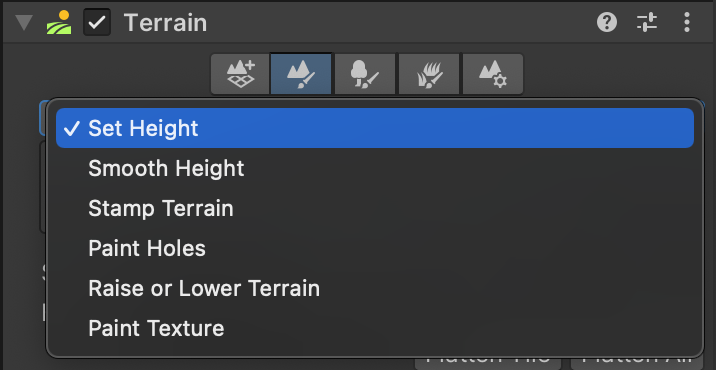
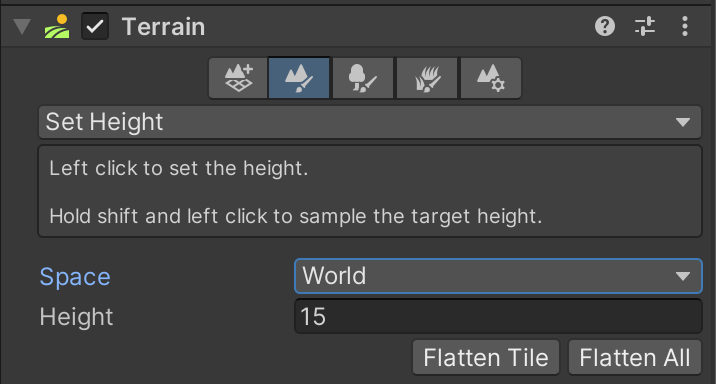
Currently, our landscape is represented by a completely black heightmap. This means the altitude of every point is at zero. We cannot lower the terrain any farther because you can't have negative values in a heightmap. In order to give us room both to raise terrain upward but also dig downward, we are going to reset the height of our entire terrain to 15. Using the "Set Height" tool, specify a height of 15 and click "Flatten Tile" to raise the tile to this value. Notice how your Terrain in the Scene view updates accordingly.
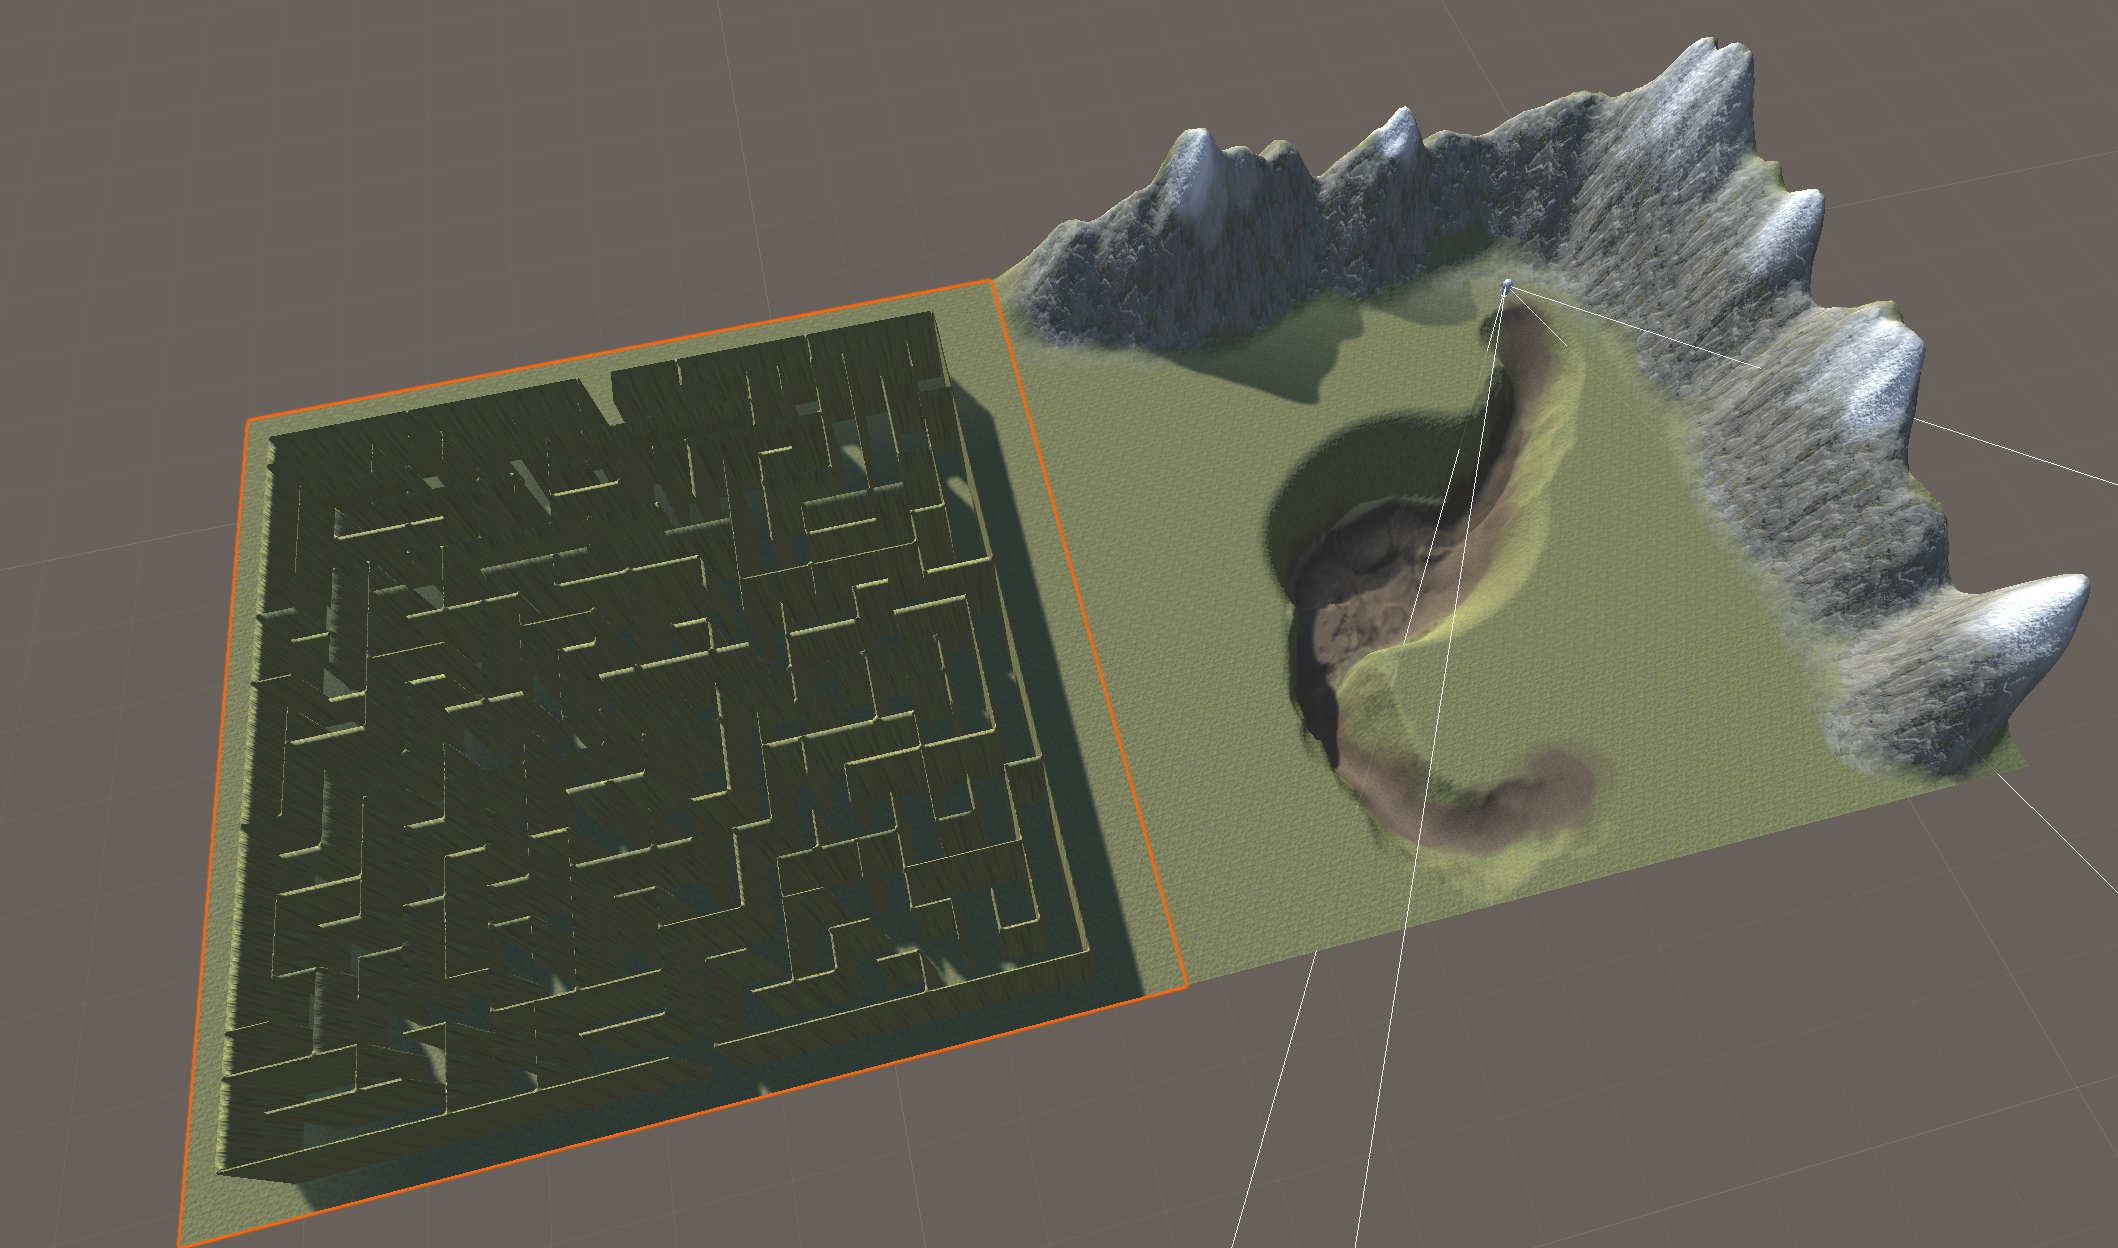
Good level design is a mixture of achieving aesthetic goals, while also guiding player behavior through desired areas. There are FIVE requirements to this assignment:
(A preview of how these requirements might come together)
Using the "Raise or Lower Terrain" tool, experiment by selecting a variety of Brush shapes, sizes, and opacities and clicking/dragging on the Terrain object in the Scene view.
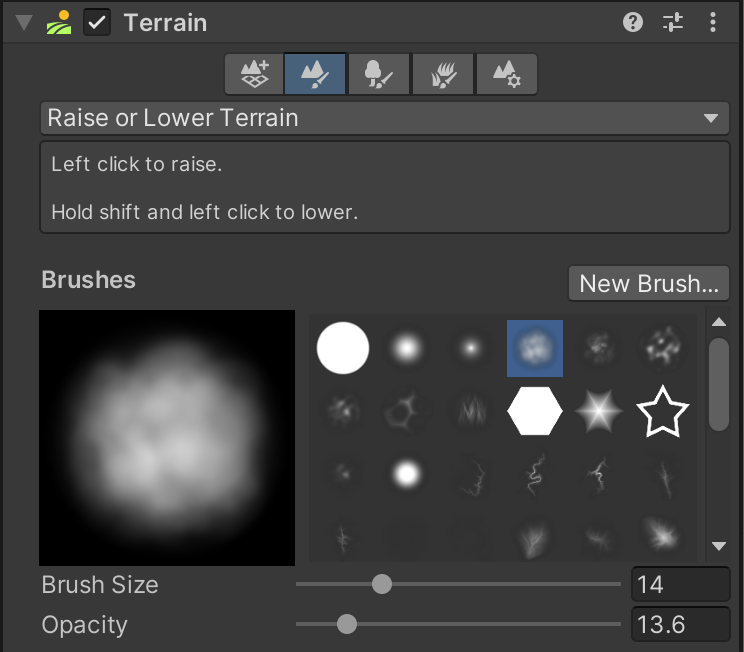
Hovering over the terrain will show a preview of the effect the tool will have with its current settings. The brush graphic and size represent the shape of the changes you are making to the landscape, while opacity represents the strength of the effect. Your results will vary drastically based on your tool settings and mouse sensitivity. You will have to experiment to find what settings work best for you.
Your goal in this first step is to create an area of high elevation that cannot be climbed so that the player is confined to the level and doesn't fall off.
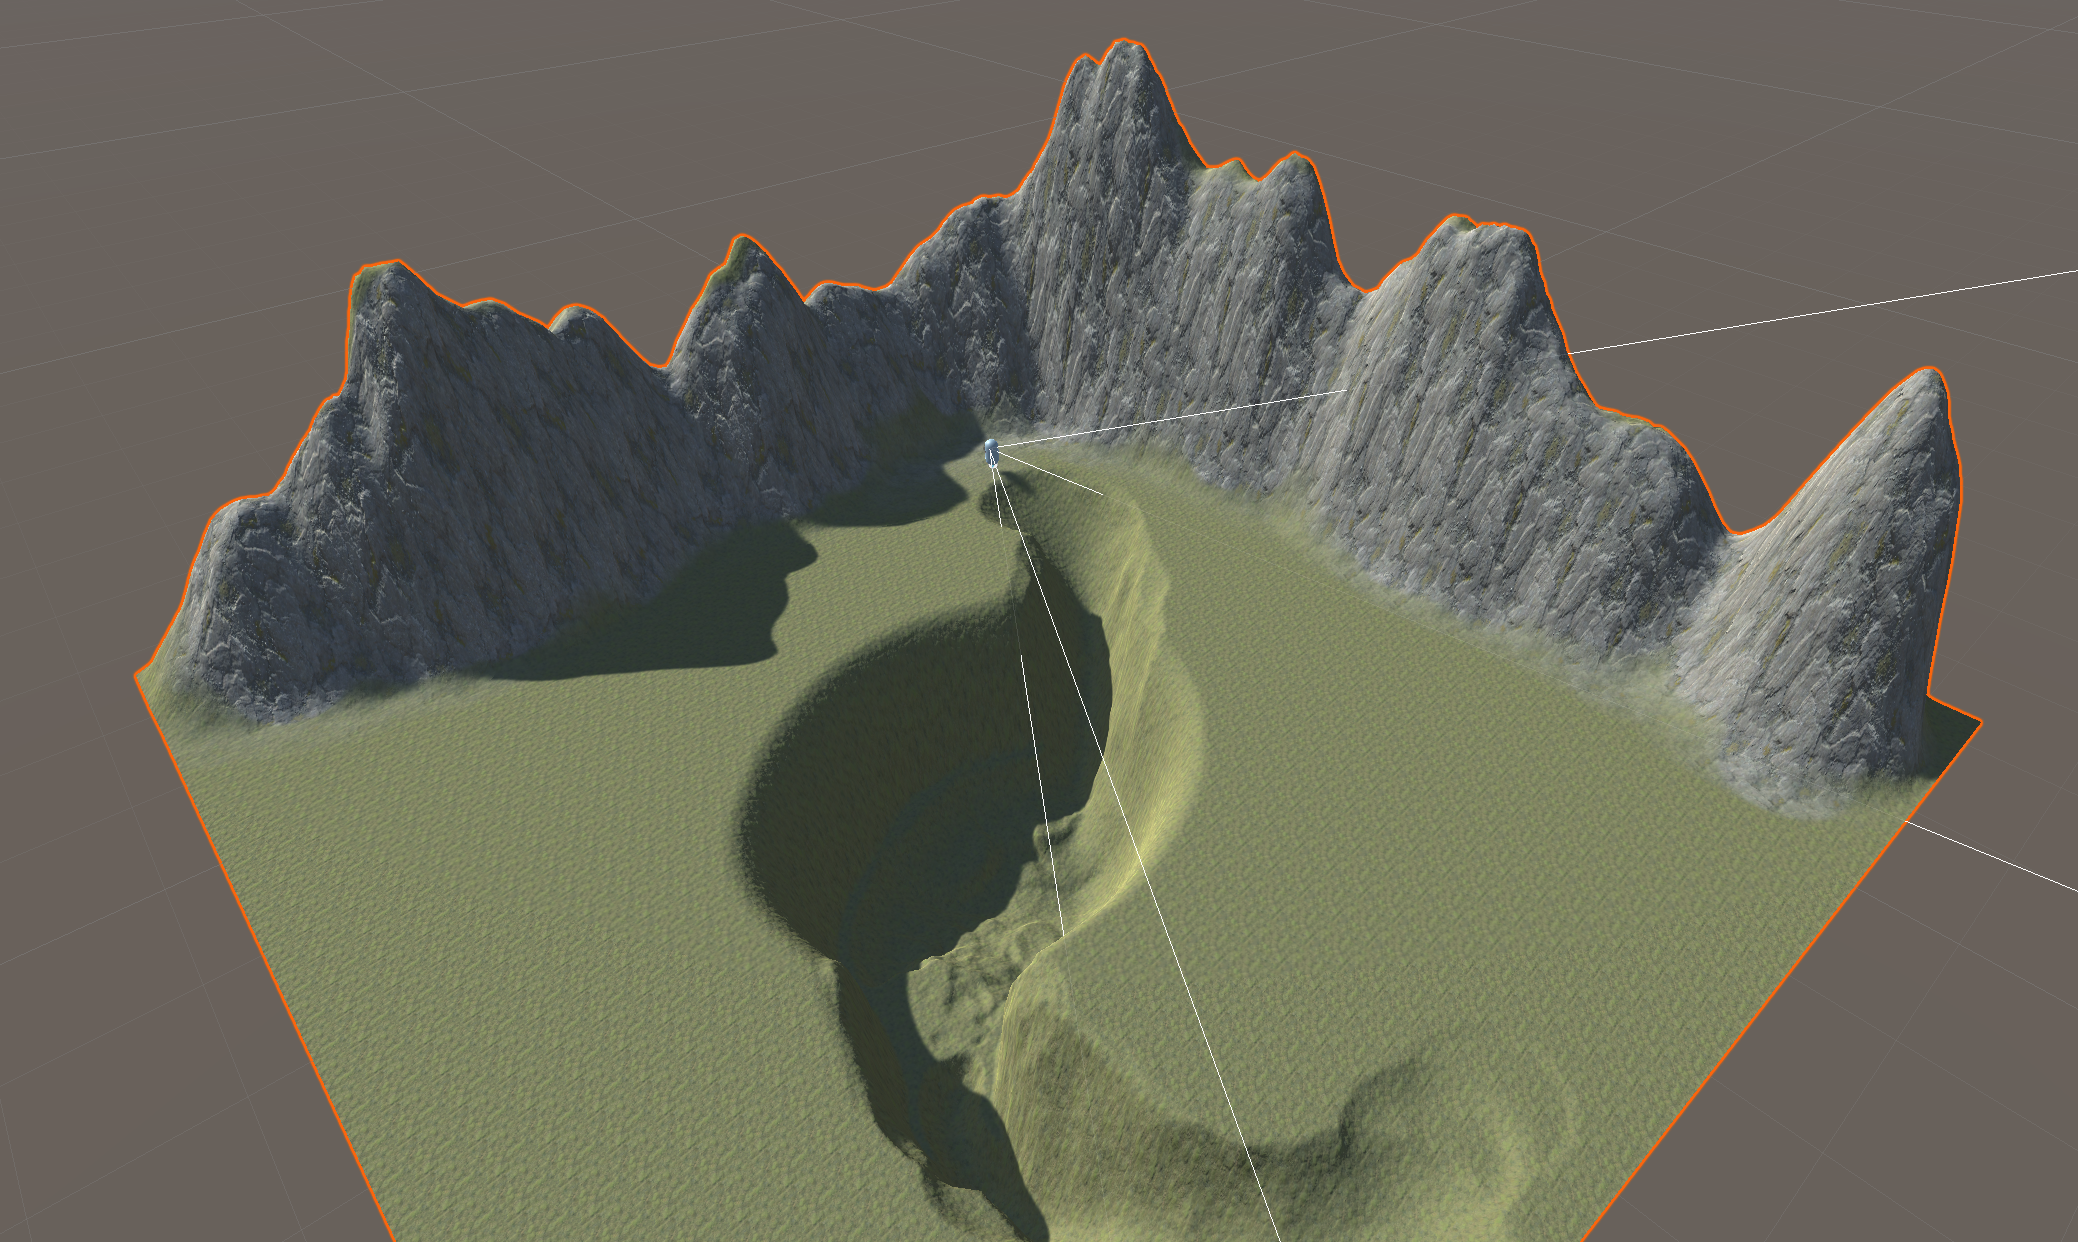
In this example, I've used the Raise Terrain tool to create a mountain range bordering two sides of the tile. From the perspective of the player, this level design conveys that the player should head away from the edges and move deeper into the landscape. (You may need to relocate your PlayerCapsule because of the changing landscape.)
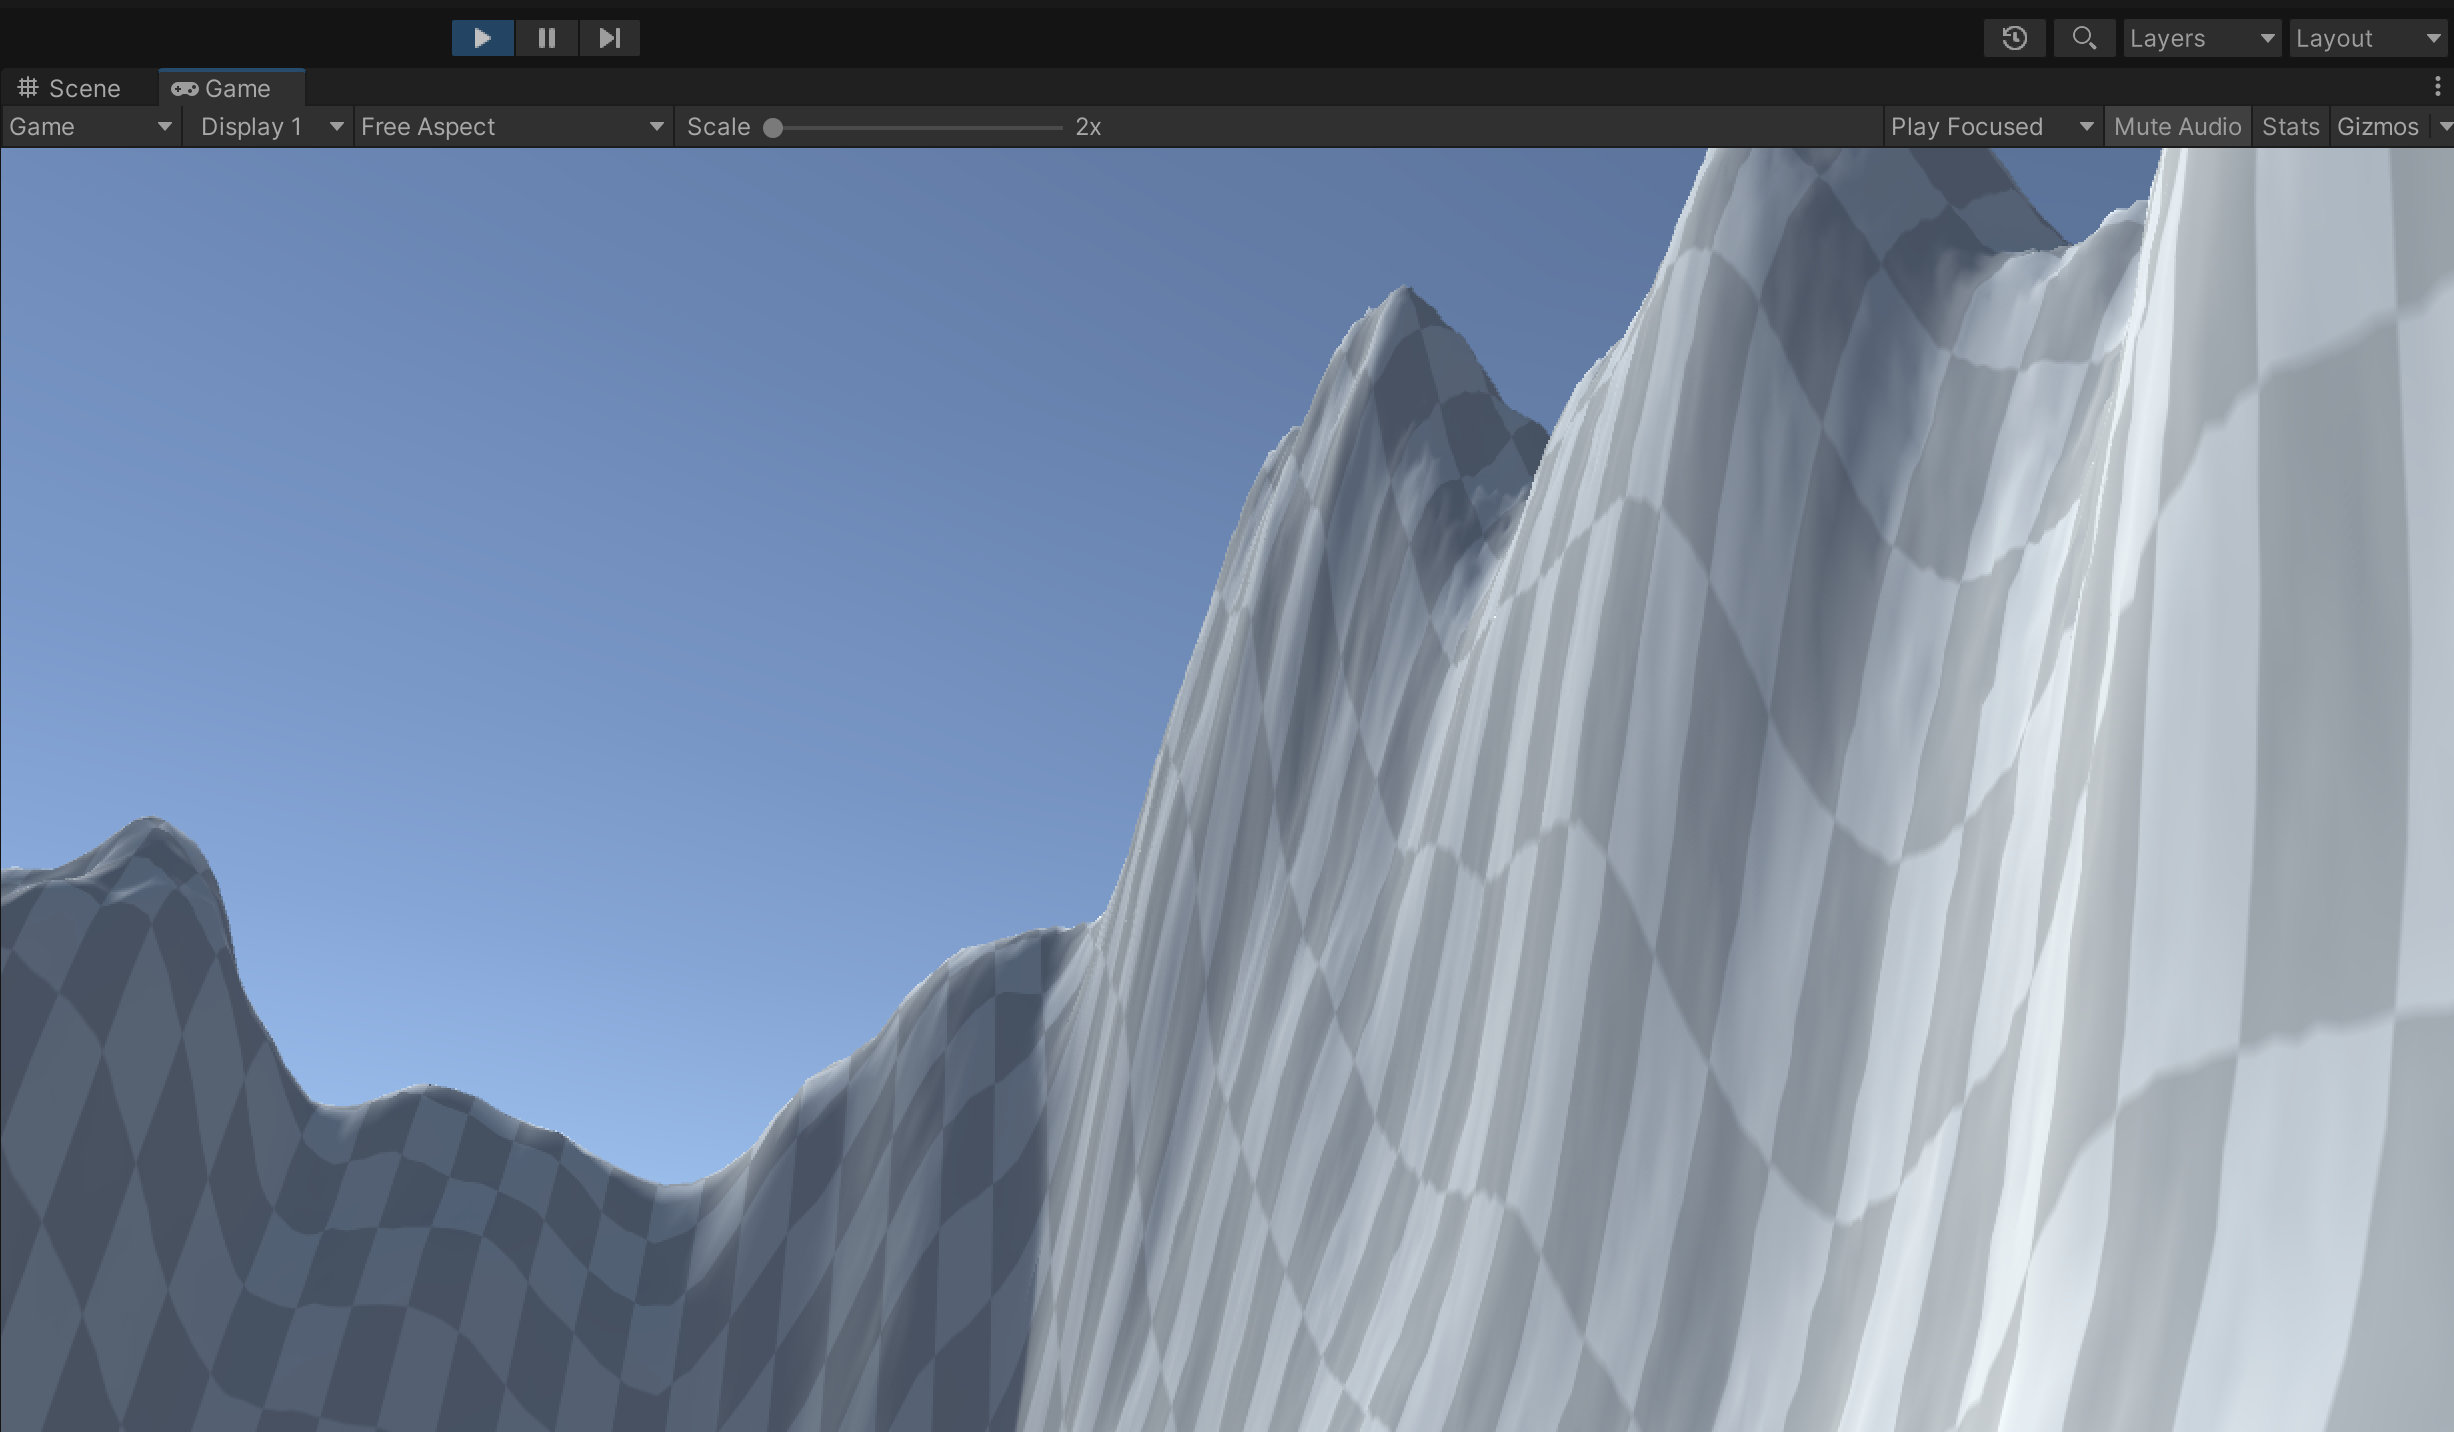
Because sizes can be deceiving, playtest the game and check that the mountains are as tall and impassable as you expected.
The second requirement asks that we utilize low terrain to create an area of interest that guides the player along a route. Remember: We can only lower the terrain if we previously raised it above its default altitude of 0.
Using the same Terrain tool, holding Shift will make the tool lower terrain intead of raising. Again, experiment with different brush settings that create the desired effect for your work style.
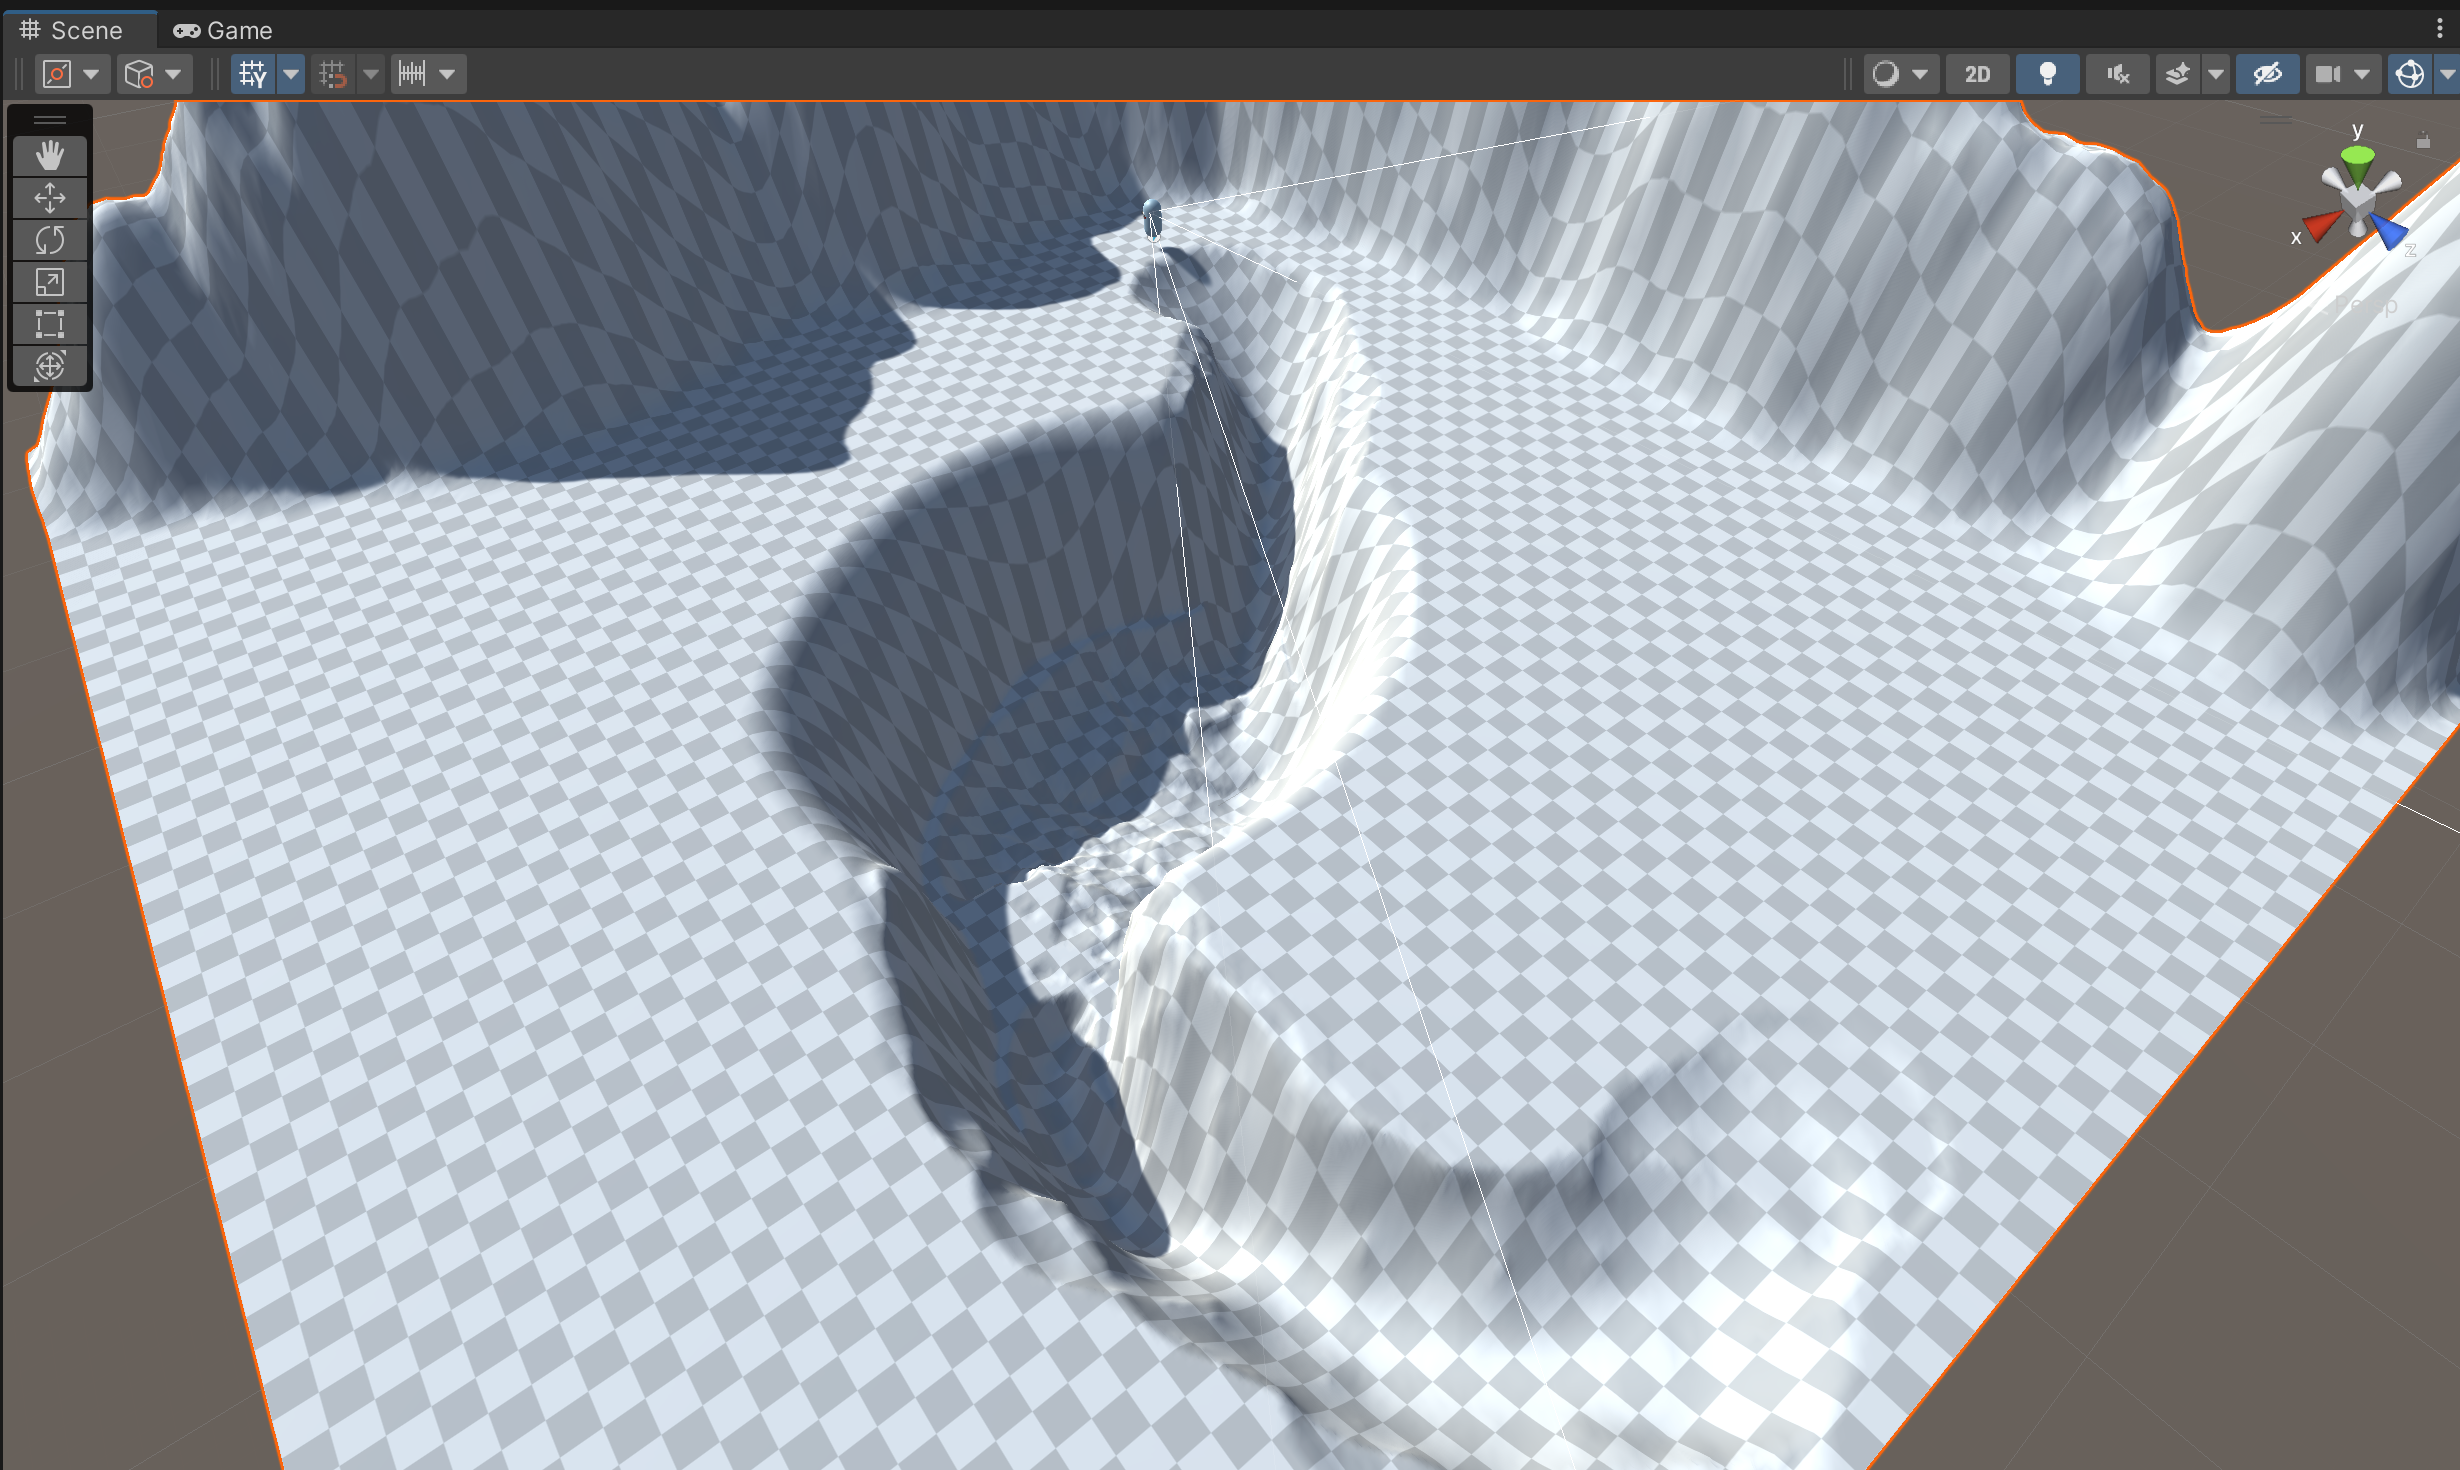
In this example, I have create a sort of basin with a path for the player to enter through as well as a path for the player to exit.
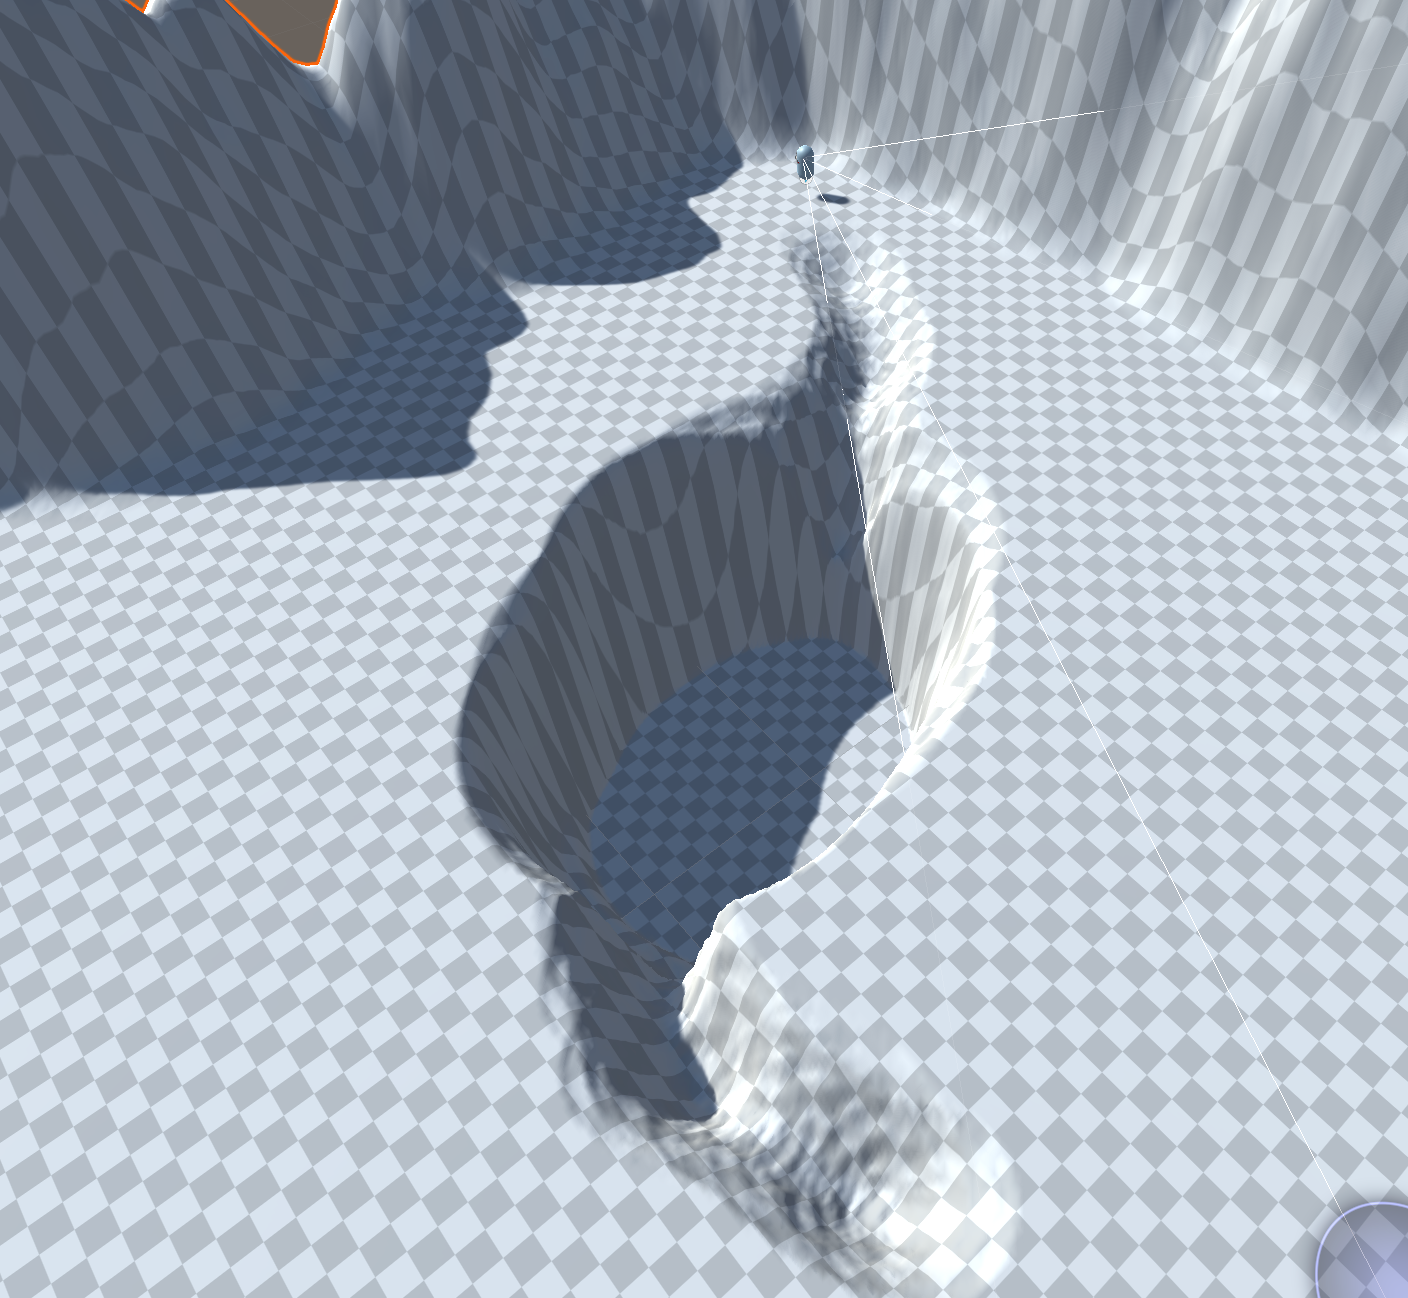
Upon playtesting though, you might find that your landscape is not as smooth or as navigable as you expected. You will need to make revisions until it is actually usable by the player. In this example, what looked like a smooth path into the basin is actually very bumpy and includes a drop that is too sharp and dangerous the player.
To correct this, you can use the same "Raise or Lower Terrain" tool or any other tools at your disposal to further refine the landscape. The "Smooth Height" tool is also useful for averaging drastic differences in elevation to smooth them out. Here is what the terrain looks like with further revisions.
Playtesting this landscape reveals that the basin can be reasonably traversed in both directions. Players should not get stuck in your landscape.
Adding color to the landscape is a way to create visual distinctions that can be both visually appealing and also functional in guiding the player. You are required to use at least two texture layers in this assignment. Texturing is handled by the second tool in the Terrain component using the "Paint Texture" mode.
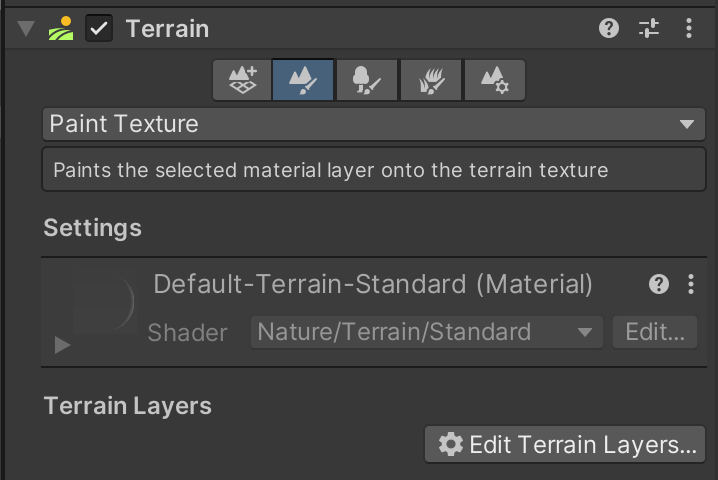
The "Paint Texture" tool uses the same brush technique as other tools. One additional step is you must create Terrain Layers to represent the graphics that will be painted onto your landscape. The first texture layer you create will be applied to the entire landscape by default. To save time, choose a texture that should have the most coverage.
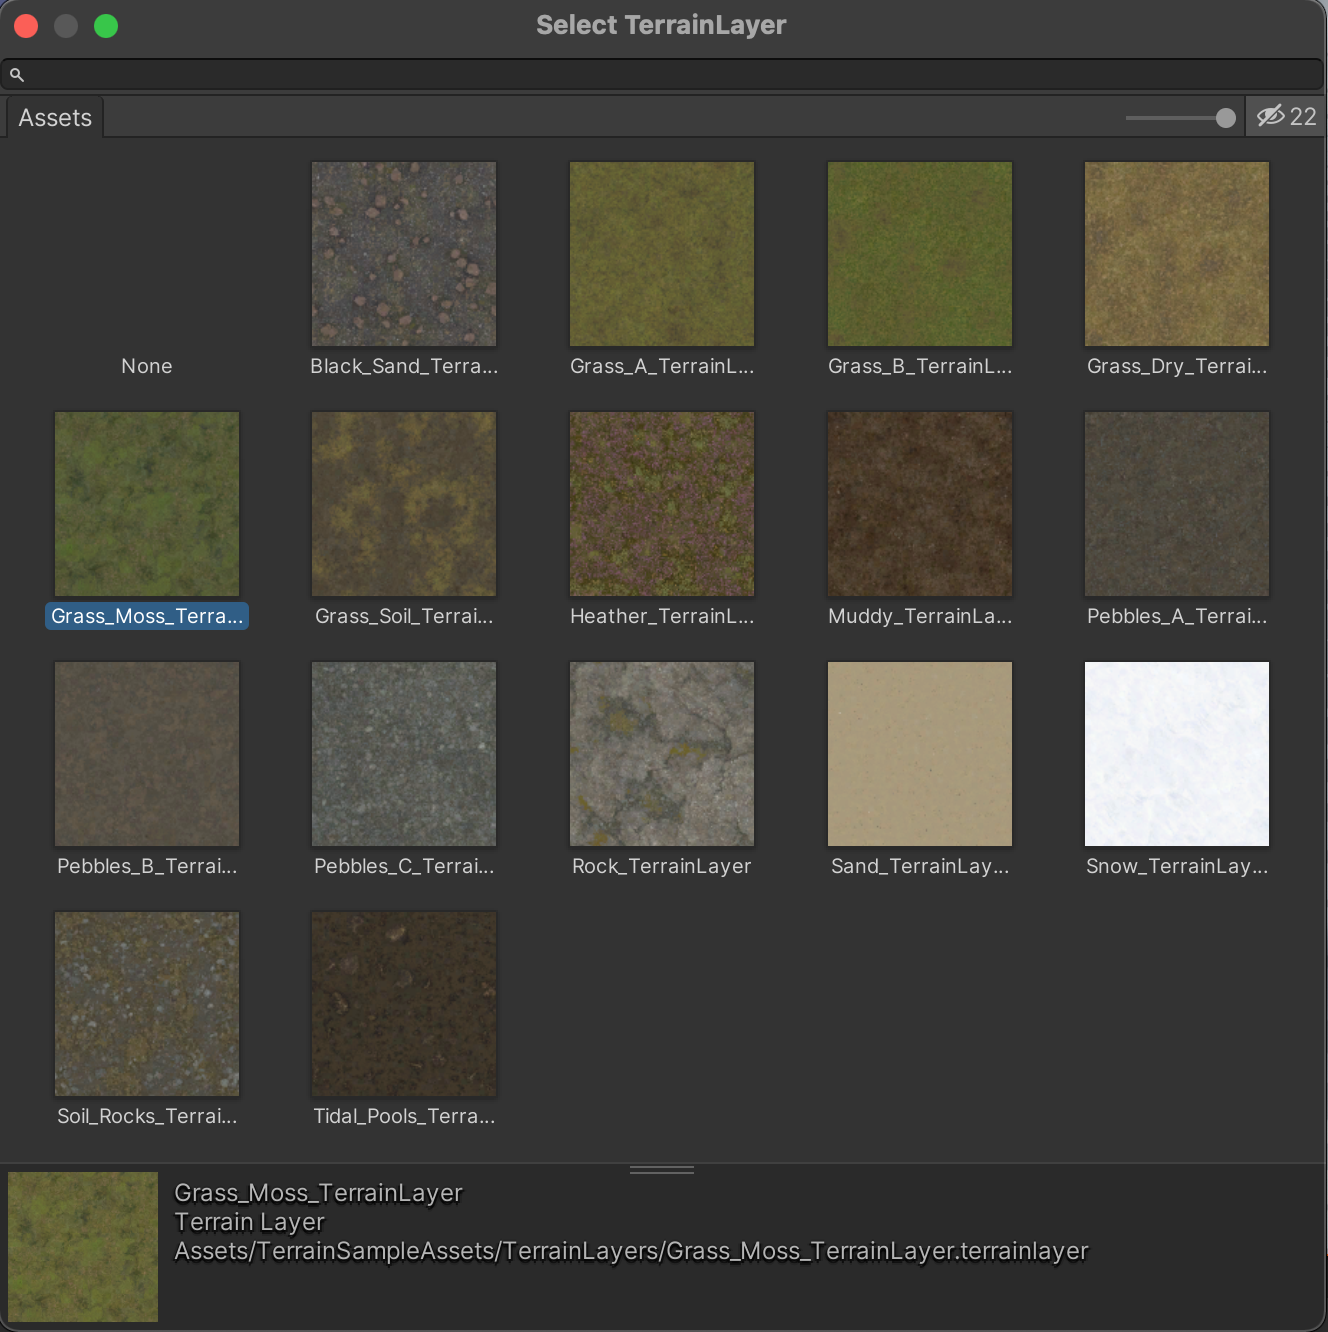
Clicking "Edit Terrain Layers" and "Add Layer" will reveal a few pre-made layers you can select. These came with Unity's Terrain Asset Pack we installed in a prior step. Double-clicking one of these options will create your first terrain layer and paint it across the entire landscape by default.

The second Terrain Layer you add will need to be painted by hand. Click "Edit Terrain Layers" and "Add Layer" again to select an additional layer. You can switch between Terrain Layers the same way you switch between Brush shapes.

Applying textures works the same way as modifying the landscape.
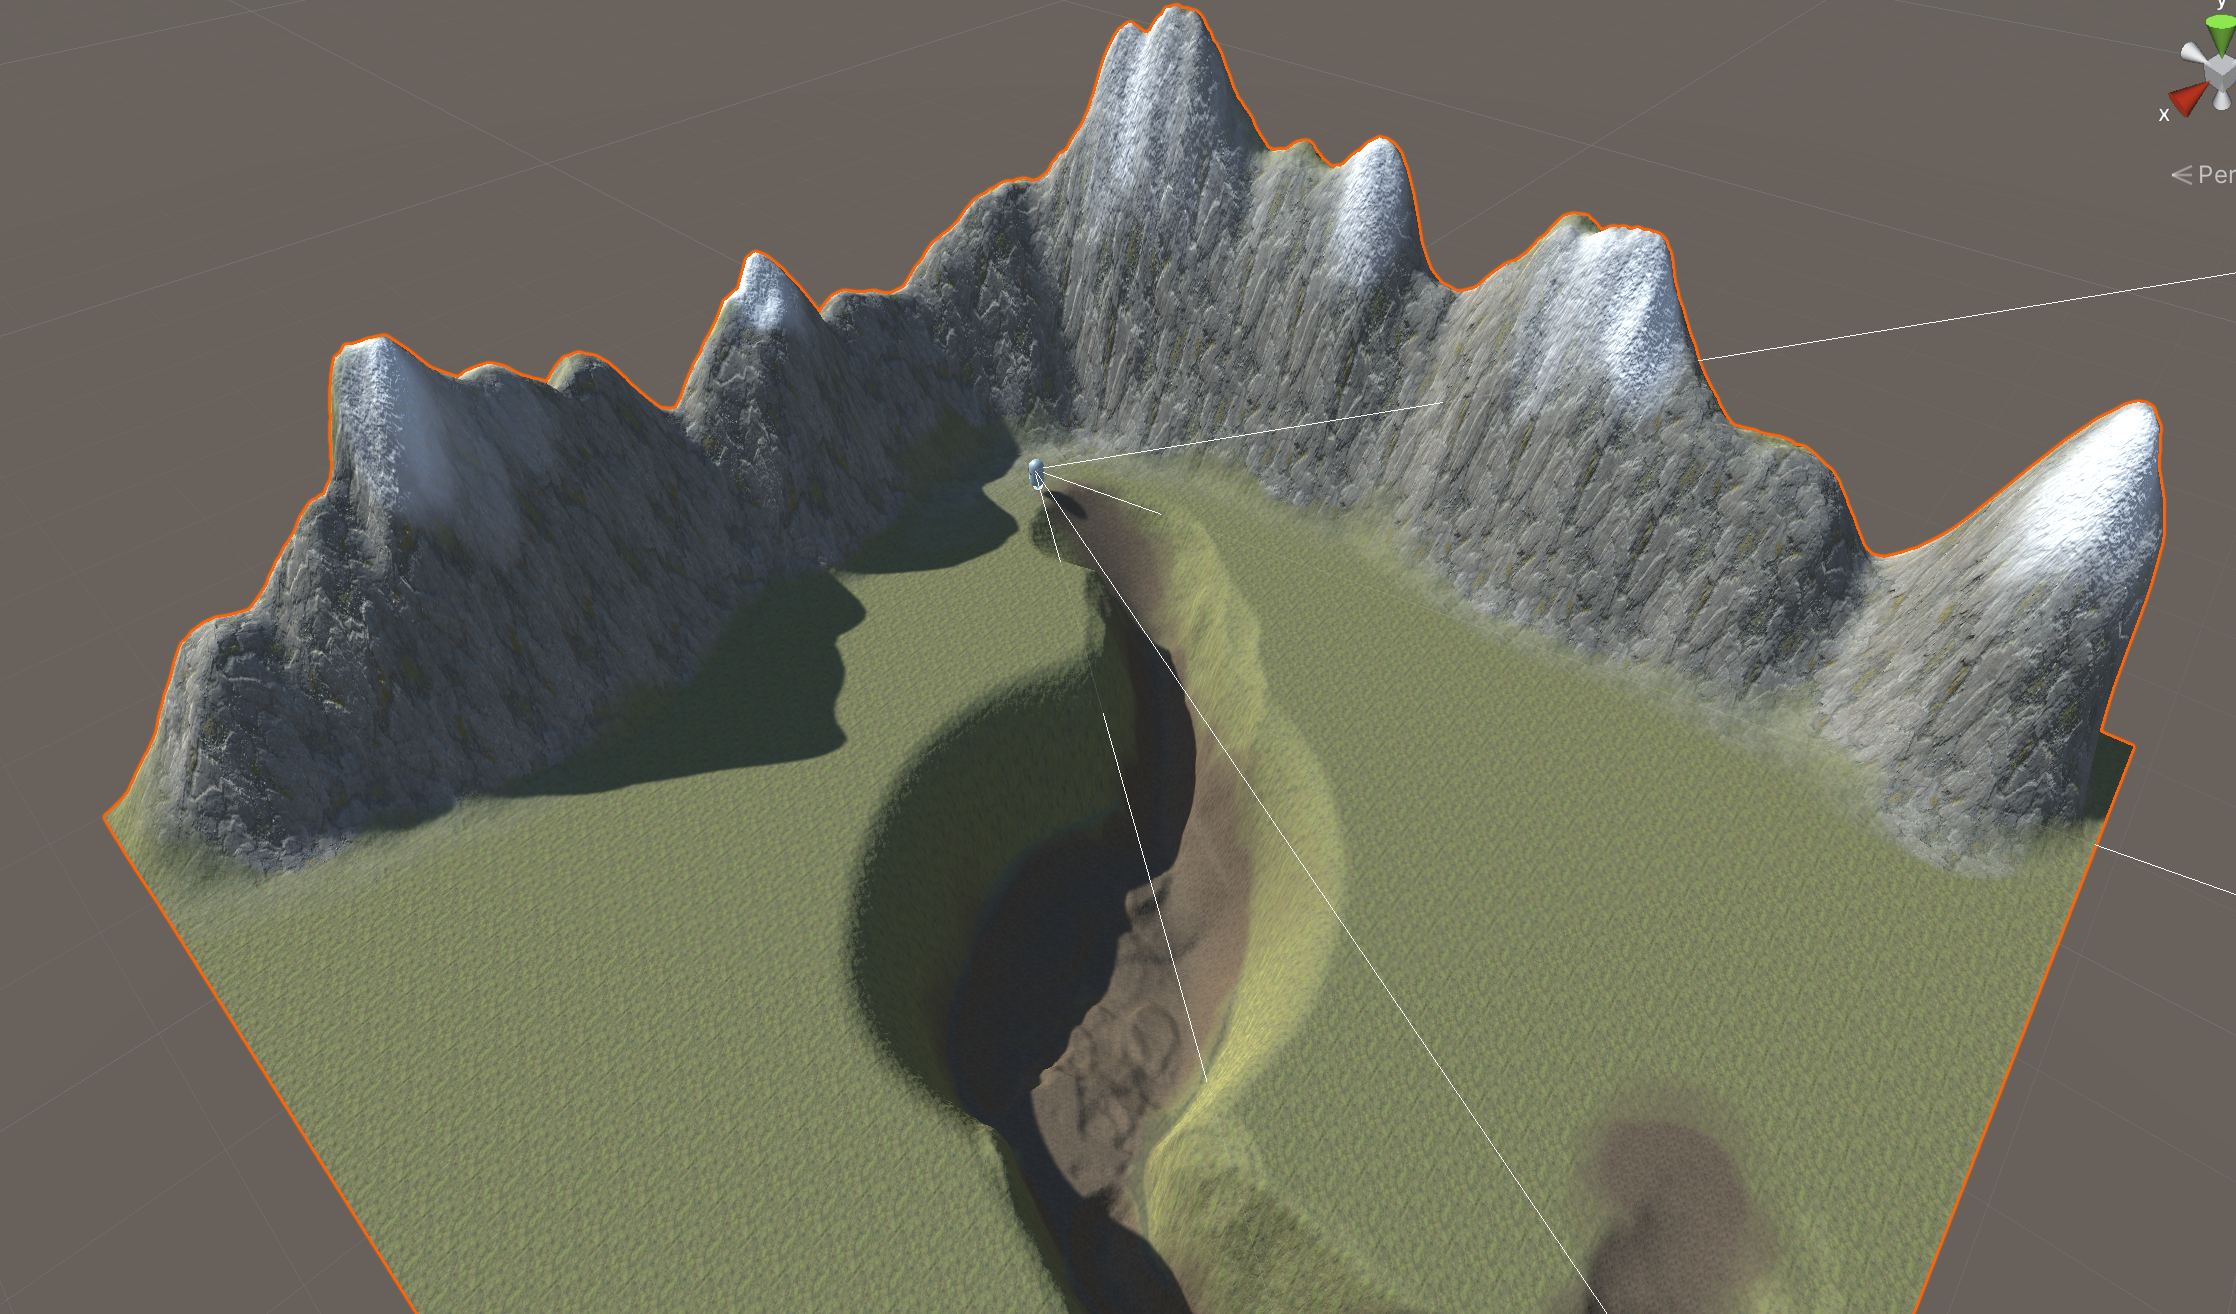
While two is the minimum required for this assignment, more can make a big difference for your level. This example uses grass as a base, rock for the mountains, snow for the mountain caps, and mud for the path and basis.
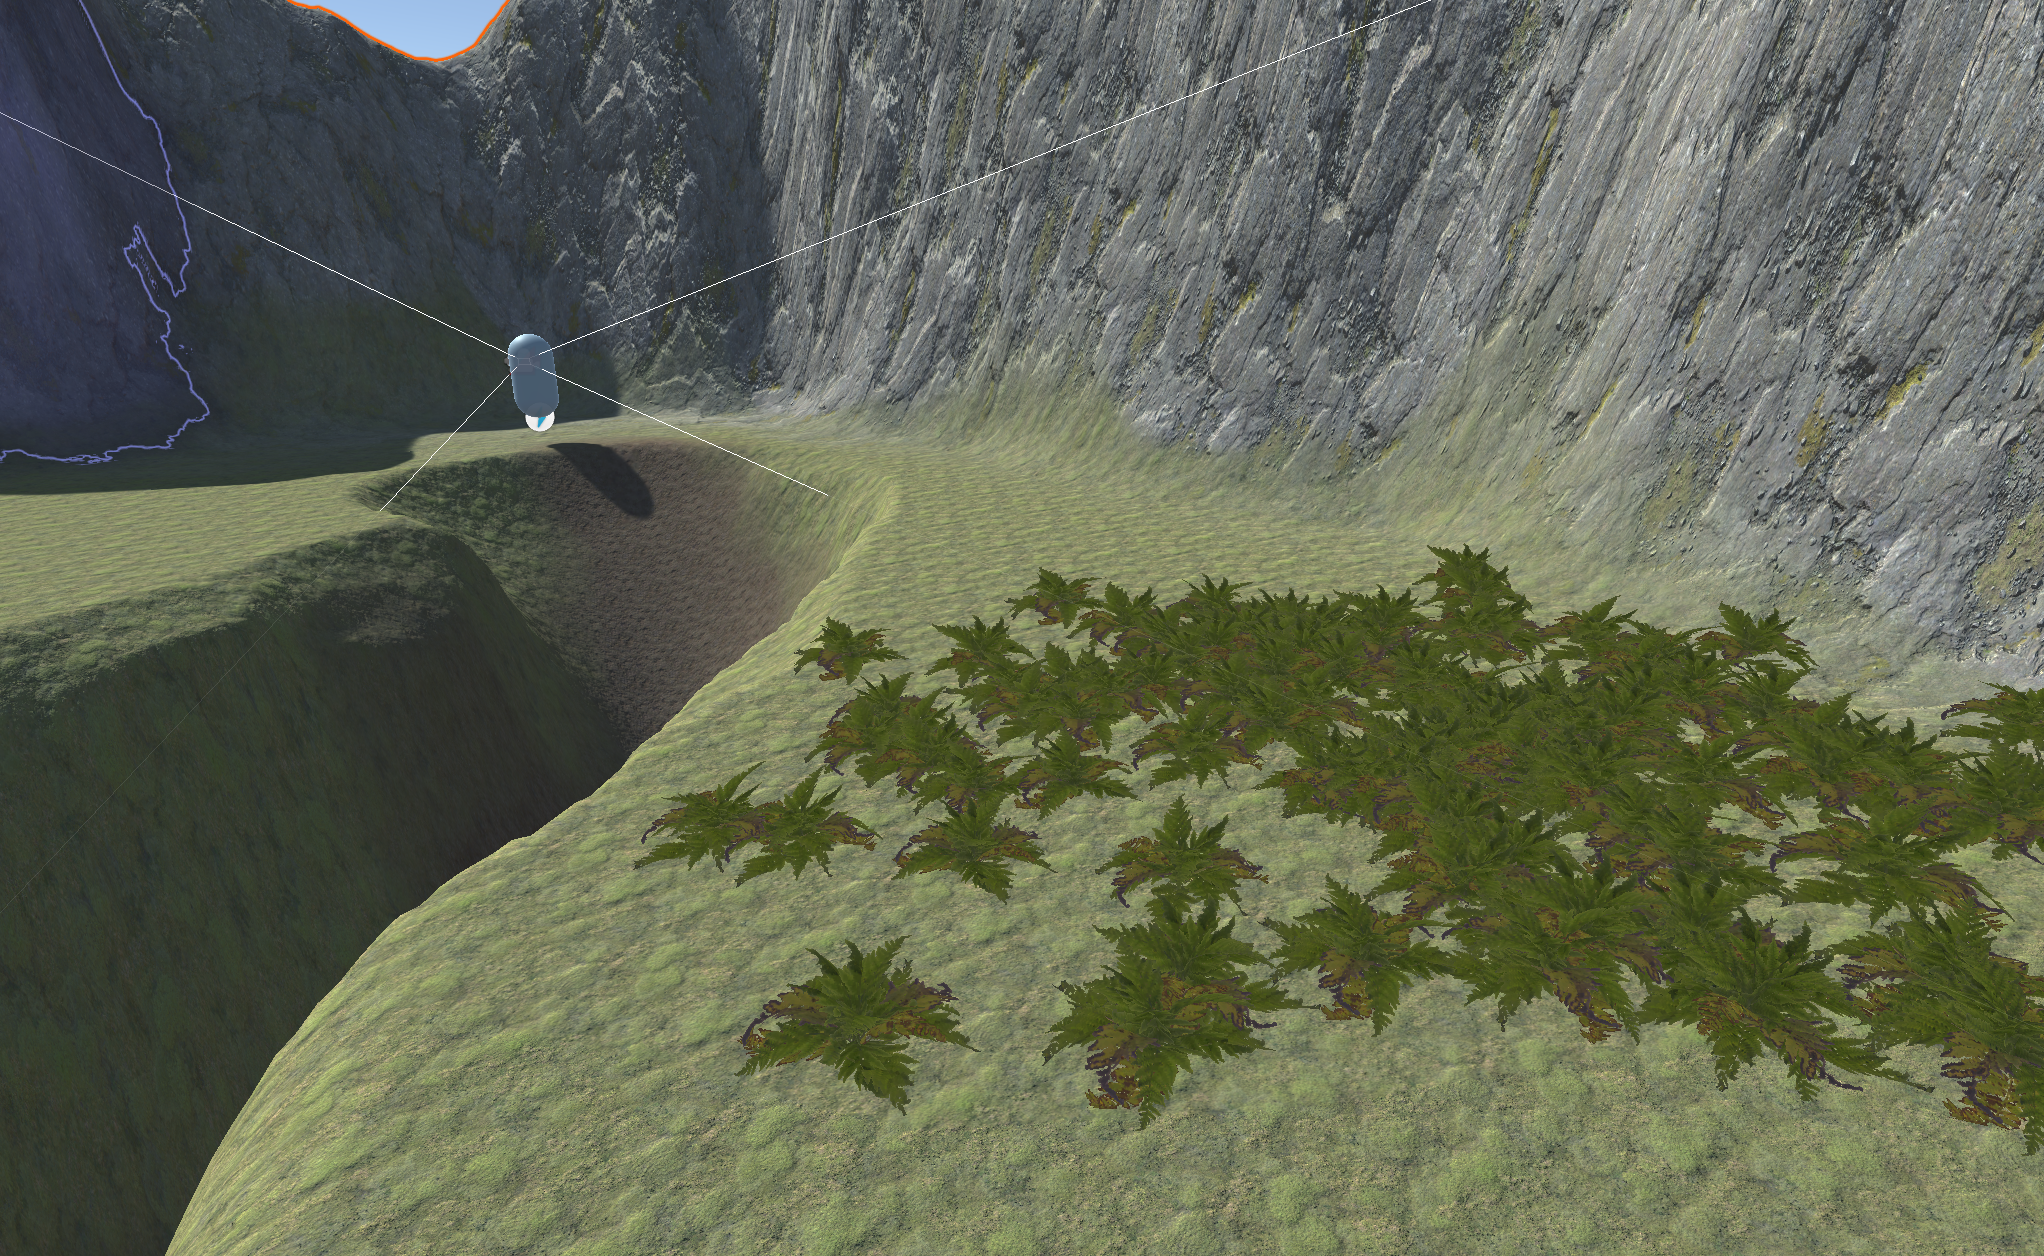
Terrain can include details such as trees, bushes, and grass. The Unity Terrain Asset Pack did not include any trees, so we will add foliage instead. (Both tools work very similarly.) The fourth Terrain tool is "Paint Details," and it allows you to add grass objects to the landscape without having to place dozens of models by hand.
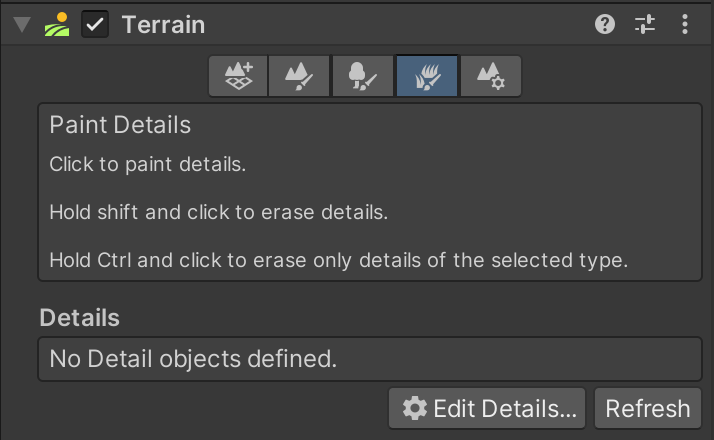
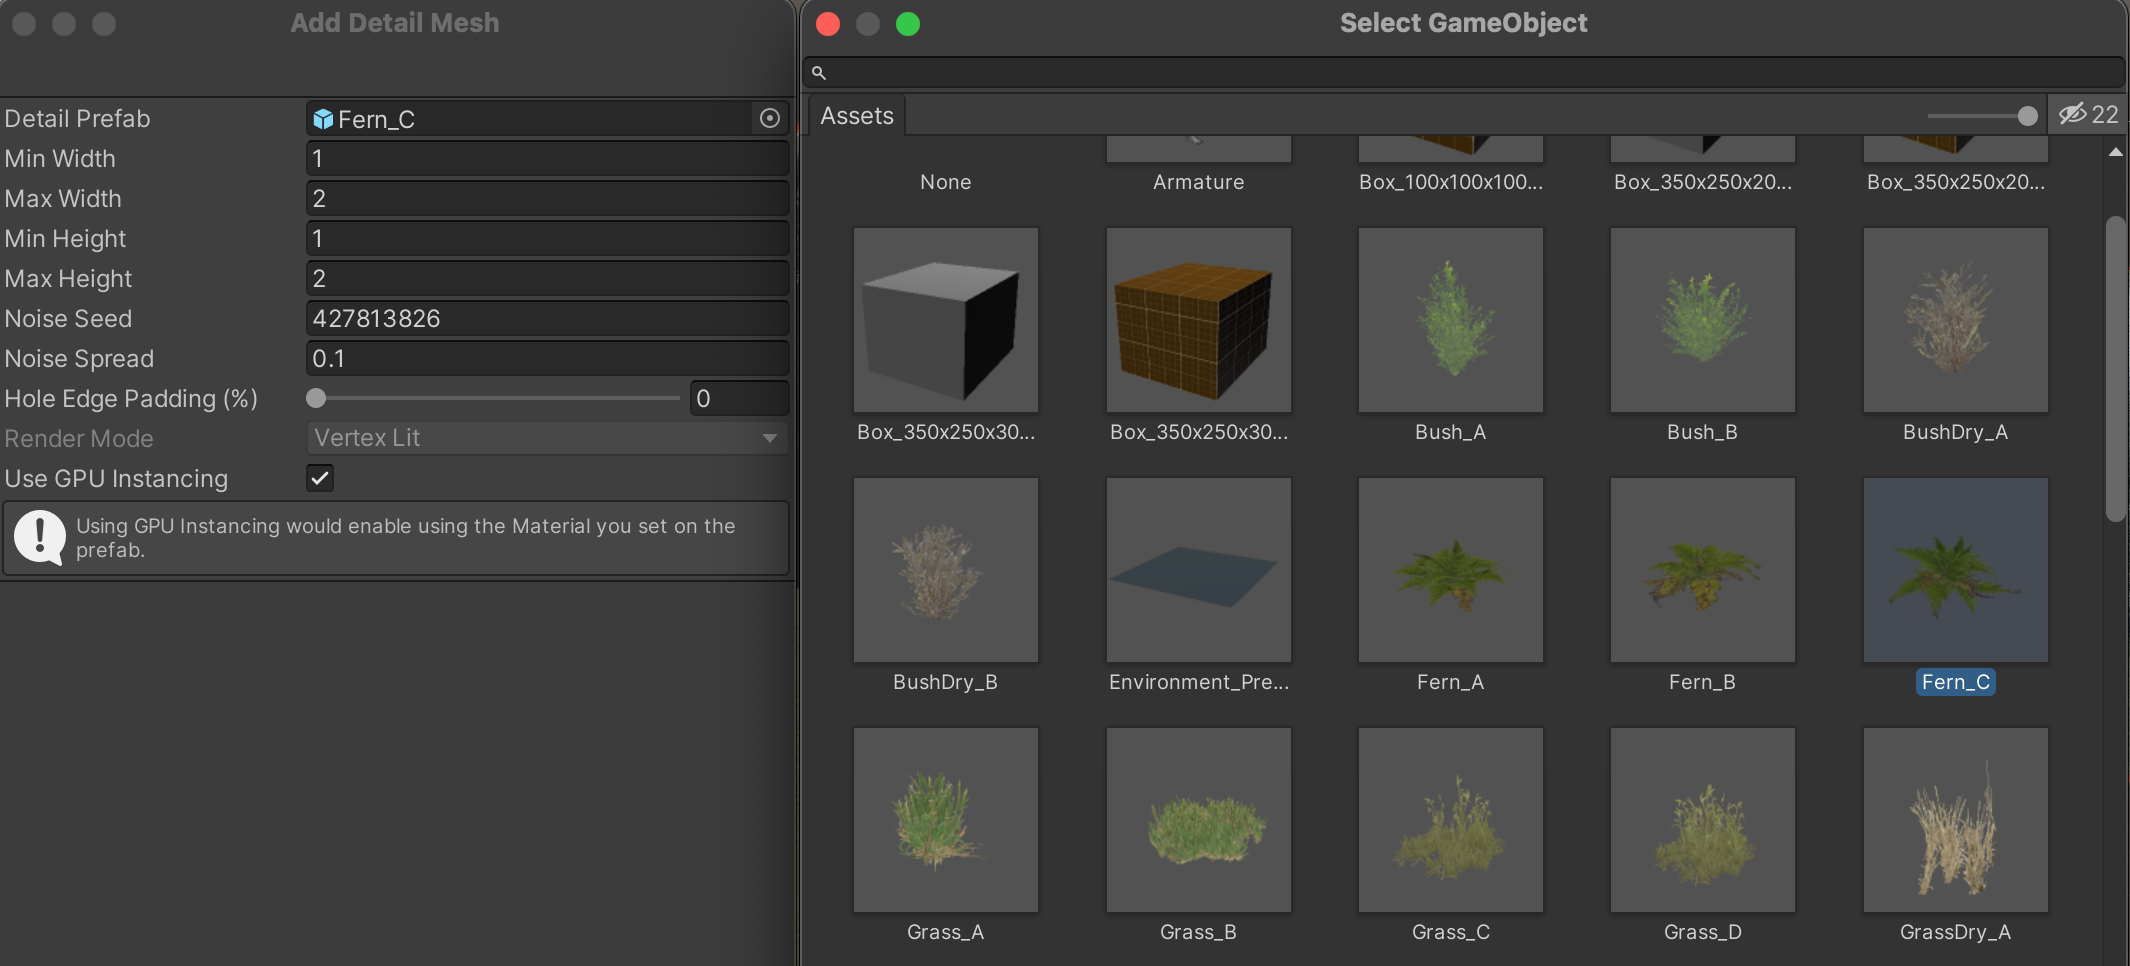
Similar to building your "Terrain Layers" list, you will need to create a list of "Terrain Details." Click "Edit Details" and "Add Detail Mesh." Select a detail foliage of your choice and finalize with the "Add" button.
Just like the rest of the tools, you can select various settings to adjust what the tool does when you click and drag on the landscape.
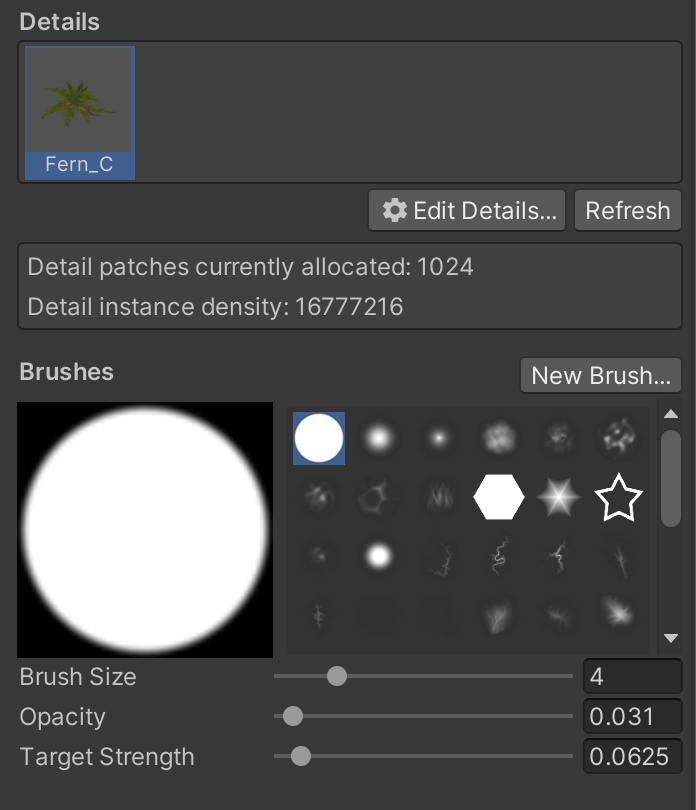
Small amounts of detail go a long way. Don't add so much that it affects the performance of your computer.
The fifth requirement for your level is to include a landmark that stands out from the rest of the organic landscape. Frequent examples include monuments, mazes, and houses. If you prefer, you can use ProBuilder to create such an asset and position it on your terrain. For this exercise, I will use this as an opportunity to show off the stamp tool.
"Stamp Terrain" is a mode found under the second Terrain tool. It allows us to imprint the shape of a brush onto the terrain.
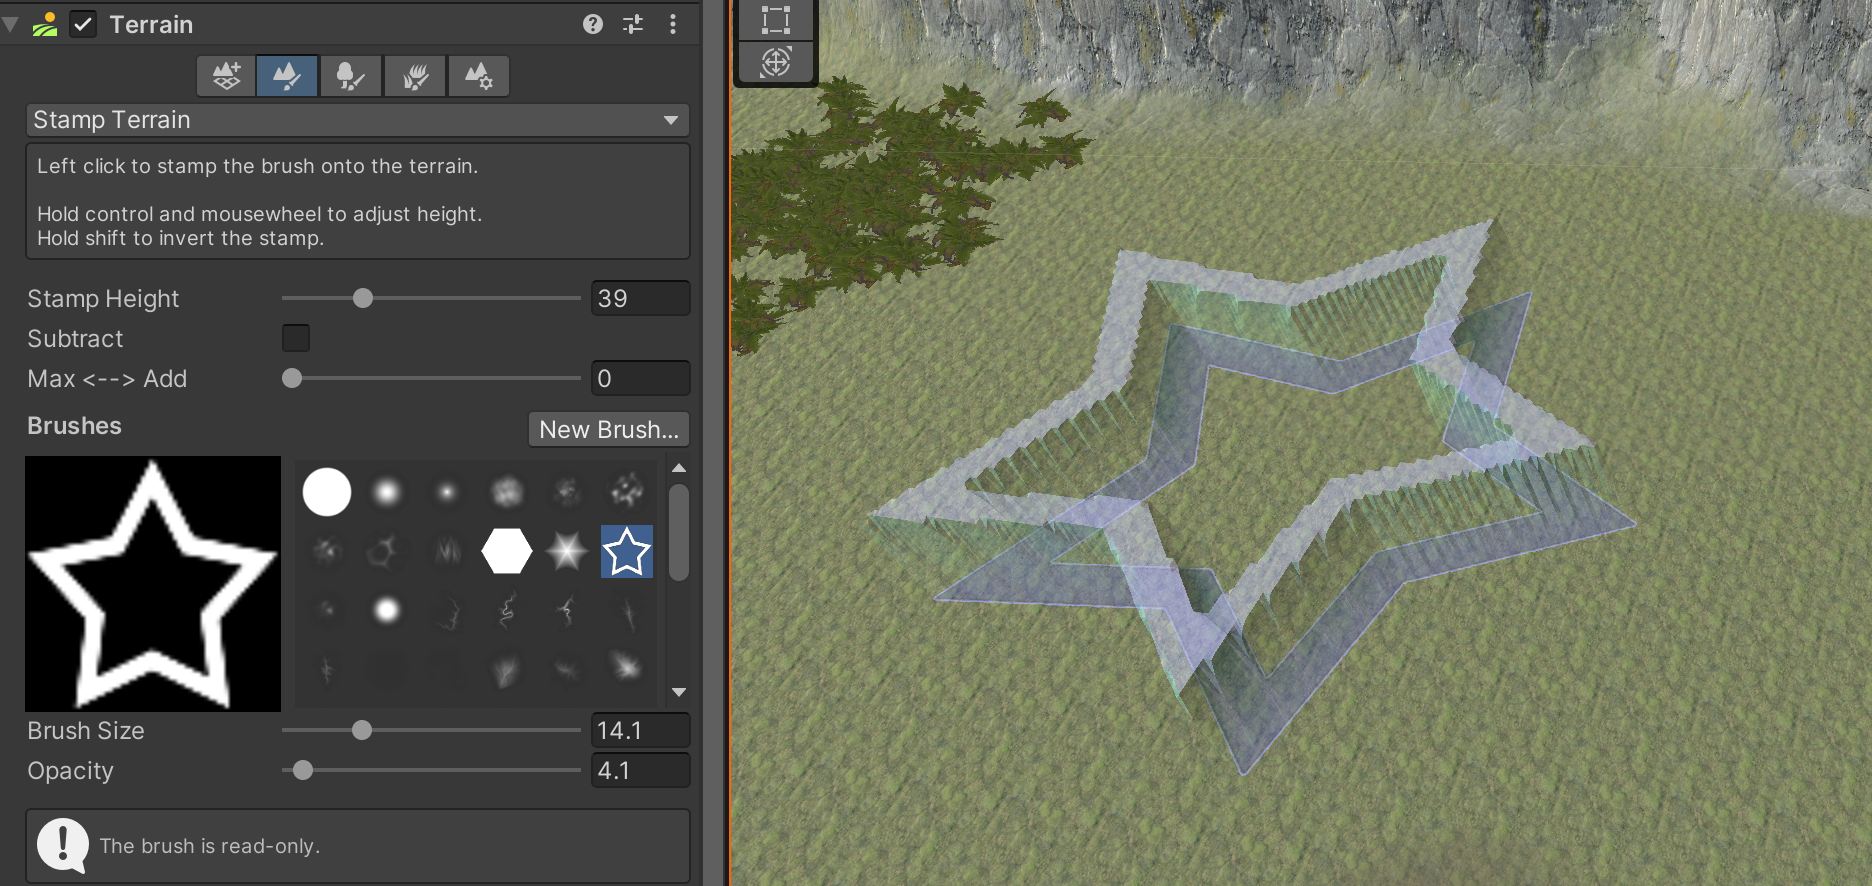
The power behind this tool is in creating our own brushes. Because the Terrain tool uses heightmap data, we can import any black and white image from the internet as a brush. In this example, I have saved a graphic of a maze.
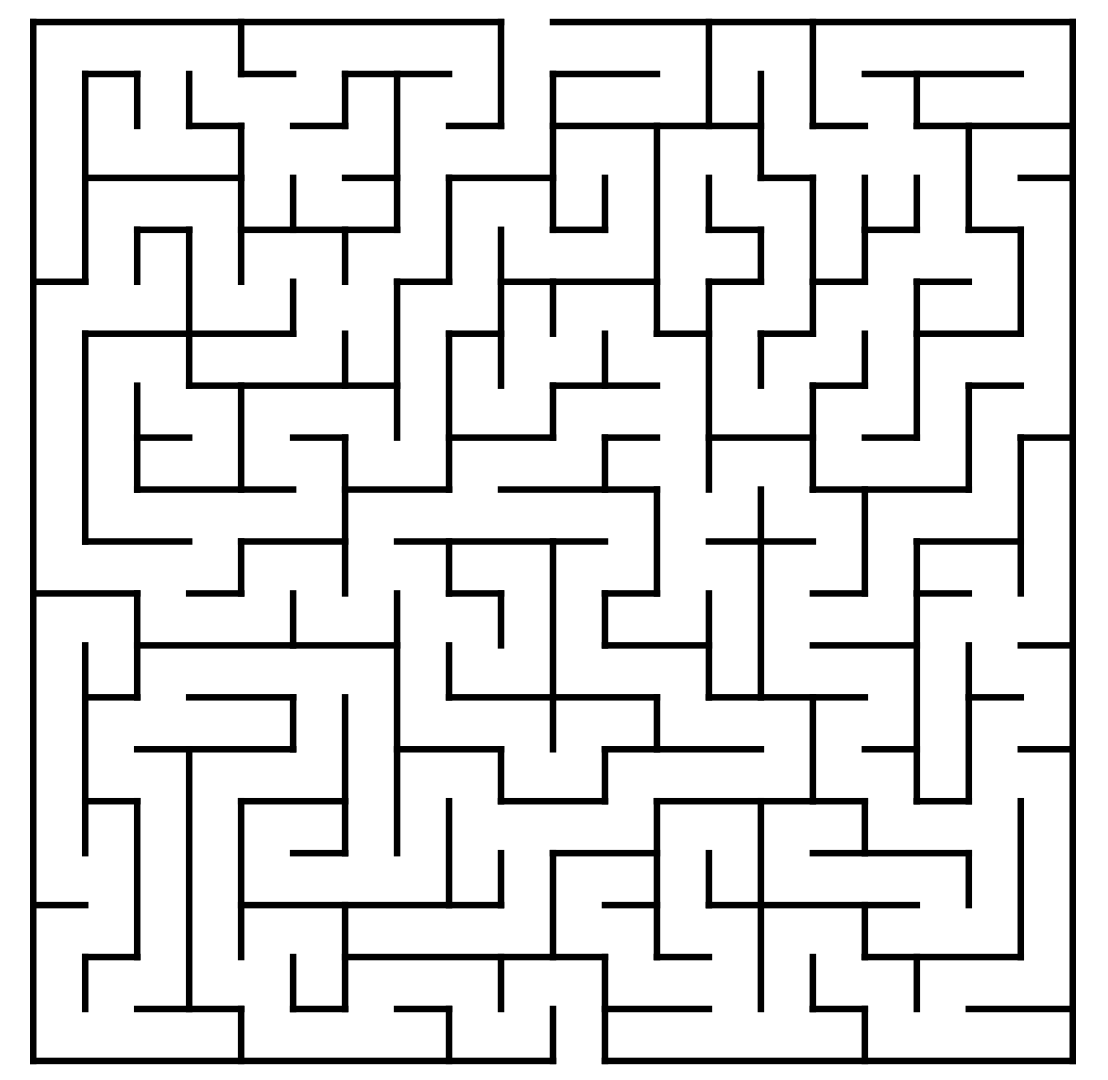
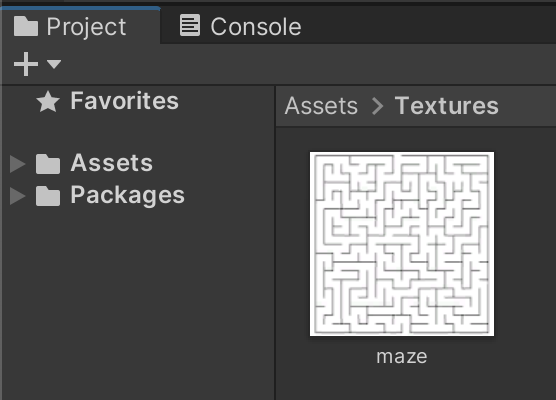
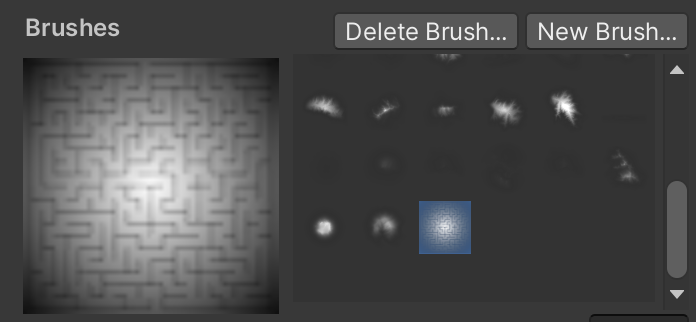
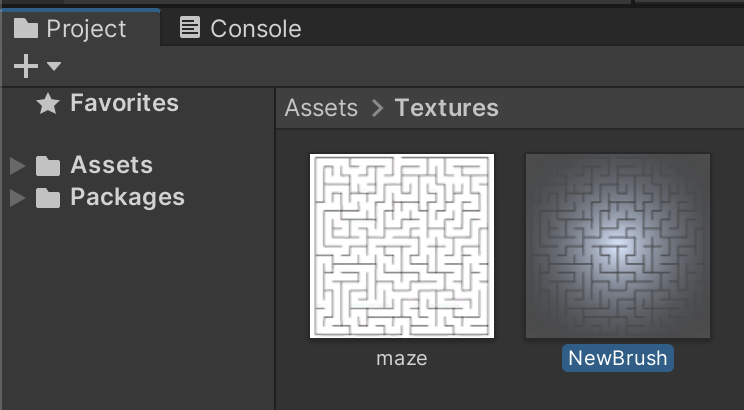
From the Terrain Stamp tool, click "New Brush" and double-click the image you would like to turn into a brush. It will create an additional Brush asset inside your project.
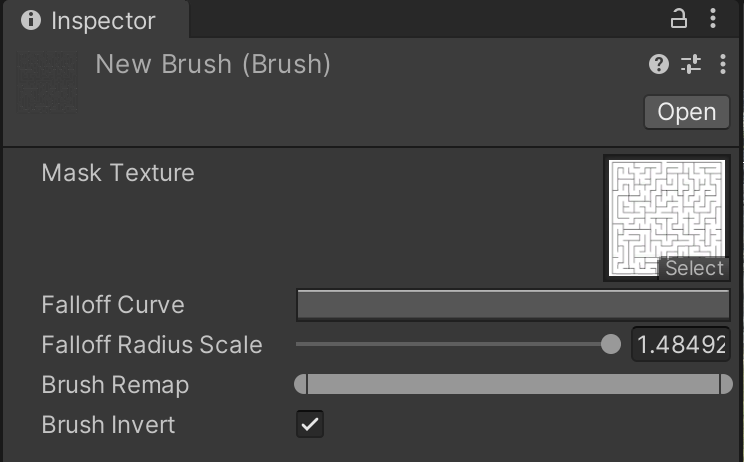
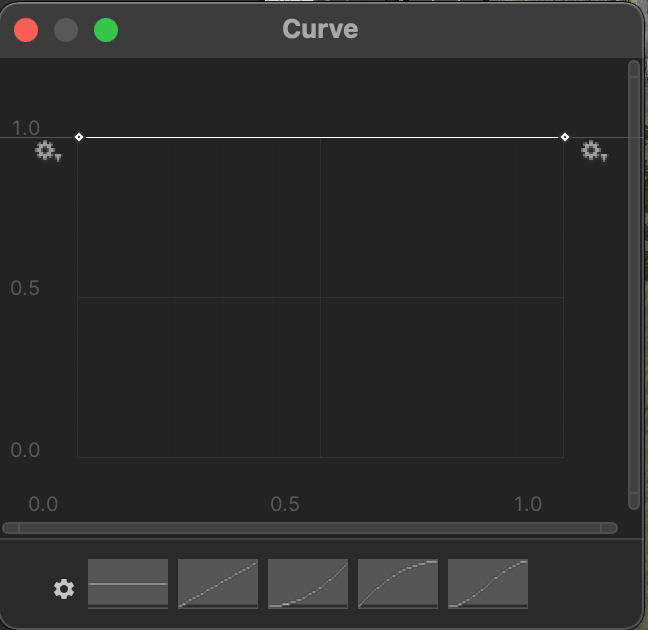
To fix the faded edges, Inspect the new brush. Alter the Fallof Curve to be a flat value of 1. (You can use the flat template at the bottom or drag the handles yourself.) Because this image uses black lines to represent walls, but black represents 0 altitude, I will also select "Brush Invert" to reverse which colors represent height.
If you've run out of room, you can use the "Create Neighbor Terrains" tool to create more landscape by clicking one of the neighboring squares. Select your custom brush within the Stamp tool and experiment to find what settings produce the effect you want.
Play your scene and ensure that your character rig can navigate your landscape.
SAVE any open files or scenes.
Submit your assignment for grading following the instructions supplied for your particular classroom.