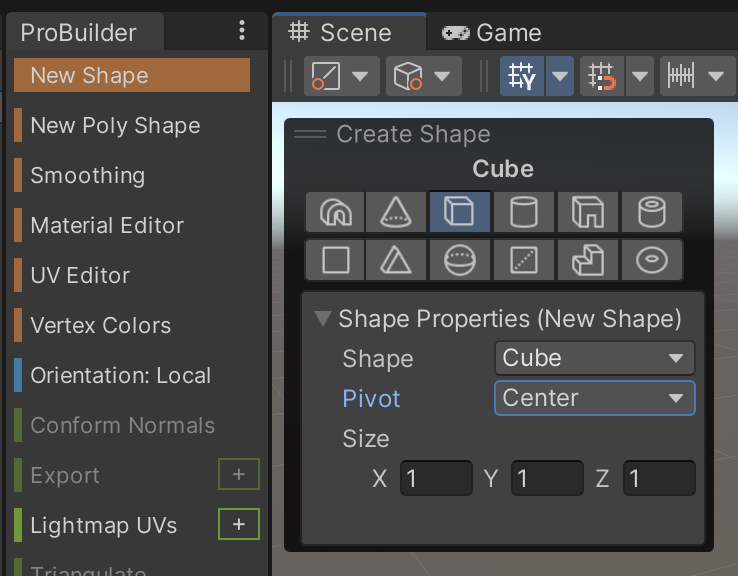
VG2, Quest 2 - ProBuilder Levels

Download Files

Supporting files for VG2 quests are part of a single archive that you can download here.

Set Up Scene

You may do this quest using your choice of either first person or third person character rigs from your prior assignment. We will be using the third person character rig for this example.

Duplicate the Q1 scene of your choice and rename it Q2.

Install ProBuilder

Open Window->Package Manger->Unity Registry and install ProBuilder.

Identify Interface Tools

You should already be familiar with Unity's Scene tools. These tools are used for panning the interface as well as moving, rotating, and scaling game objects. You can use these tools locally/globally and operate on an object's pivot or center point.

Open the ProBuilder Window using Tools->ProBuilder. This window is dockable like any other Unity tab. The operations available using this window change contextually based on what object is selected. We will cover specific tools as needed in later steps.

It is recommended that you close the ProBuilder Window when you are not using it to avoid conflicts with other overlapping tools. For example, trying to move a non-ProBuilder shape while in ProBuilder Face mode will make the tools seem unresponsive.

When the ProBuilder Window is active, additional Editor Modes show up in the top center of the Scene tab. From these icons, you can identify that these four modes depict operating on a 3D model based on 4 aspects:

  1. the entire object
  2. vertices (also called vertexes or corners)
  3. edges
  4. faces

We will experiment with using these four separate editor modes in the classroom demonstration.

Create Primitives

Delete the "plane" that the player is currently standing on. ProBuilder objects are different from the objects created in your prior assignment using the 3D menu. We will be replacing the old Plane with a ProBuilder Cube.

Back in the ProBuilder Window, we can use the New Shape tool to create common 3D shapes known as primitives. Take a moment to review the various primitives available. Most complex 3D objects can be made by modifying these primitives.

There are two ways to use the New/Create Shape tool:

1) With the Shape selected, simply click-and-drag in the Scene view to create the base of your object. Finally, click-and-drag once more to establish the height of your object.

2) Or, you can pre-configure the exact dimensions of your shape first, then Hold-Shift-and-Click in the Scene view to create a shape to those specifications.

Whichever technique you prefer, use this tool to create a rectangular platform for the player to stand upon to replace the plane we had in the last assignment.

Edit Operations

Using the various move, rotate, and scale tools, begin creating a 3D level for your character to navigate. You can create multiple ProBuilder shapes to compose your level. Notice how differences in position, size, and shape create different challenges for the player to overcome.

By mixing the various edit tools with the four edit modes (object, vertex, edge, and face), you are able to achieve even more flexibility in shaping your objects.

Always playtest your changes to make sure your level can still be navigated by the player.

Extrusion Techniques

Modifying primitives can be limiting because you will be stuck with the same number of faces, edges, and vertices no matter what edit operations you use.

One way of expanding the options you have for editing a shape is to create new segments using a technique known as Extrusion.

To extrude an object, we use the Move tool combined with the Face mode.

Instead of just a normal click-and-drag, we perform a shift-click-and-drag.

Notice how the result of the operation is a brand new segment within the same game object. This shape previously had 6 faces, but now it has 10.

You can extrude multiple times using different faces to create even more complex shapes.

Inside-Out Level Design

Our techniques so far have explored creating free-floating shapes that the player can stand on. Next, we will explore creating interior spaces that the player can stand within.

The mentality of this technique is to create the rooms from the outside. For example, create a 10x10x10 ProBuilder cube. We will turn this box into a room that you can stand inside of.

For efficiency, the faces of 3D models are one-sided, which means they can only be seen from one side. If you move the camera inside of this box, you will see nothing because the faces are oriented only toward the outside. The direction that the sides of a 3D object face towards is known as the "normal".

In the ProBuilder Window, there is a tool listed as "Flip Normals". By flipping the normals, we can turn our box inside out. Notice how the faces can only be seen from interior angles now instead. The box appears to be "inside-out".

From the perspective of a player, this box now has a solid interior and appears as a completely sealed 6-sided room.

It is often easier to flip the normals as a last step, so we will flip the normals back once again, and use the extrusion techniques from prior steps to segment more walls for our room.

Scale Extrusion

We can use the same extrusion techniques we learned before to create hallways that connect rooms. The trick to this technique is to use the Scale tool in addition to the Move tool.

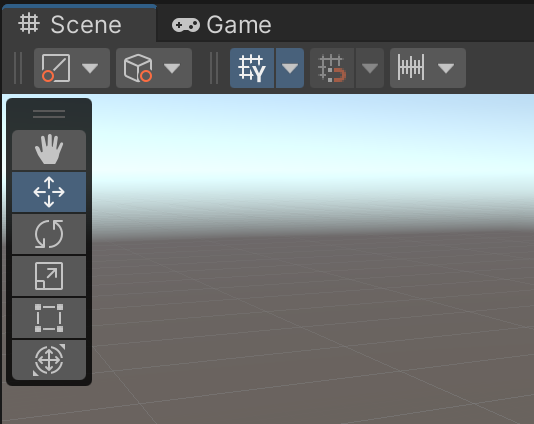
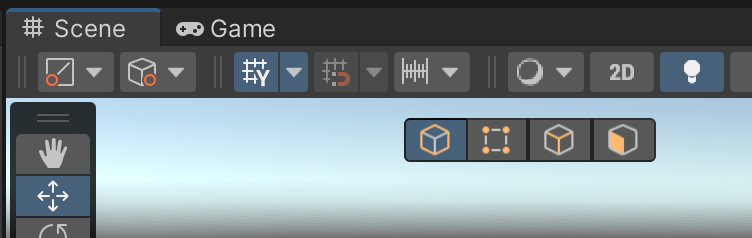
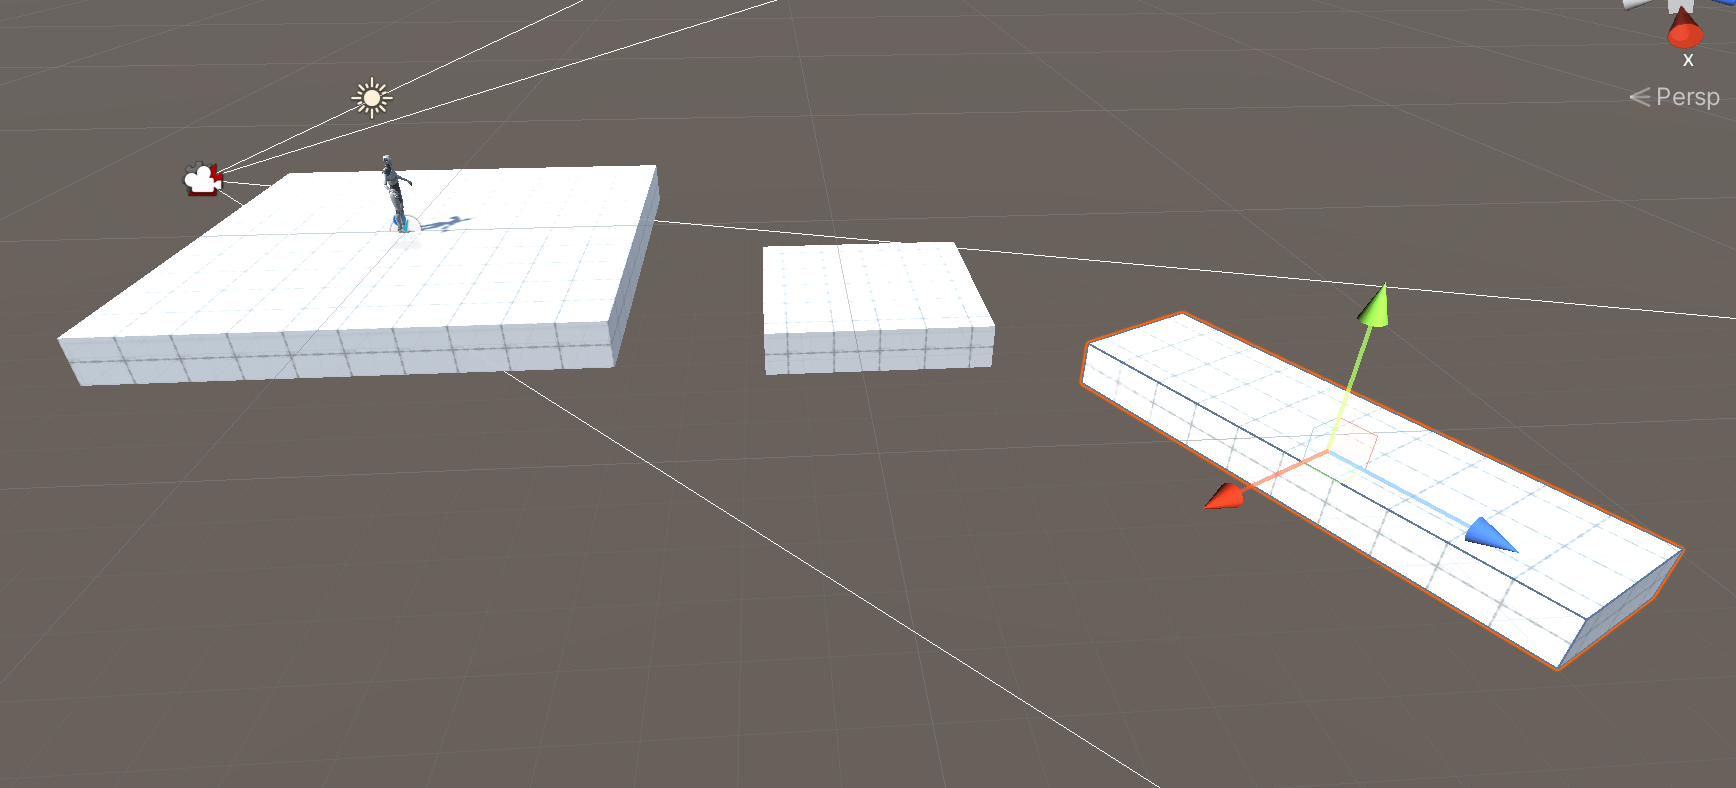
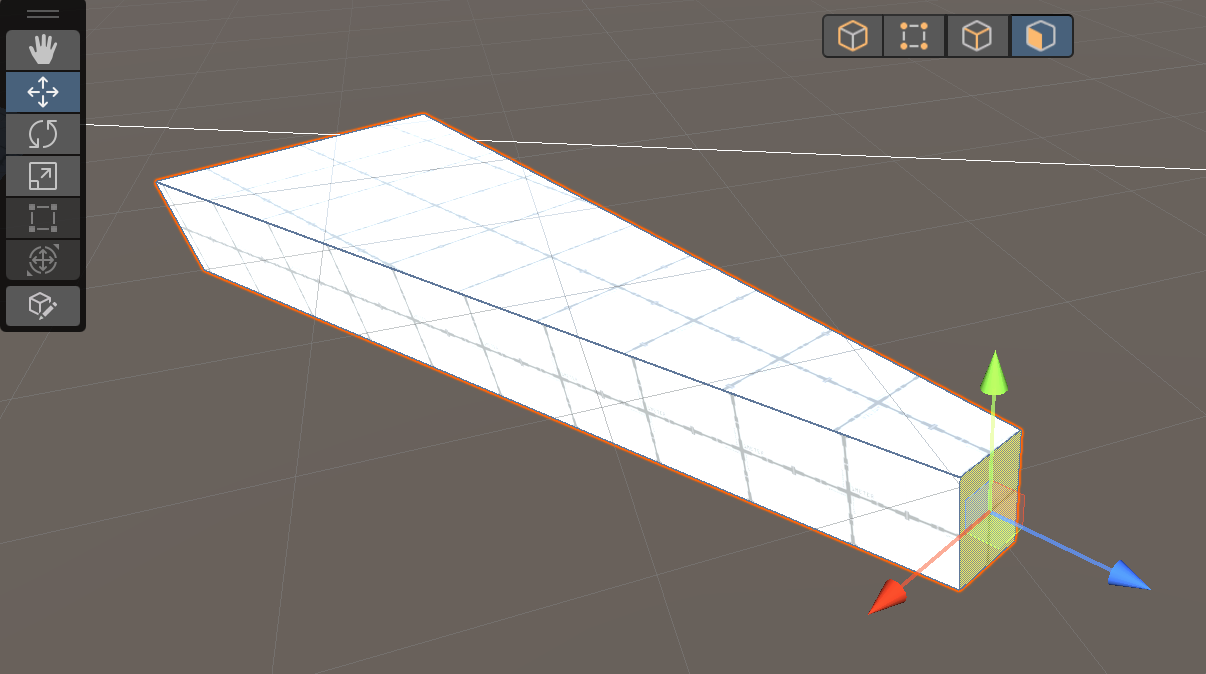
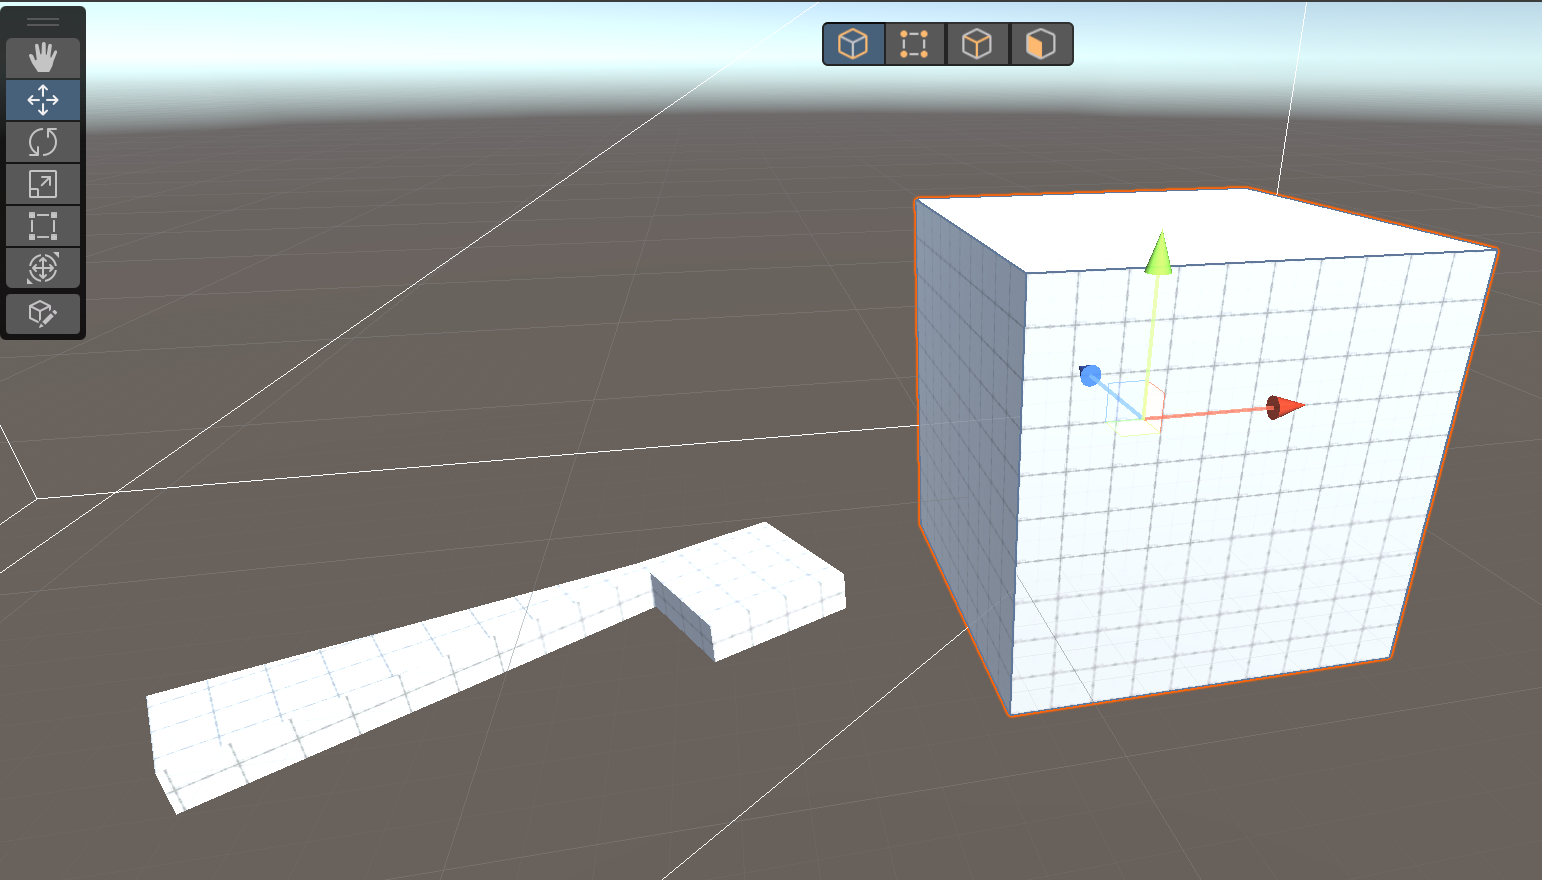
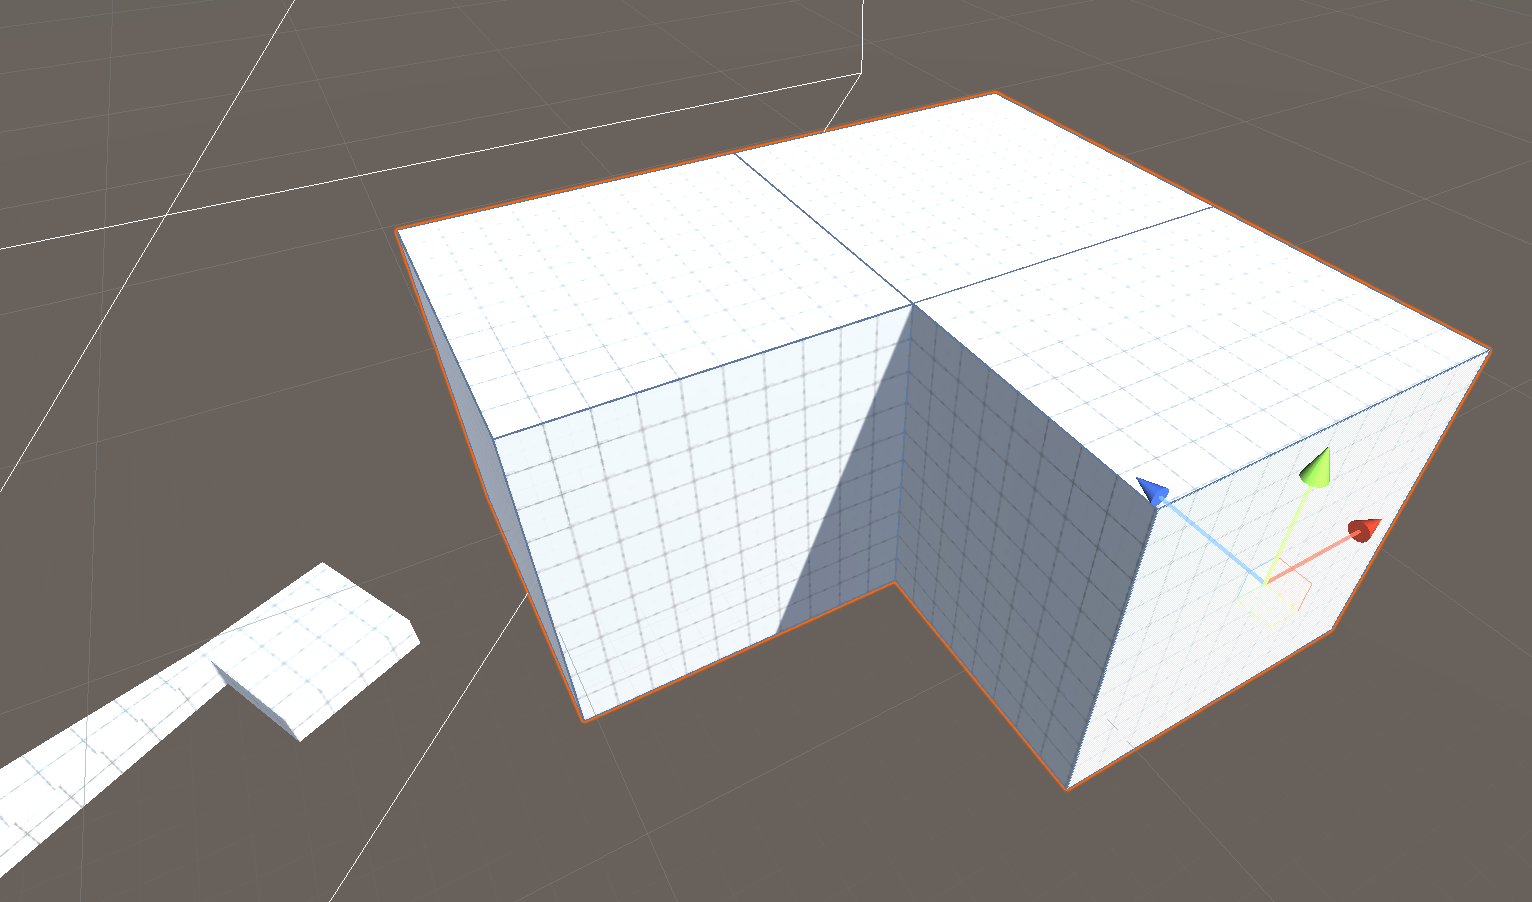
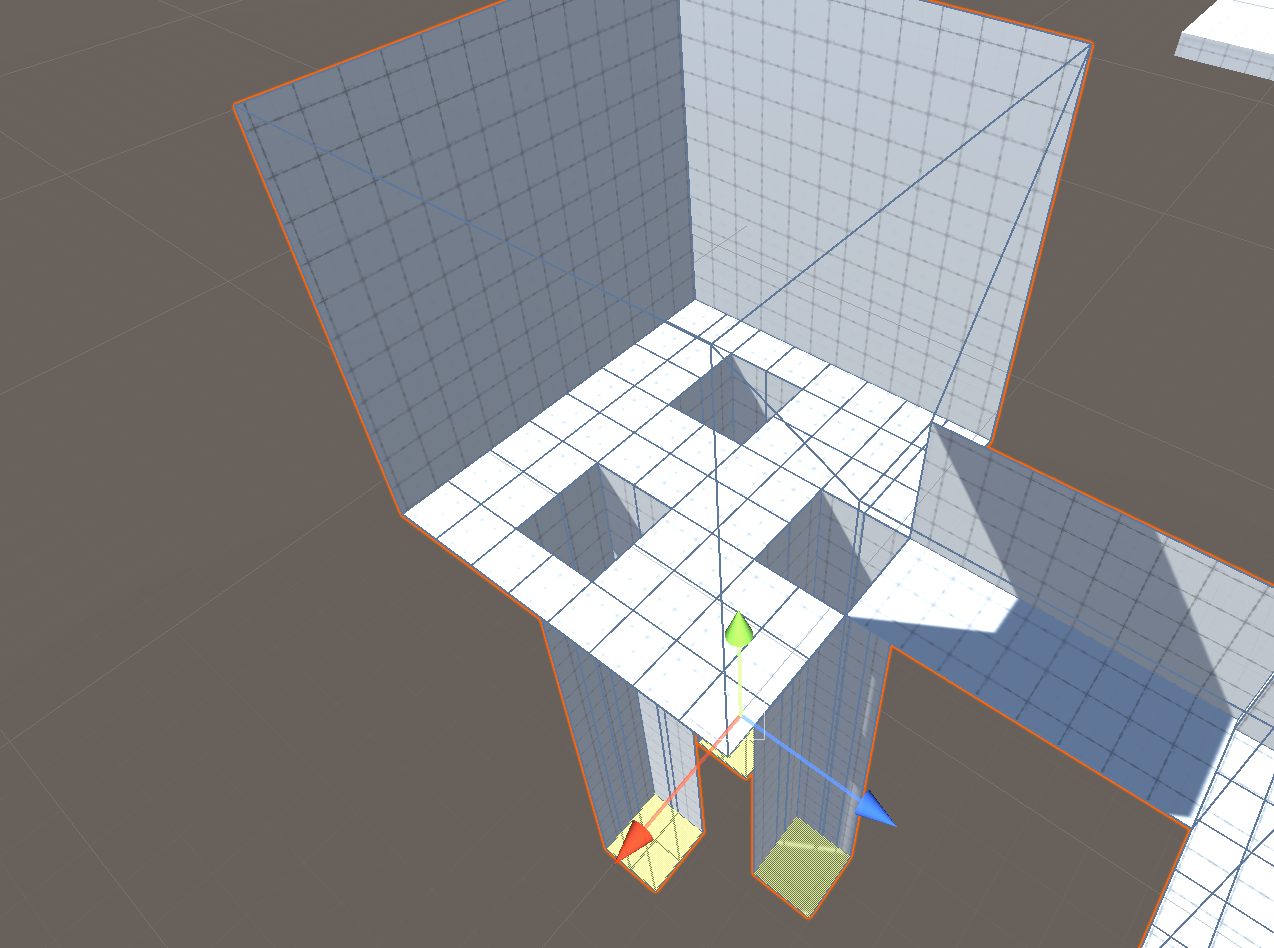
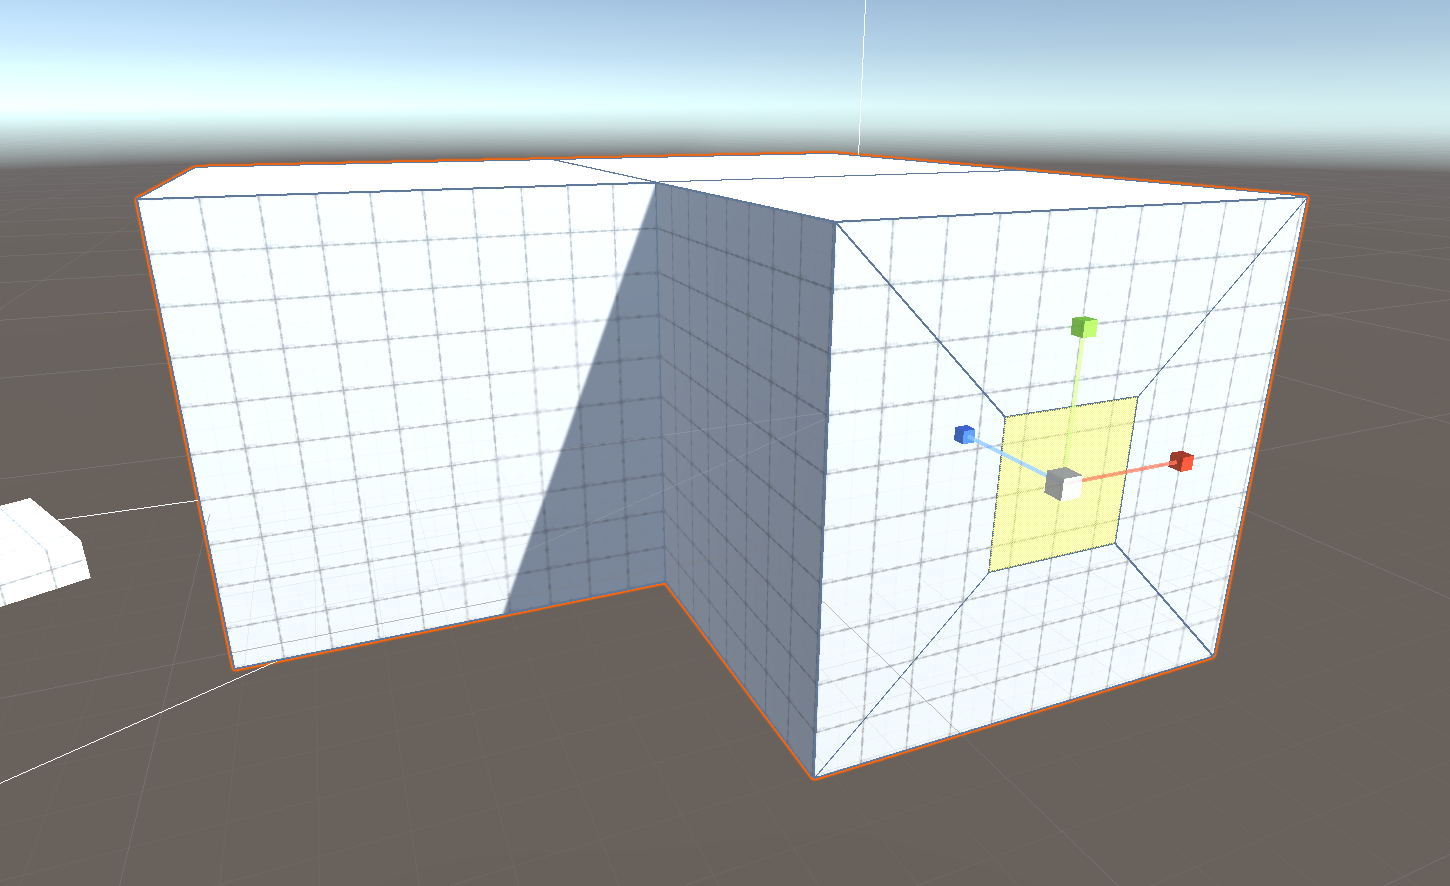
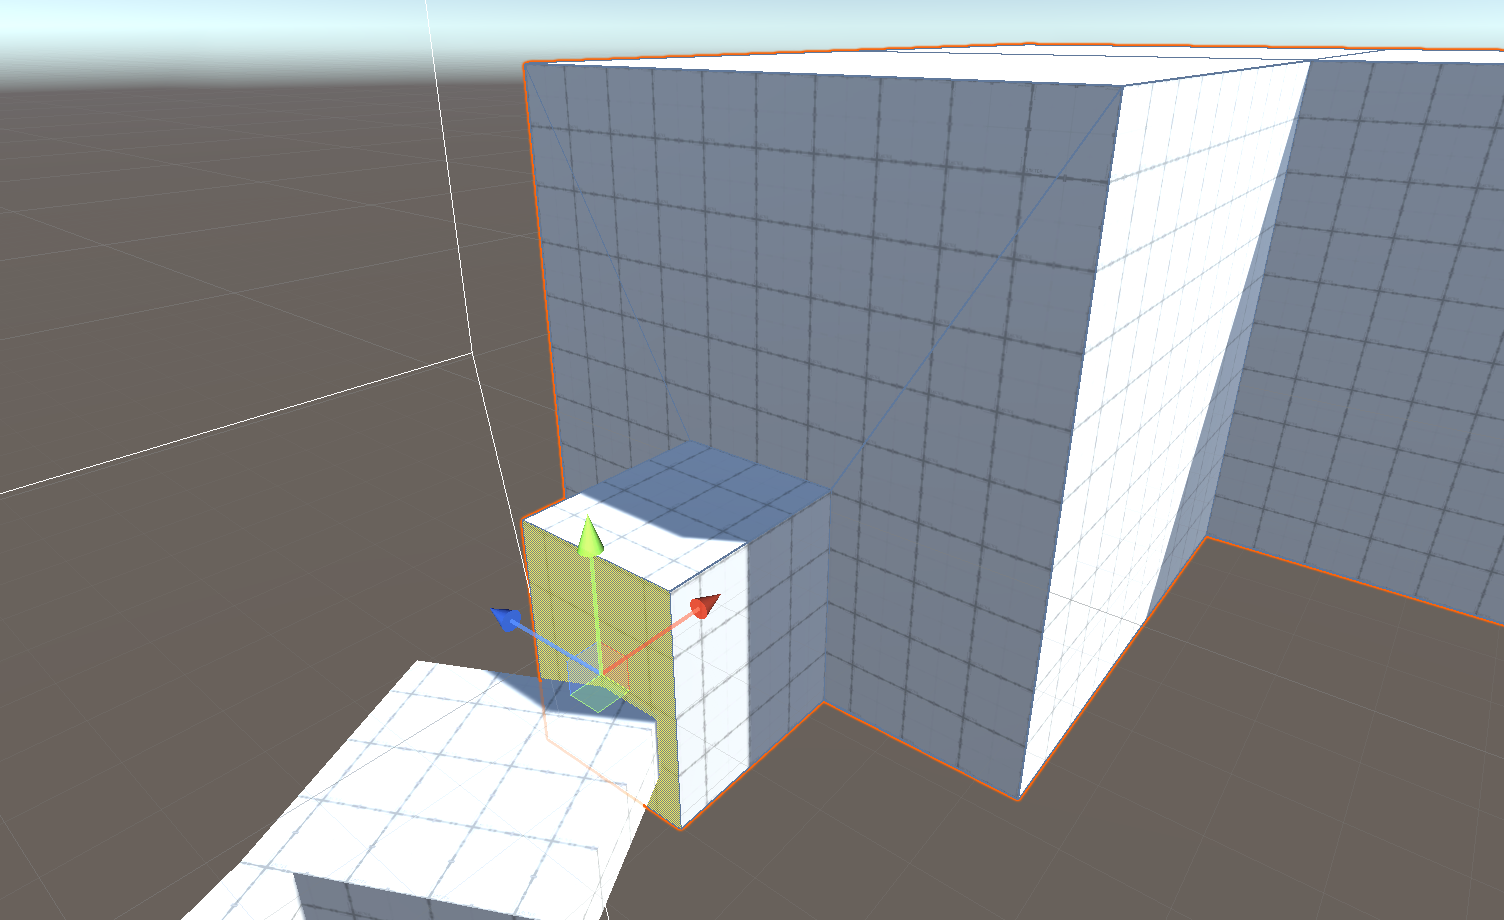
Start by selecting the face of the wall that will connect to a hallway and switch to the scale tool.

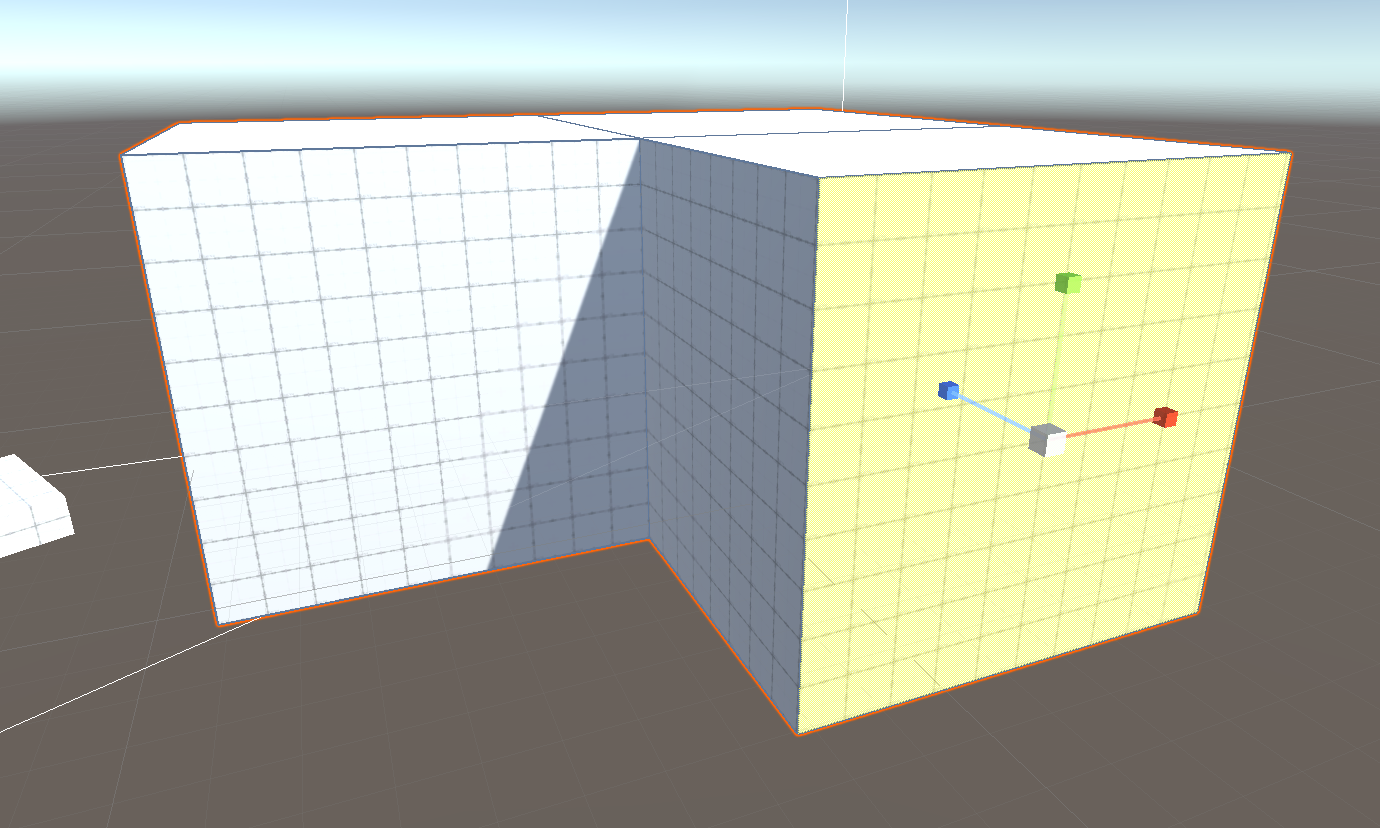
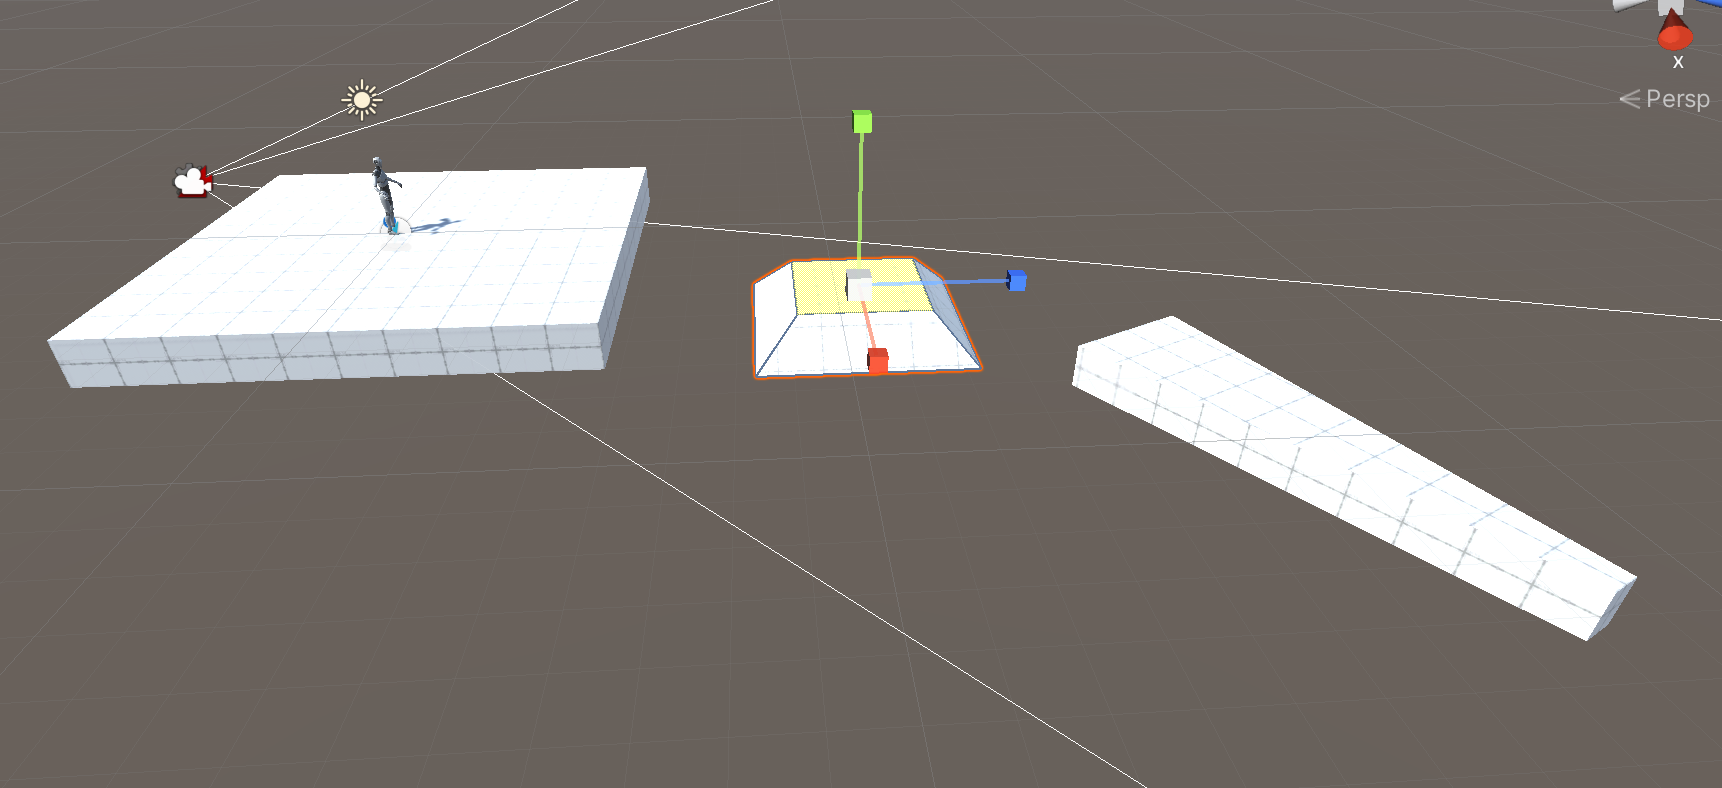
Instead of doing an Extrude Move (shift-click-and-drag with the move tool), we will do an Extrude Scale (shift-click-and-drag with the scale tool). Hold shift and click the center scaling cube to extrude the wall. If you forget to hold shift, the wall will pinch inward, but when done properly, notice how the wall appears to have an inset face.

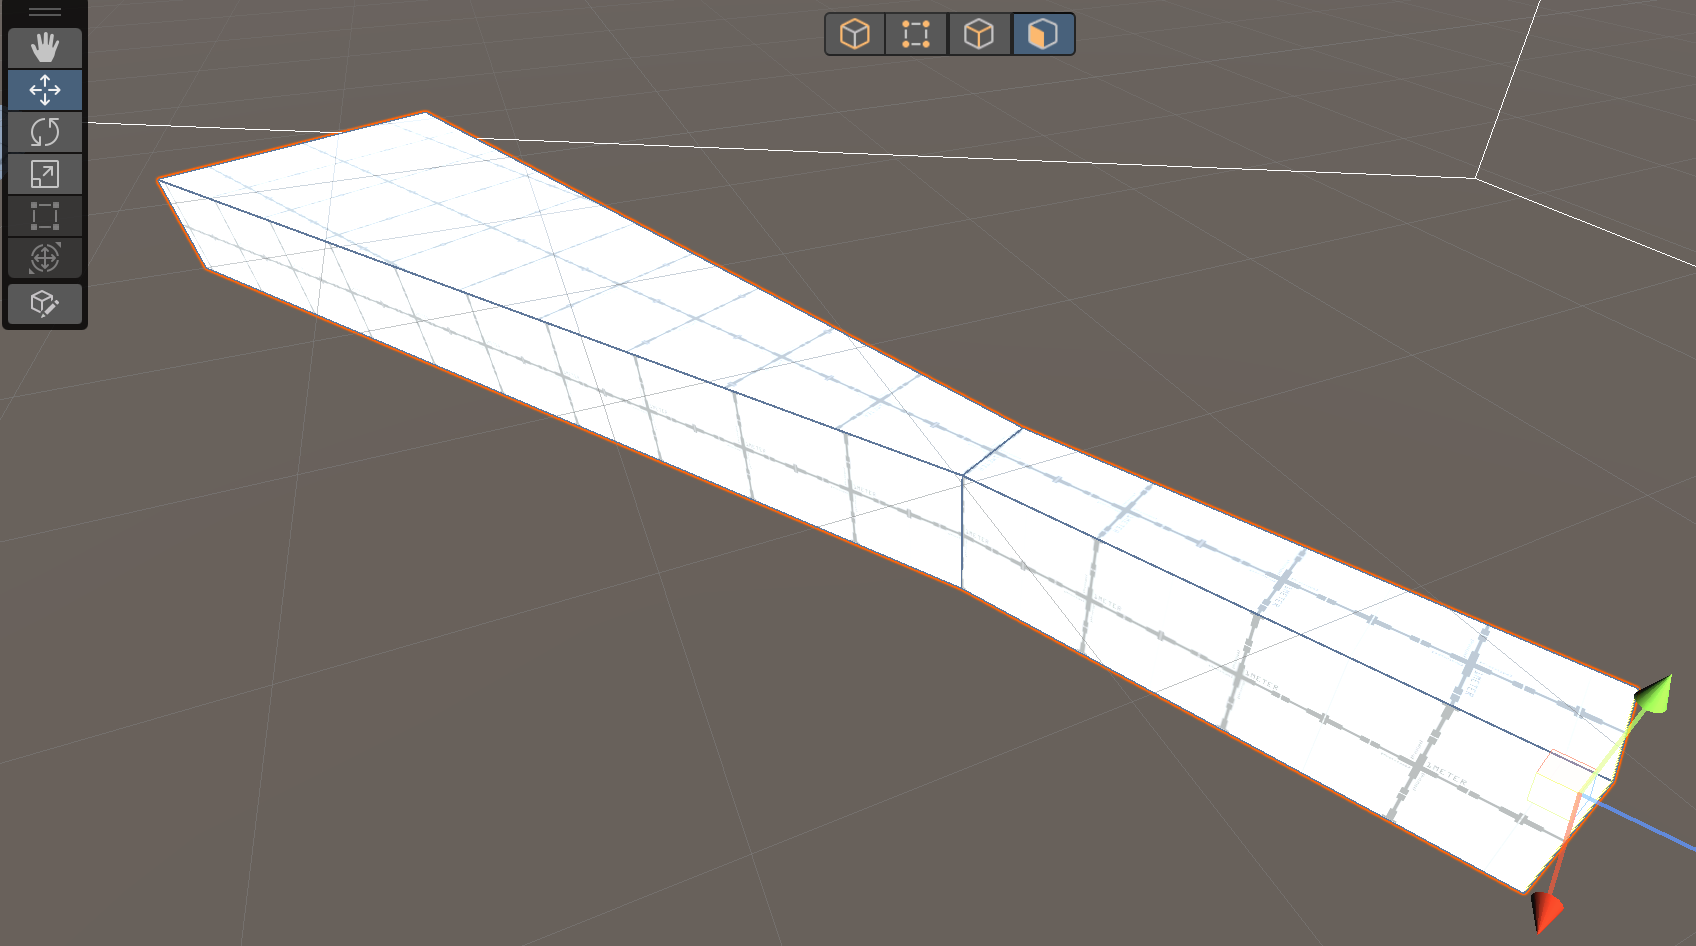
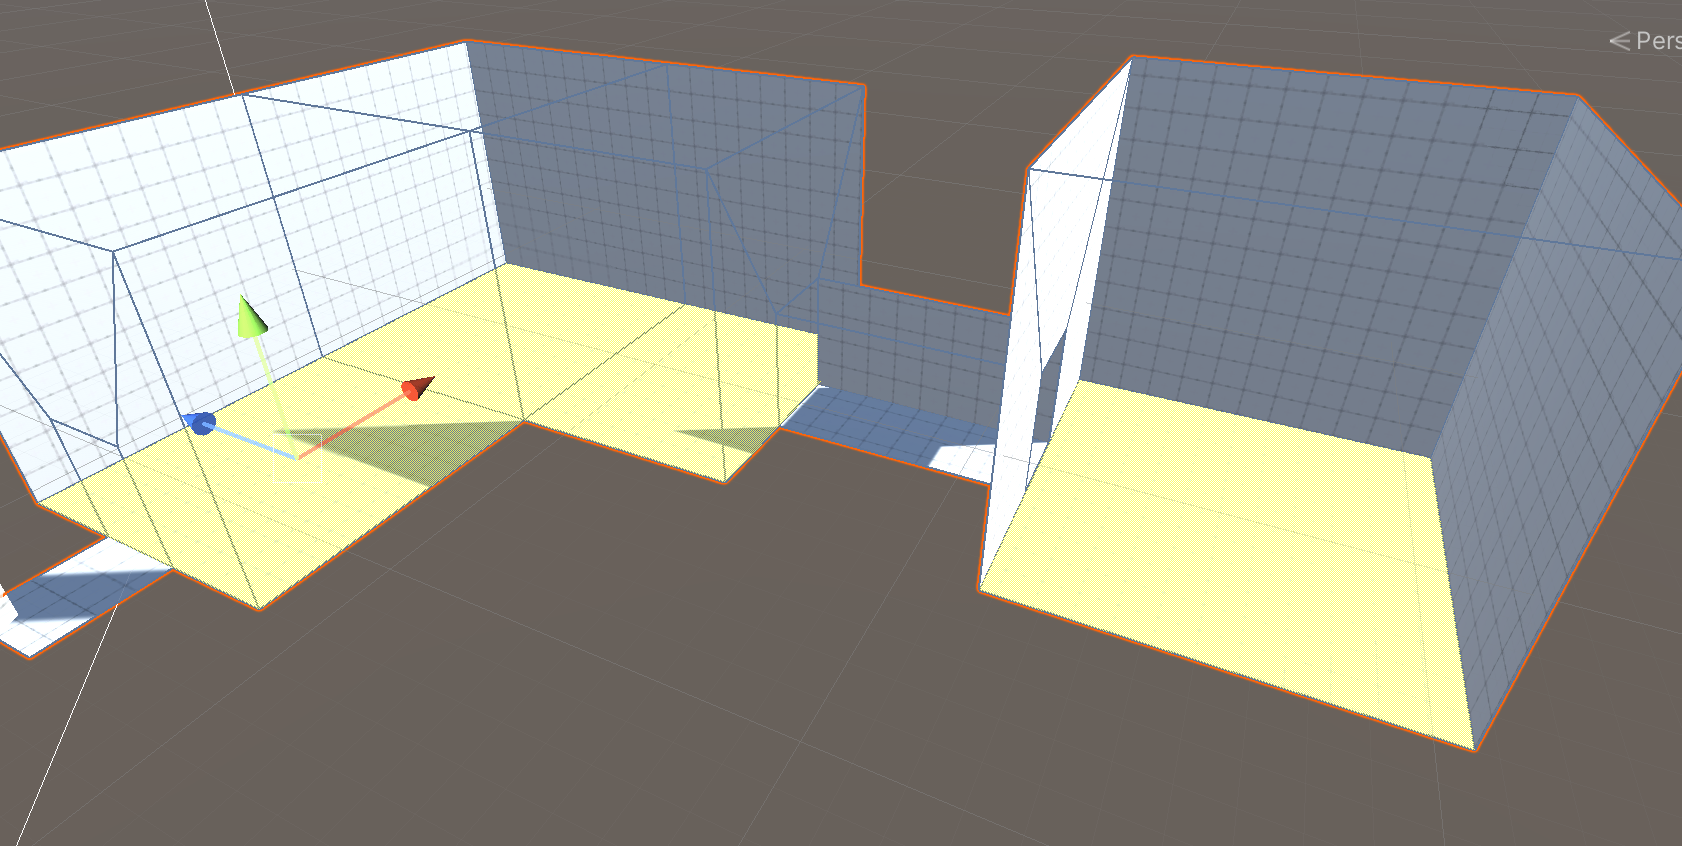
Using the scale and move tool (both WITHOUT holding shift), we can shape and move this hallway down to the floor.

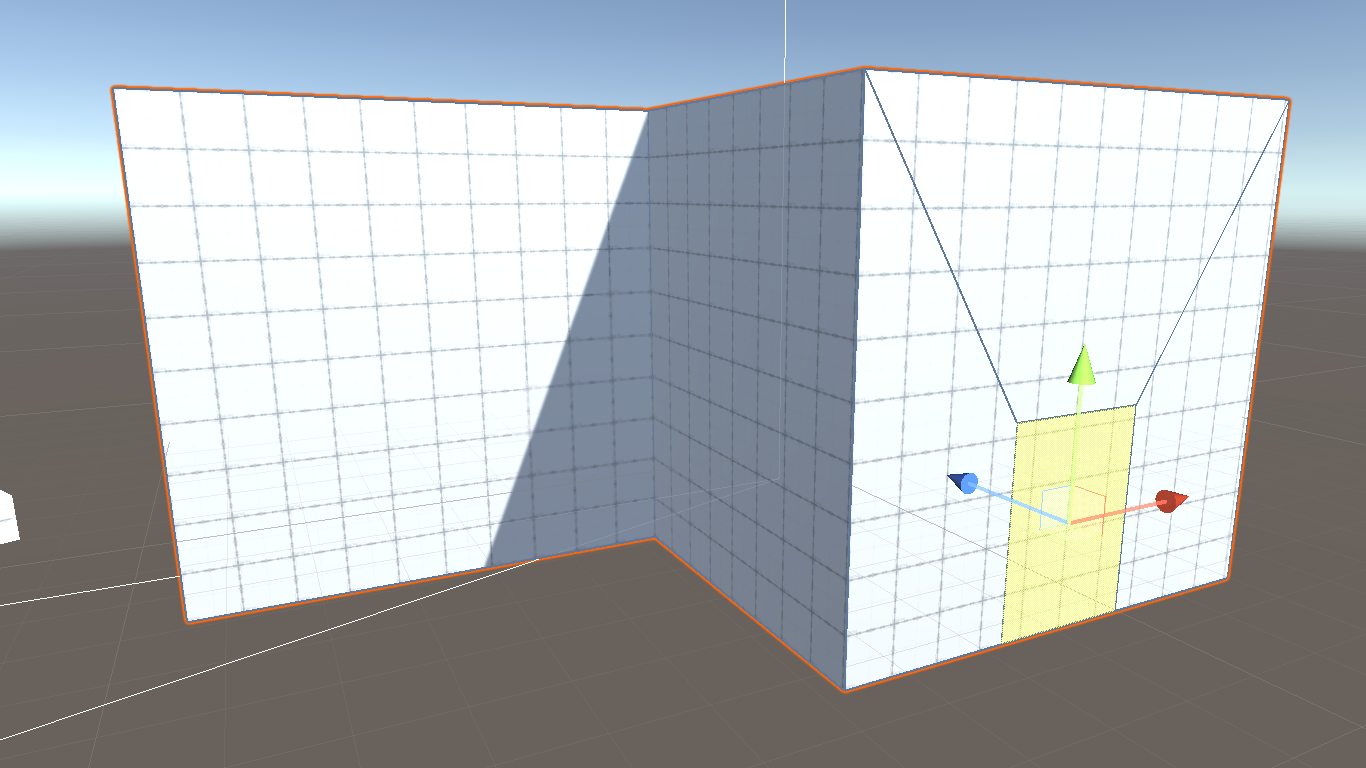
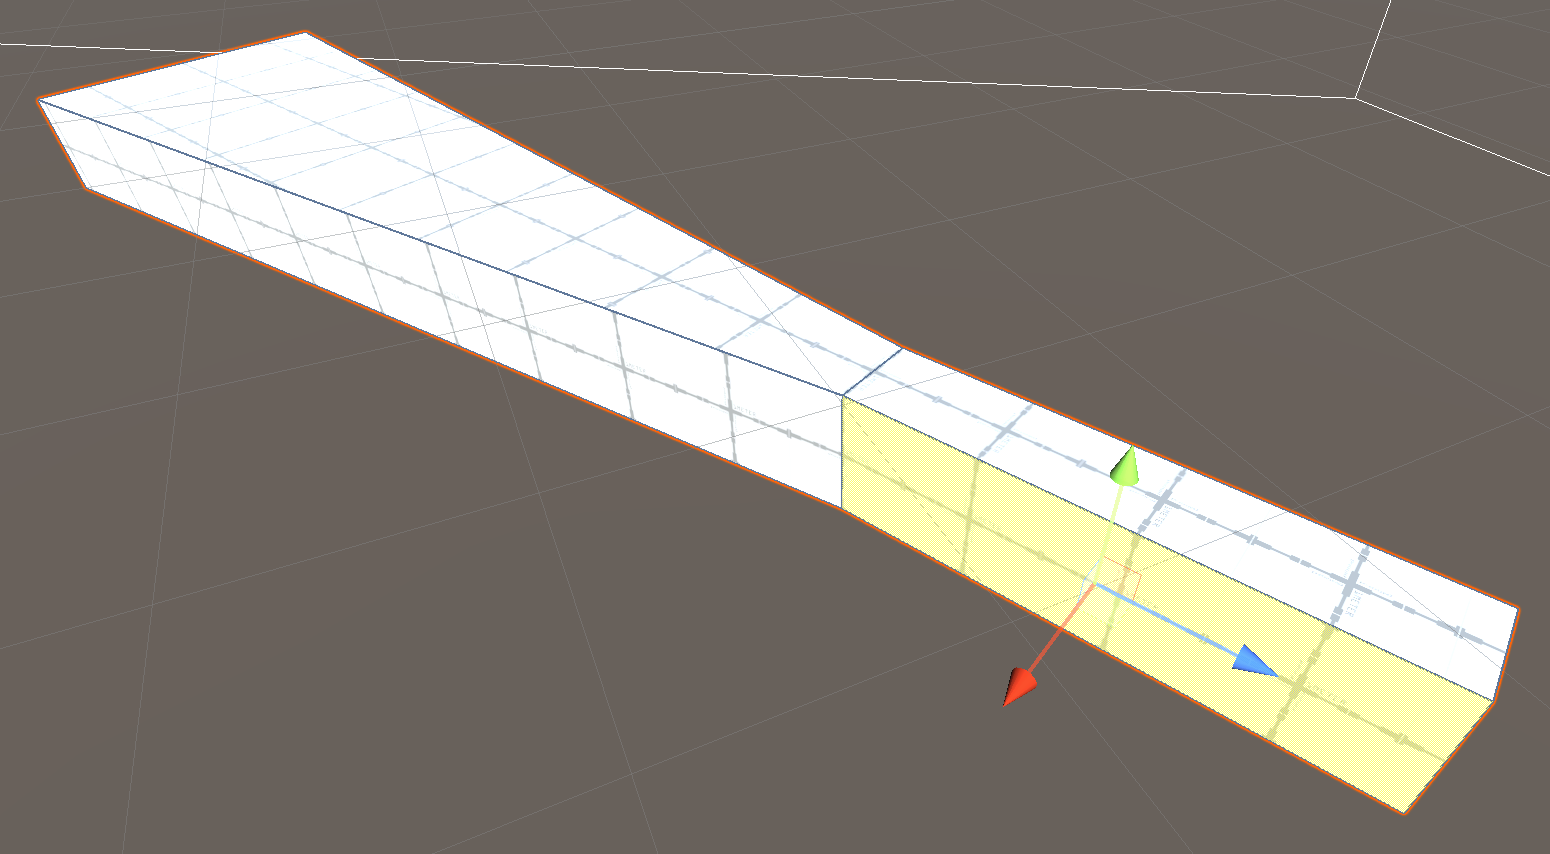
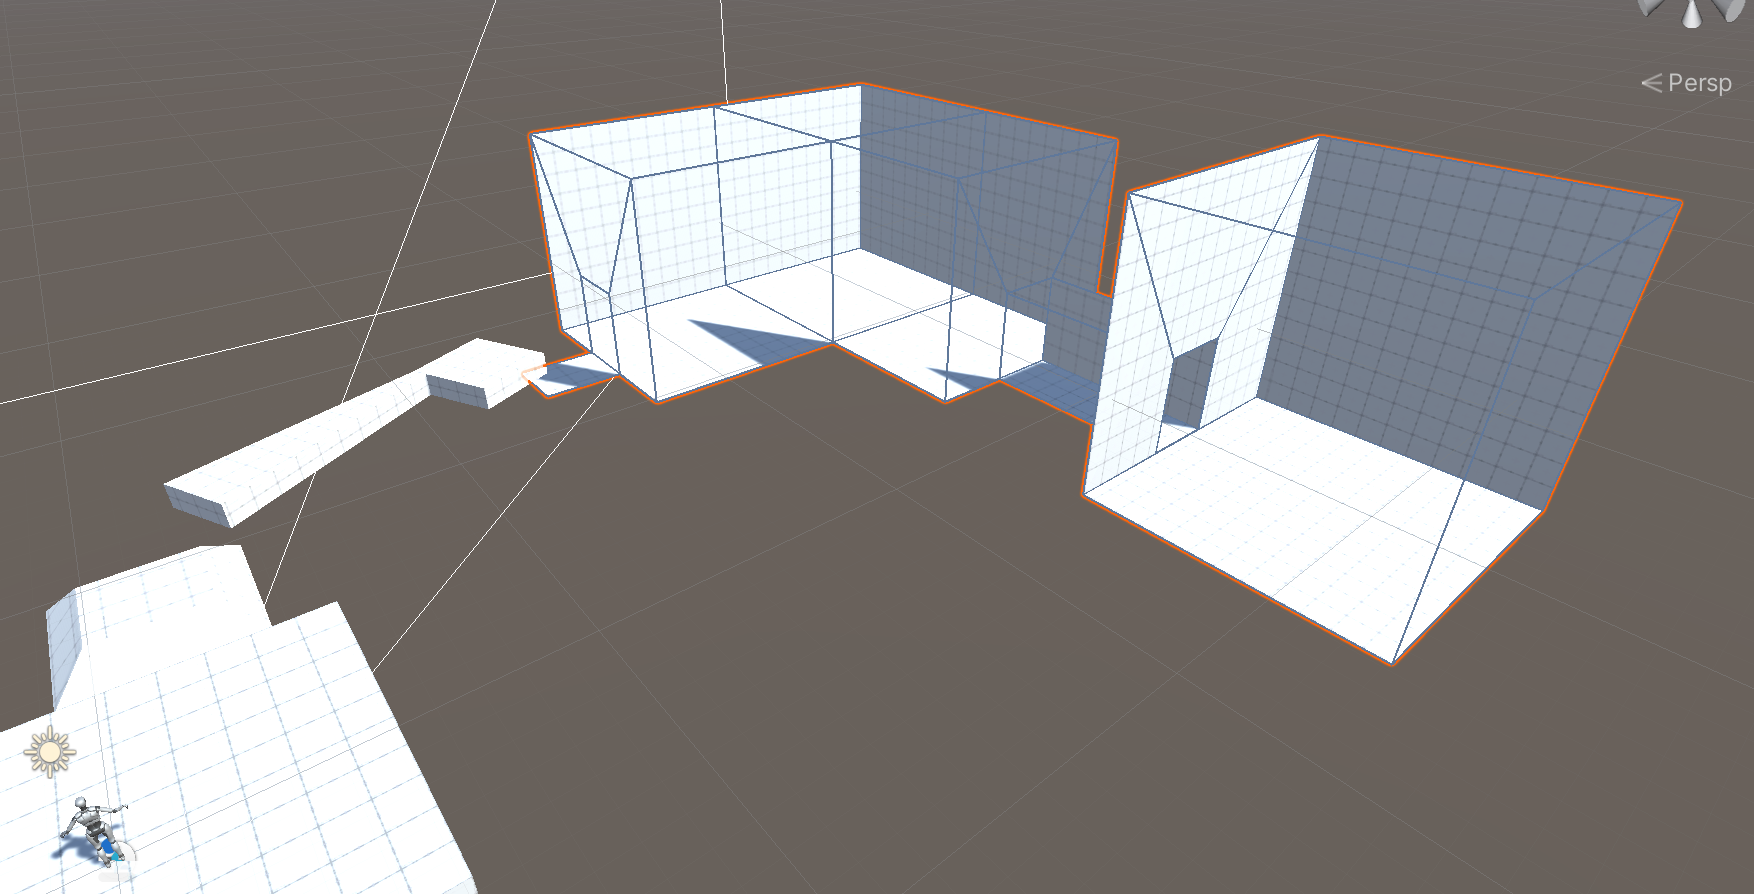
Finally, we will do an Extrude Move (hold shift and drag using the move tool) to pull the hallway outward as a new segment attached to the previous room.

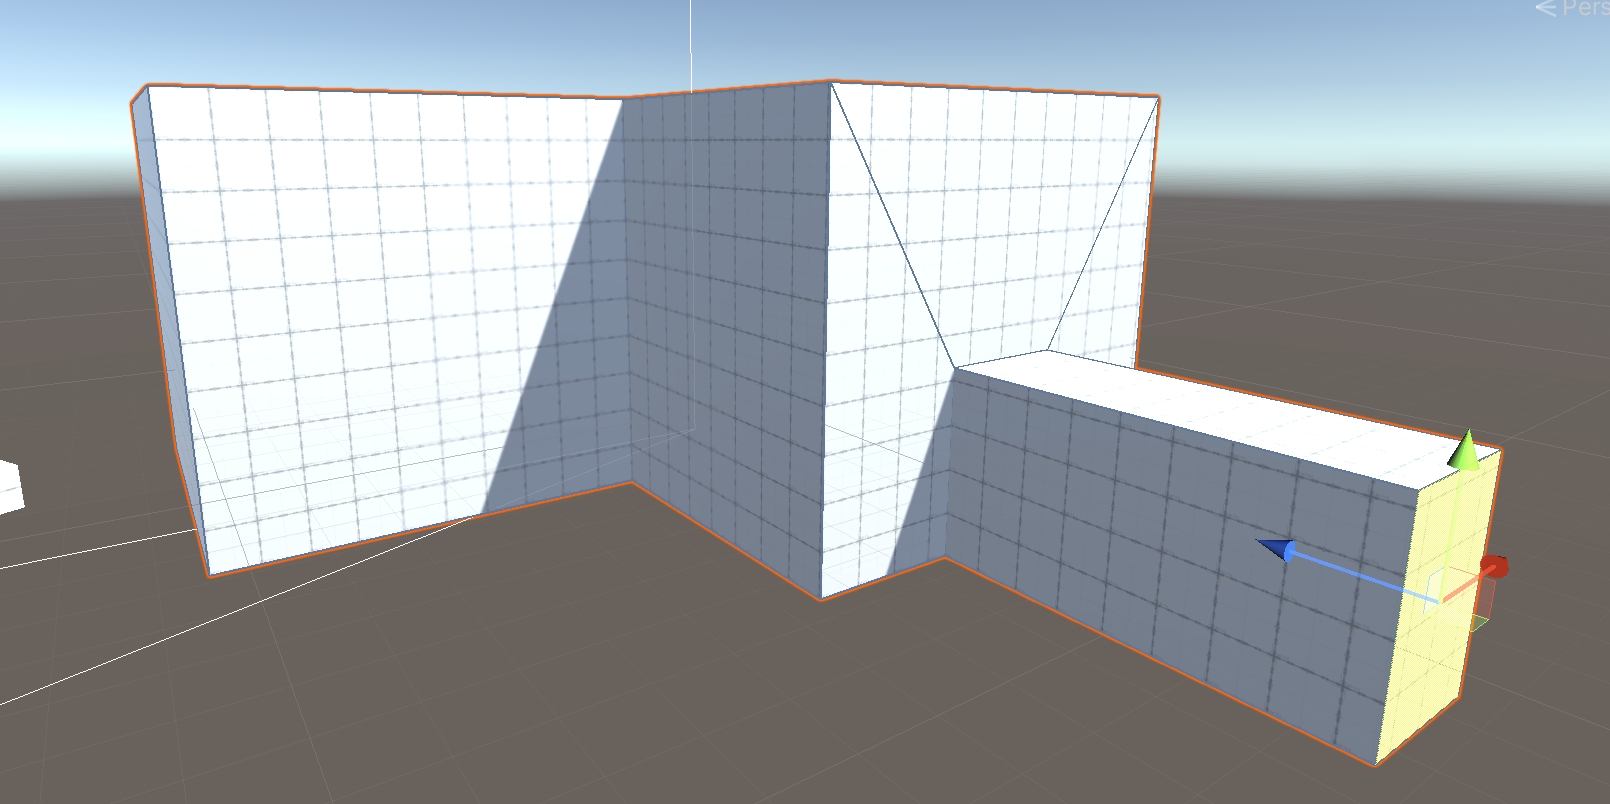
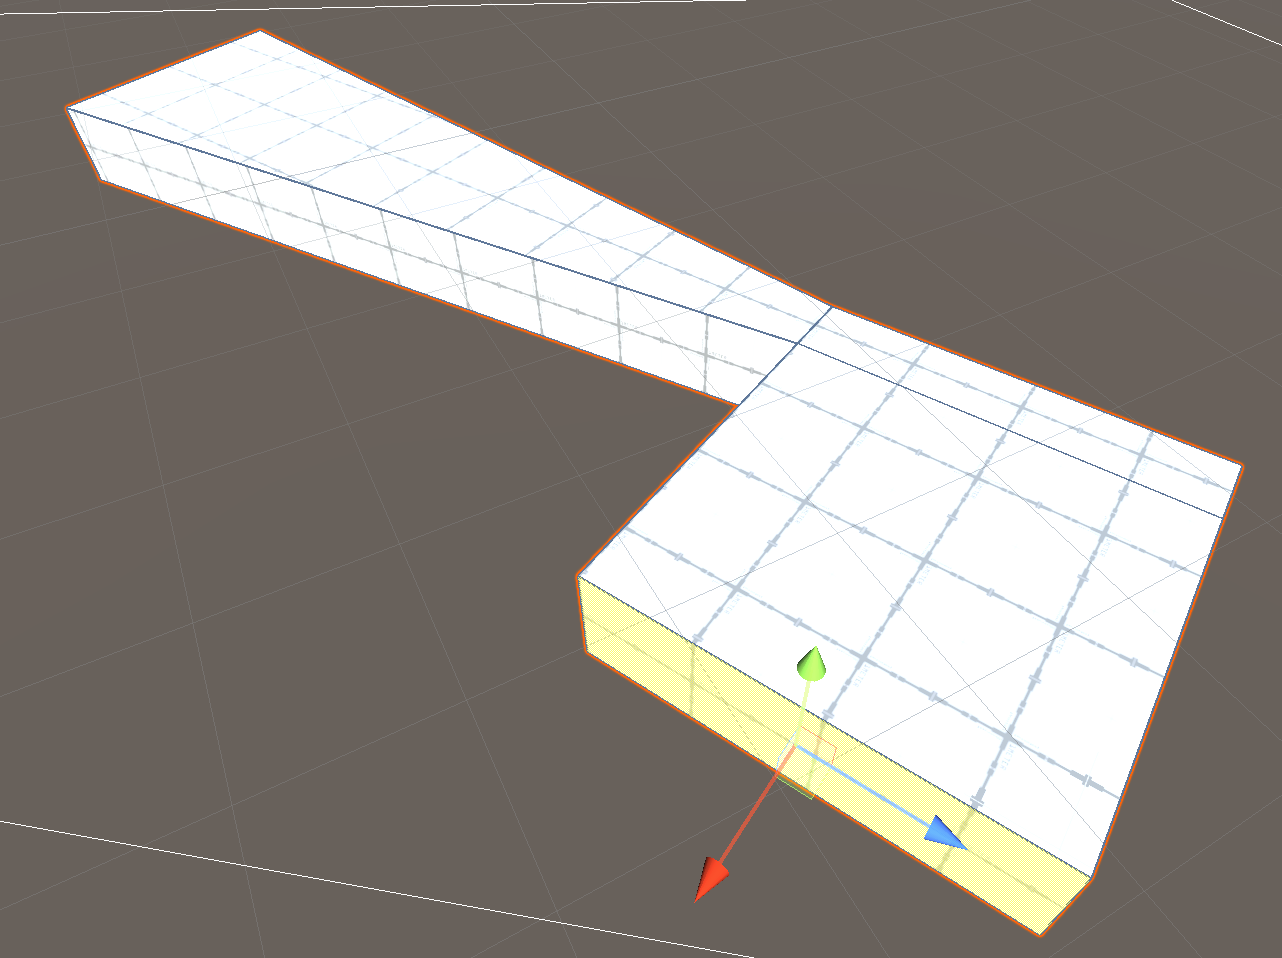
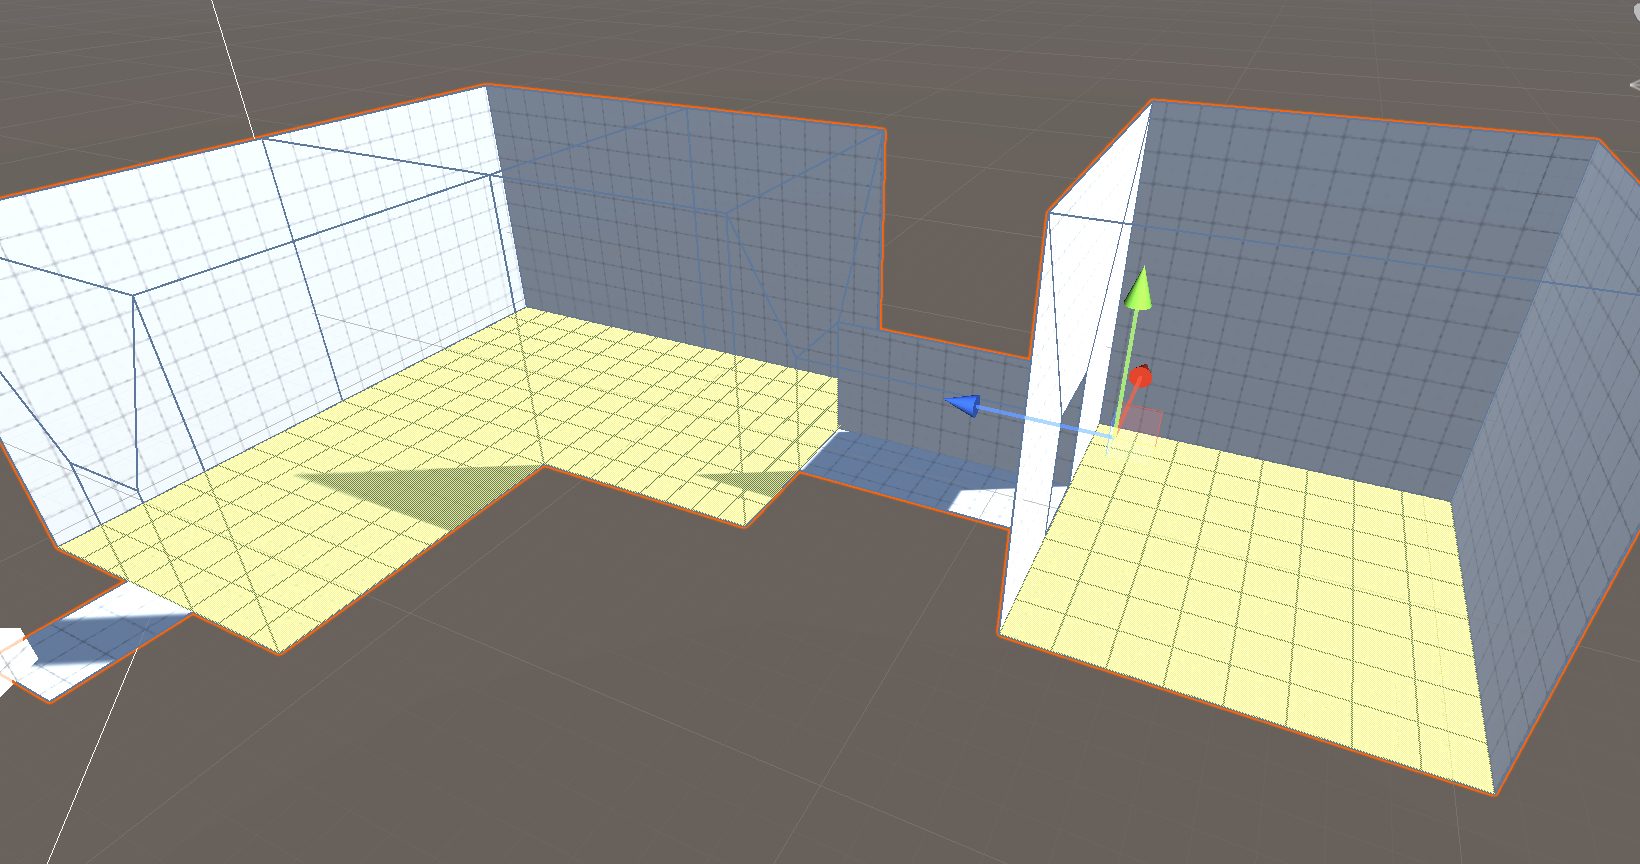
To create a room at the end of this hallway, we will repeat the same steps. Extrude Scale the end of the hallway to create a new room wall. Use the scale and move tools (WITHOUT holding shift) to shape and position this wall.

Do an extrude move to create the last room.

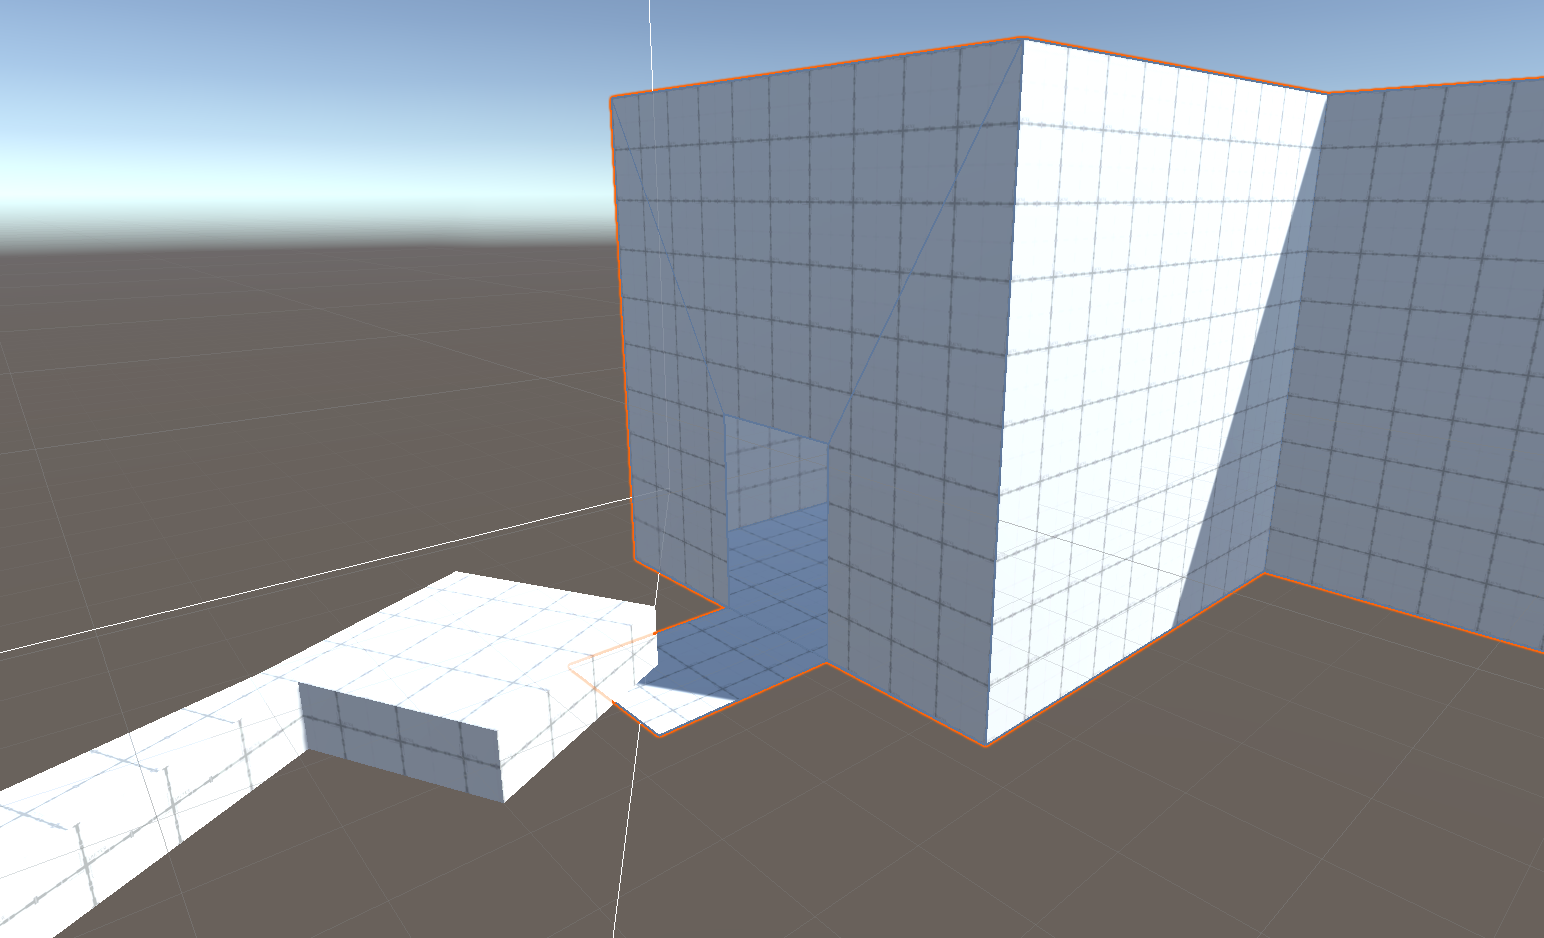
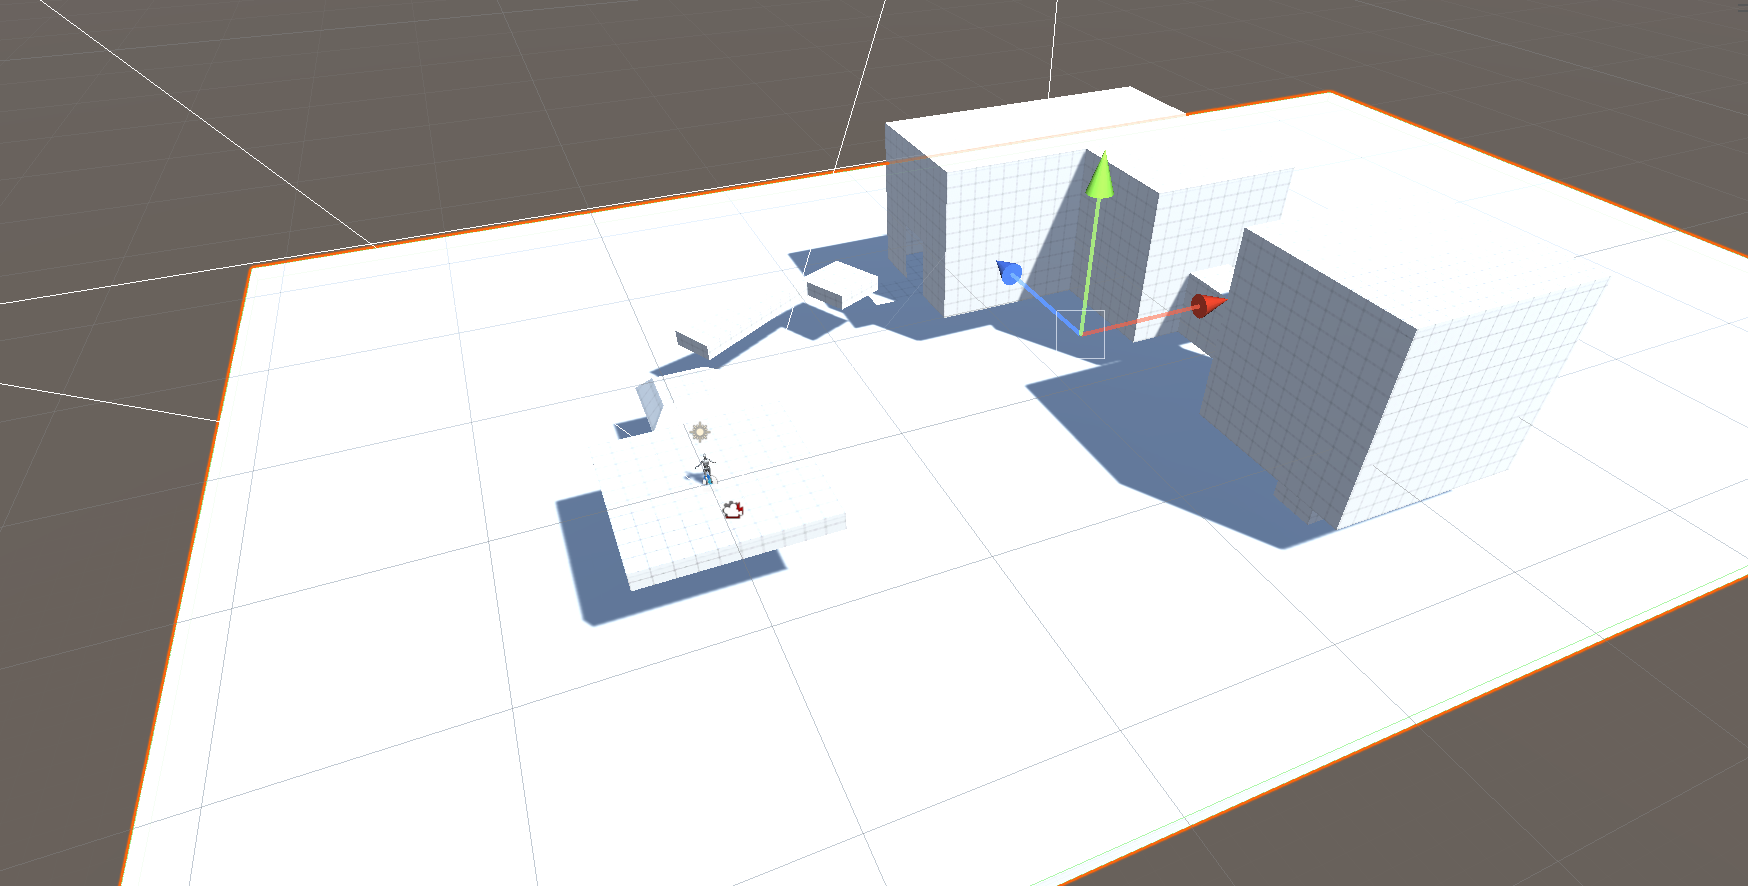
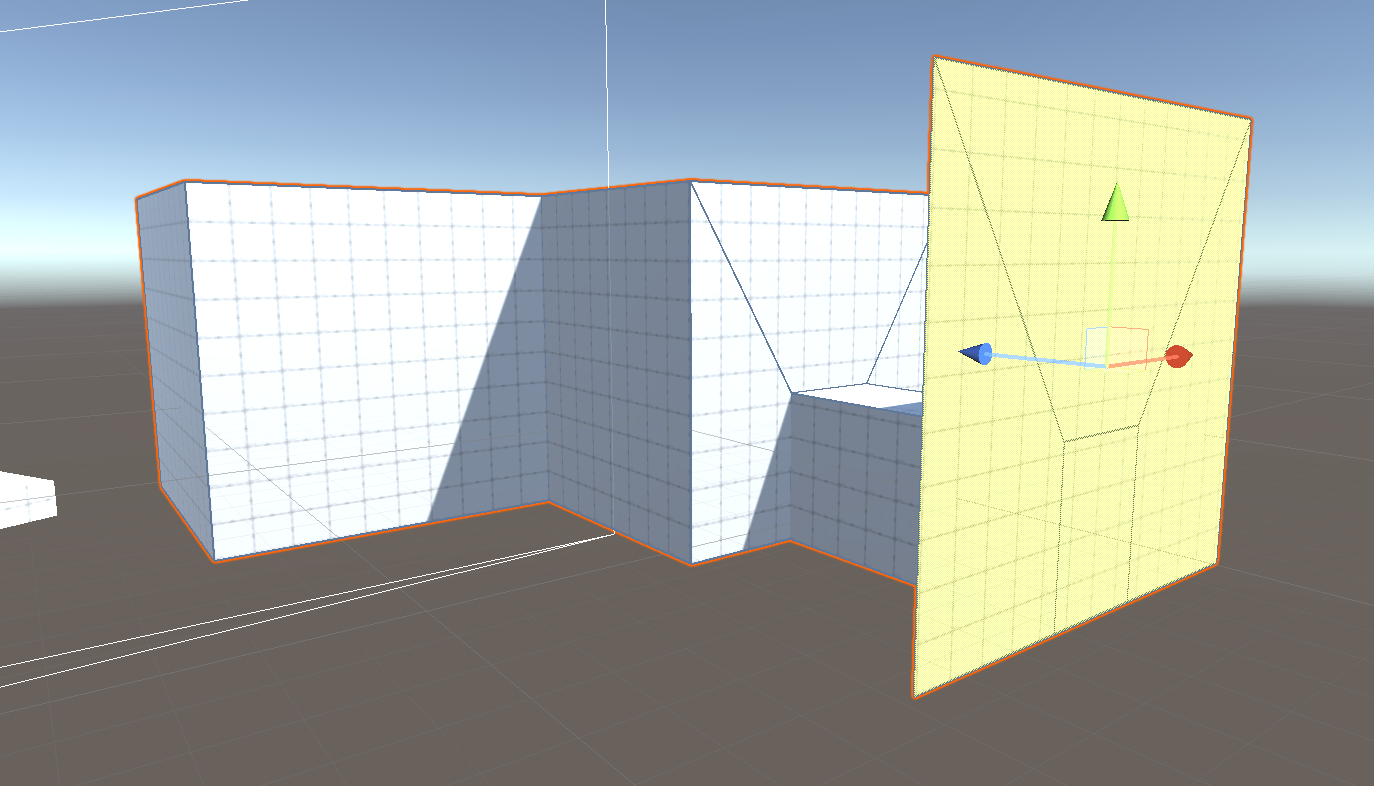
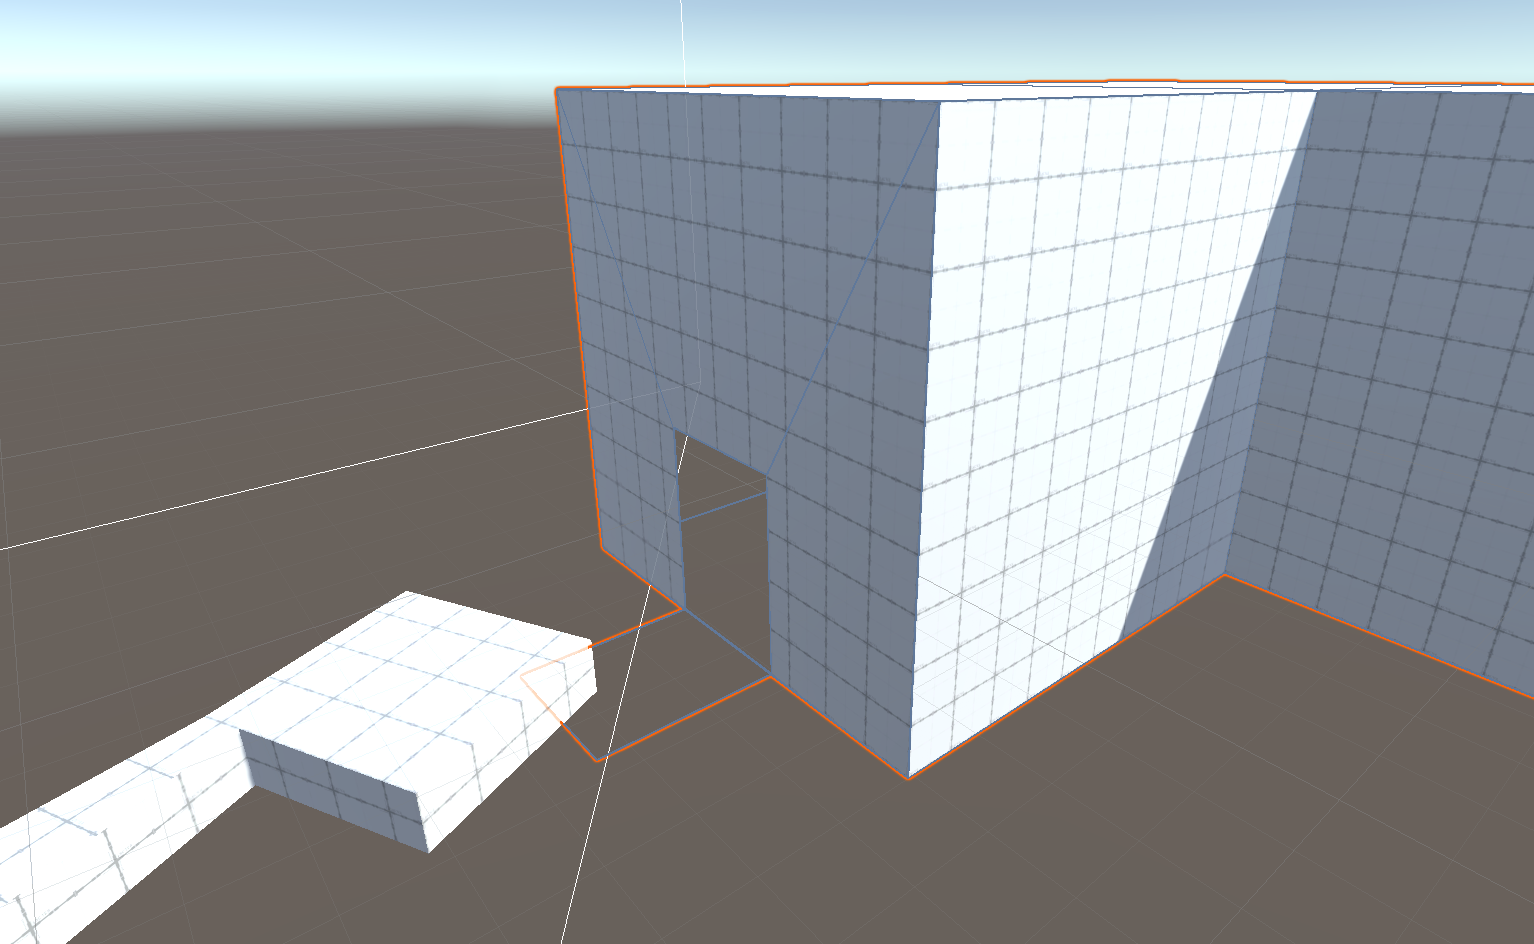
Let's make an entrance for our new space. Select the wall closest to the rest of the level's geometry. Use the various extrude techniques to create an entrance hallway.

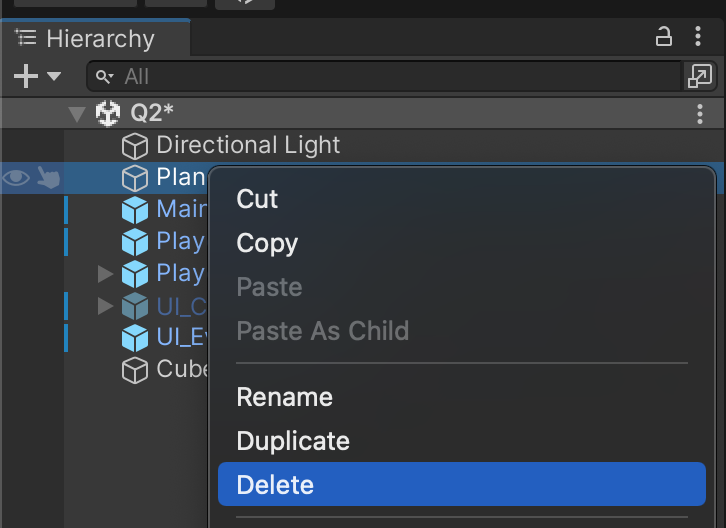
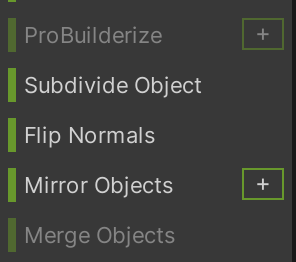
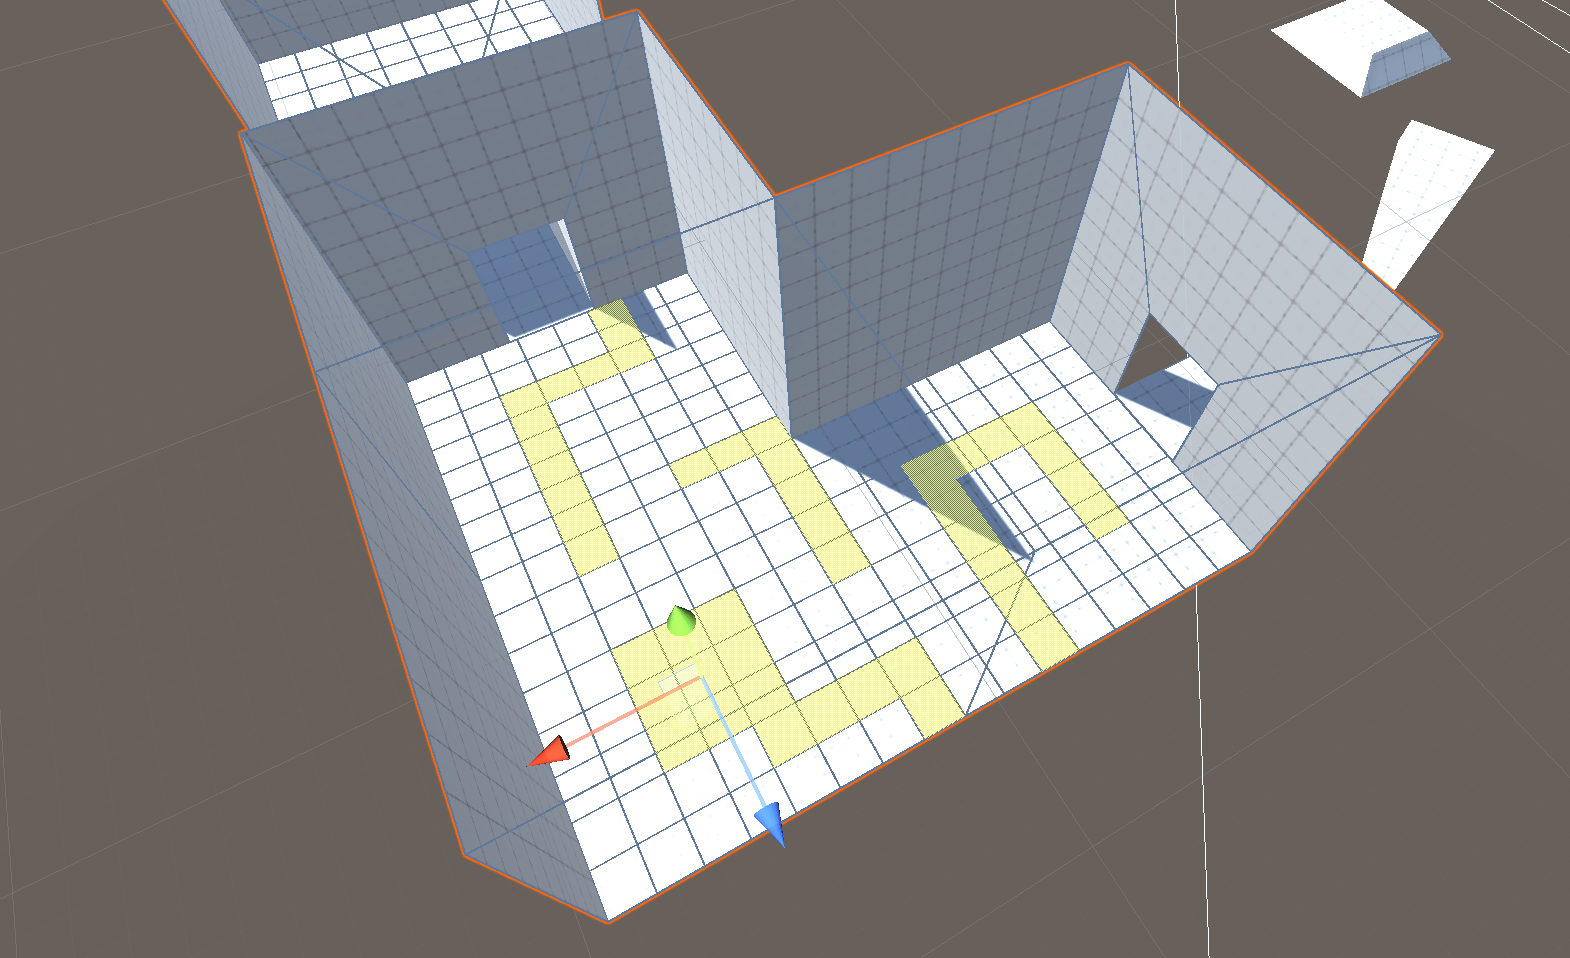
Select and delete the side, top, and front faces, so all that is left is an entrance floor.

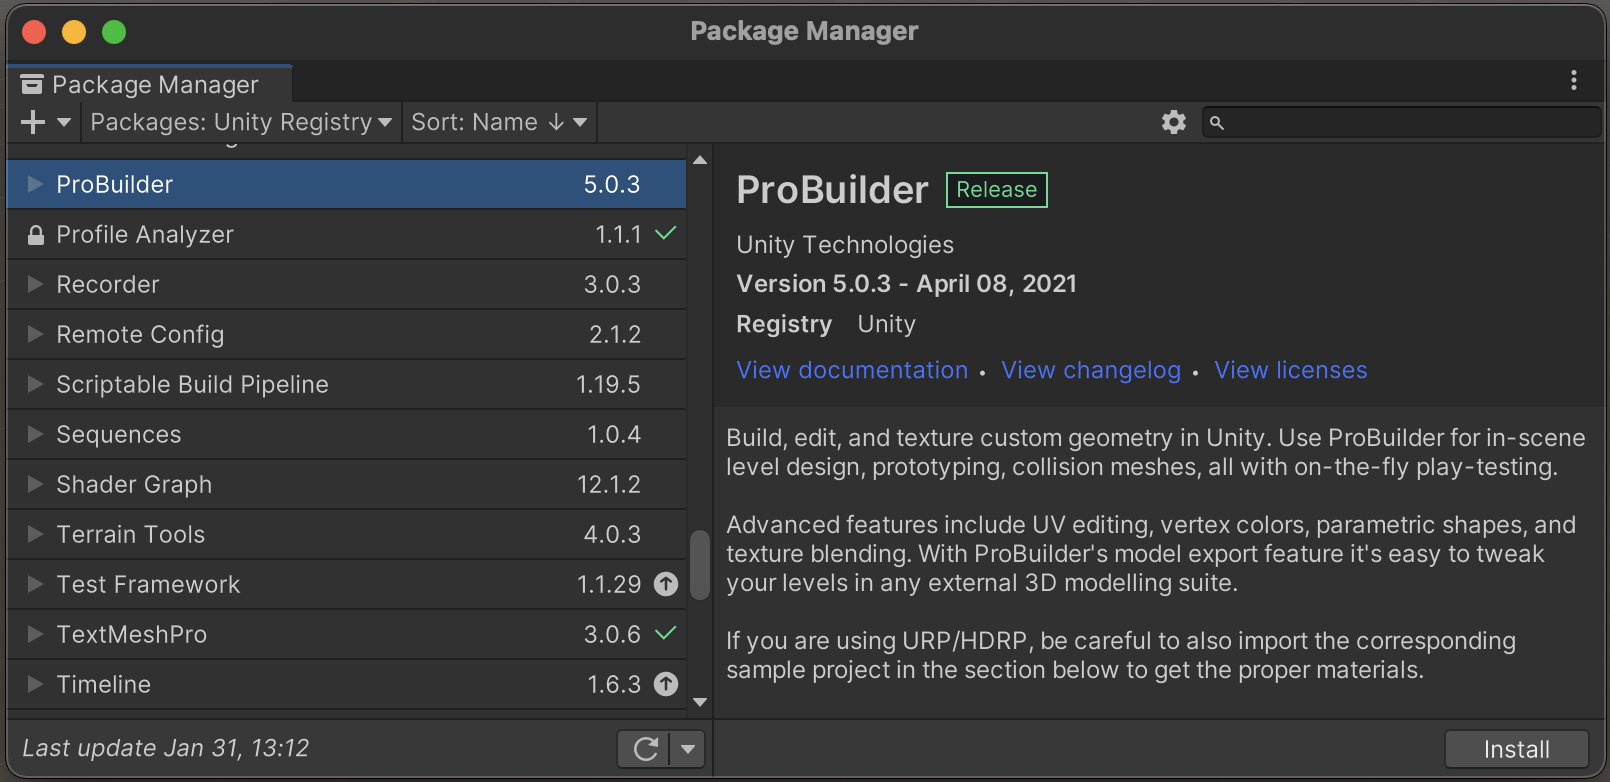
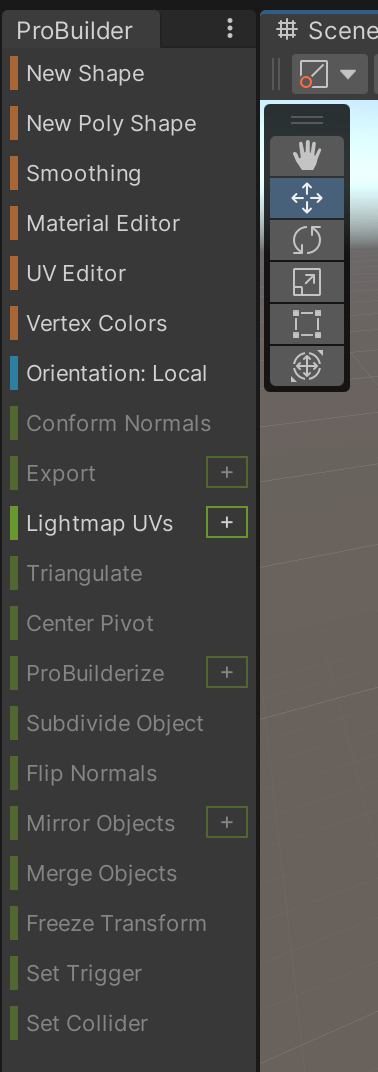
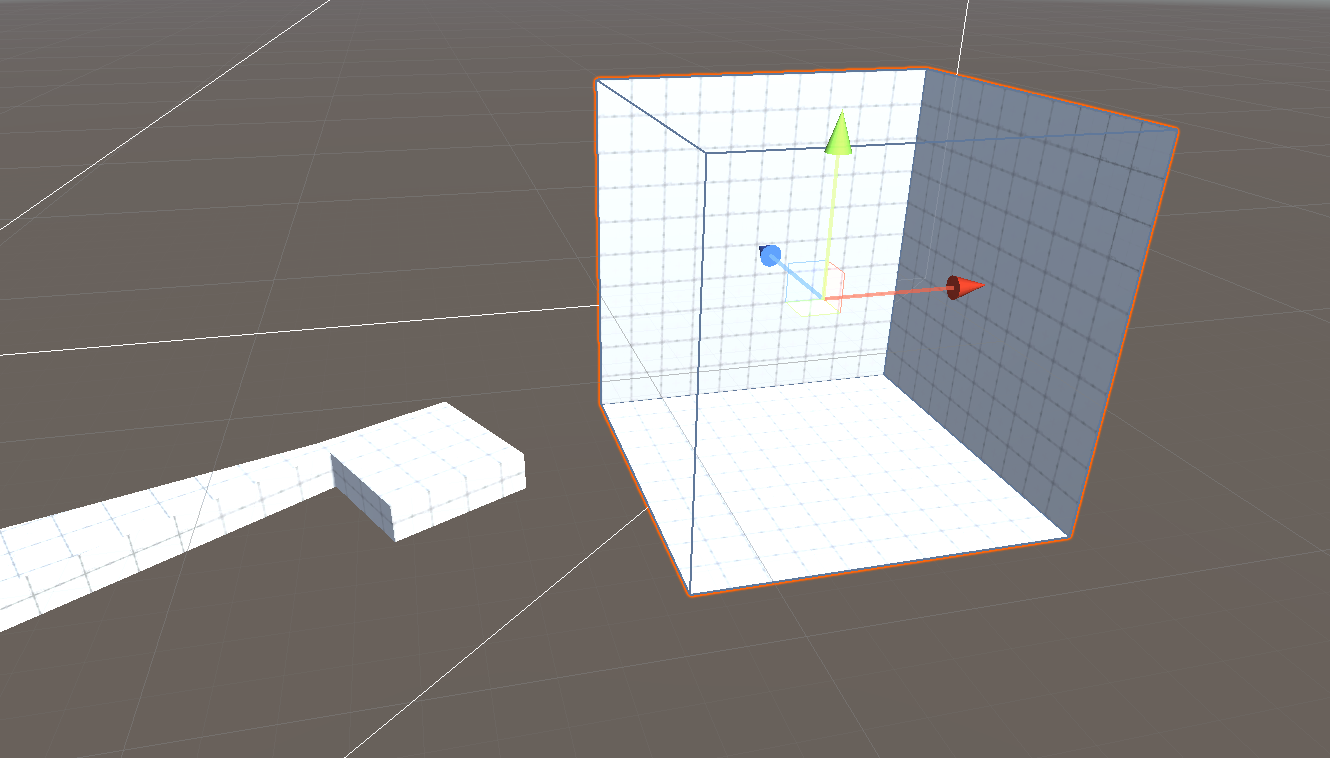
Finally, use the "Flip Normals" tool in the ProBuilder Window to turn the object inside-out and reveal the interior level design you've created.

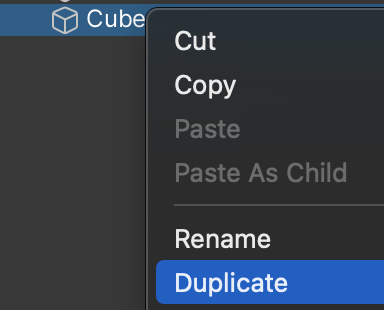
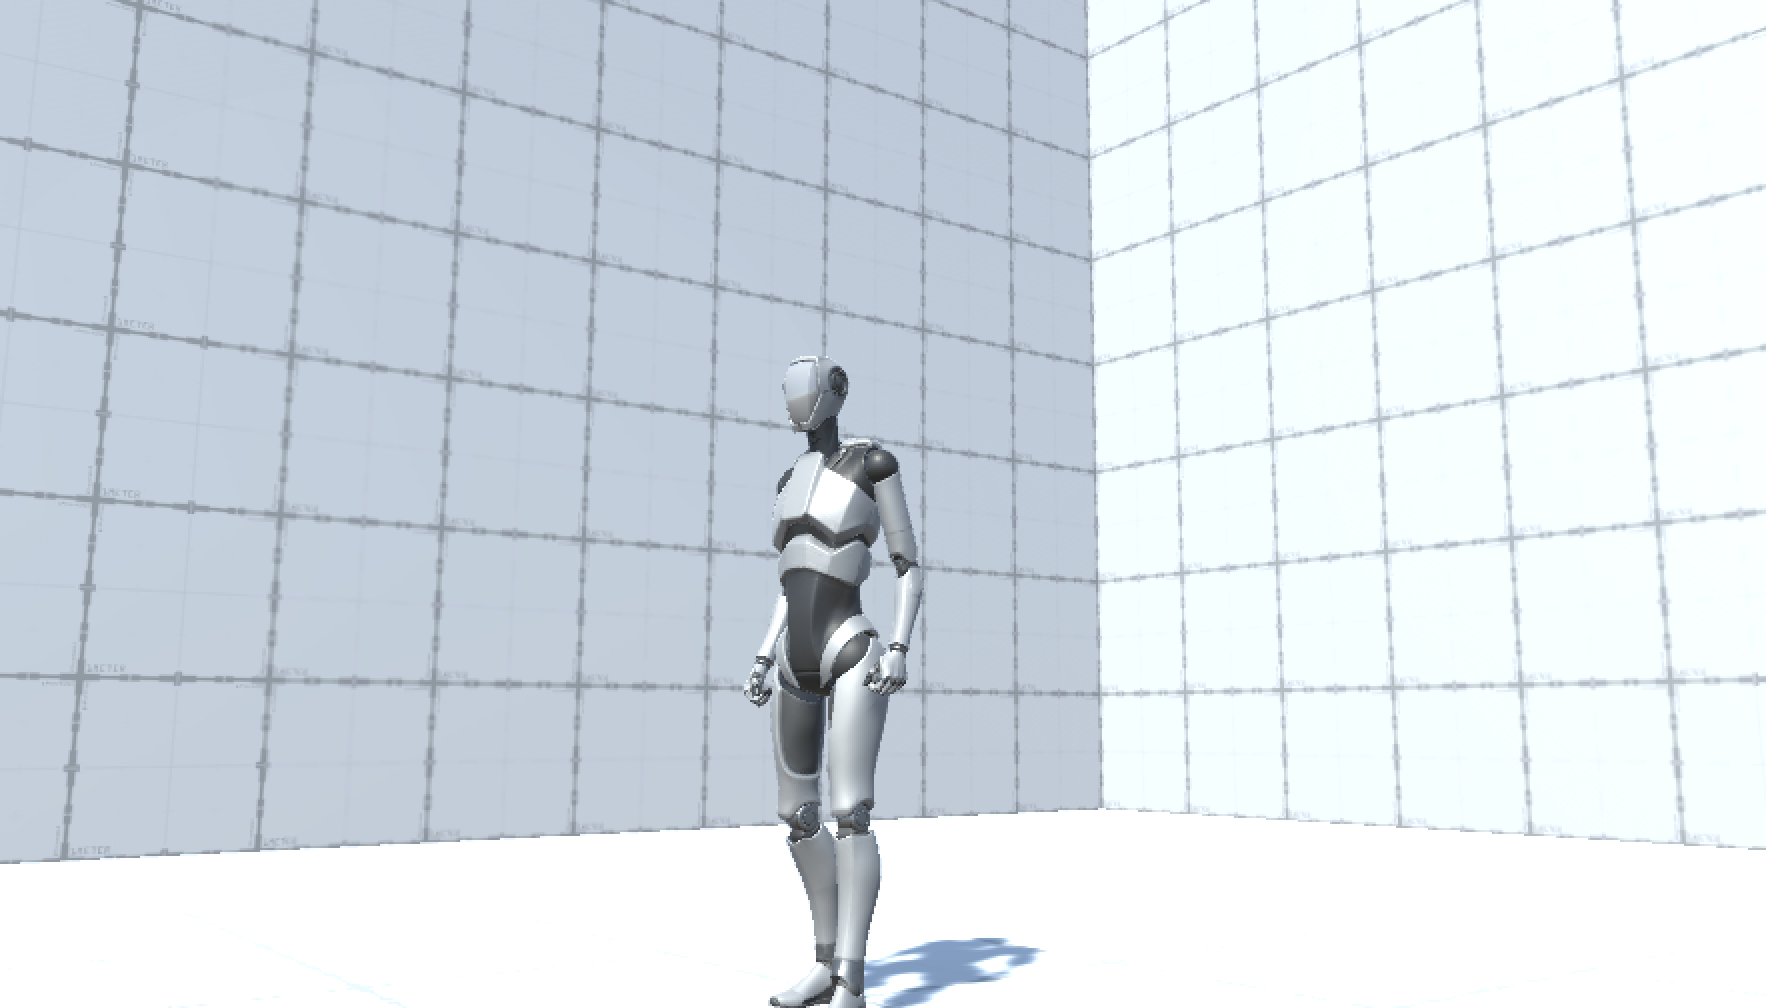
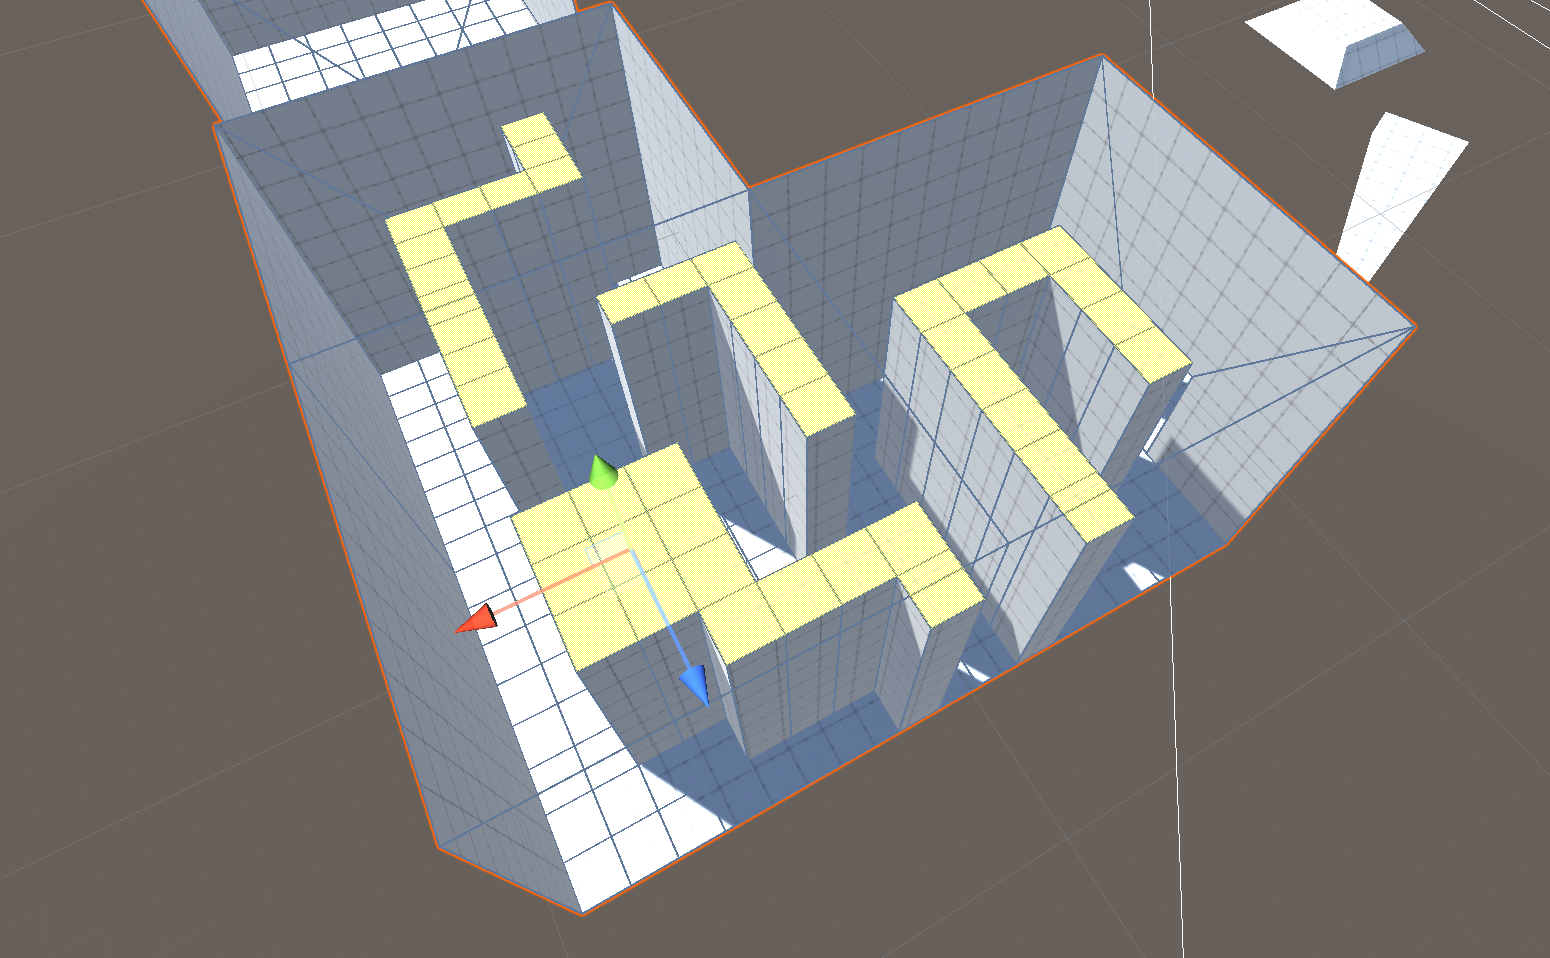
This portion of the level looks odd from the outside, so to create the look of a double-sided object, we actually have to duplicate the entire game object. Each game object will have their normals flipped in the opposite direction so that the rooms appear to have both inside and outside walls. If you make any changes to this shape, you will need to repeat making a clone with flipped normals to match.

Face Editing

With your various rooms created, there are some additional editing techniques you can explore to create obstacles within individual rooms.

If you examine the floor faces in each of the rooms, you'll notice that having only one face per segment doesn't give you a lot of geometry for making interesting designs. We can create more. First use Face mode and shift-click to select each face in your rooms' floors.

By using the "Subdivide Faces" tool (NOT Subdivide Object), we can create even more faces in the floor without changing the shape of the rooms.

Using the tool around 3 times, provides many more faces and possibilities for level design!

In the first room, using face mode, shift-click to select multiple faces that create walls and a path between the entrance and hallway.

By extruding these faces upward, you can create the walls of a maze that a player must solve in this room.

In the final room, we can also select portions of the floor, but extrude downward to create pits that the player must avoid.

If you cloned your object to have outside walls, you may need to replace the clone depending on the changes you made to the shape of your rooms.

Required Challenges

Using all of the techniques explored so far, along with your own ideas, you must present the player with three unique challenges to overcome. (You will NOT receive full credit if you simply give the player the same jump challenge three times, for example.)

When the player falls or fails a challenge, the game should reset. The player should never become trapped in your level without any choices to make.

We will establish a reset boundary or "kill zone". Using a 3D Cube, we scale it to encompass the entire area that a player could fall into. It is very important to make sure our kill zone will catch the player if they run and jump in any direction.

Once we're comfortable with the size, we turn off the mesh renderer so that the zone will be invisible and we set the collider to trigger, so that the player will pass through it.

We will create a KillZone script whose OnTriggerEnter event will check for a CharacterController component on the incoming object, and reload the scene as appropriate. If you don't remember how to do Trigger events and SceneManagement functions, it's recommended you review the assignments from last semester.

Be sure to namespace all your code throughout the semester to avoid naming conflicts between assignments.

Save and Test

Play your scene and ensure that your character rig can overcome all of the challenges posed by your level design and that the scene resets when the player fails.

Submit Assignment

SAVE any open files or scenes.

Submit your assignment for grading following the instructions supplied for your particular classroom.