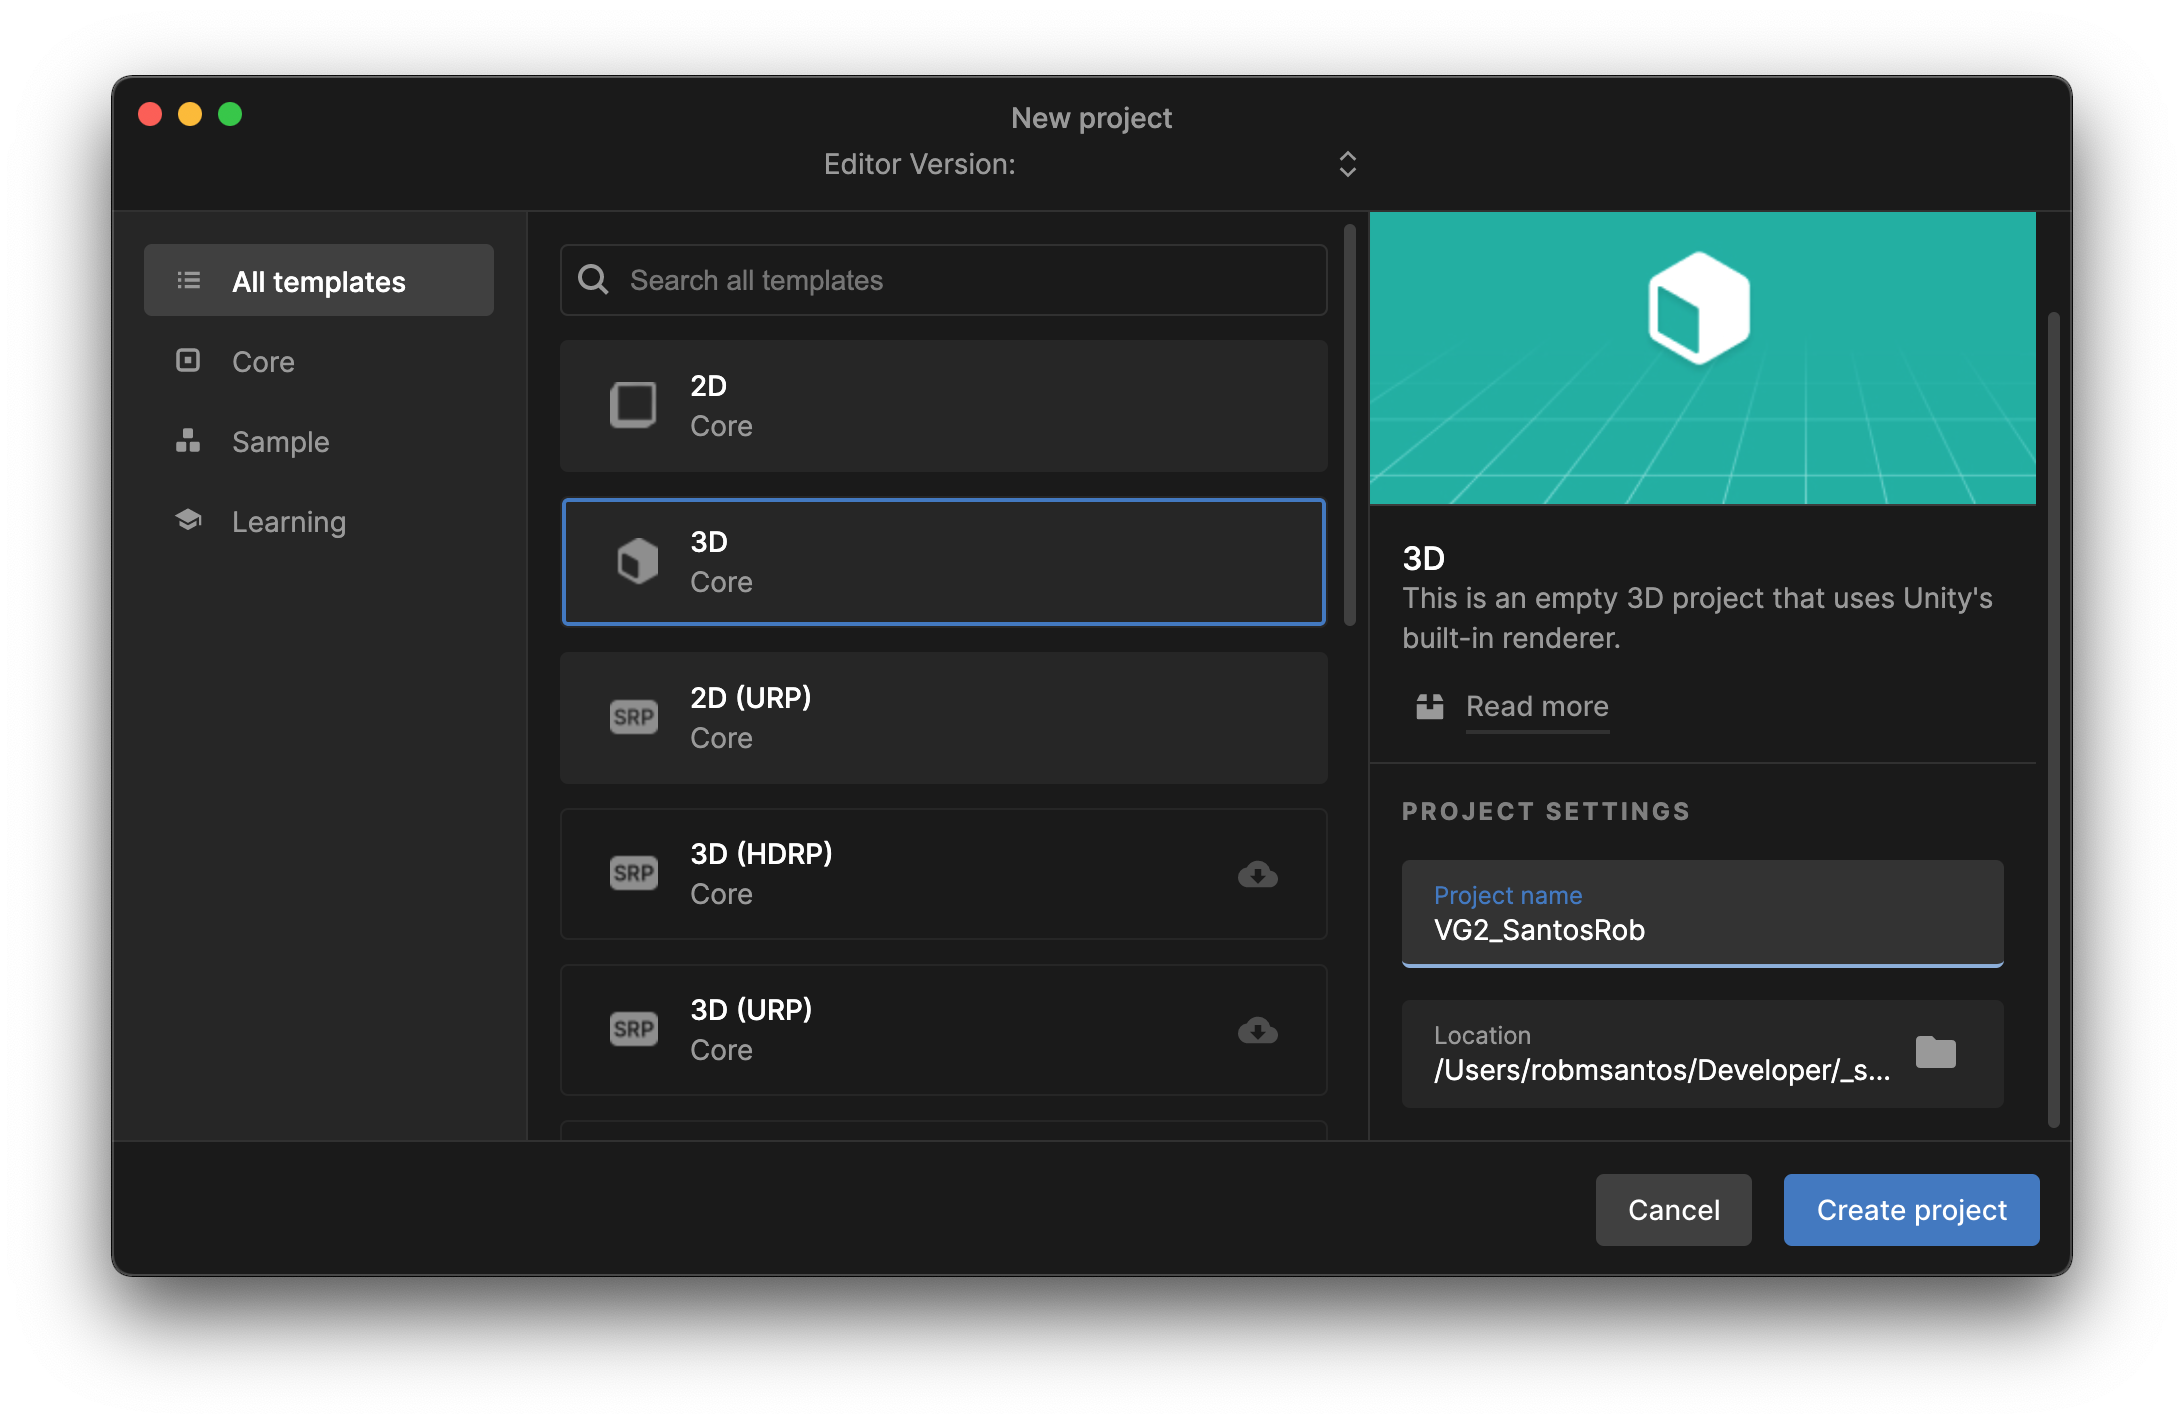
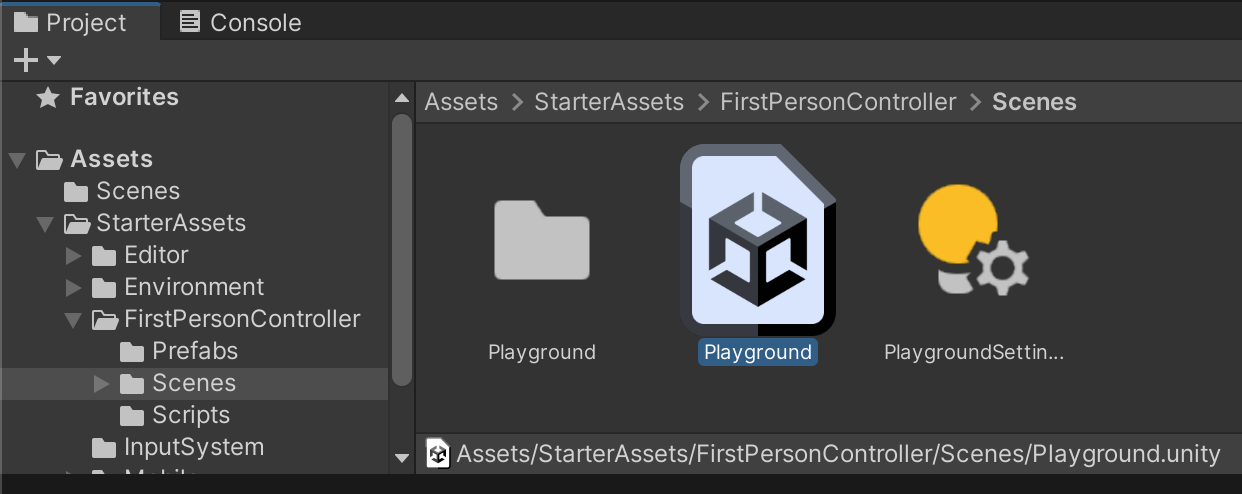
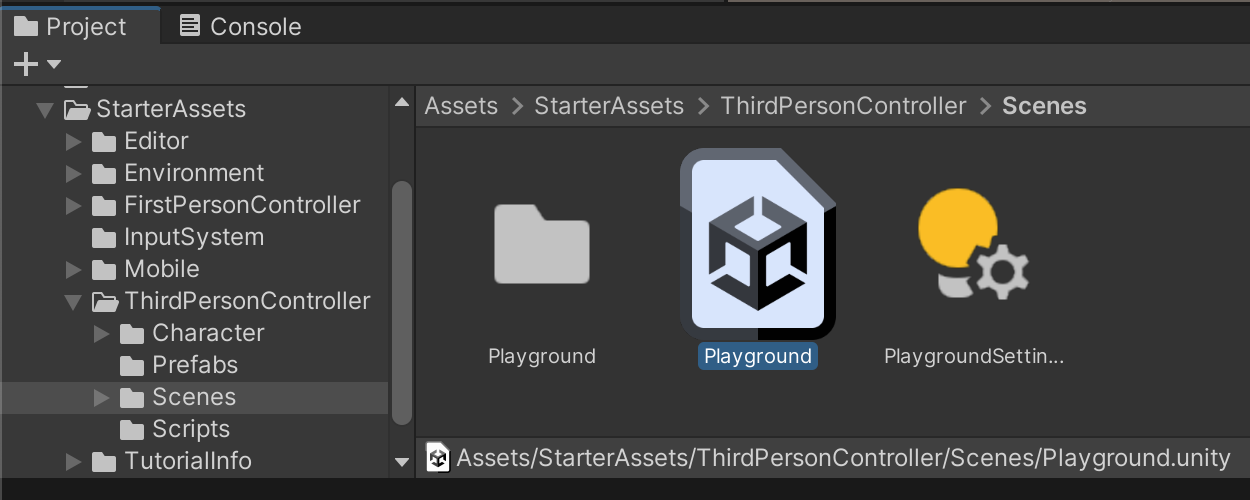
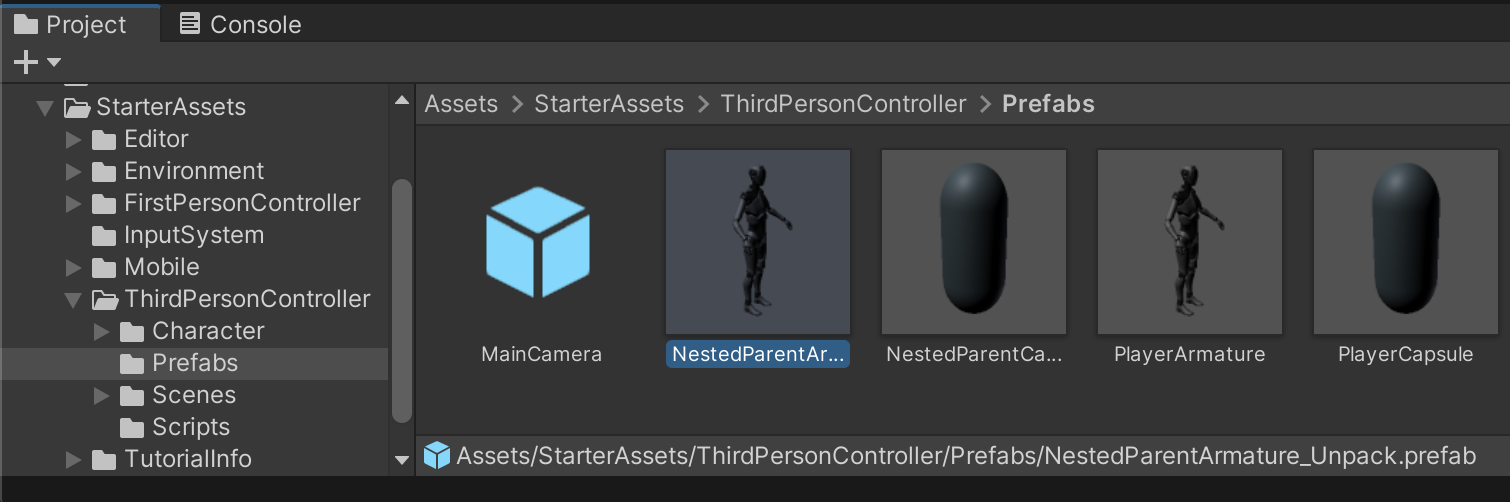
VG2, Quest 1 - 3D Character Rigs

Download Files

Supporting files for VG2 quests are part of a single archive that you can download here.

Create Project

*Your Unity version may differ from what is pictured. You MUST use the Unity version required by the instructor for your particular course semester.

You will use this one project for MULTIPLE solo assignments throughout the entire semester. Replace my name with your own last name and first name. You will have a second separate project for your semester project.

Replace my name with your own last name and first name.

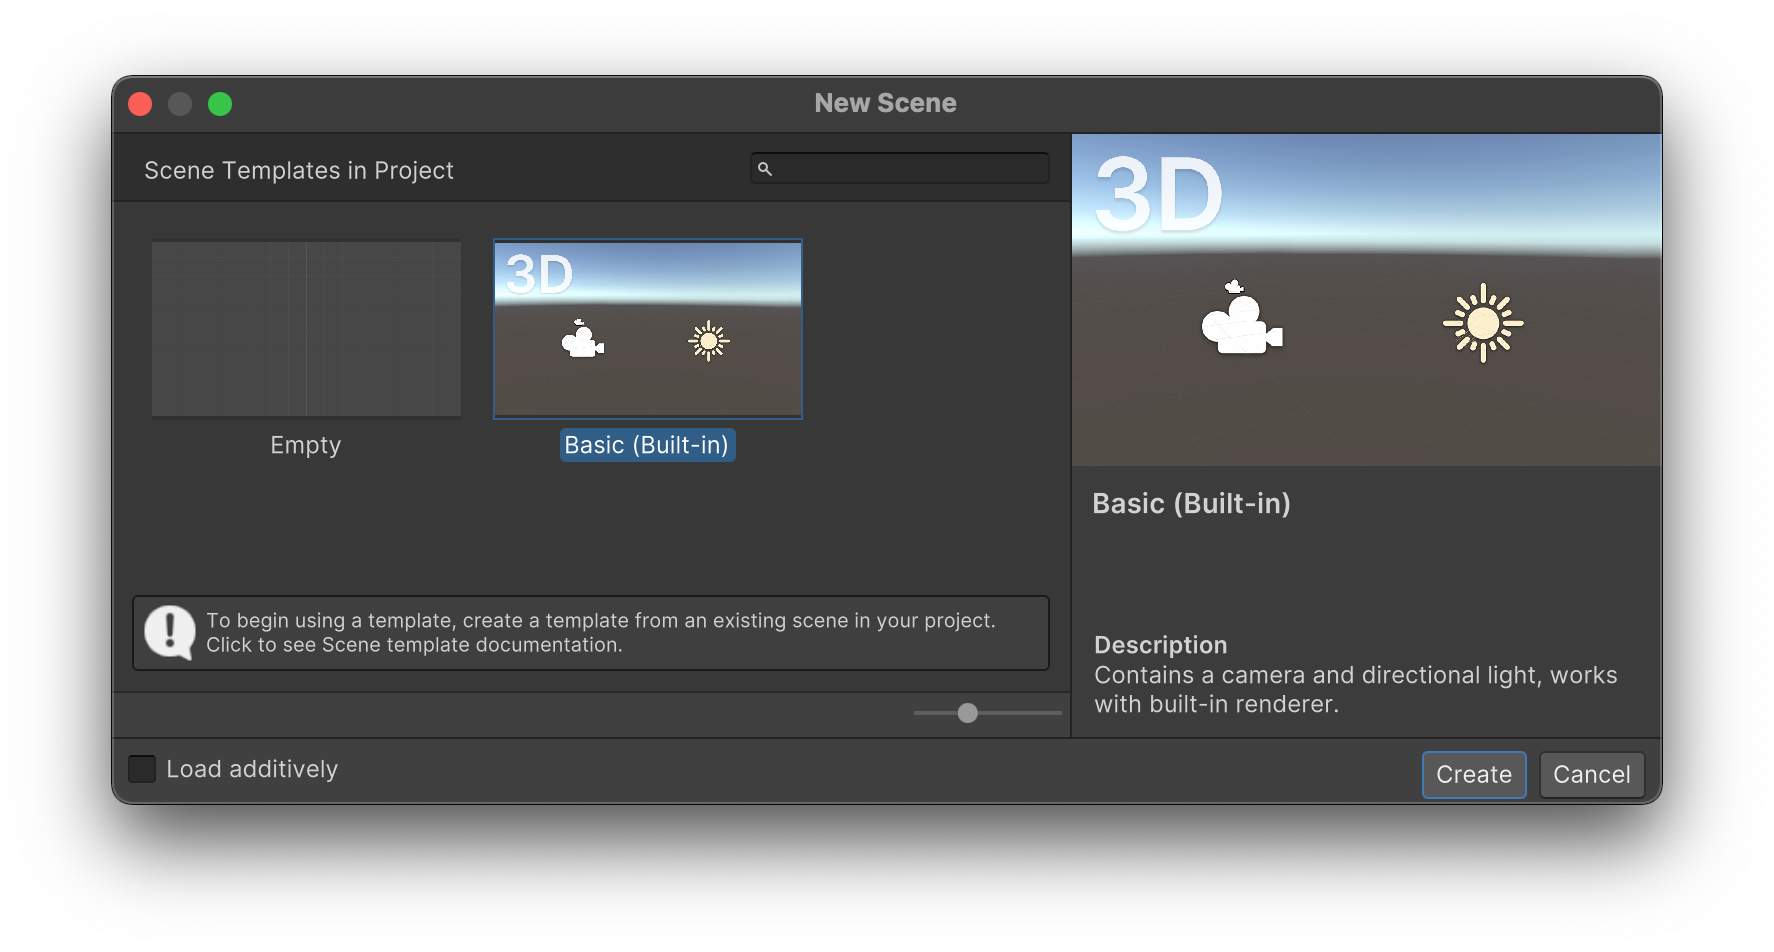
Unity provides different templates for starting your project. All of the projects we do this first semester will be 3D games.

Rename Your Scene

To keep our project organized for the semester, we will rename our current scene to "Q1 - First Person" to represent the first half of this assignment.

Find your Scene in the Project->Assets->Scenes folder and rename SampleScene. You may be asked to reload the currently active scene.

Download Assets

Find "3DStarterAssets.unitypackage" in the course files and download it to your local drive. Do NOT drag this file into your Unity project.

This package contains sample assets for making first person and third person games. While everything can be built from scratch, it is also common to use existing assets to facilitate faster production of a game. We will frequently explore techniques for customizing existing assets in addition to building things from scratch.

Import Assets

Instead of dragging the unitypackage into your project, double-click it. An import window will appear allowing you to confirm what is being added to your project. It is good practice to review these changes to be aware of where assets are stored in your project and to avoid file conflicts or malicious content.

Click "Import" to finalize adding this asset to your project. You may be ask to confirm switching to the new Unity Input system. Click "Yes" and allow Unity to restart with this new configuration.

Examine Sample Scene

Unity's Starter Asset provides a sample scene where you can test the new character rig.

With the new assets added to your project, open the scene found at /Assets/StarterAssets/FirstPersonController/Scenes/Playground.unity

Take some time to play the sample scene and examine how it was built in the Hierarchy. We will discuss particular areas of interest in class in order to understand how we can use this asset in our own projects or even build our own from scratch.

Prep Our Scene

Switch back to our own "Q1 - First Person" scene.

Because the First Person Character Rig comes with its own Camera, we will delete the extra "Main Camera" that came with our scene. It is very important not to have multiple Audio Listeners or excess cameras in a scene.

Create a 3D Plane from the Hierarchy menu. We will examine 3D world design beyond this basic flat square in future assignments. For now, we just need a minimal landscape for placing our character.

Add Character Rig

While studying the sample scene, we identified multiple objects that are necessary for the character rig to work. In your Project tab, navigate to /Assets/StarterAssets/FirstPersonController/Prefabs/ and you will see a variety of prefabs that represent the required gameobjects.

For convenience, Unity has even grouped all of the required prefabs into a single prefab called "NestedParent_Unpack".

Drag "NestedParent_Unpack" into your hierarchy to see the character rig appear in your scene.

We need to make a few final changes to the prefab. As its name suggested, we need to unpack it.

With the gameobjects unpacked, we can drag the children out of the parent and delete the parent. Finally, uncheck the "Joysticks" gameobject since we will not be using the touchscreen joysticks in this assignment.

Save and Test

Play your scene and ensure that your first person character rig behaves the same as it did in the sample scene.

Examine Sample Scene

The starter assets we imported earlier also provide a sample scene where you can test a third-person character rig.

Open the scene found at /Assets/StarterAssets/ThirdPersonController/Scenes/Playground.unity

Take some time to play the sample scene and examine how it was built in the Hierarchy. We will discuss particular areas of interest in class in order to understand how we can use this asset in our own projects or even build our own from scratch.

Create New Scene

Create a new scene from File->New Scene using the 3D template.

Save your new scene as "Q1 - Third Person" in the scenes folder.

Repeat the prep you did in the first person scene by deleting the "Main Camera" and adding a 3D Plane.

Add Character Rig

While studying the sample scene, we identified multiple objects that are necessary for the character rig to work. While there are similarities between the First Person and Third Person character rigs, there are also slight differences in their required objects. In your Project tab, navigate to /Assets/StarterAssets/ThirdPersonController/Prefabs/.

Like last time, Unity has provided "Nested" prefabs as a convenience for easy setup, except this time there are two options depending on whether we want a capsule player or a rigged character model. We will use "NestedParentArmature_Unpack" so that our scene will have the animated humanoid.

Drag "NestedParentArmature_Unpack" into your hierarchy to see the character rig appear in your scene.

Unpack the parent prefab, drag the children out of the parent, and delete the parent. Finally, uncheck the "Joysticks" gameobject since we will not be using the touchscreen joysticks in this assignment.

Save and Test

Play your scene and ensure that your third person character rig behaves the same as it did in the sample scene.

Submit Assignment

SAVE any open files or scenes.

Submit your assignment for grading following the instructions supplied for your particular classroom.