Scene Clean-up
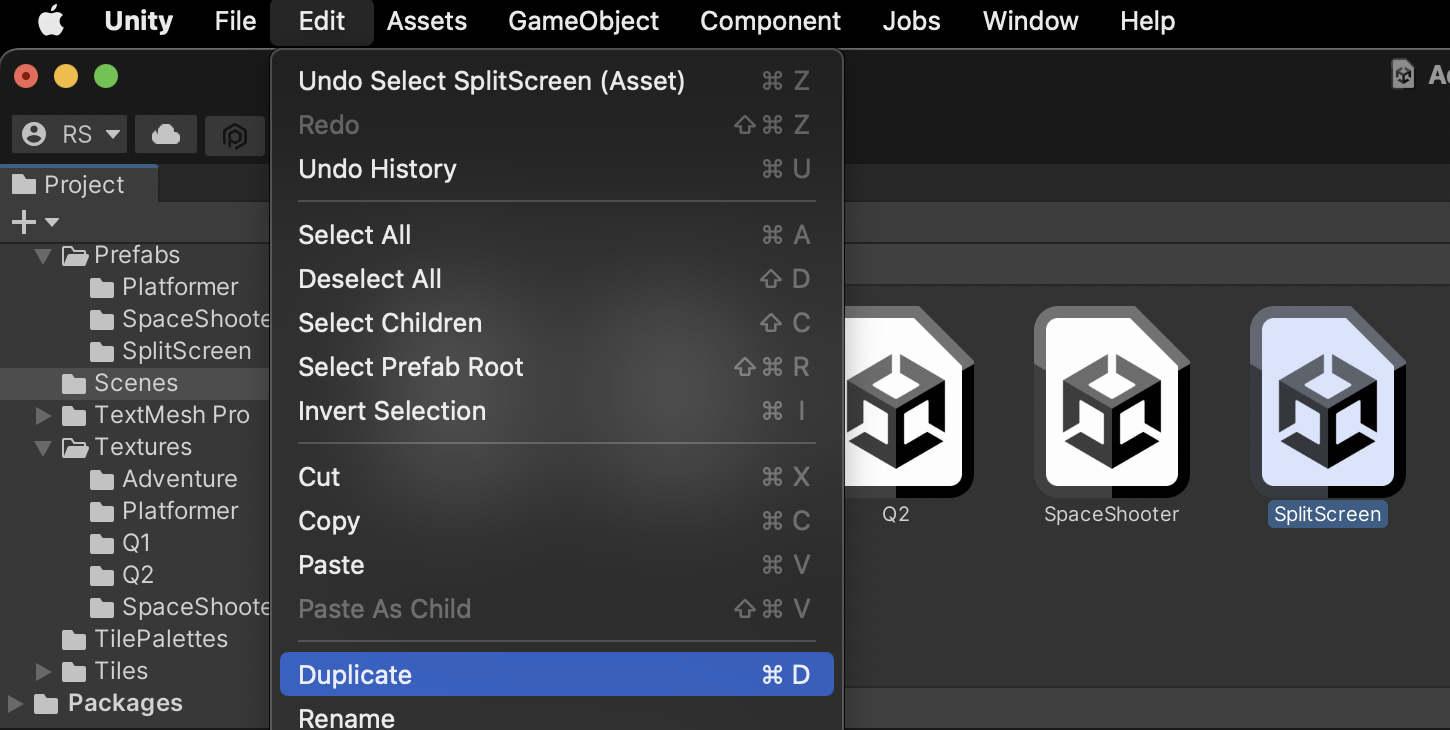
Our adventure genre prototype has a very similar foundation as the SplitScreen assignment. We will repeat a few steps from the prior assignment in new files, so that the SplitScreen scene will still work even after you finish this assignment. Begin by DUPLICATING the SplitScreen scene and renaming the new copy Adventure.
Be sure that all new edits take place in the Adventure scene.
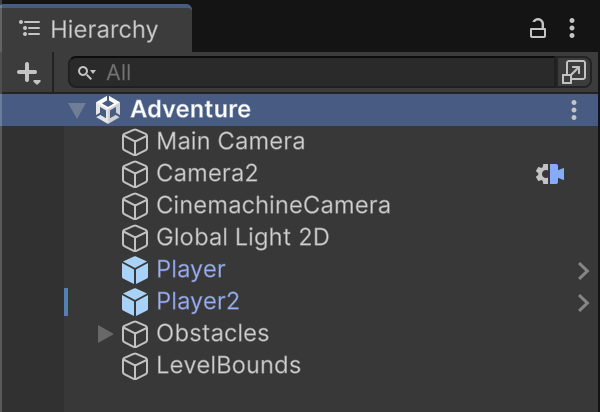
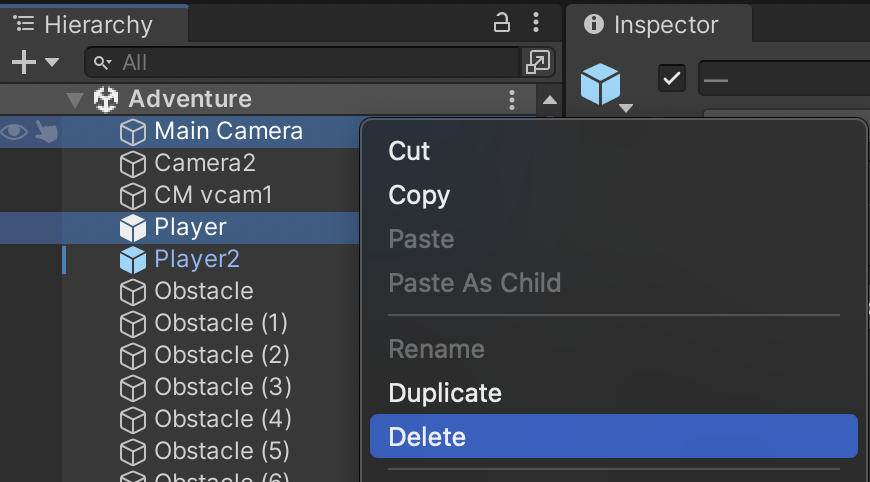
This assignment will be singleplayer. Remove the Smoothdamp camera and its target player by deleting MainCamera and Player.
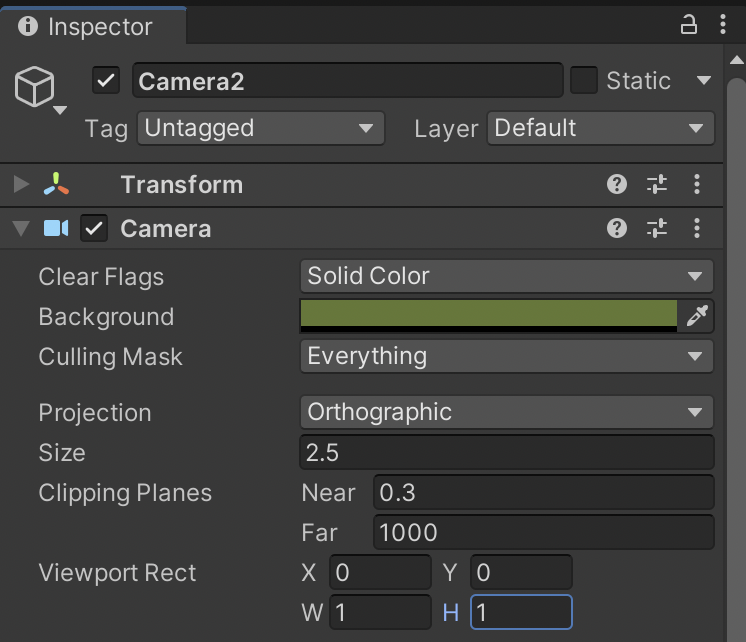
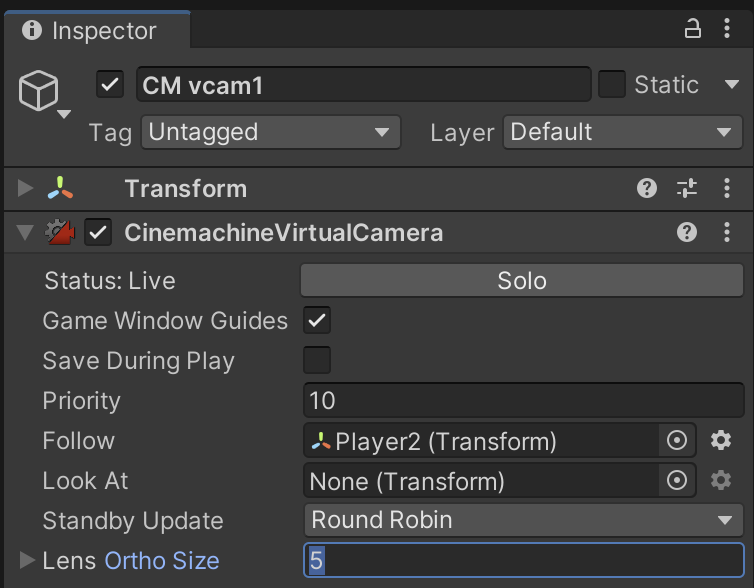
Revise Camera2 to take up the whole screen.
Fix the zoom level by changing the Lens Orthographic Size on the Cinemachine Camera.
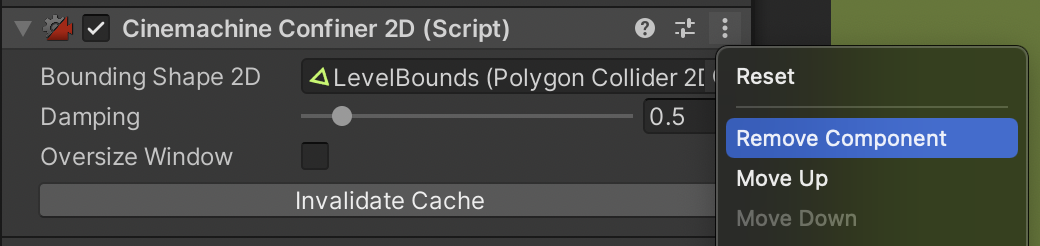
Because our camera boundaries are now too big for our level design, remove the Cinemachine Camera Confiner.
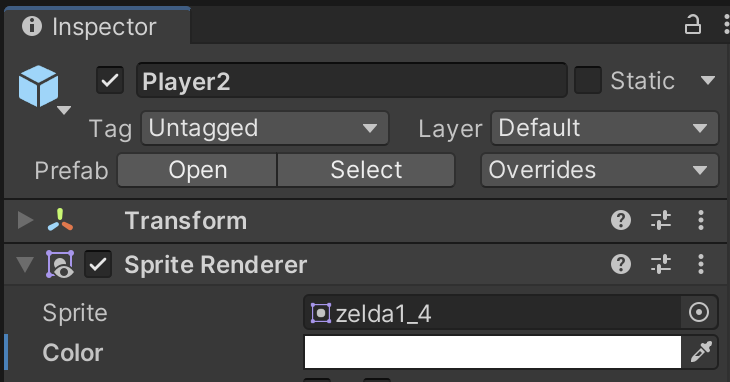
Reset the tint color of the player to the default white.
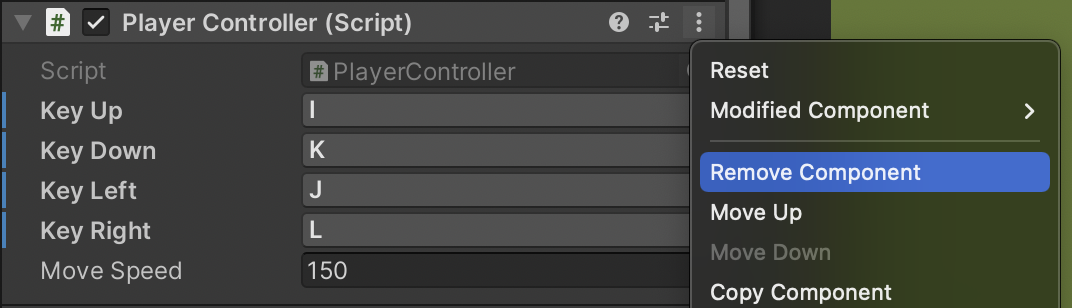
To avoid breaking the SplitScreen assignment, remove the SplitScreen PlayerController component. We will replace it with an Adventure PlayerController file.
Right-click Player2 in the hierarchy and unpack the prefab so we are no longer hooked up to the SplitScreen prefab.

Create a new PlayerController in the /Assets/Scripts/Adventure/ folder. Attach this to the Player object in the Adventure scene.
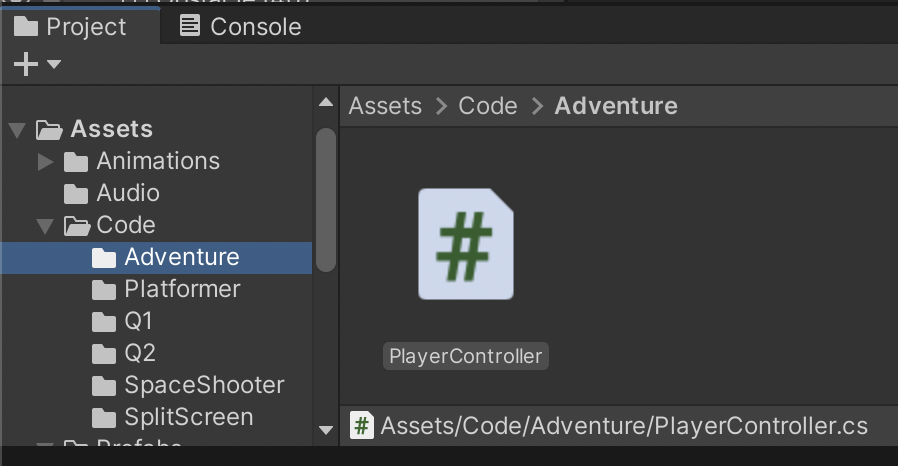
We will use the Adventure namespace. As a start, the code is identical to what we wrote in the prior assignment, but now we can add more to it without breaking the SplitScreen scene.
PlayerController.cs
using UnityEngine;
using UnityEngine.InputSystem;

namespace Adventure {
	public class PlayerController : MonoBehaviour
	{
		// Outlets
		Rigidbody2D _rigidbody;

		// Configuration
		public Key keyUp;
		public Key keyDown;
		public Key keyLeft;
		public Key keyRight;
		public float moveSpeed;

		// Methods
		void Start() {
			_rigidbody = GetComponent<Rigidbody2D>();
		}

		void FixedUpdate() {
			if(Keyboard.current[keyUp].isPressed) {
				_rigidbody.AddForce(moveSpeed * Time.fixedDeltaTime * Vector2.up, ForceMode2D.Impulse);
			}
			if(Keyboard.current[keyDown].isPressed) {
				_rigidbody.AddForce(moveSpeed * Time.fixedDeltaTime * Vector2.down, ForceMode2D.Impulse);
			}
			if(Keyboard.current[keyLeft].isPressed) {
				_rigidbody.AddForce(moveSpeed * Time.fixedDeltaTime * Vector2.left, ForceMode2D.Impulse);
			}
			if(Keyboard.current[keyRight].isPressed) {
				_rigidbody.AddForce(moveSpeed * Time.fixedDeltaTime * Vector2.right, ForceMode2D.Impulse);
			}
		}
	}
}
Configure the player's controls and movement speed.
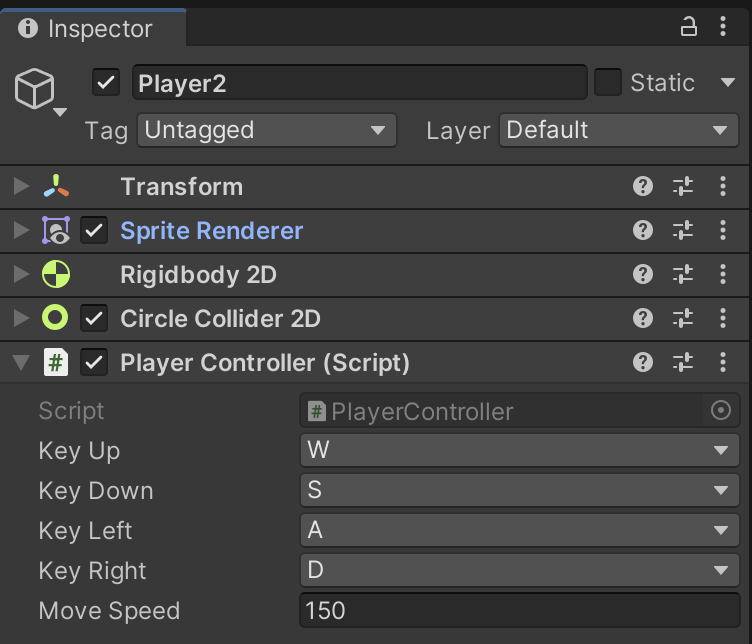
Playtest with this configuration ensure you have a single player that is able to move using WASD keys with the camera still smoothly following.