VG1, Quest 8 - Cameras

Download Files

Supporting files for VG1 quests are part of a single archive that you can download here.

Set Up Assets

Perform this assignment's work in a dedicated SplitScreen scene.

Import the zelda1.gif into your /Assets/Textures/Adventure/ folder. Use the following settings:

Sprite Mode = Multiple
PPU = 16
Filter Mode = Point (no filter)
Compression = None

Sprite Editor → Splice → Automatic → Apply

Apply all settings after changes and as prompted.

Turn Off Gravity

This will be a top-down perspective game that does not use gravity. Go to Edit → Project Settings → Physics 2D and set Gravity X and Y to 0.

Create Player

Create a Player game object.

Attach a SpriteRenderer and assign the #4 graphic.

Add a Rigidbody2D component for physics and a CircleCollider2D component for collisions. Note the high Linear Drag and Freeze Rotation settings to keep our player from sliding away or spinning out of control.

We use a circle-shaped collider to help prevent the player from getting snagged on sharp boundaries.

Level Obstacle

Create another object with a Sprite component. Use sprite number 48 which is the fire. Add a BoxCollider2D component. This obstacle will prevent passage by players.

PlayerController

Create a PlayerController.cs file in /Assets/Code/SplitScreen/ and attach it to the Player game object. Notice how the SplitScreen namespace will differentiate this file from all the other kinds of PlayerControllers in our project.

We need an Outlet to the Rigidbody2D so that this script can affect the object’s physics. The configuration values let us set appropriate input keys and movement speed.

Fill in the public configuration values in the Unity inspector.

We fill the _rigidbody reference in the Start event and use the FixedUpdate loop to send physics forces. We use FixedUpdate instead of Update to synchronize the timing of our force commands with the physics simulation and prevent movement stuttering. Also notice how this code uses fixedDeltaTime instead of deltaTime to match the FixedUpdate event.

Playtest to ensure the character moves and cannot pass through the fire.

Prefab the Player game object in /Assets/Prefabs/SplitScreen/ because we will be making a variant of it in the next step.

Player Two

Duplicate the Player game object in the scene so that there are now Player and Player2 game objects. Both should be blue to signify that they originate from a prefab.

Tint Player2 slightly using the Color property on its SpriteRenderer, so that we can differentiate them.

For Player2, use the IJKL keys for movement.

Playtest to ensure both players can move independently using separate keyboard keys and that they cannot pass through the fire.

Follow Camera (Smoothdamp Approach)

There are many ways to set up a following camera using a mix of parenting, programmatic tracking, and cinematic packages. We will demo a few in class and implement a couple through this exercise.

Create a CameraController.cs file in /Assets/Code/SplitScreen/ and attach it to your MainCamera game object.

The target outlet specifies what object our camera will follow. The offset represents how far the camera will stay away from the target in all directions. (At a minimum you want the camera to stay away from the target in the z-axis so the camera has room to look at the target, rather than the camera following the target and being inside of it.) Smoothness specifies how long it should take the camera to catch up with the target (in seconds). The smoothing function requires a variable to store velocity in (even though we will not use this variable).

In the Start event, we compute the distance between the camera and the target (if there is one) and use this as the offset. This means if your camera is misaligned in the scene, the game will maintain that offset. Make sure your camera is perfectly aligned atop the player.

In the Update loop, we calculate an updated camera position that is a smooth progression between where the camera is and where we want it to be. The smoothness is measured in seconds. For example, our camera as slow and as smoothly as possible toward the target as long as it arrives within X seconds.

With these settings the Camera will smoothly follow the player at a maximum of 0.5 seconds behind. Notice the offset is set to 0 because it's not computed until the Start event.

Split Screen

So far, all of our assignments have required only one Camera. It is possible to use multiple cameras.

Create a new Camera object named Camera2.

Position Camera2 so that it is above Player2, while MainCamera remains positioned over Player. Camera2 should have a Z of -10, so that it is ABOVE the player. If your character is invisible, then the camera is too close. You should have two players each with their own camera.

Remove the AudioListener on Camera2. There is already an AudioListener on the MainCamera, and you are only allowed one "set of ears" in a scene.

You can specify that Camera2 occupies only the bottom half of the game view by altering its Viewport Rectangle in the Camera component. Be sure to match all of the other settings too.

Inspect MainCamera. Alter its Viewport Rectangle so that it occupies the top half of the game view. Notice that we are also changing the size to 2.5 to match the smaller viewport.

Add a CameraController to Camera2 and set it to follow Player2:

Playtest and ensure that the top half of the screen follows Player and the bottom half follows Player2.

Environment

Create an enclosed environment using level Obstacle objects. The environment must be larger than the camera view rectangle.

Playtest and notice that the camera pans past level boundaries. This could be awkward for some level designs where you're in an enclosed room or dungeon, and don’t want the camera to show a bunch of empty space. The Cinemachine camera has advanced logic for handling these situations, which we will implement in the next steps.

Cinemachine

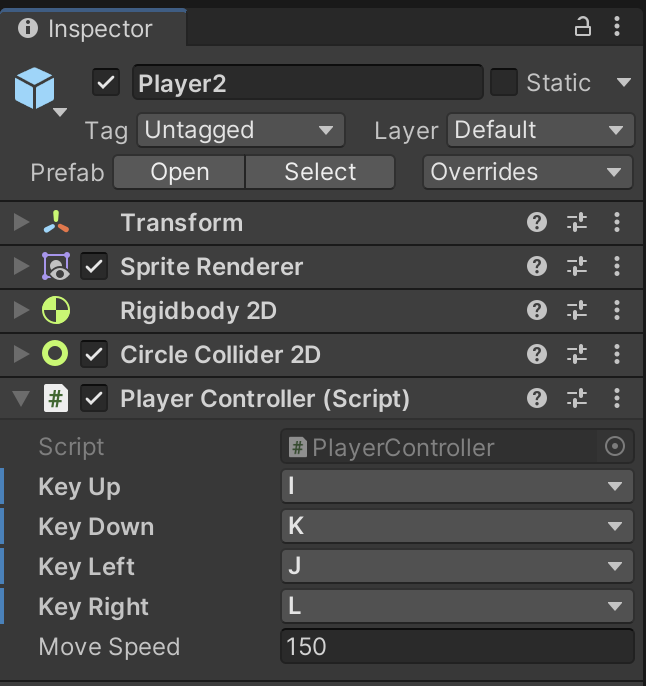
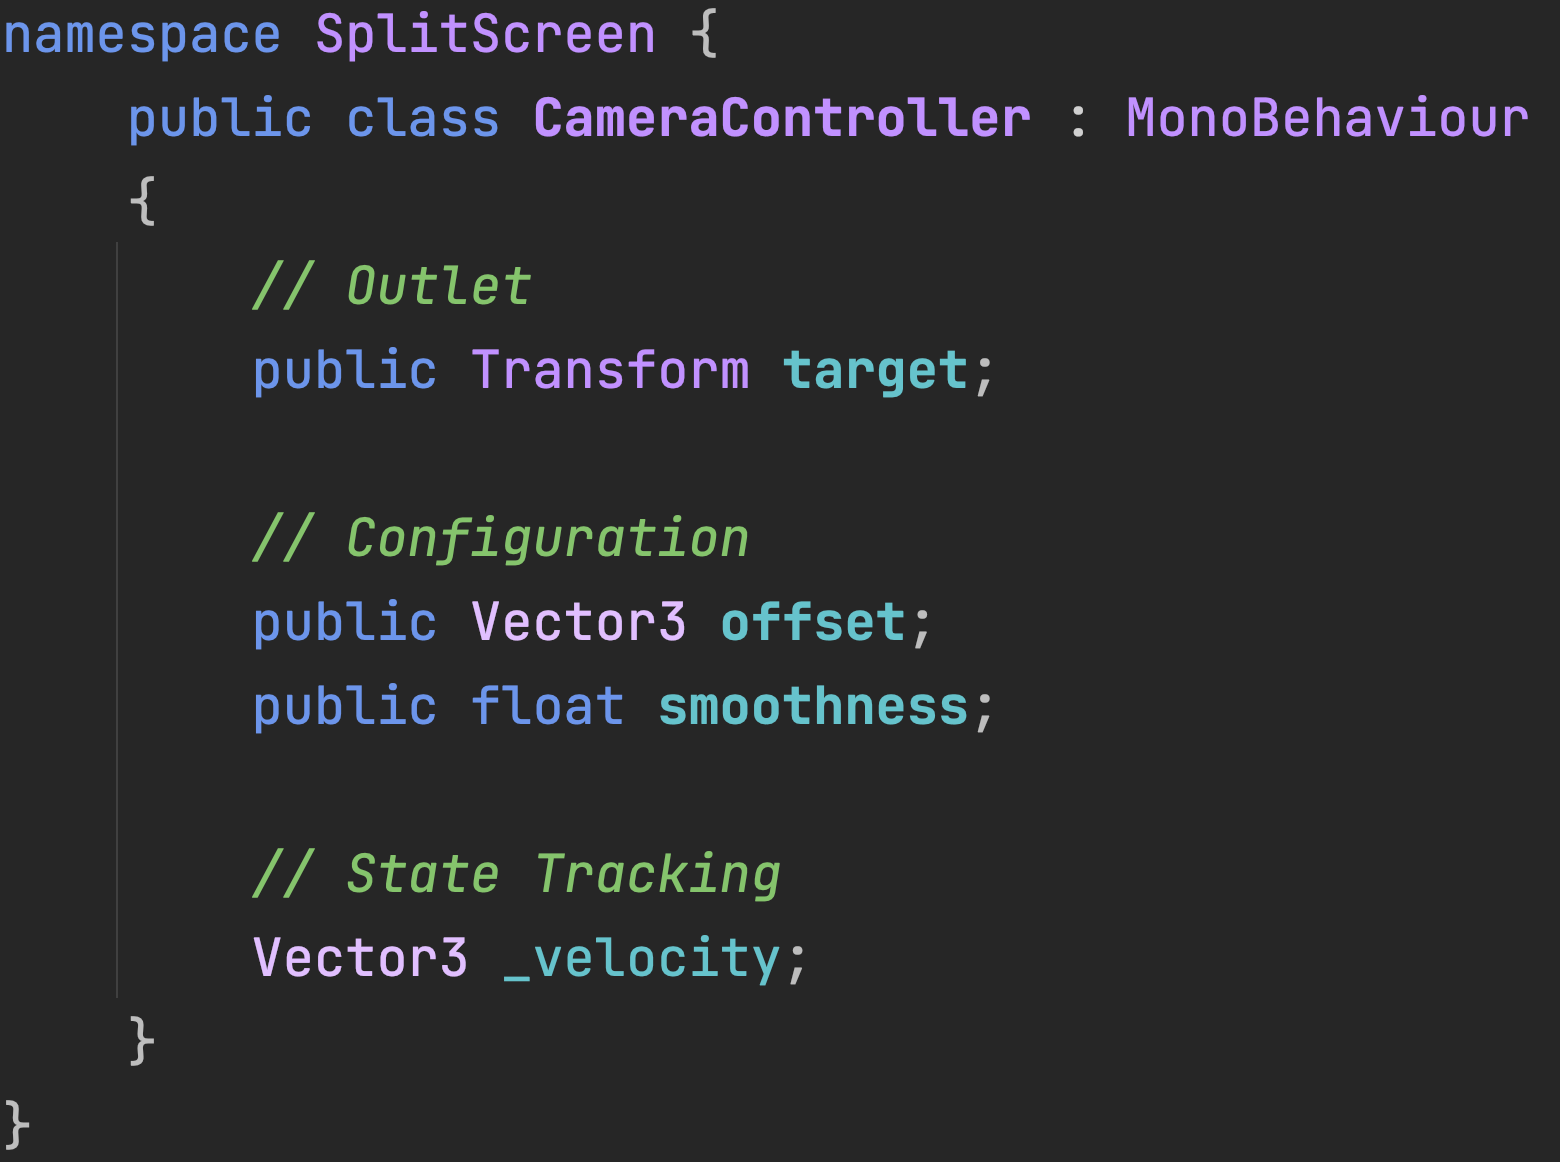
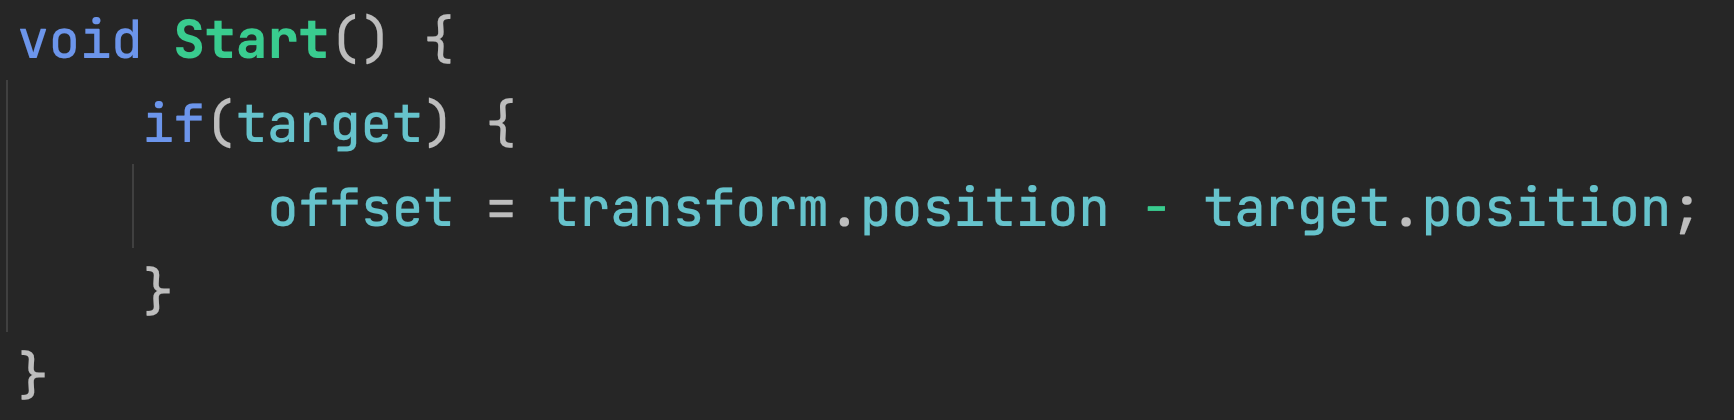
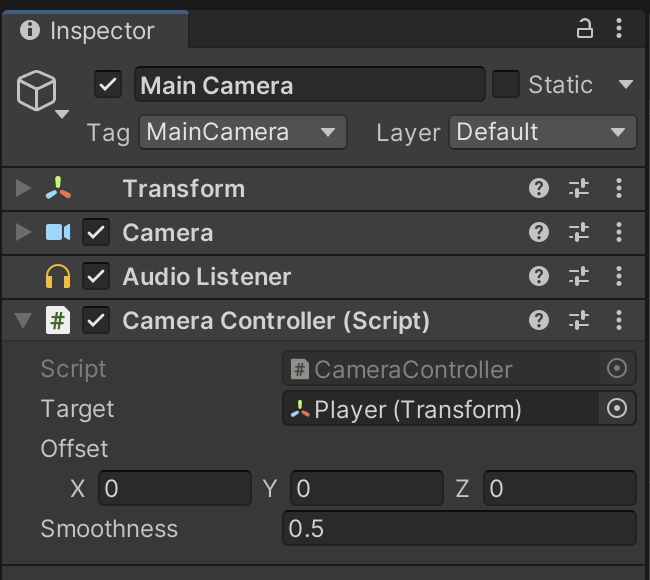
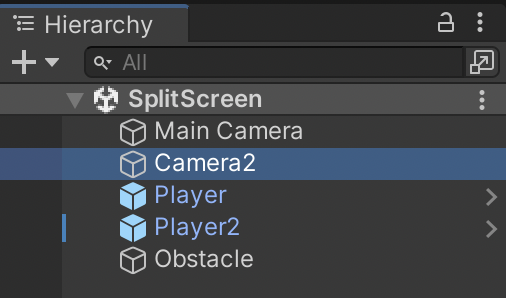
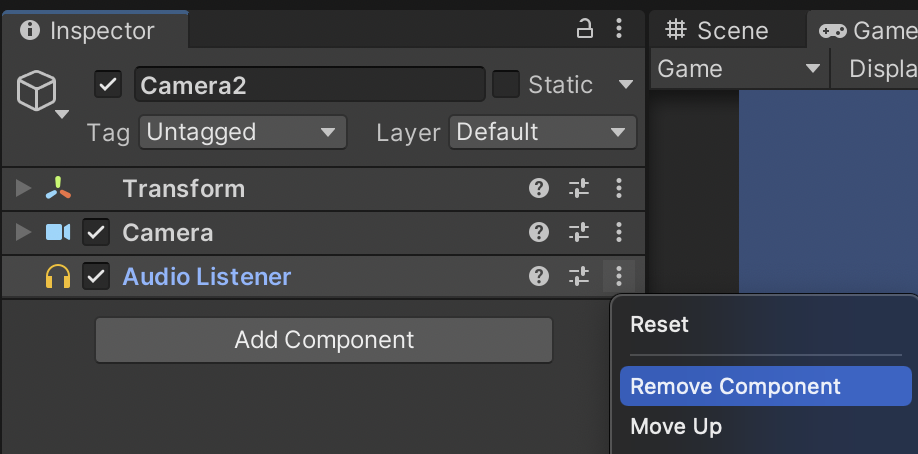
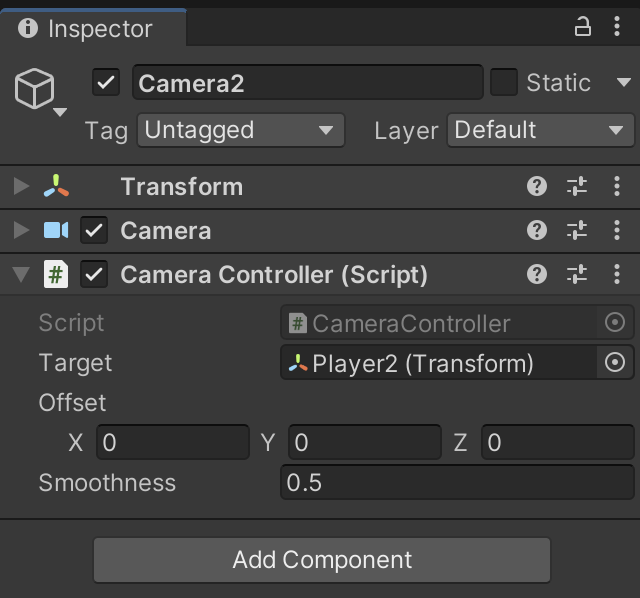
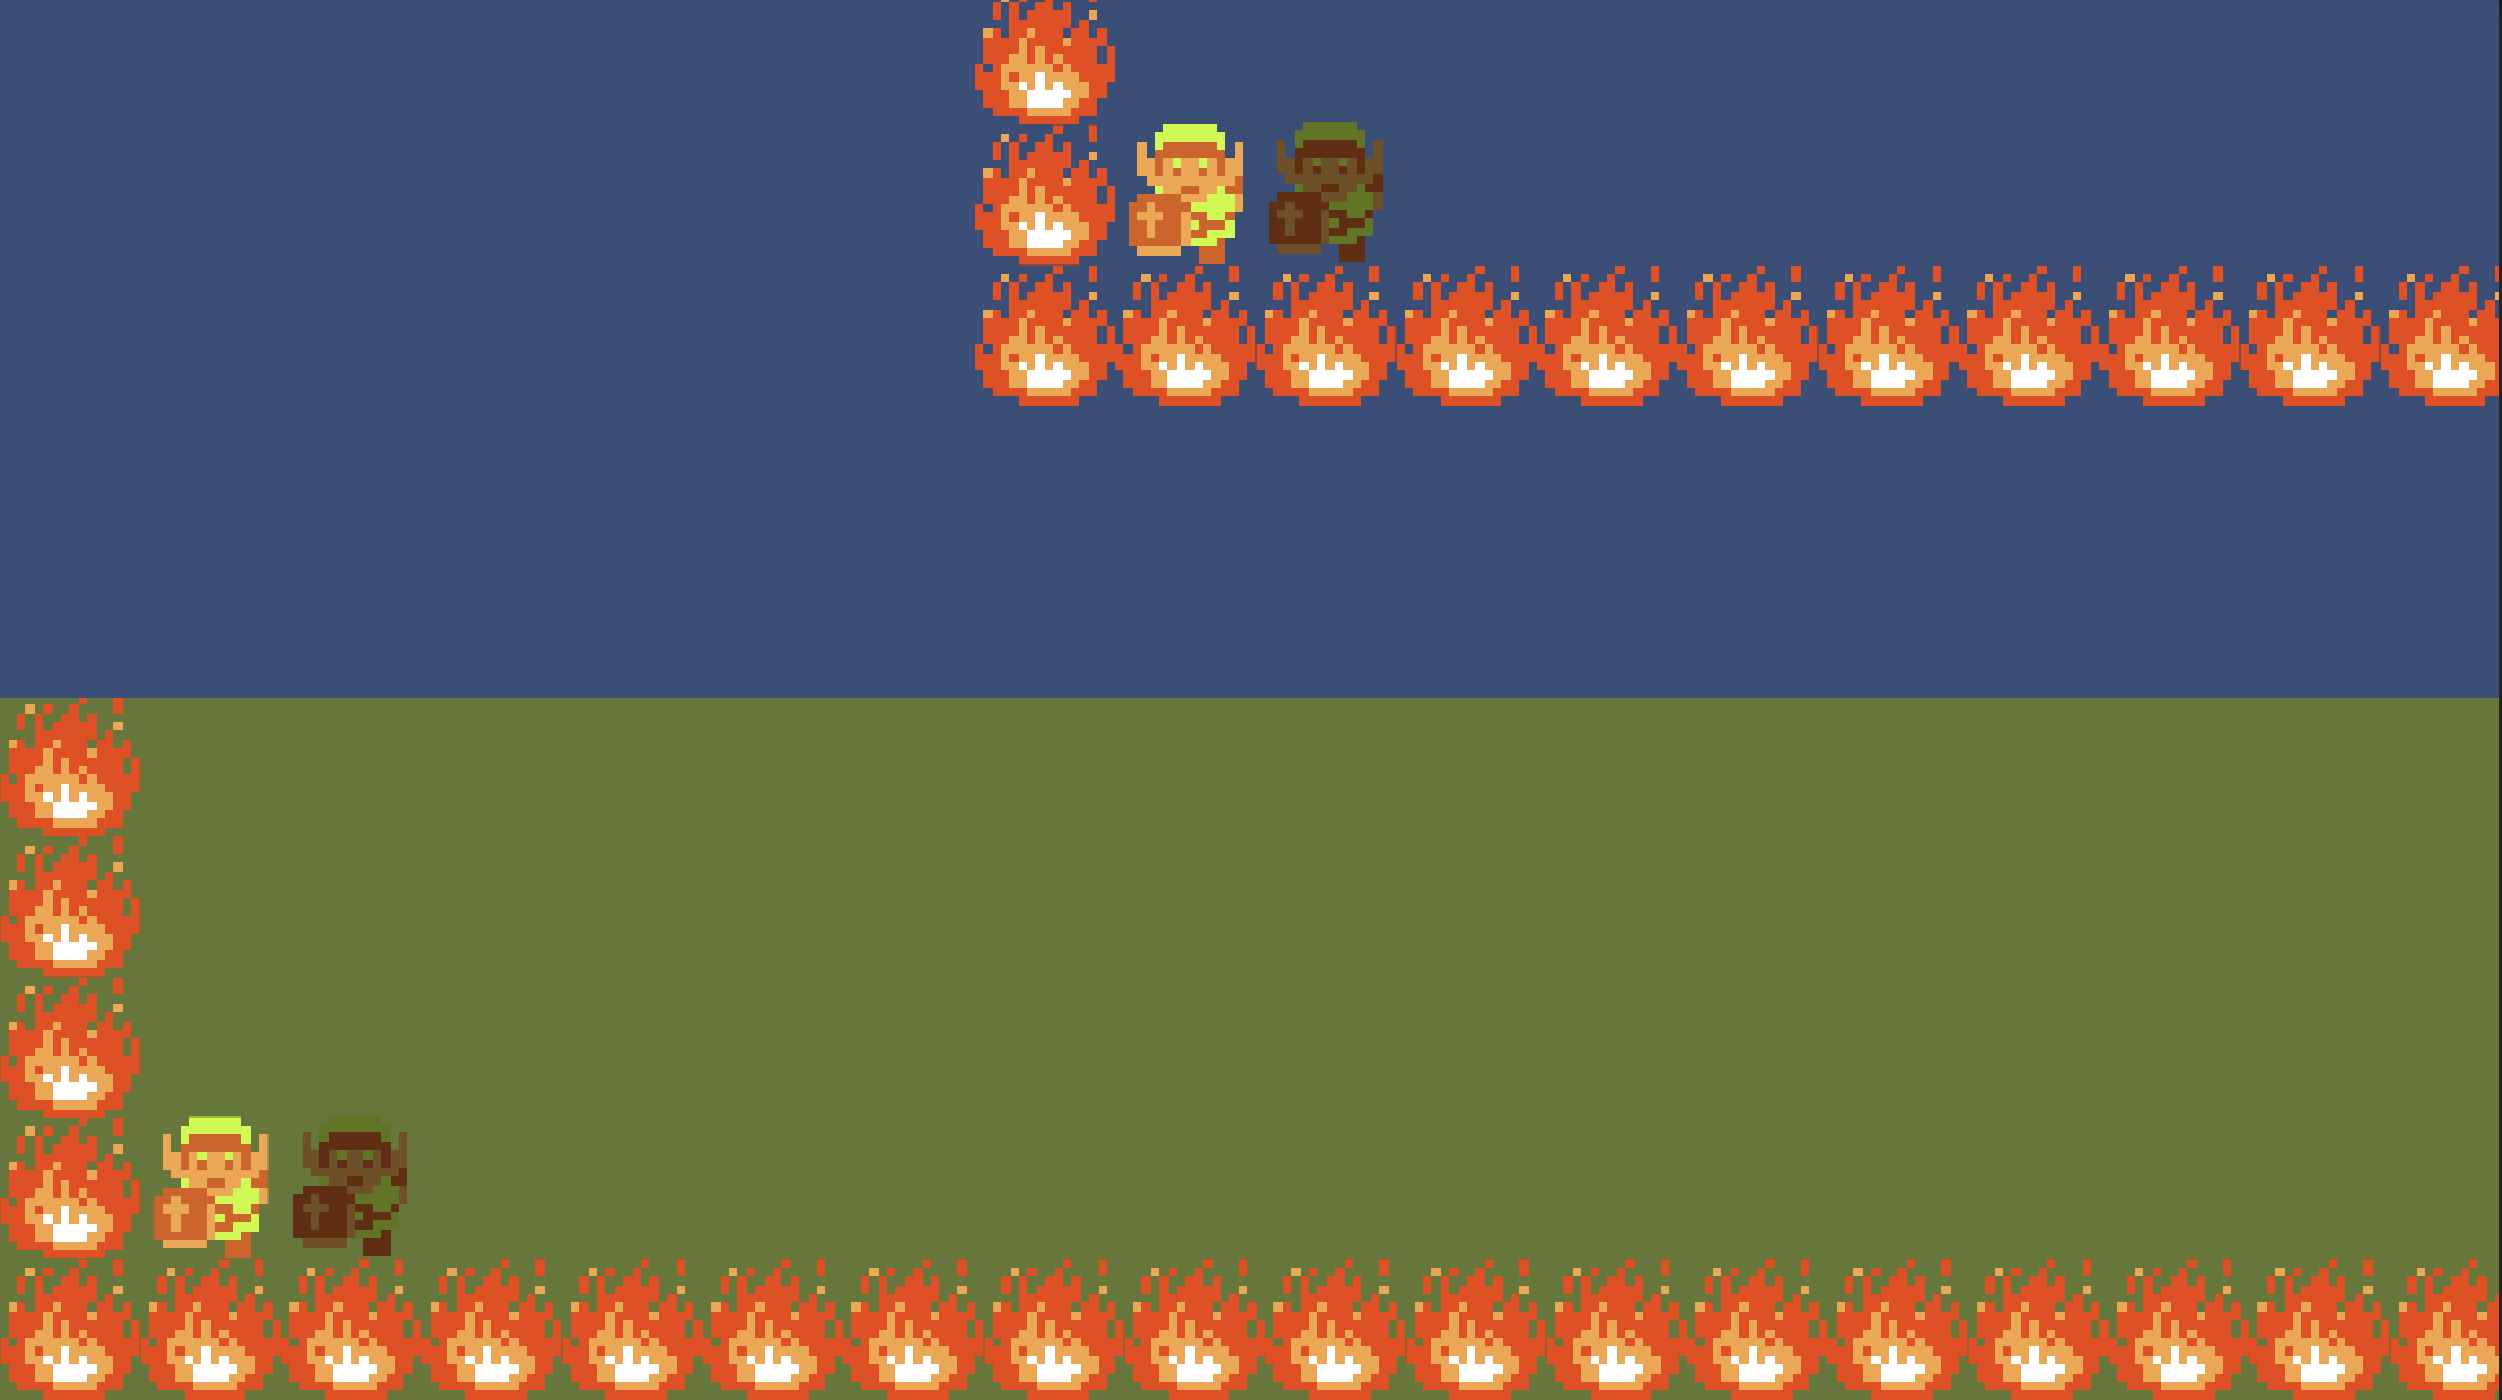
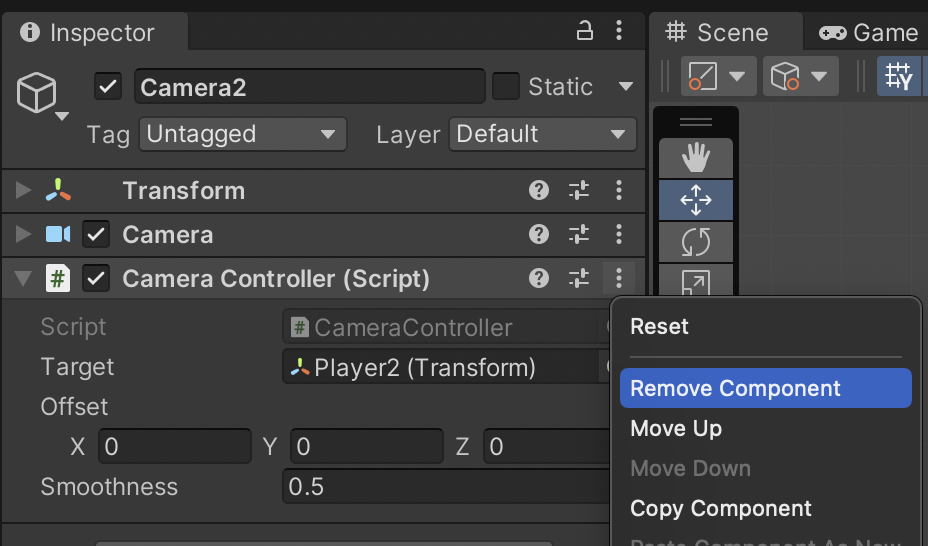
We are going to switch Camera2 (bottom view) with a more advanced Camera technique. You MUST leave the top half camera with the Smoothdamp technique so that it can be graded. Remove CameraController from Camera2 only.

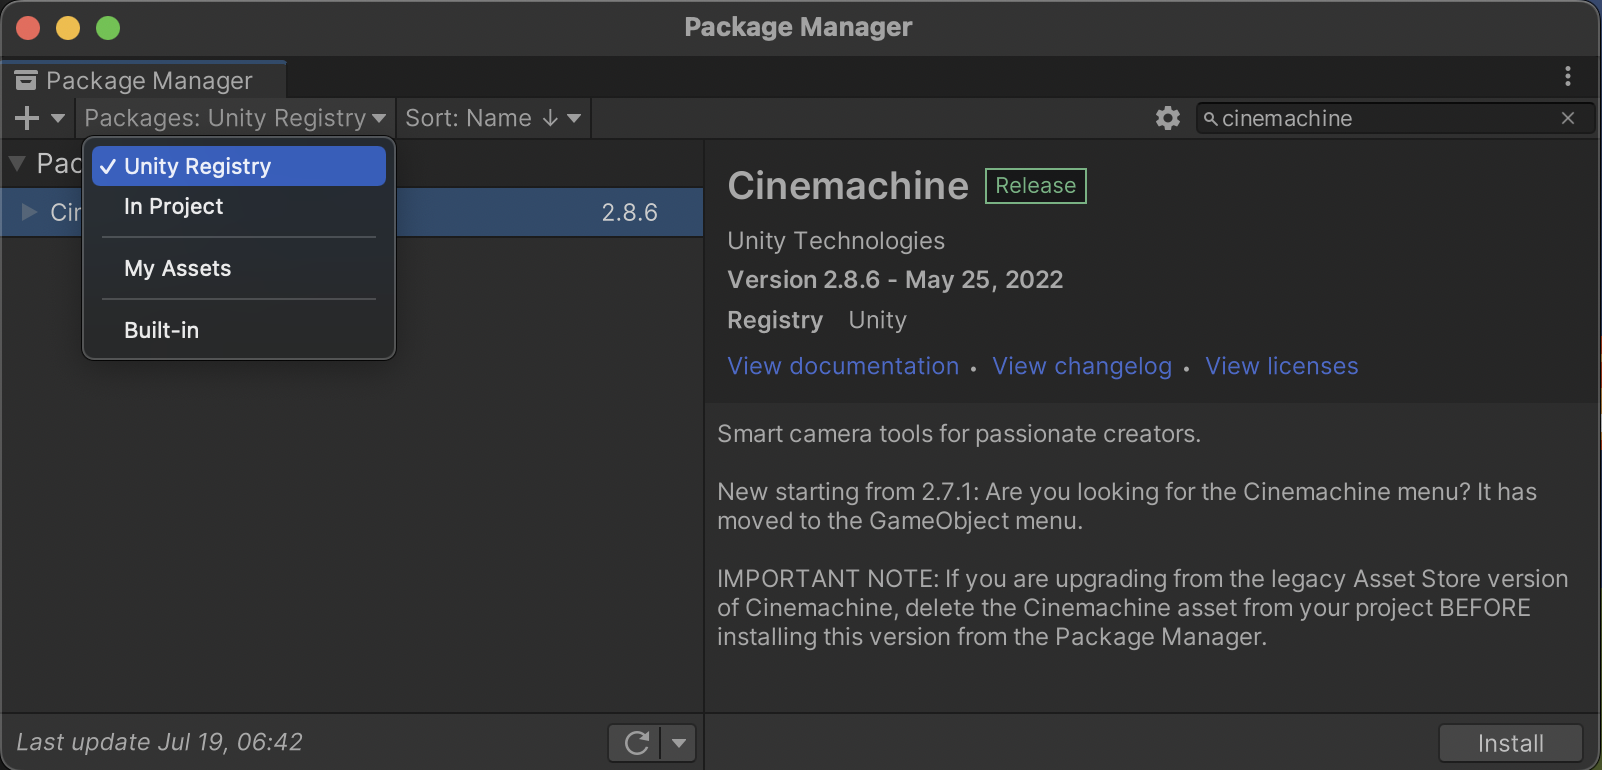
To install Cinemachine, open the Package Manager from Window → Package Manager and search for Cinemachine within the Unity Registry.

Cinemachine uses "Virtual Cameras" in coordination with the standard Camera component. The Cinemachine virtual camera can be used to specify the cinematic qualities, while the Camera component renders the scene.

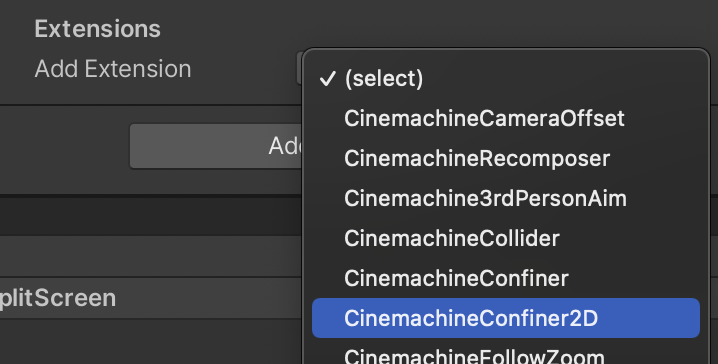
Once Cinemachine is installed, create a virtual 2D camera.

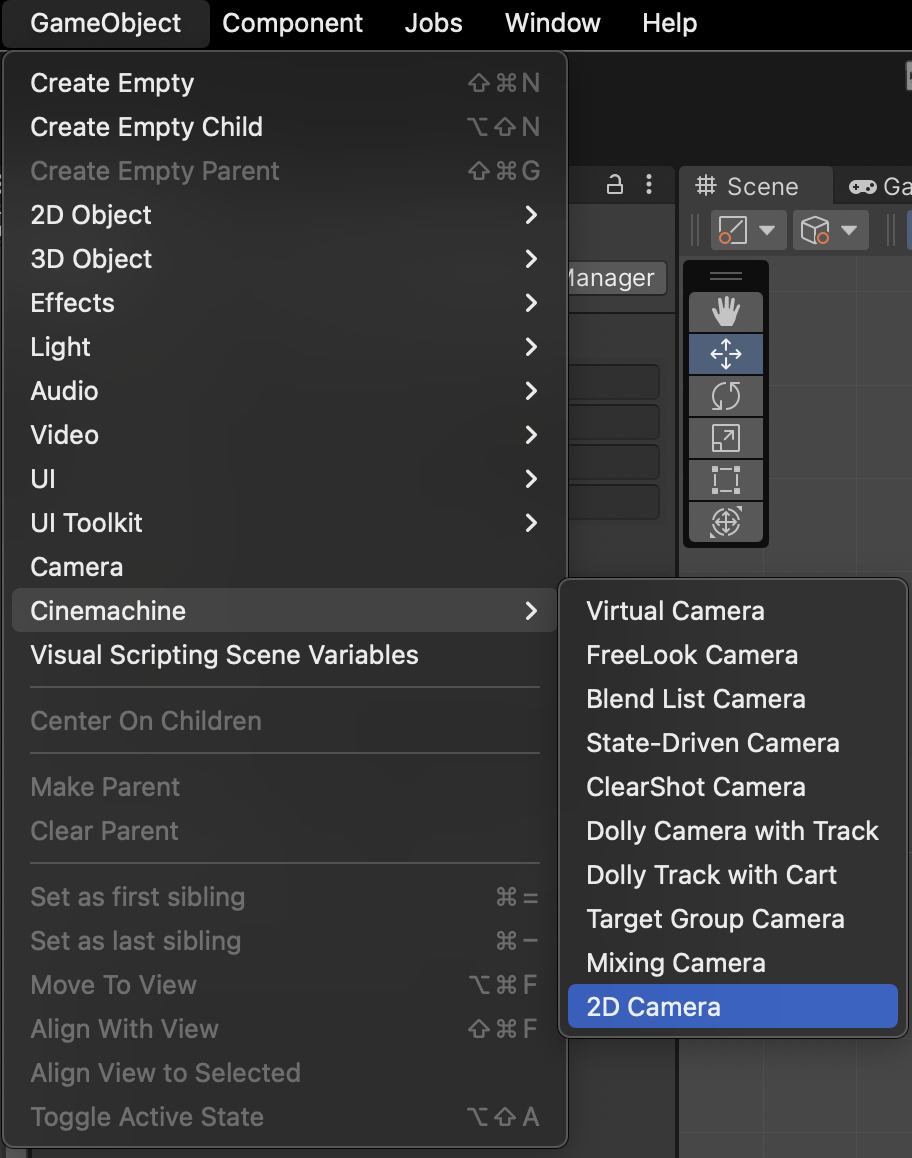
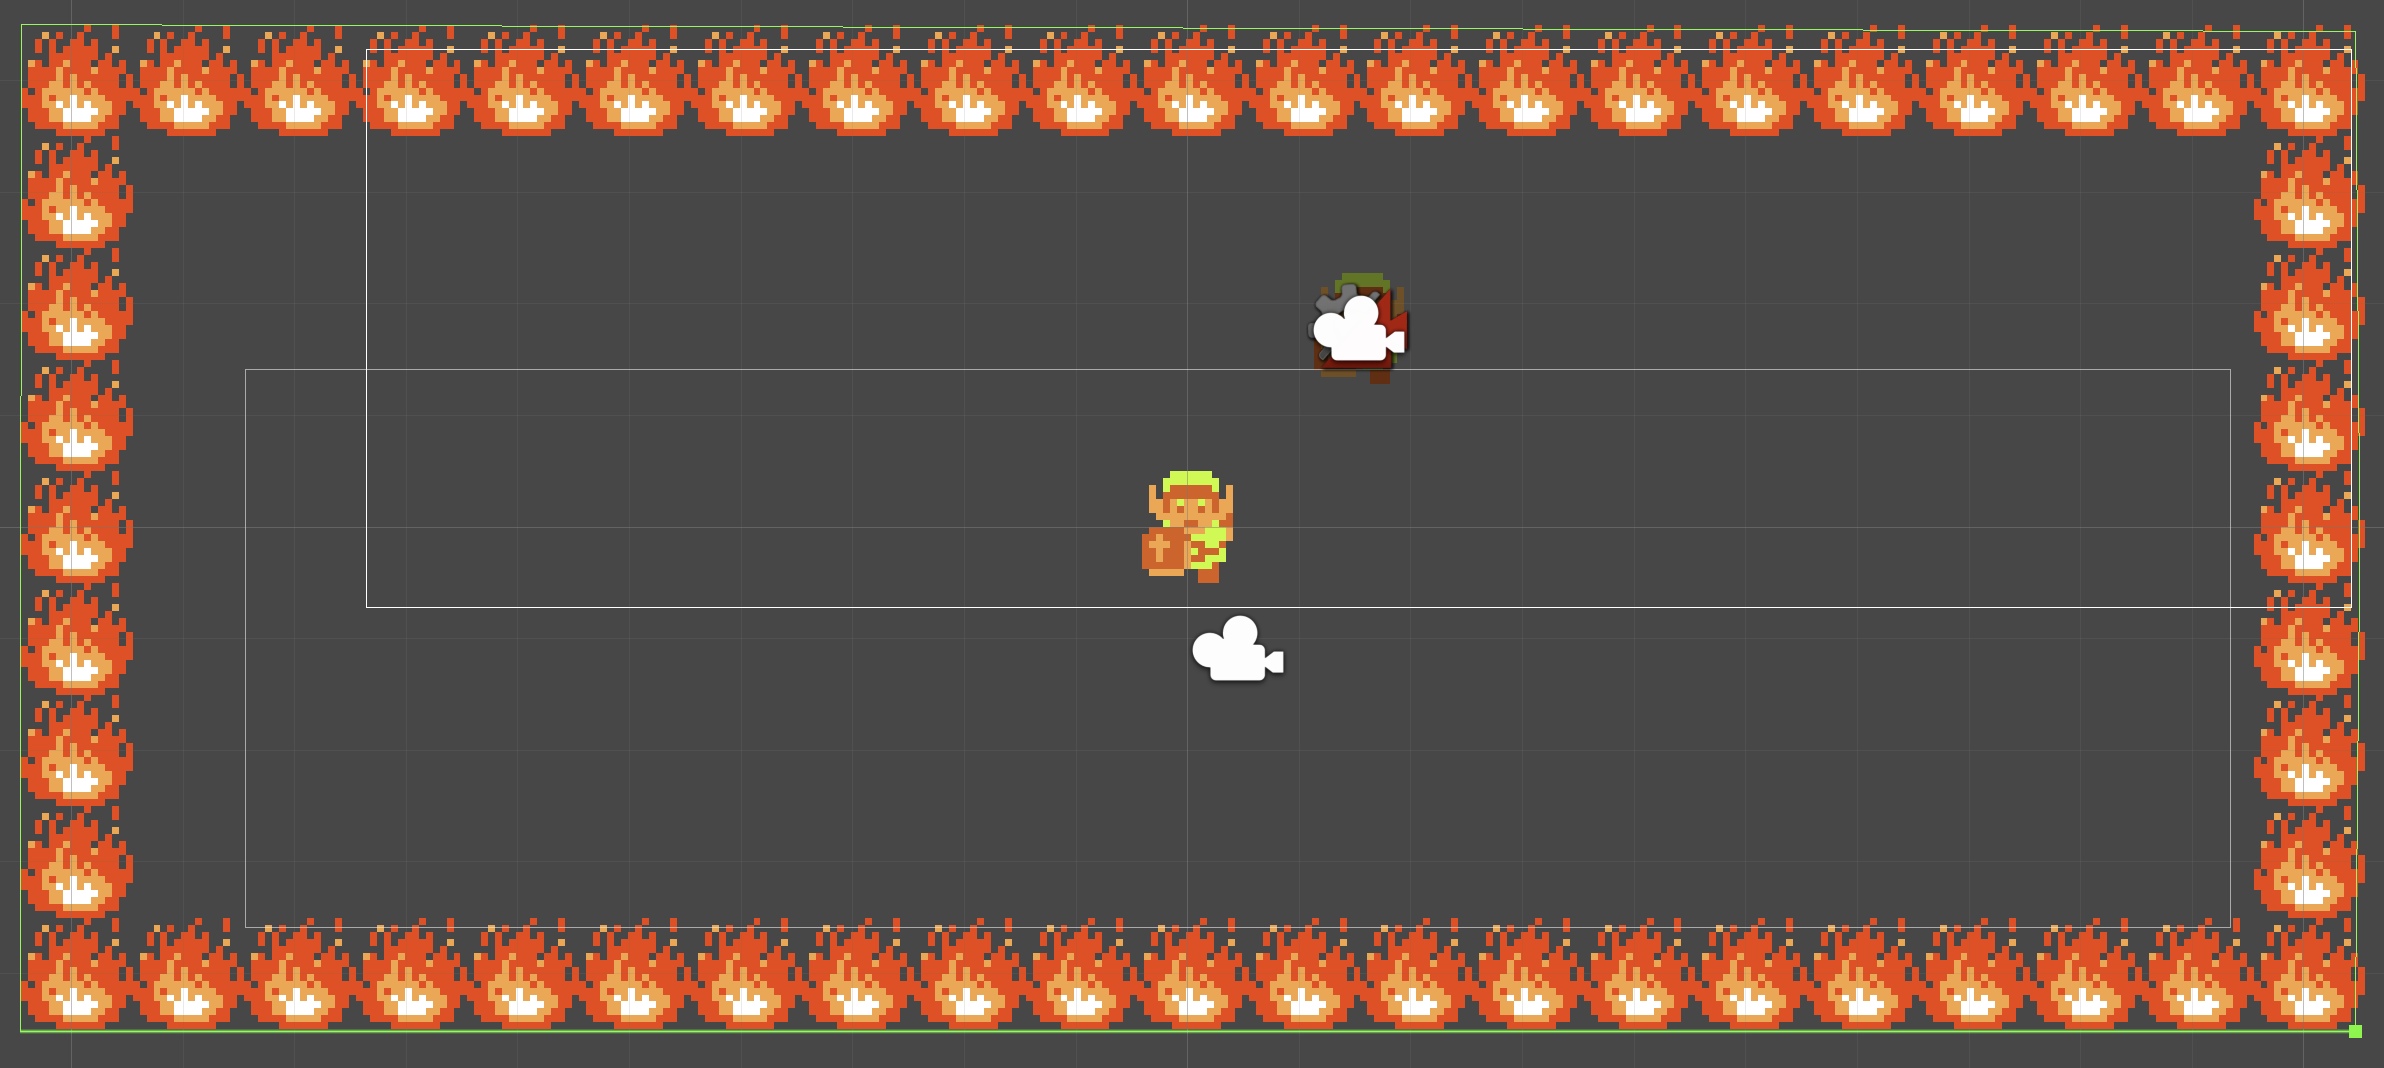
This creates a Cinemachine Virtual Camera object, which we will configure soon. Check your Cameras. Creating a Virtual Camera will also automatically add a CinemachineBrain to one of your Cameras (signified by the Red Gear Camera icon).

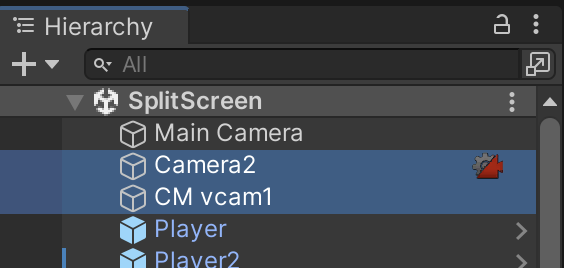
If the CinemachineBrain was added to your top-half/player1/main camera, remove the CinemachineBrain component and add it to Camera2 instead. The top camera will be graded for the smoothdamp technique. You will lose points if the project doesn't showcase both camera techniques in their appropriate halves.

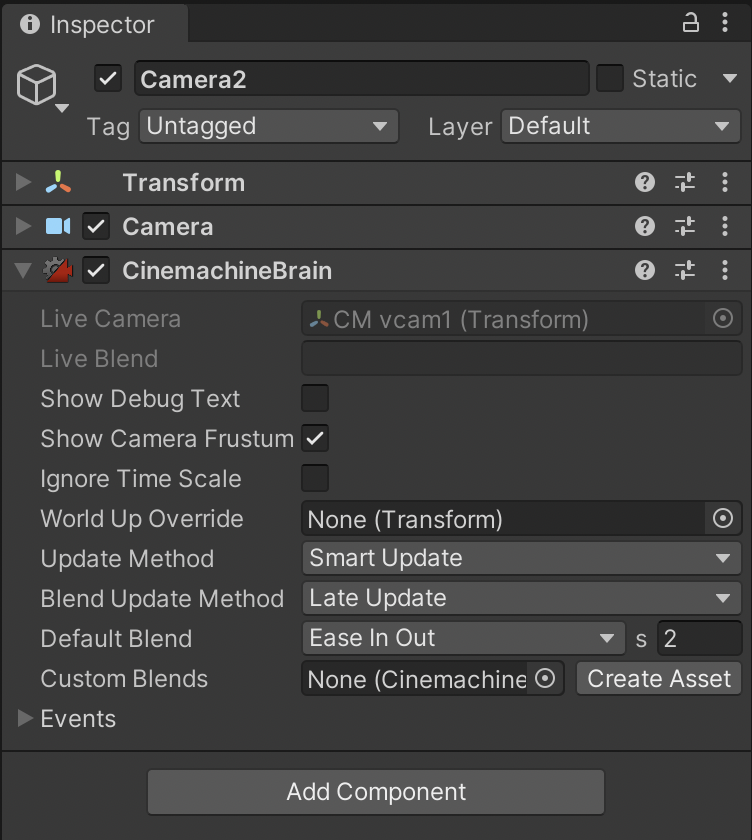
With the CinemachineBrain on Camera2, we can return to the Virtual Camera (CM vcam1) to configure its options.

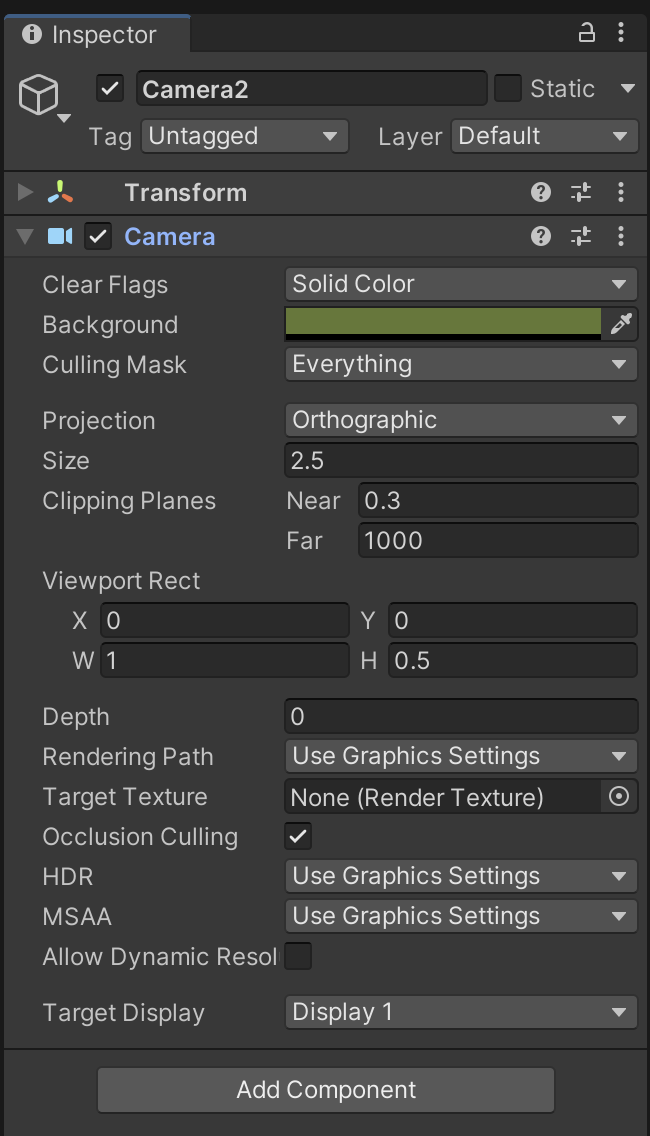
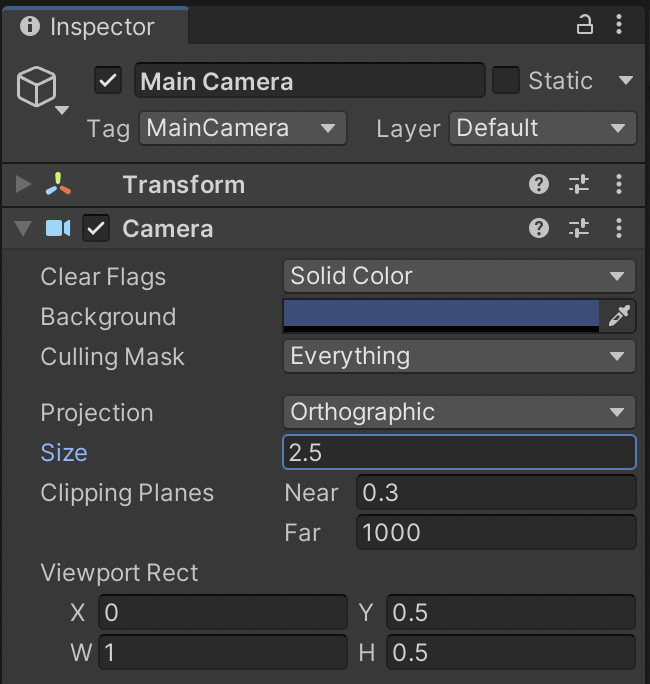
Similar to before, we use a Size of 2.5 and tell the Camera to follow Player2.

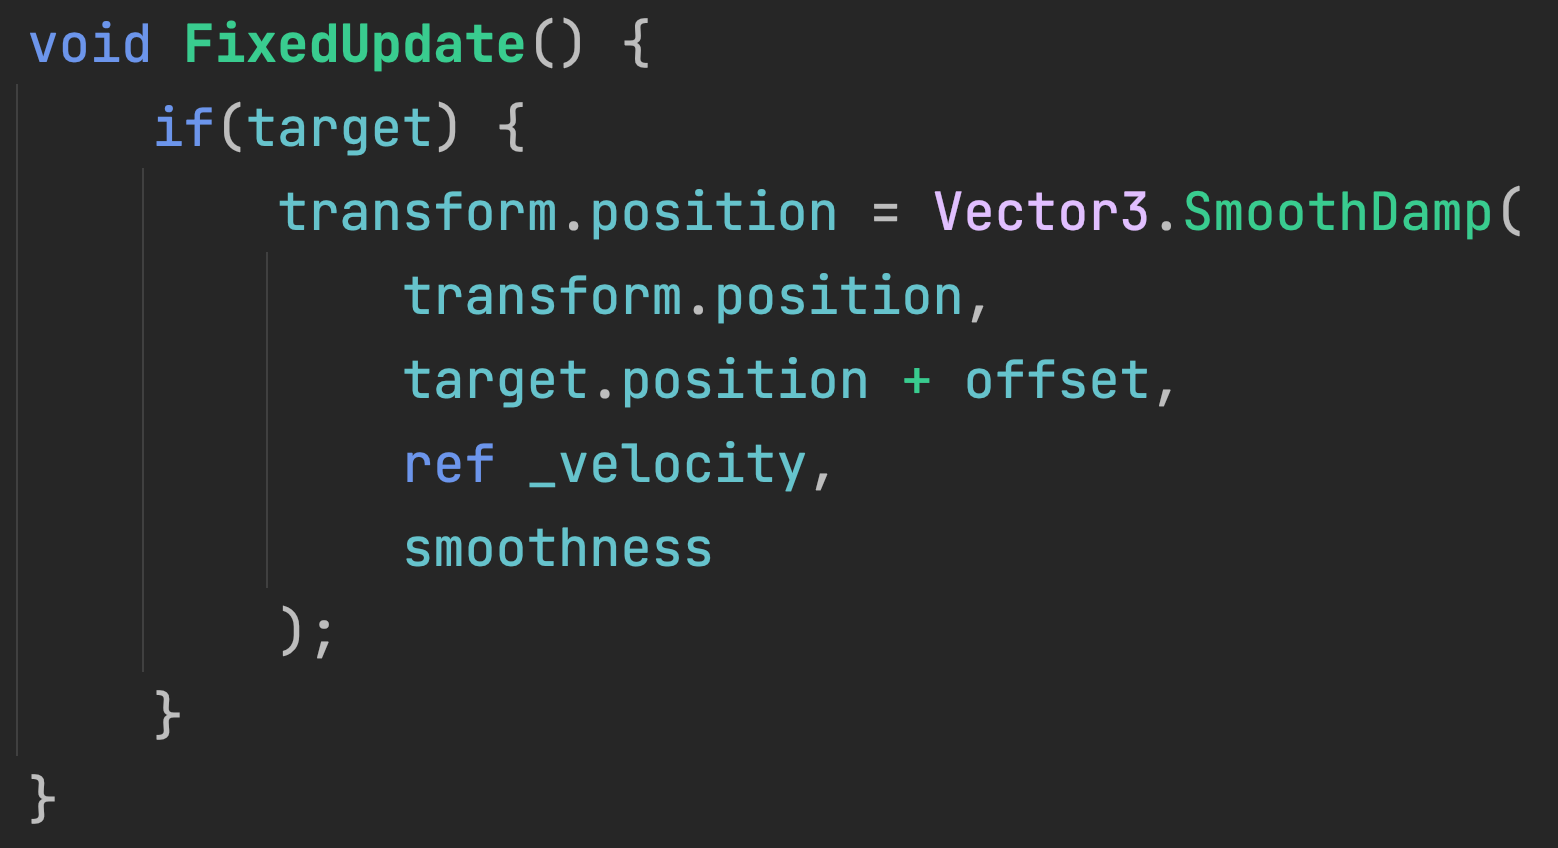
Expand Body. Specify Dead Zones and Soft Zones which define smoothing boundaries. These body settings are much more customizable than SmoothDamp's single smoothness variable.

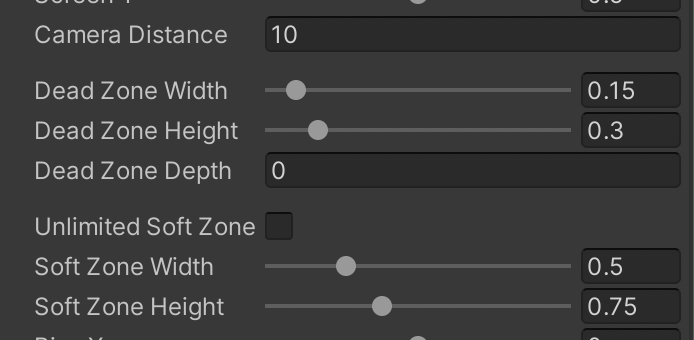
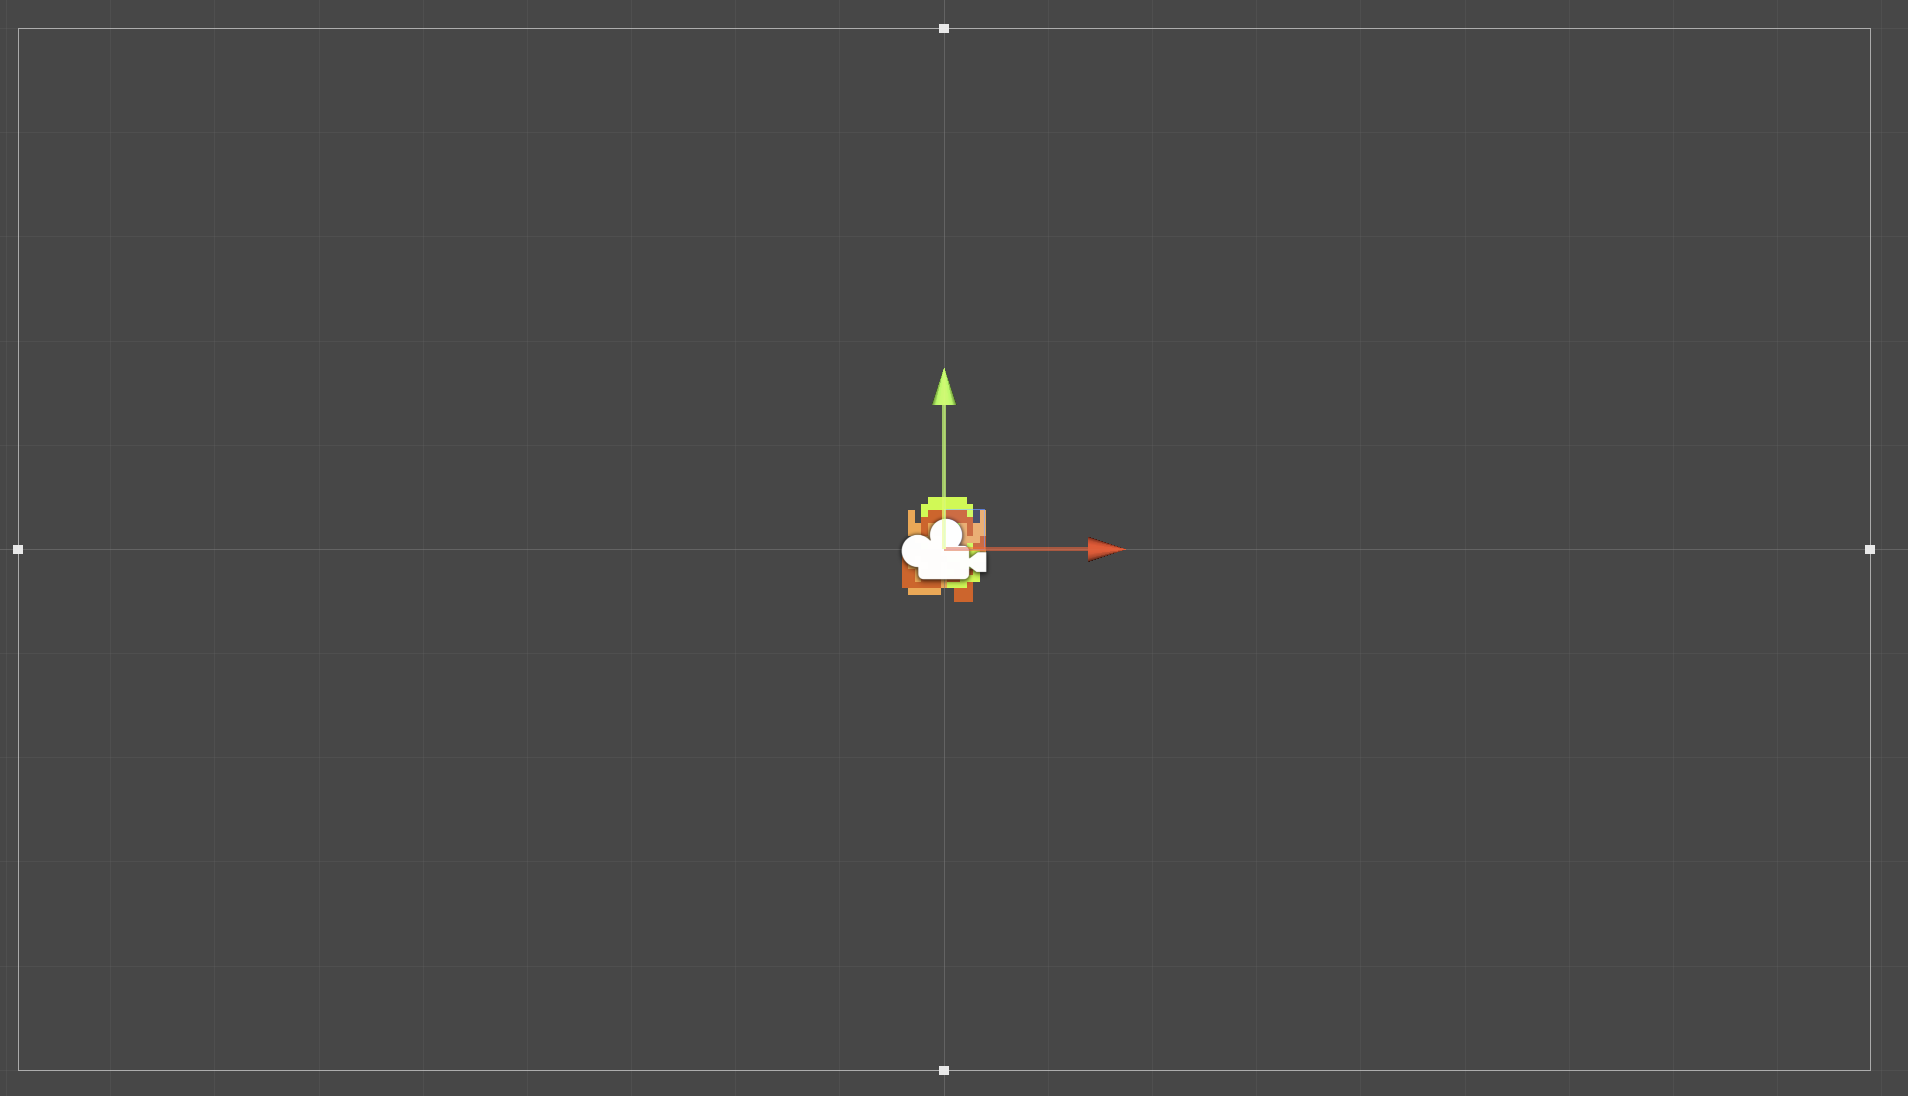
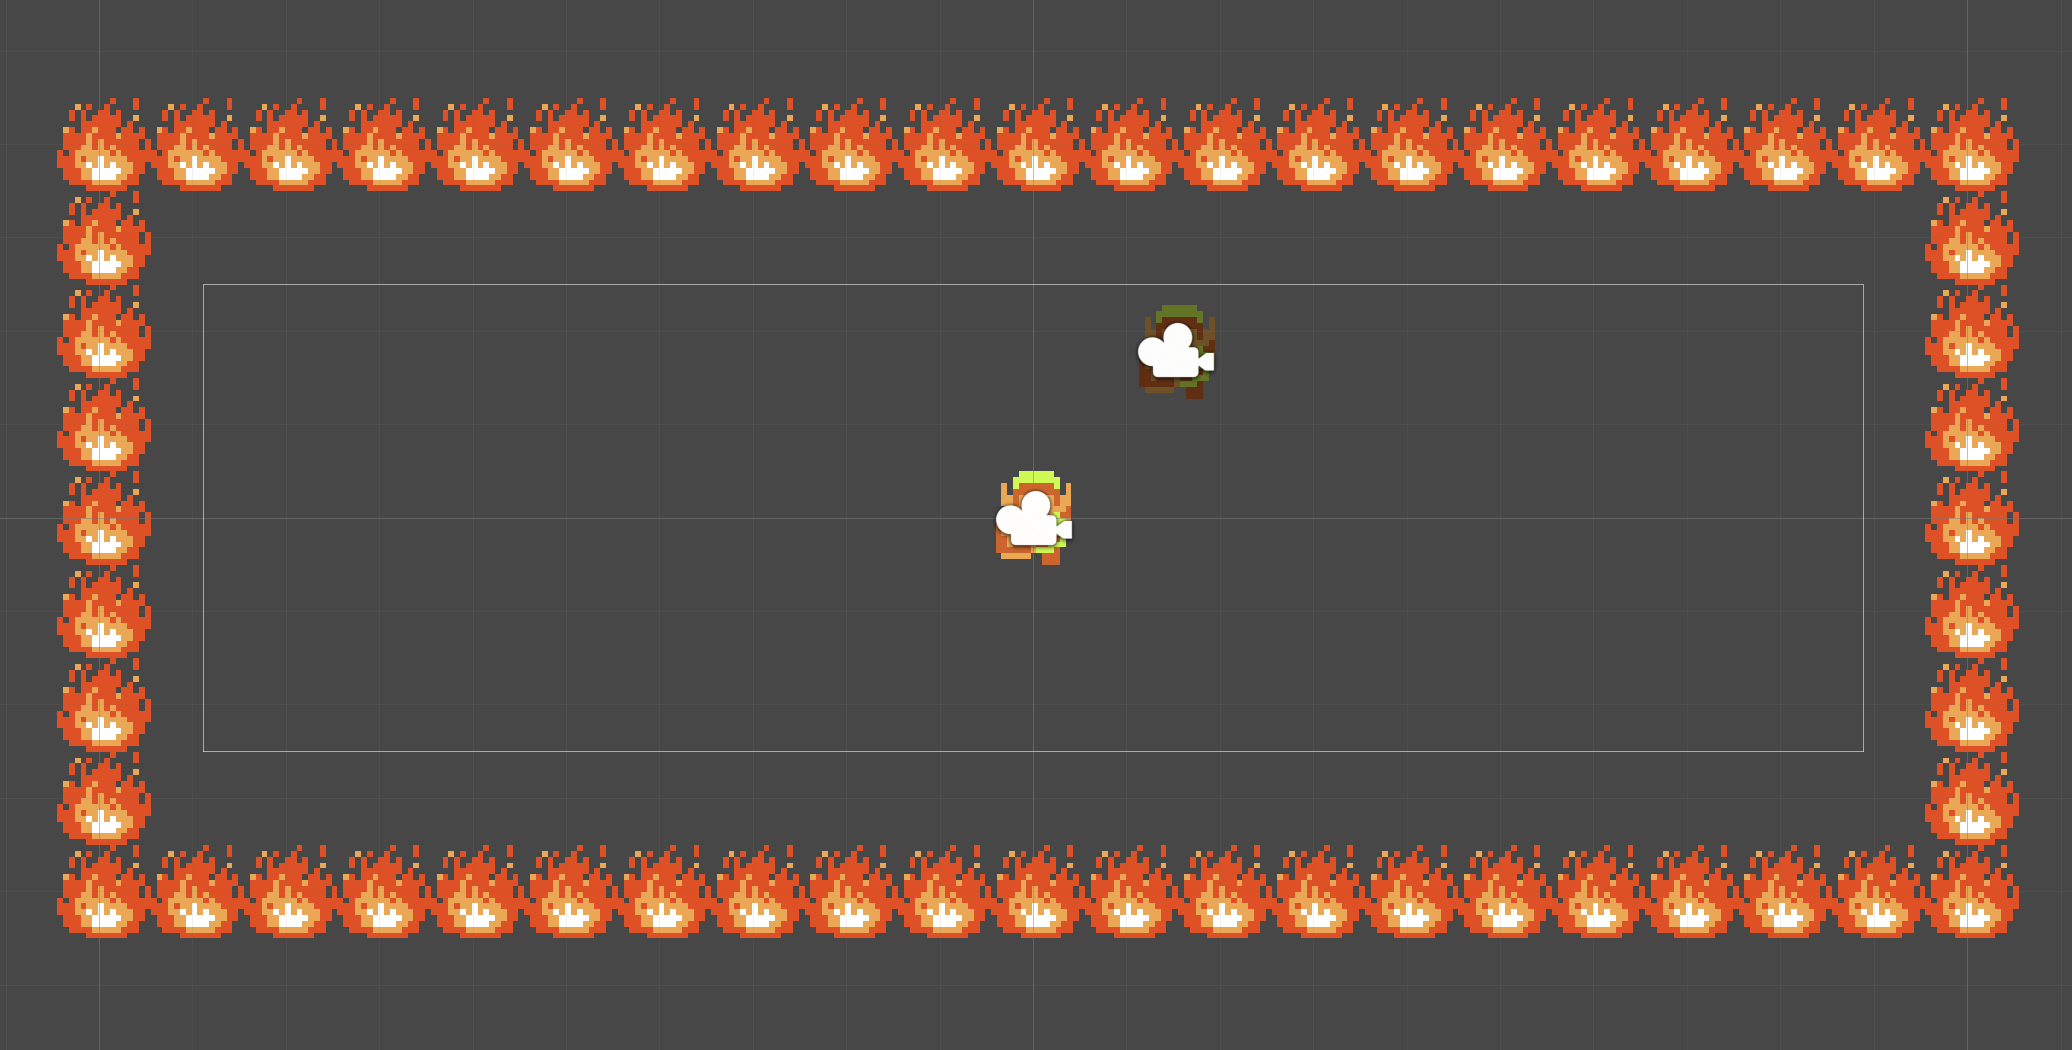
If the Body category is expanded in the inspector, the Scene view will show a visualization of the settings. In this diagram, the camera will follow the player such that the player never ends up in the OUTER RED portion of the frame. Meanwhile, the MIDDLE BLUE ring of the frame will trigger a smooth camera follow until the character rests in the CENTER portion. In this central deadzone, the character can move freely without any effect on the camera.

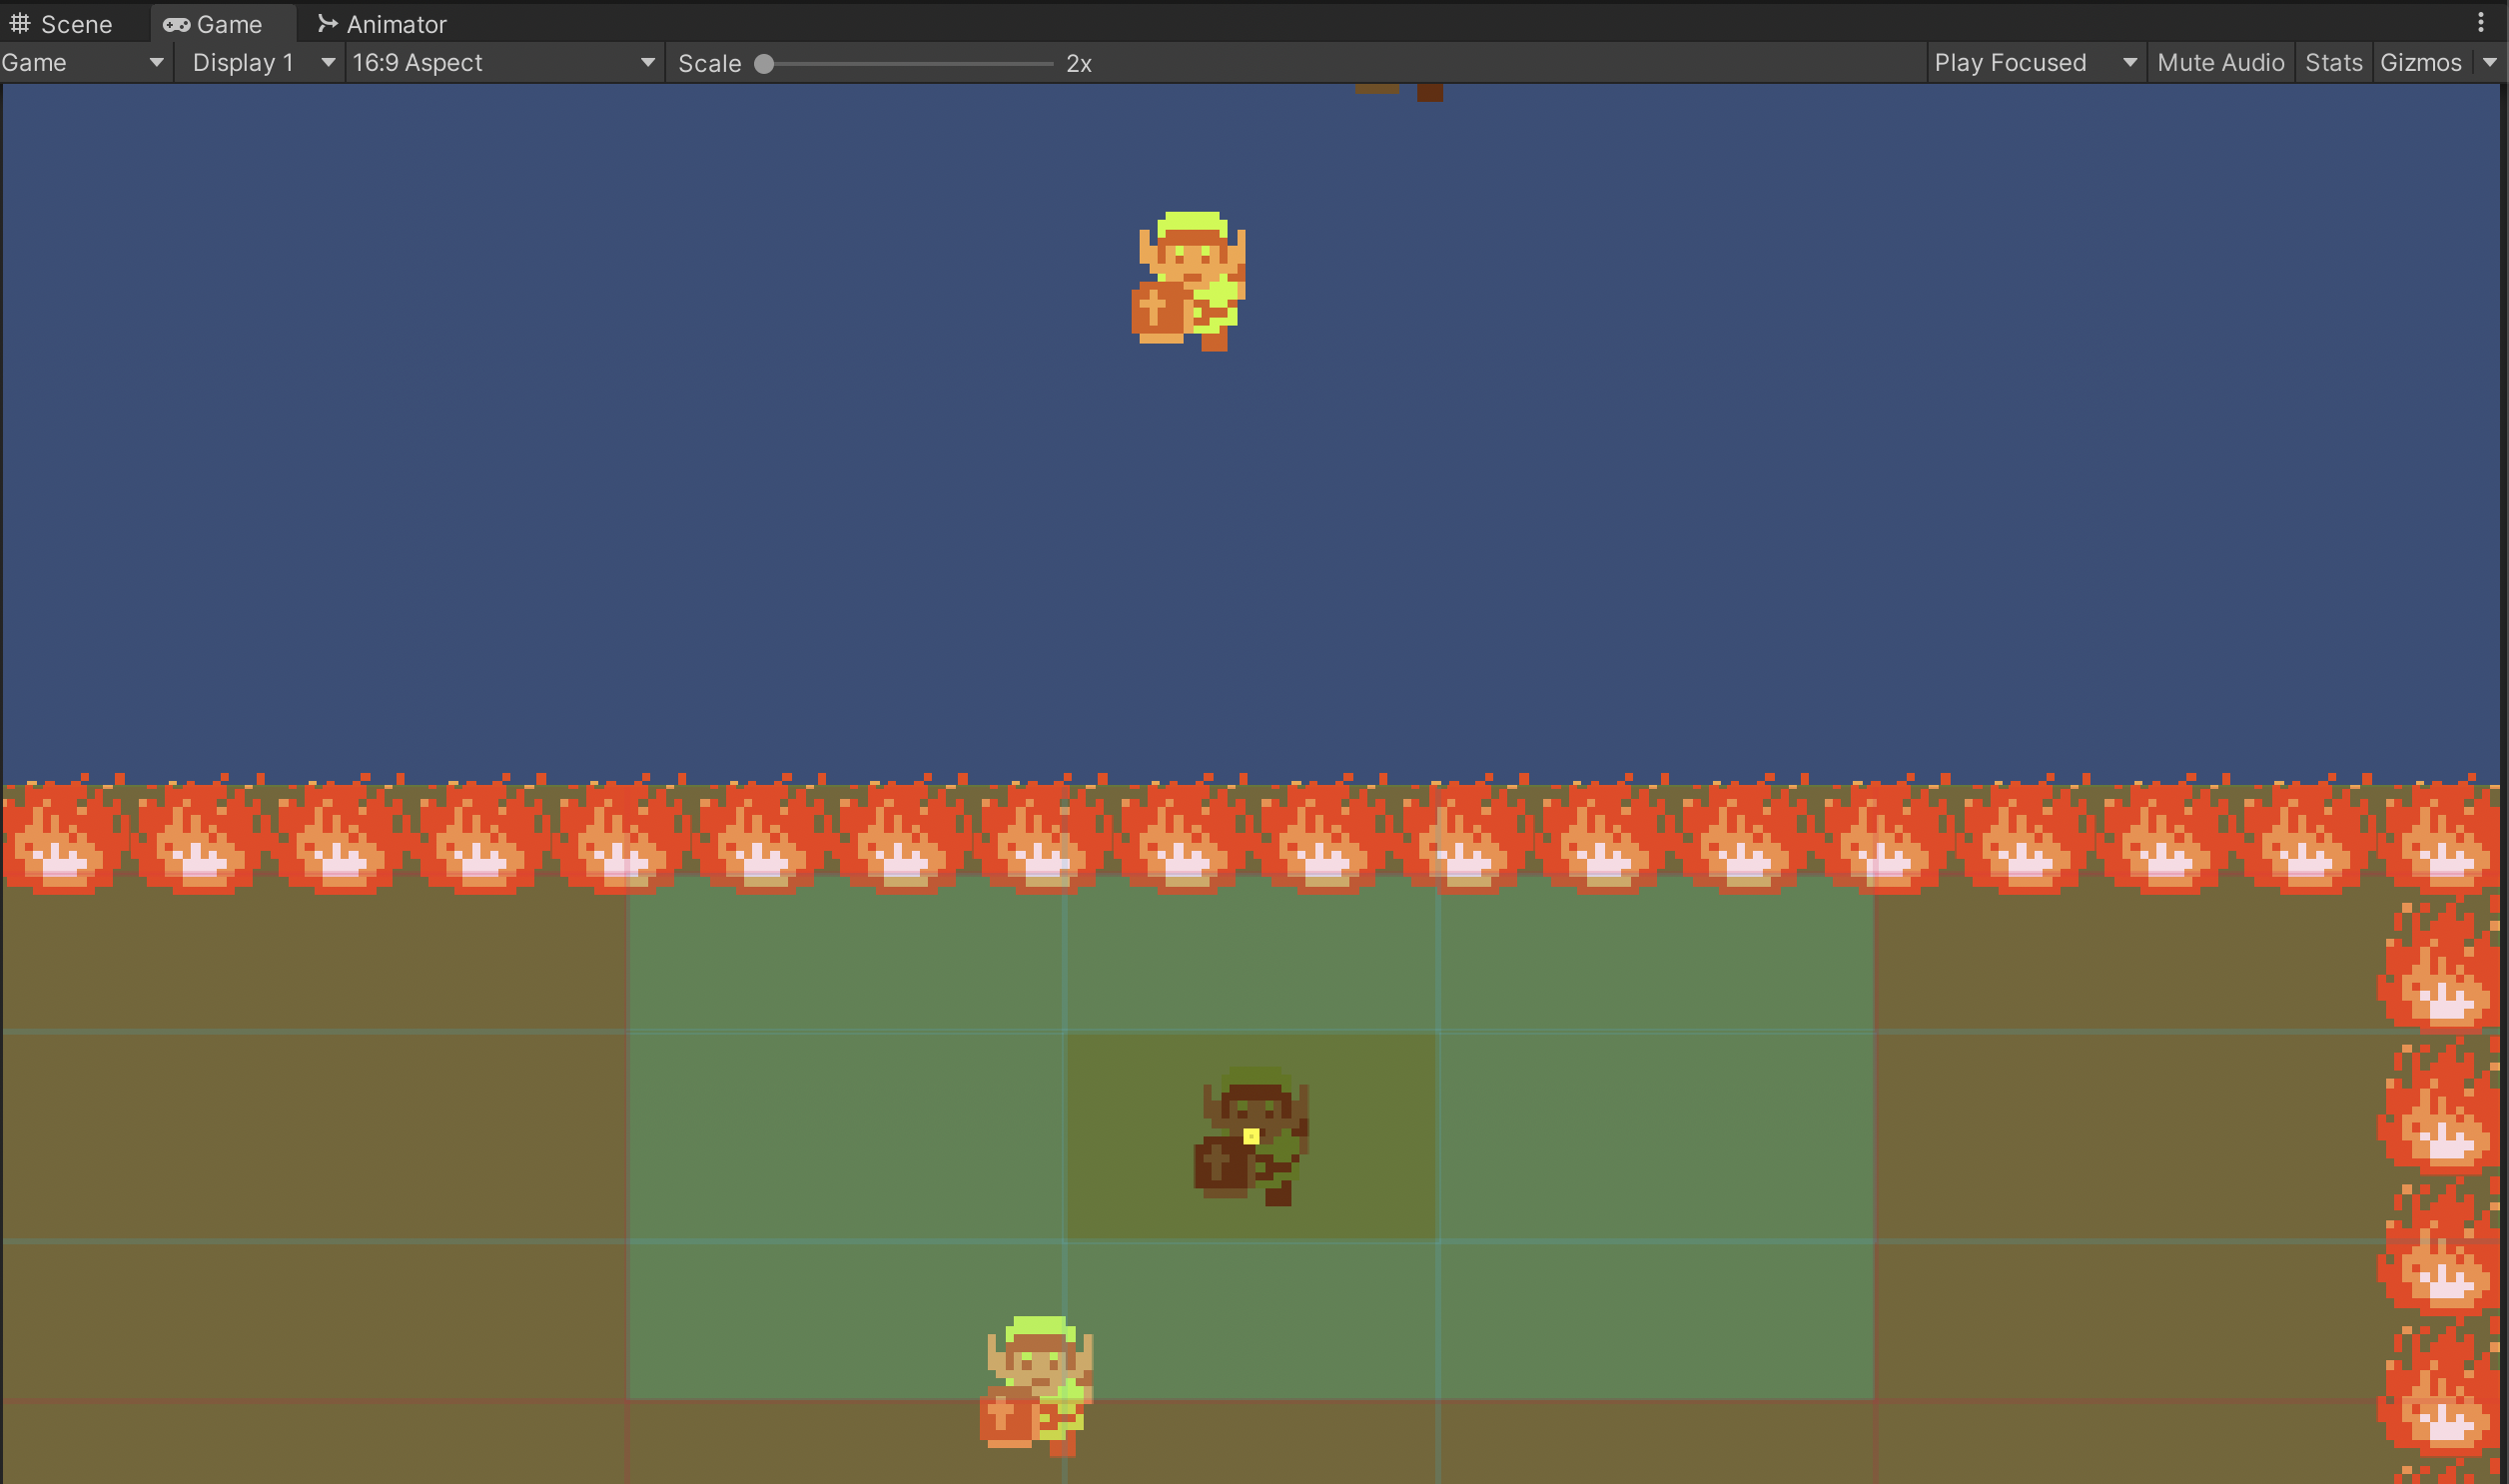
Playtest your game to ensure the camera actually follows these constraints.

Level Boundaries

While playtesting, you may have noticed the Cinemachine camera still goes past the level bounds just like the SmoothDamp camera.

Cinemachine has additional settings to make it aware of environmental boundaries. We need to create a trigger zone to represent the valid camera coverage area. This must be a trigger because a solid collider will shove the characters outside of the map. Create an empty game object called LevelBounds and attach a PolygonCollider2D to it.

Set the collider to Trigger and Edit Collider so that the shape covers your level design. The polygon collider allows you to cover levels of any shape. Click anywhere on the lines to add a new point. You can remove a line segment by holding CTRL/CMD before clicking the segment.

Inspect the virtual camera. At the bottom of the Virtual Camera component, add a Confiner2D extension, and set your LevelBounds object as the Bounding Shape.

Playtest to see that Camera2 no longer moves beyond the level boundaries.

Save and Test

Playtest to ensure all interactions work as expected and that the addition of any new features hasn’t broken any earlier interactions.

Submit Assignment

SAVE any open files or scenes.

Submit your assignment for grading following the instructions supplied for your particular classroom.