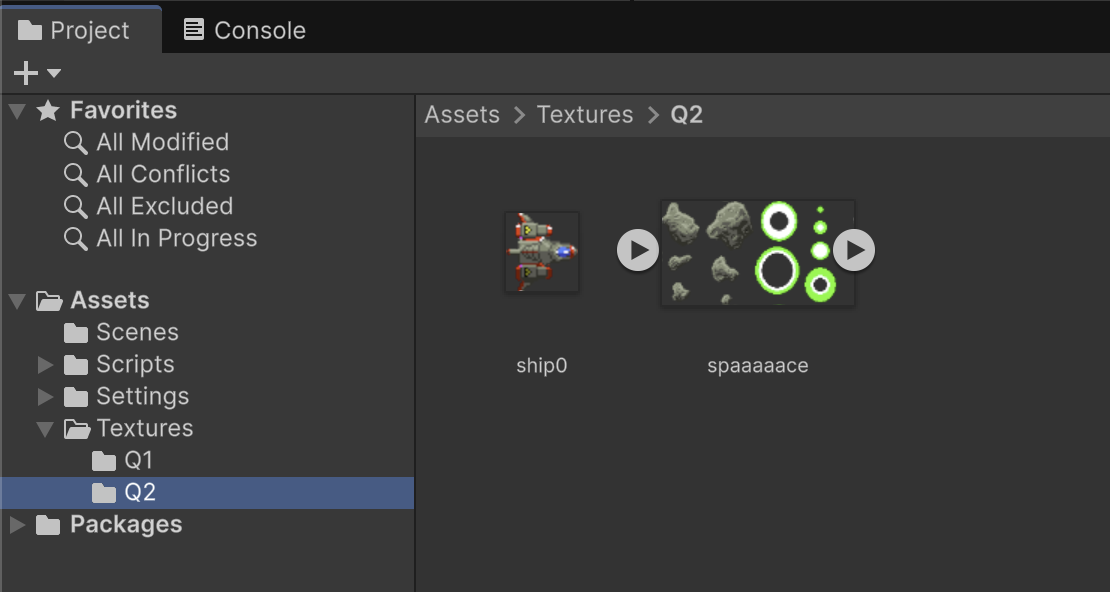
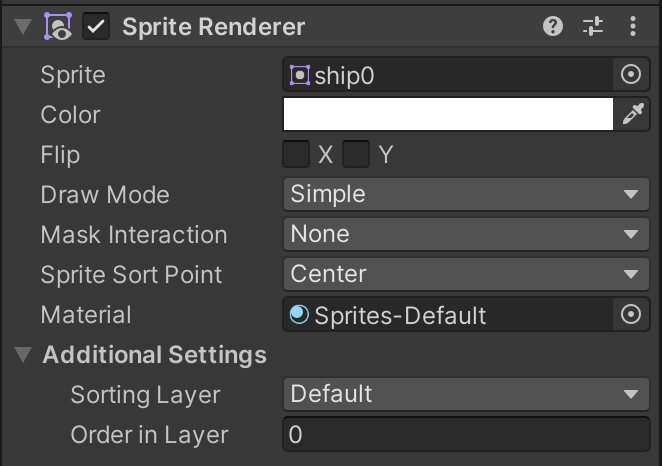
Multi-Slice Sprites
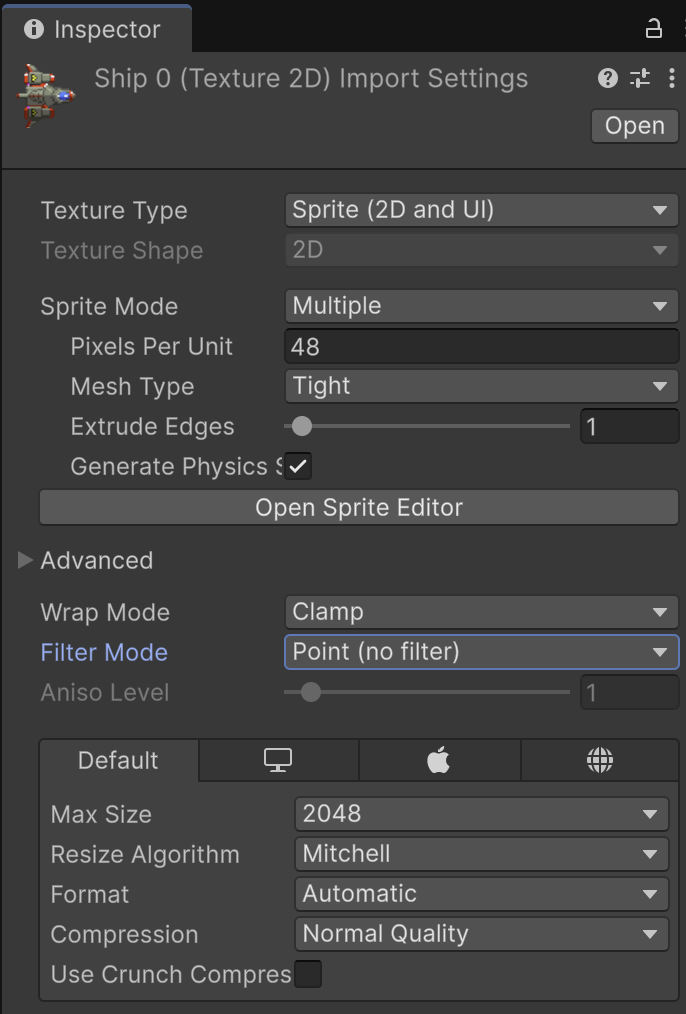
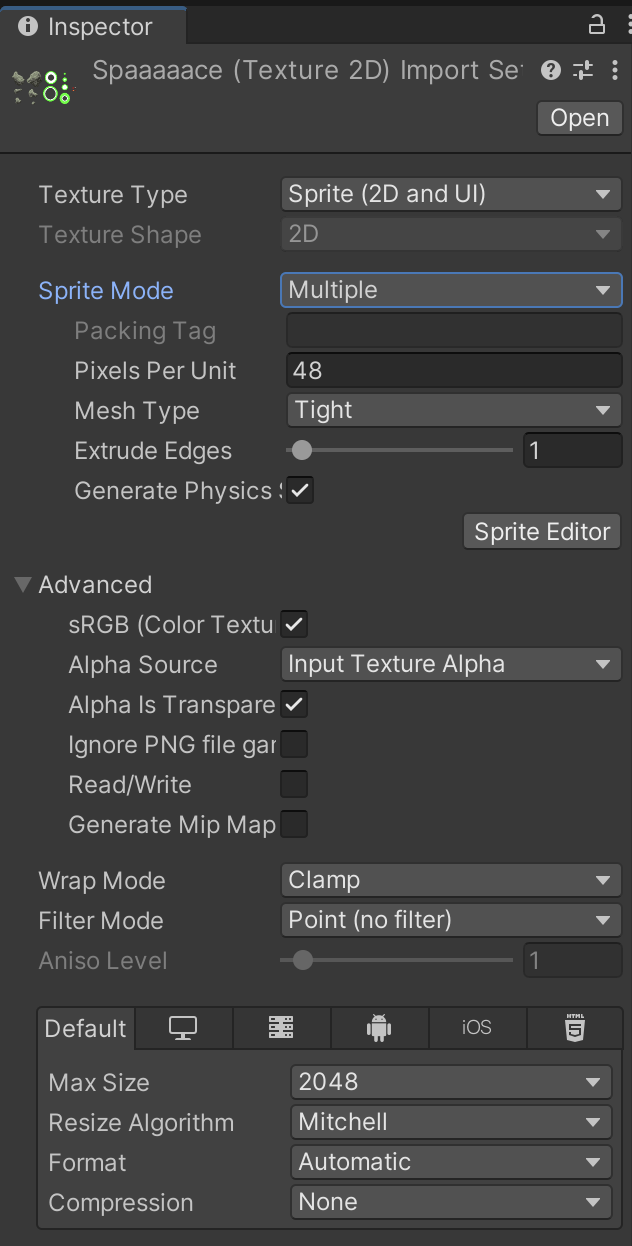
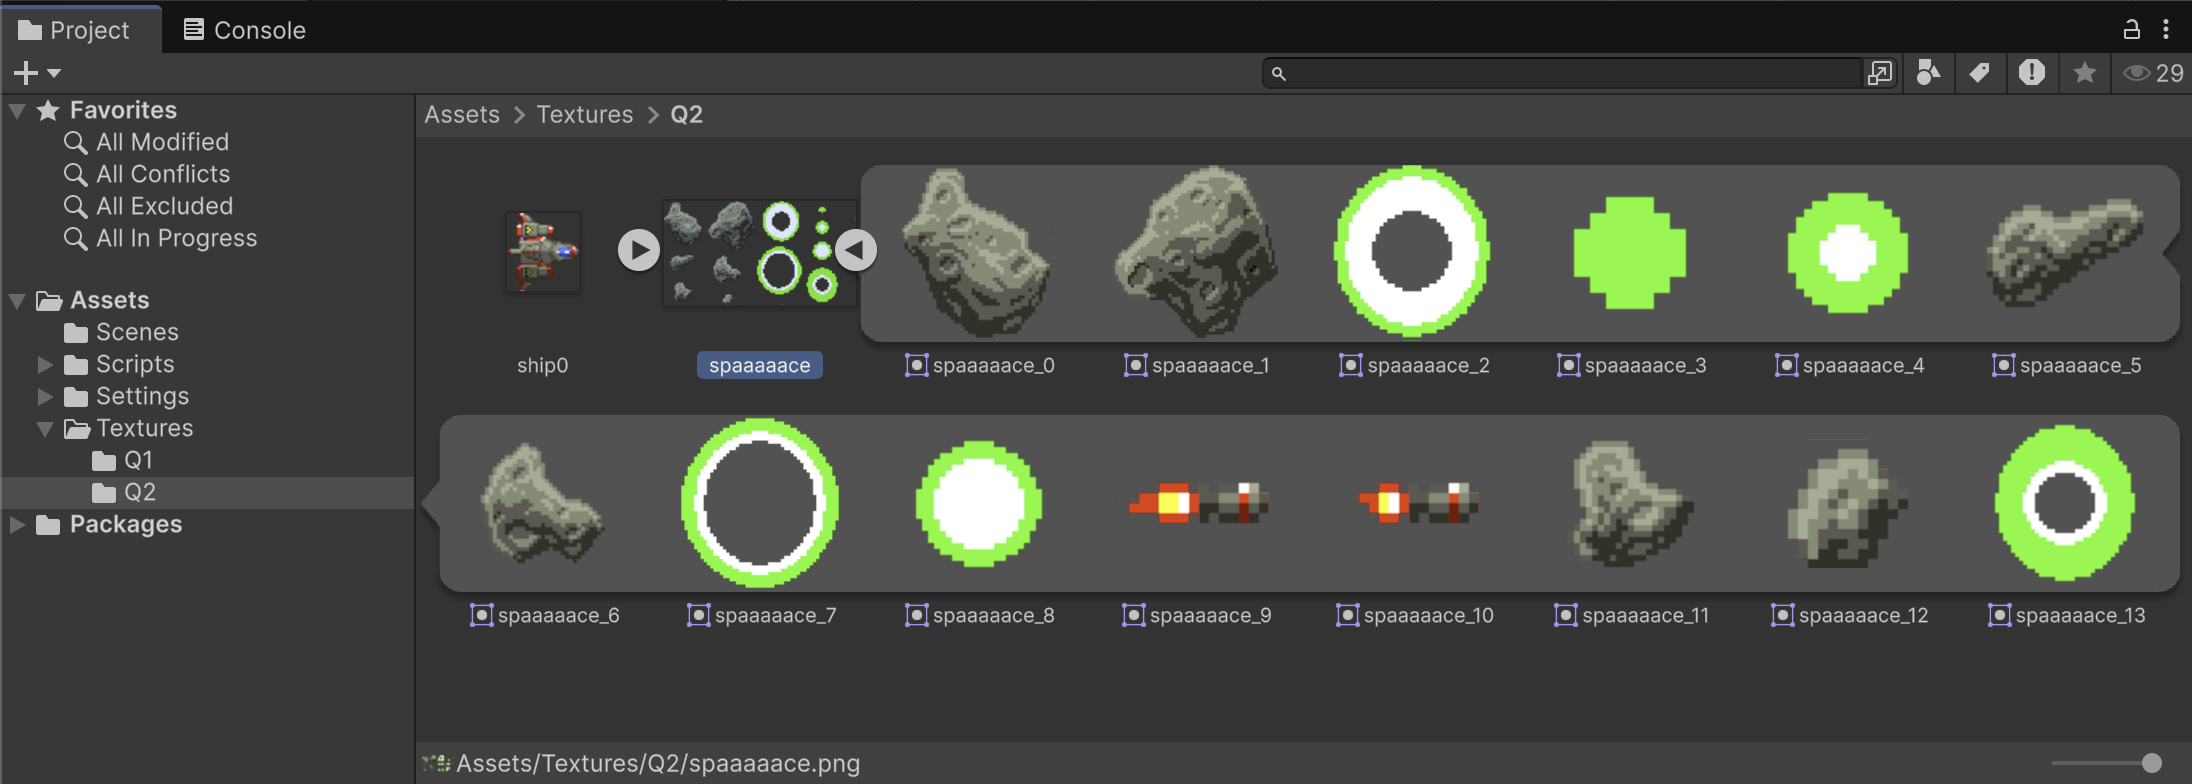
When a graphics file is imported with Multiple selected as the Sprite Mode, the engine can be configured to interpret multiple individual graphics from a single file. It is typical for related sprites to be organized together in a single file known as a Sprite Atlas or a Spritesheet.
Clicking the arrow button next to a texture asset will reveal all of the individual sprites.
Unity performs this process automatically, but there are often situations when you will want to refine the slicing of a spritesheet. You may also encounter older versions of Unity which require you to perform your own slicing.
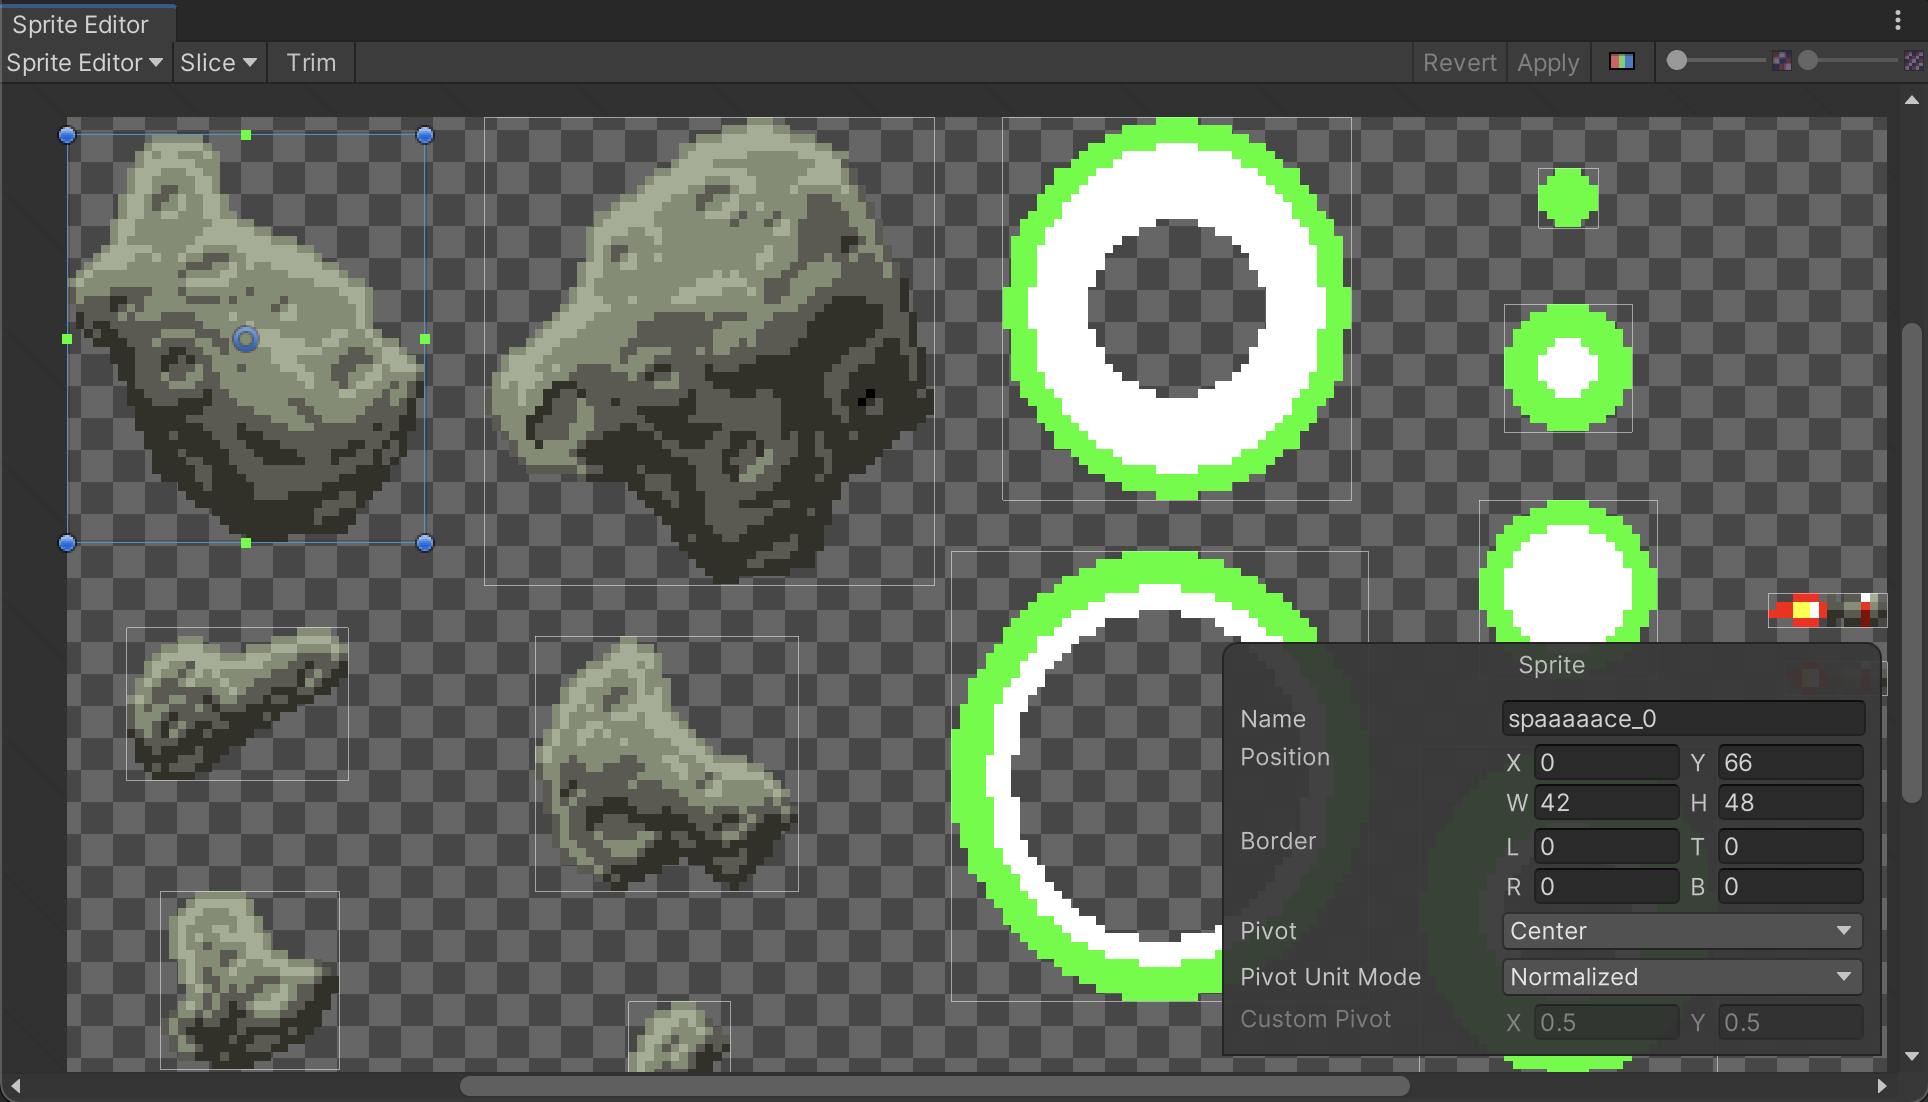
Click the "Open Sprite Editor" button in the Inspector to open the Sprite Editor tool. You will see that Unity has already sliced individual graphics it has detected within the spritesheet. Something we want to refine in this step is the excess spacing around each of the sprites, which will cause problems with our physics collisions in an upcoming step.
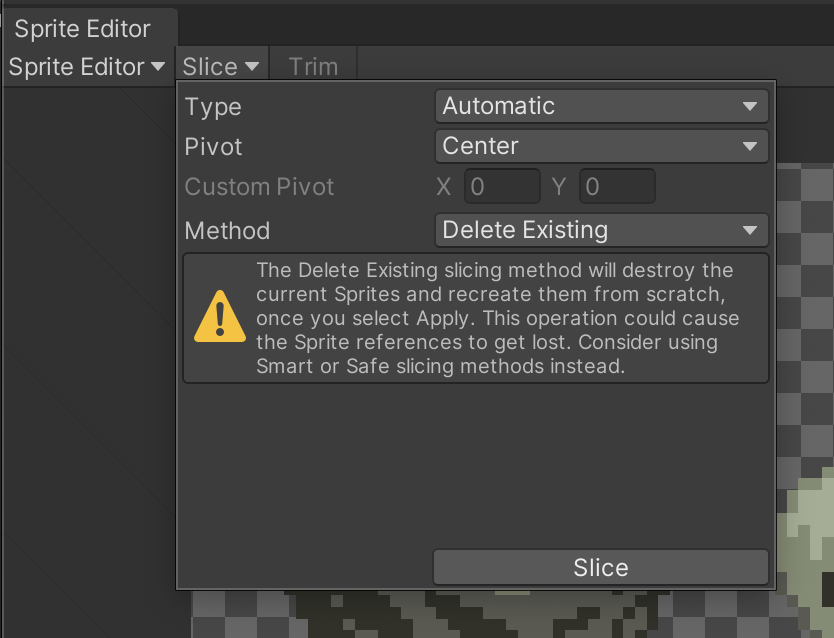
Click the Slice menu, set Type to Automatic, and click the Slice button. You will notice that the slicing of the sprites is tighter around all of the graphics. Click the Apply button to finalize these changes.
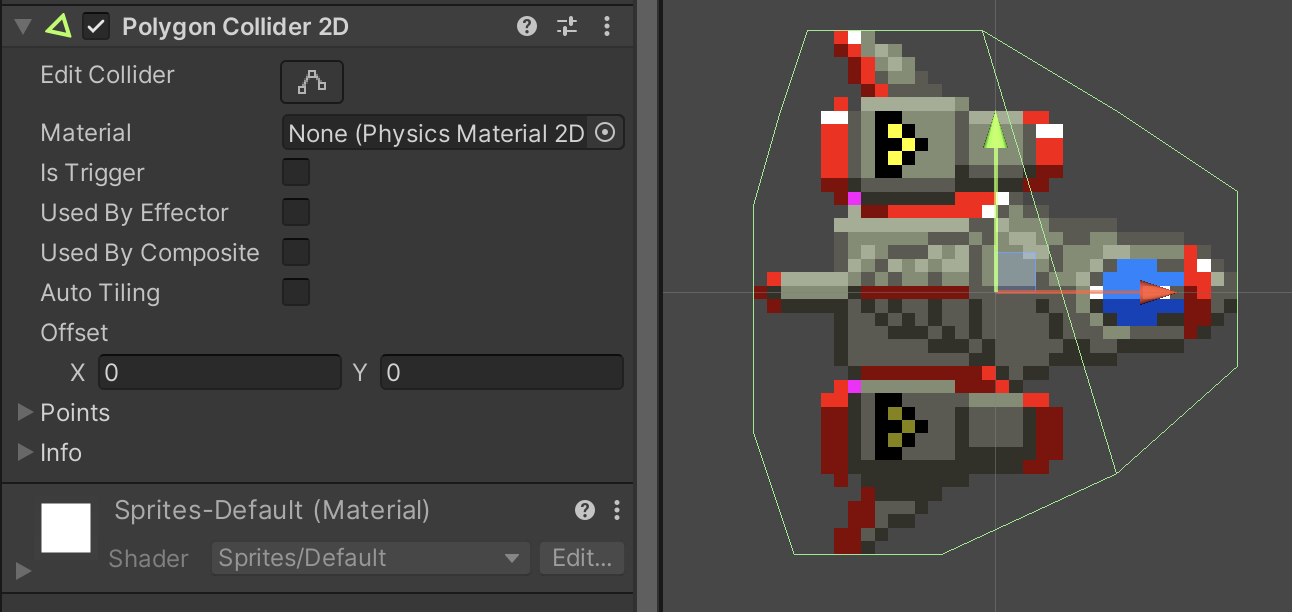
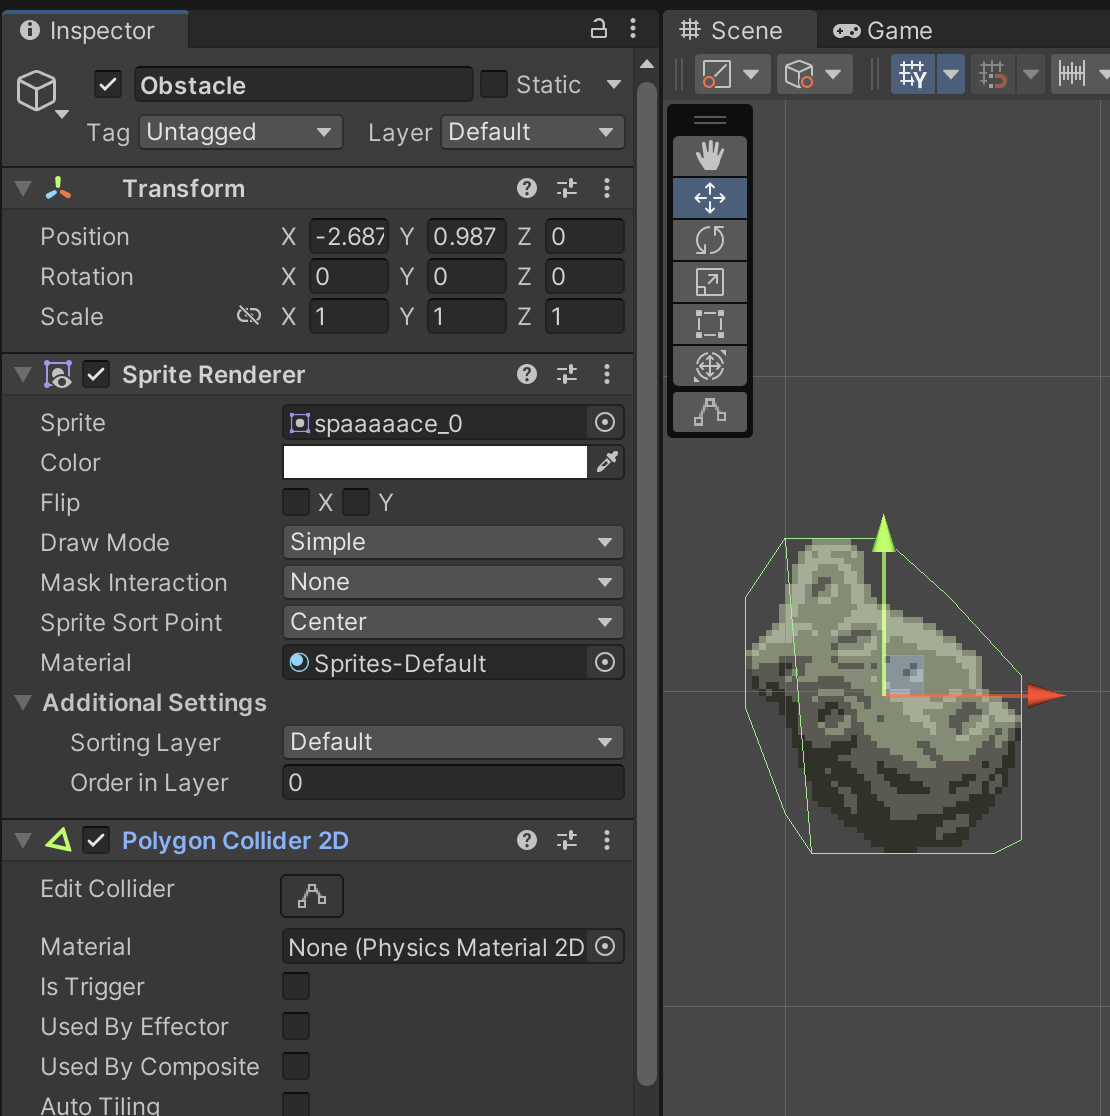
If you click an individual graphic, you can see how it is configured as its own sprite.
The automatic slice depends on transparency separating individual sprites in the parent sheet. There are alternate options for slicing based on a grid when transparency alone does not produce the intended sprites.