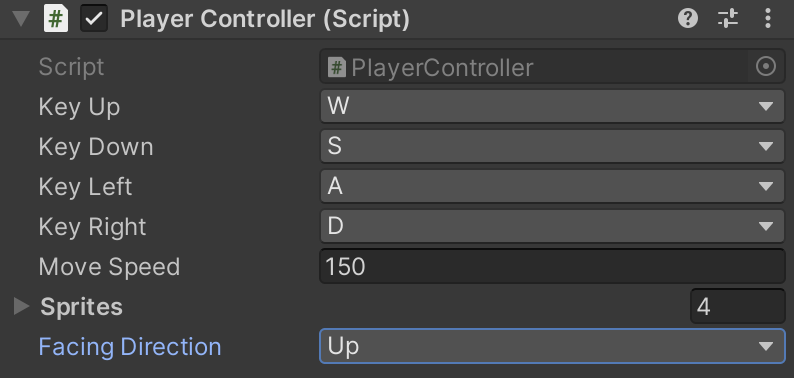
Facing Direction
In order for our player to attack, we need to keep track of what direction they are facing. An enumeration is a way of defining your own data type to keep track of such information. In PlayerController.cs, create an enumeration for Direction.
namespace Adventure {
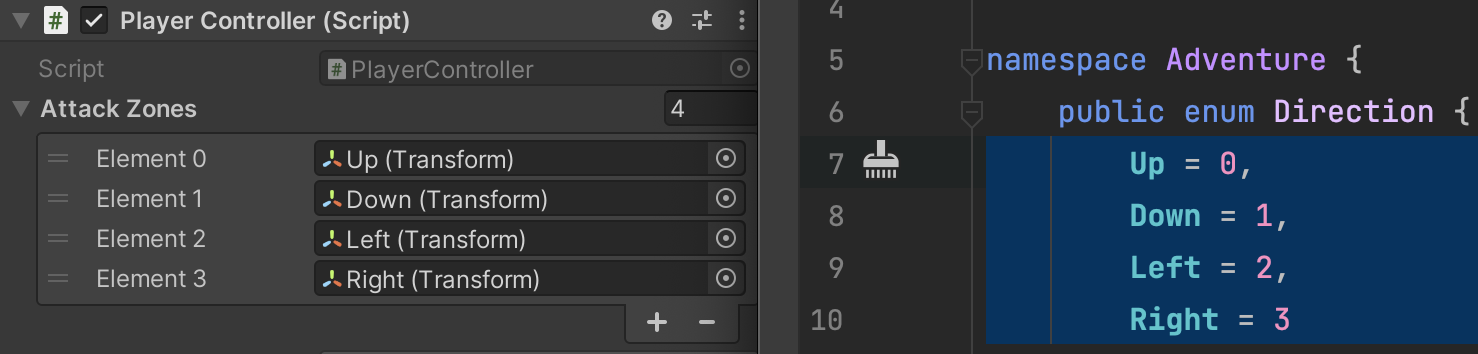
public enum Direction {
Up = 0,
Down = 1,
Left = 2,
Right = 3
}
public class PlayerController : MonoBehaviour
{
In the same file, define a variable for keeping track of the player’s facing direction using the new enum as the variable type. We will also need to access the SpriteRenderer soon and will configure a list of sprites that represent each facing direction.
	public class PlayerController : MonoBehaviour
	{
		// Outlets
		Rigidbody2D _rigidbody;
		Animator _animator;
		SpriteRenderer _spriteRenderer;

		// Configuration
		public Key keyUp;
		public Key keyDown;
		public Key keyLeft;
		public Key keyRight;
		public float moveSpeed;
		public Sprite[] sprites;

		// State Tracking
		public Direction facingDirection;

		// Methods
		void Start() {
			_rigidbody = GetComponent<Rigidbody2D>();
			_animator = GetComponent<Animator>();
			_spriteRenderer = GetComponent<SpriteRenderer>();
		}
The animation state will drive the logic for what direction we are facing. By checking the currently rendering player sprite, we can determine facing direction. The logic follows this flow:
A) Controller Input → B) Physics Forces → C) Animation Blending → D) Visible Sprite → E) Facing Direction
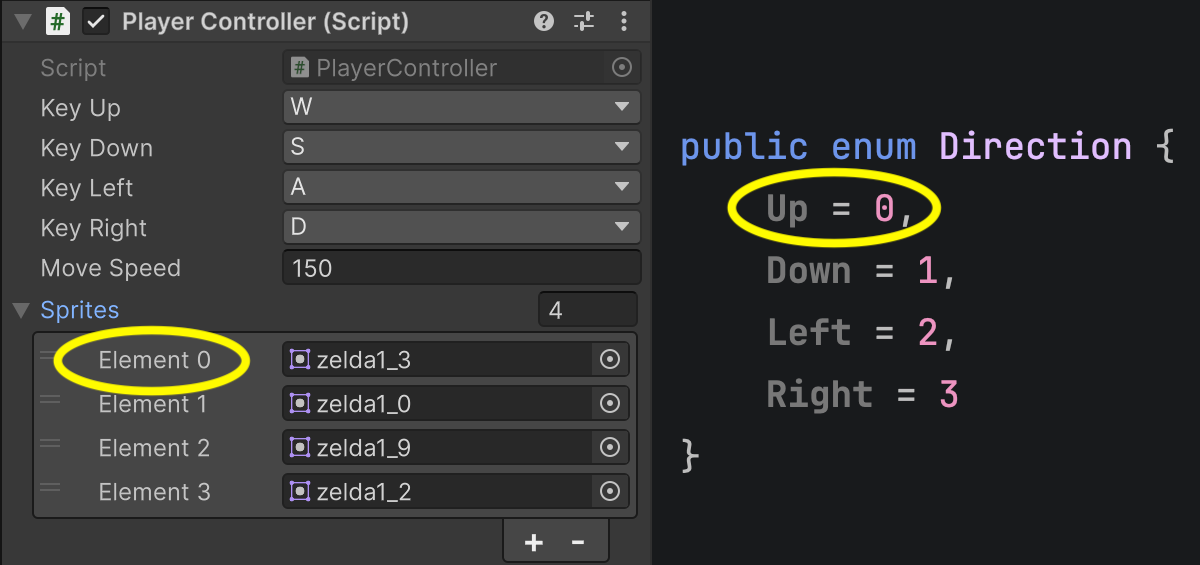
To match the Visible Sprite (D) with a Facing Direction (E), the sprites variable on PlayerController should list the sprites that represent the various directions. The array indexes must match the enumerations. For example, Element 0 must be the sprite for Up because the Up Direction is also identified by 0.
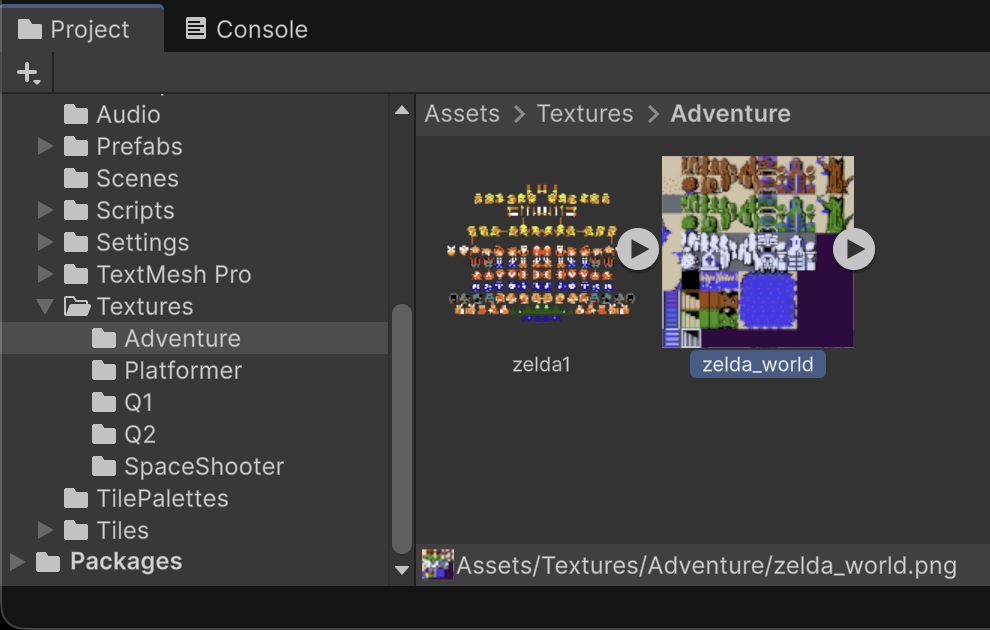
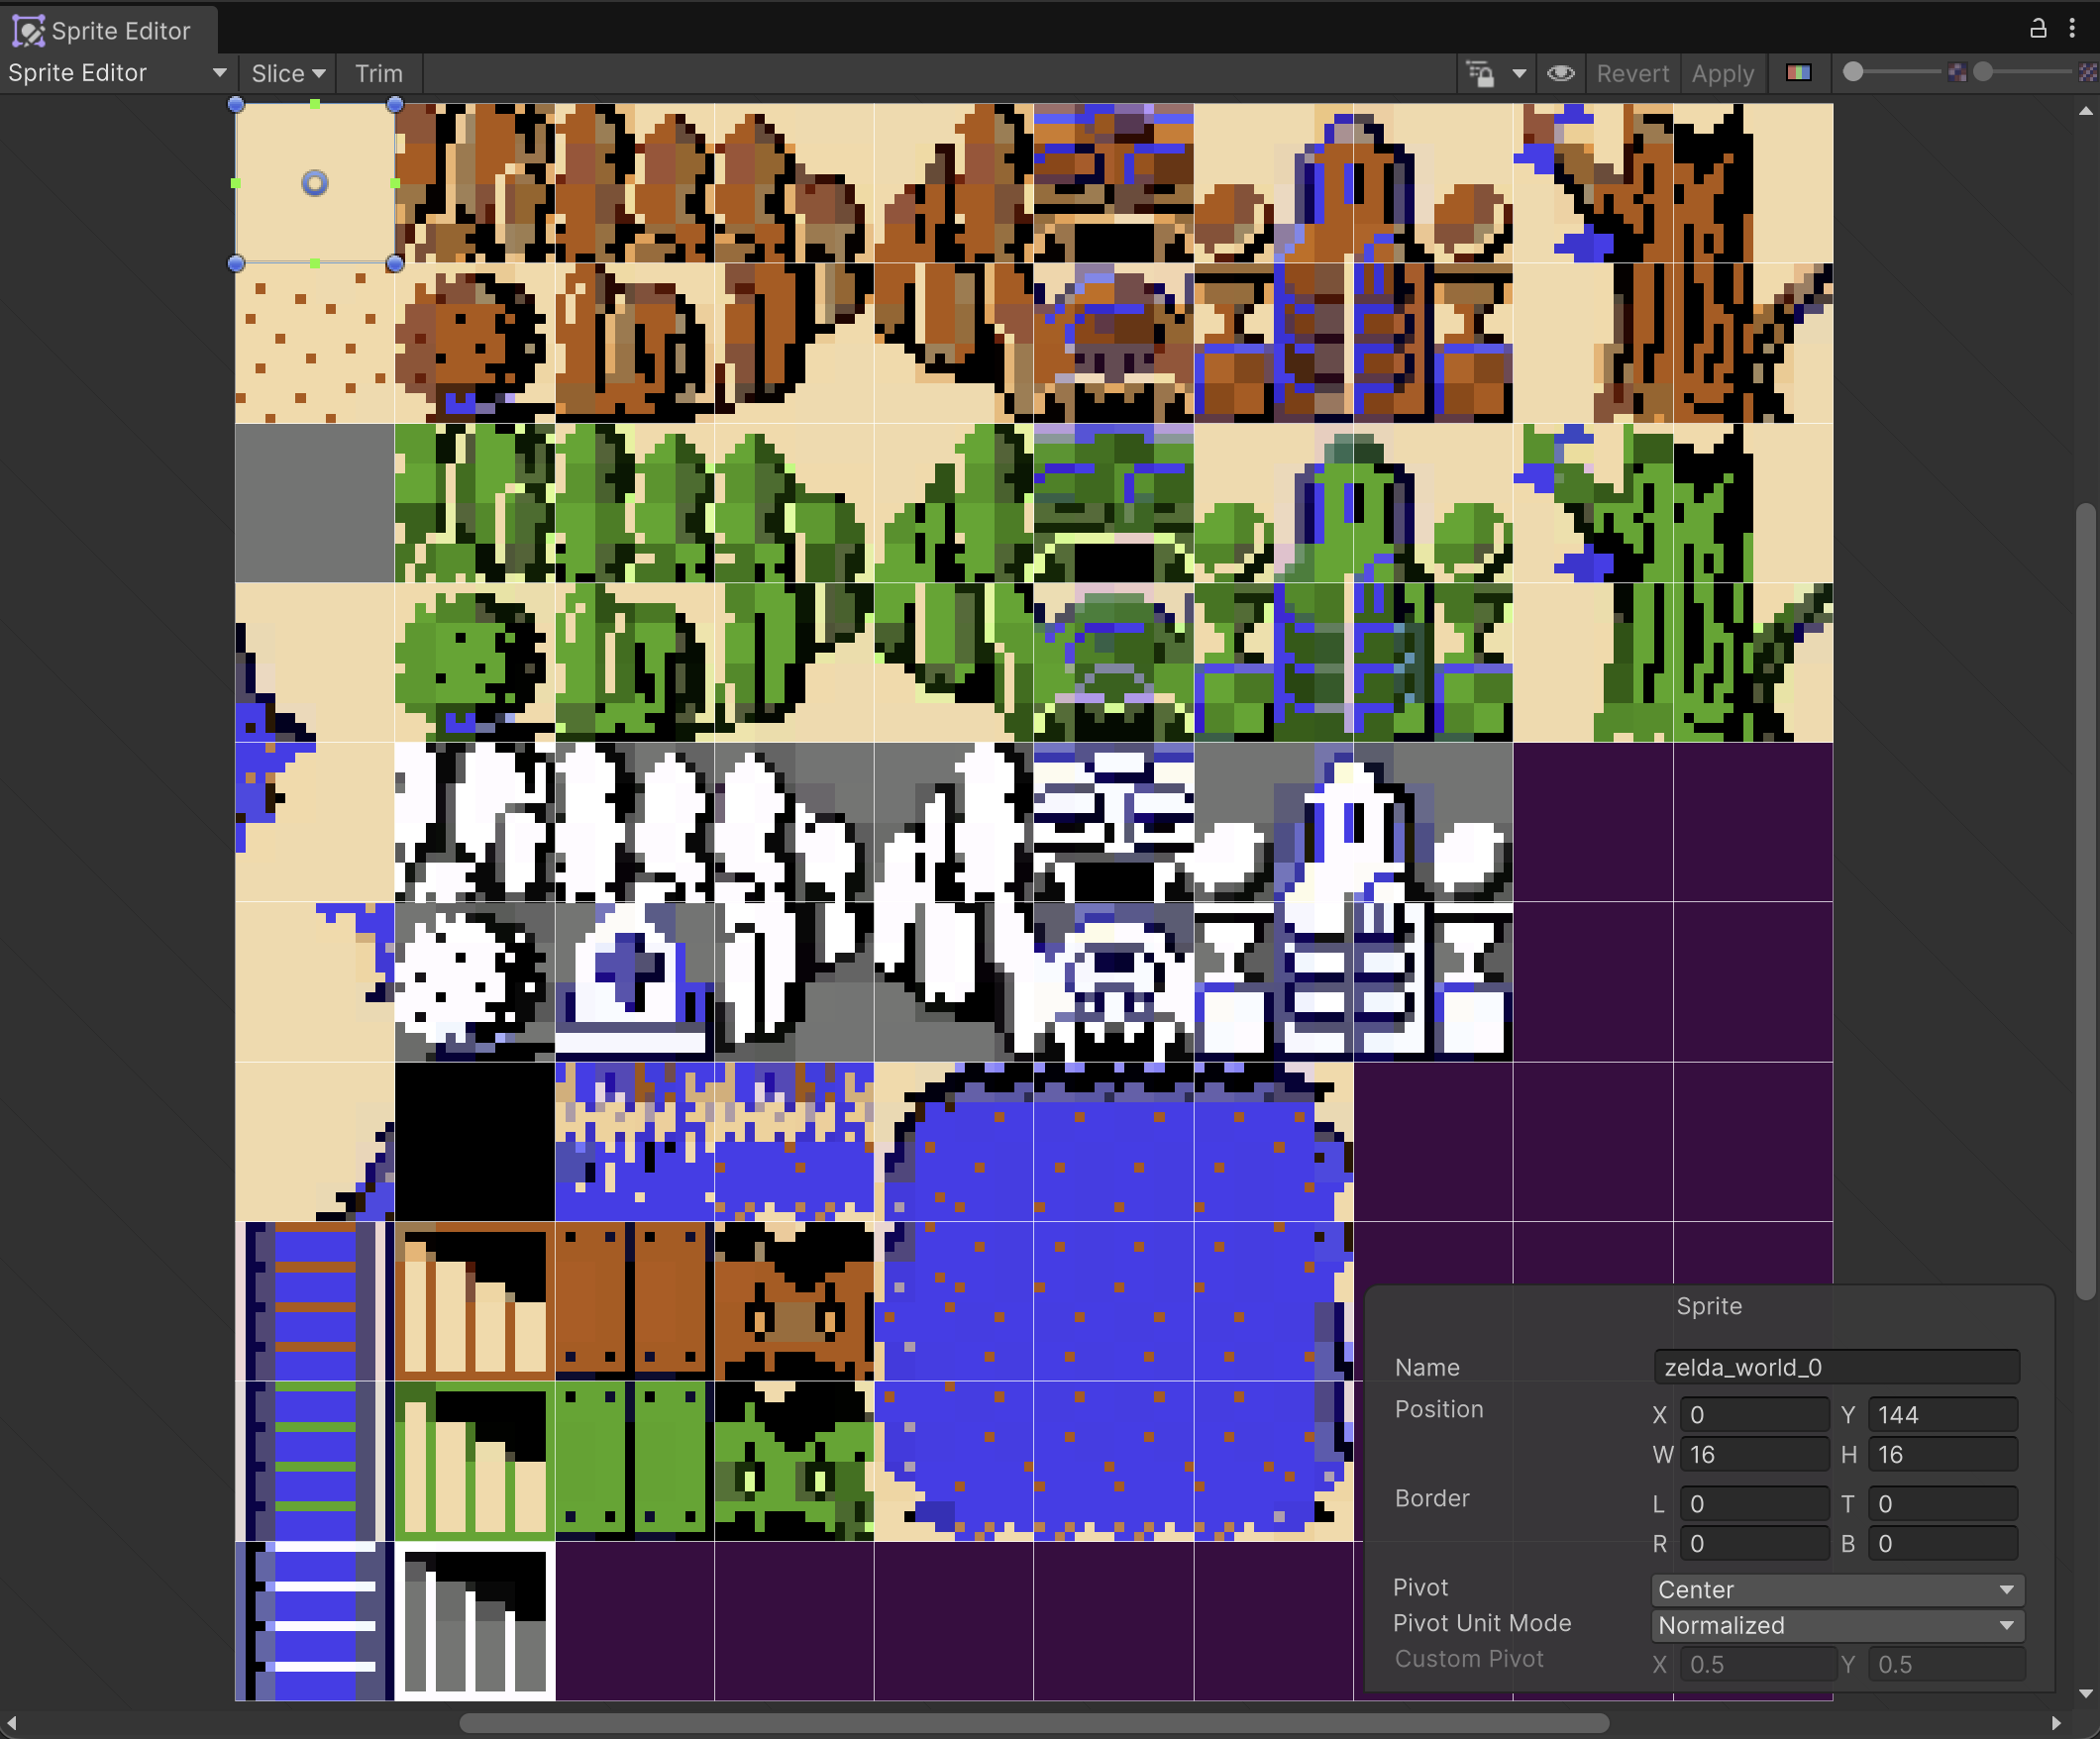
Choose zelda sprites 3, 0, 9, and 2 to represent up, down, left, and right, respectively.
Because animations can happen after the Update loop, we will put our direction logic in LateUpdate which happens after all animations have resolved. (Review Unity's event function execution order, if you are trying to visualize this sequence.) In this code, we loop through each of the configured sprites to see which one is being rendered. When a match is found, its integer index is casted to the matching Direction enumeration. This is why it was important for us to match all of those indexes.
		void LateUpdate() {
			for(int i = 0; i < sprites.Length; i++) {
				if(_spriteRenderer.sprite == sprites[i]) {
					facingDirection = (Direction)i;
					break;
				}
			}
		}
Playtest your game and inspect the PlayerController to check if Facing Direction updates appropriately for all 8 idle/walk scenarios. For example, when you walk Down, the Facing Direction variable should also report Down.