Program Movement
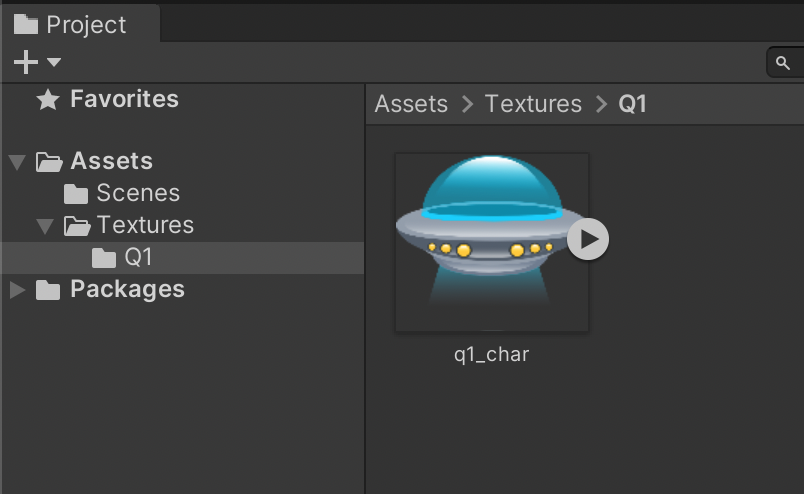
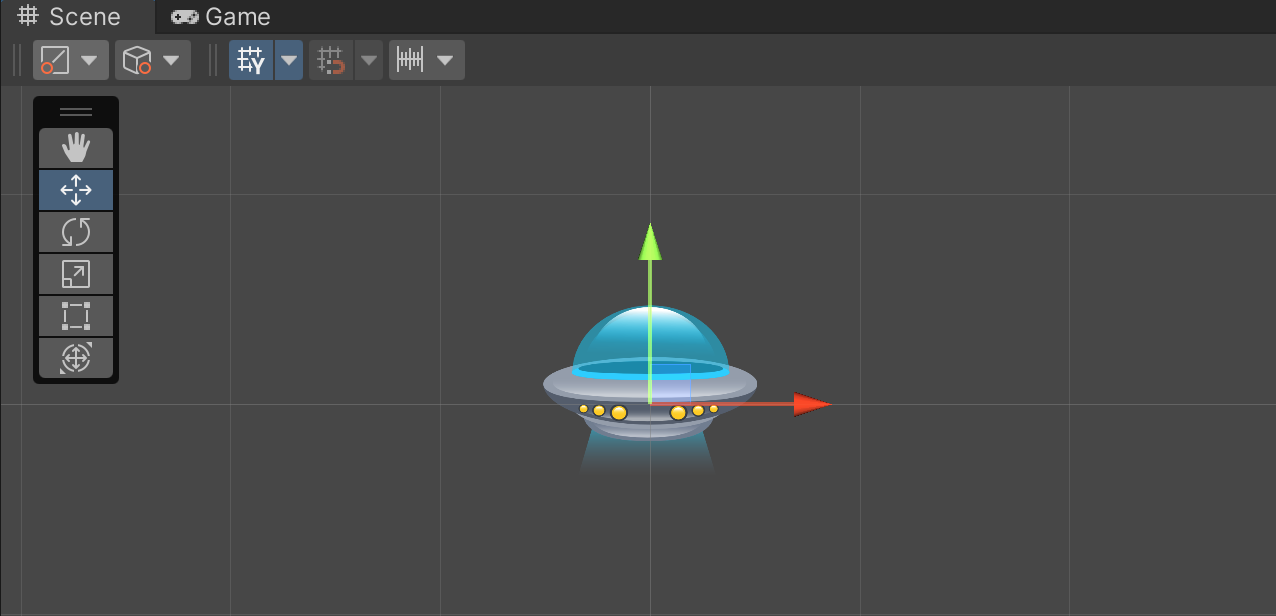
As a kind of "Hello World" exercise, our goal in this assignment is to have a character appear on the screen and move in a direction relevant to the player's input. We will use the Arrow Keys to do this.
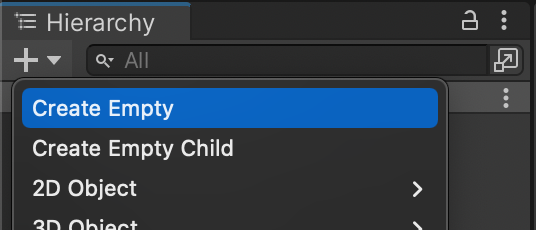
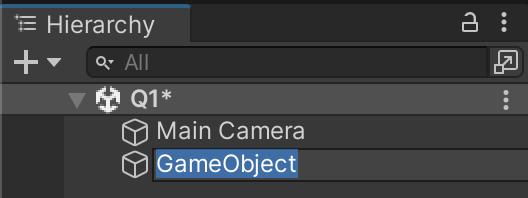
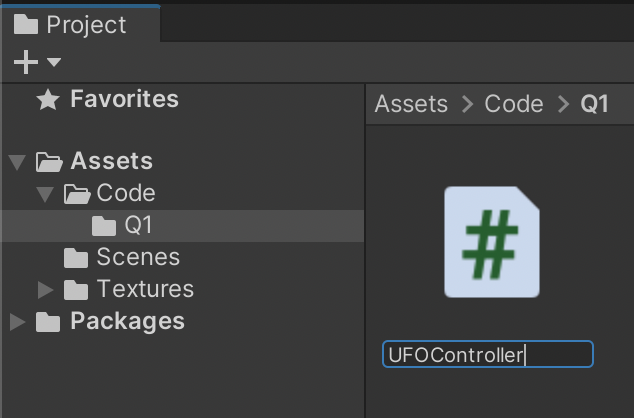
Modify UFOController with the changes diagrammed below.
using UnityEngine;
using UnityEngine.InputSystem;

namespace Q1 {
	public class UFOController : MonoBehaviour
	{
		// Start is called once before the first execution of Update after the MonoBehaviour is created
		void Start() {

		}

		// Update is called once per frame
		void Update() {
			// Move Up
			if(Keyboard.current.upArrowKey.isPressed) {
				transform.position += new Vector3(0, 0.02f, 0);
			}

			// Move Down
			if(Keyboard.current.downArrowKey.isPressed) {
				transform.position += new Vector3(0, -0.02f, 0);
			}

			// Move Left
			if(Keyboard.current.leftArrowKey.isPressed) {
				transform.position += new Vector3(-0.02f, 0, 0);
			}

			// Move Right
			if(Keyboard.current.rightArrowKey.isPressed) {
				transform.position += new Vector3(0.02f, 0, 0);
			}
		}
	}
}
Much of this code may be unfamiliar at first, but we will perform a more in-depth line-by-line discussion and demonstration throughout class.
Accessing Input Devices
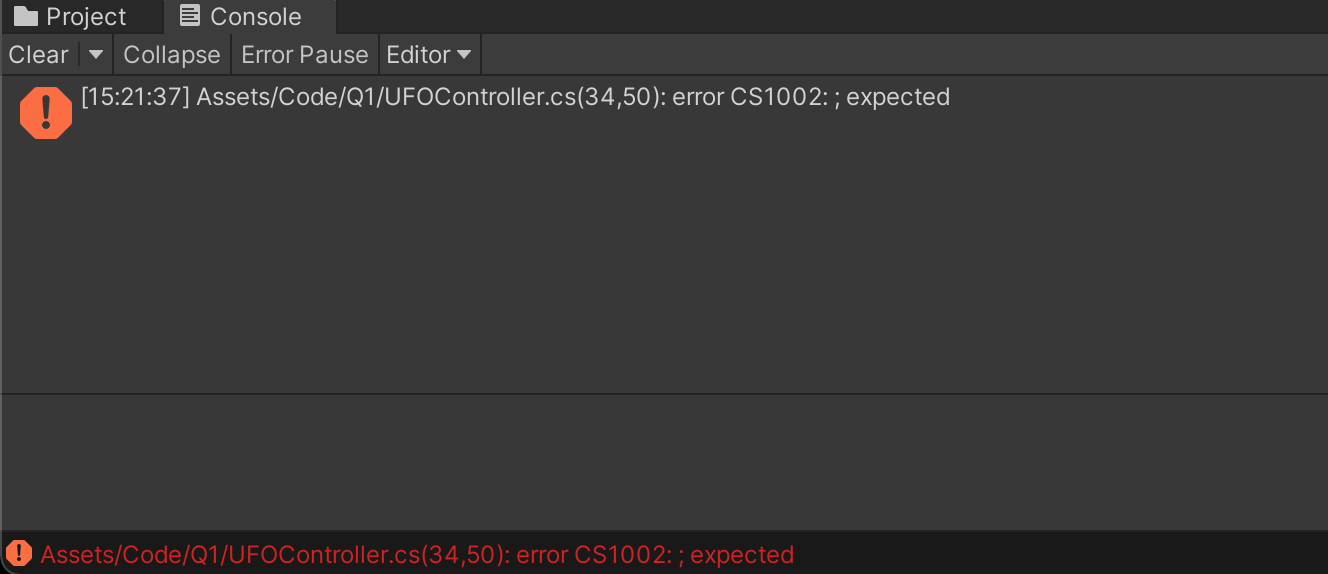
Line 2 helps us access player input devices such as the Keyboard object used in Lines 15, 20, 25, and 30.
using UnityEngine.InputSystem;
Event Function Execution Order
Each Component on an active GameObject experiences a life cycle pictured below. (There is no need to memorize these functions beyond knowing where to look them up. You'll learn the most important ones out of habit through repeated use.)

You can tie into these life cycle events with your C# code. As described in the comments on Line 7 and Line 12, the Start and Update events happen at specific moments and are the most commonly used. We won't need to use Start for this assignment, so it remains in the code only for the sake of class discussion. Line 13 is our Update event. Because Update executes every frame, it provides an ongoing chance for us to react to changes in keyboard input. (If we programmed controller movement inside the Start event, that logic would never react to the player's ongoing actions.)
		// Start is called once before the first execution of Update after the MonoBehaviour is created
		void Start() {

		}

		// Update is called once per frame
		void Update() {
Player Input and Conditional Movement
Our movement functionality is divided into four directions: Up (Lines 14-17), Down (Lines 19-22), Left (Lines 24-27), and Right(Lines 29-32). The actual movement code is roughly the same for any given direction, so we will break down just one direction in more depth.
			// Move Up
			if(Keyboard.current.upArrowKey.isPressed) {
				transform.position += new Vector3(0, 0.02f, 0);
			}
Line 14 shows the comment syntax for C#. It is similar to many other languages. While well-written code is reasonably self-documenting, commenting is a good habit. You should use as many comments as are necessary to facilitate your learning and collaboration this semester.
Line 15 starts a Conditional statement (which closes with the curly bracket on Line 17). Always use indentation when code encloses other code. Badly indented code is one of the most common sources of confusion in class. In this line, we access the current Keyboard device and request the boolean state (true or false) whether the up arrow key is pressed during this given Update event. The code inside (Line 16) only executes if the surrounding conditional statement resolves to true. If the up arrow is not pressed, then the conditional resolves to false and the code to move the character is not executed.
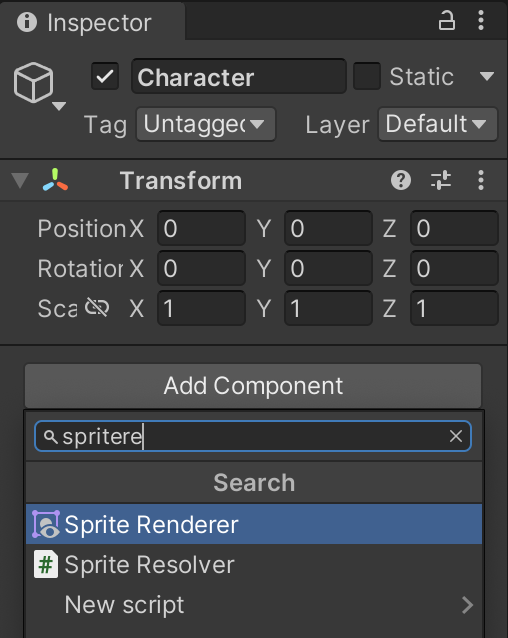
Accessing the Transform Component and Position
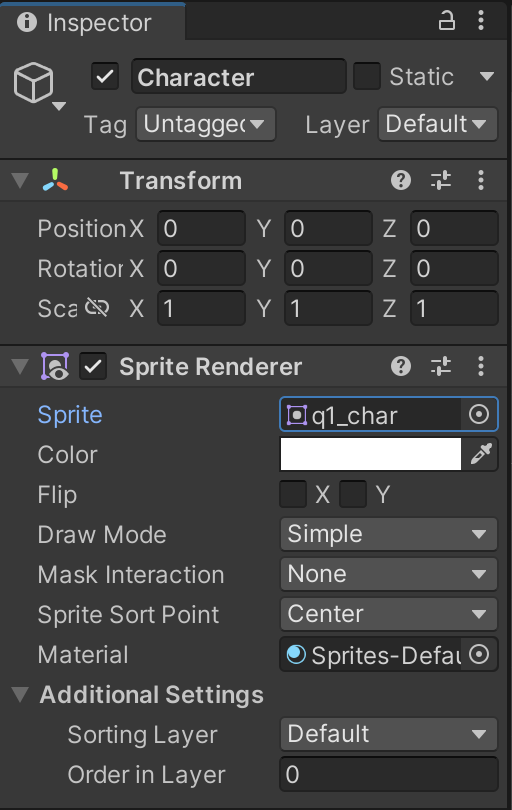
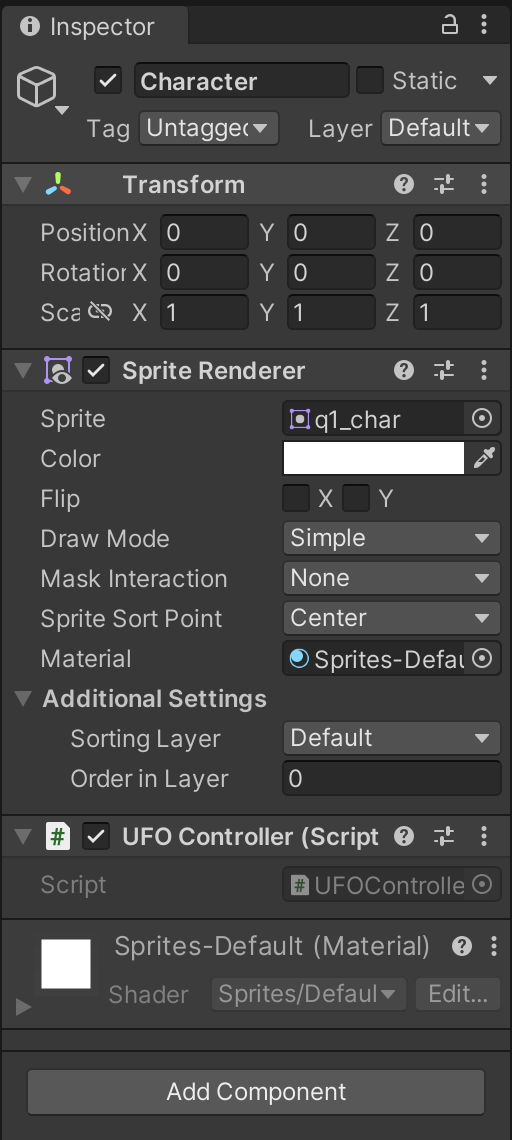
A great wealth of functionality in Unity comes from having components work together. UFOController interprets keyboard input, while Transform controls object position. Because every GameObject is guaranteed to have a Transform component, there is a shortcut to access Transform from any other component: simply type (lowercase) transform. C# is case-sensitive. We will learn about (CAPITAL) Transform in C# later.
transform.position += new Vector3(0, 0.02f, 0);
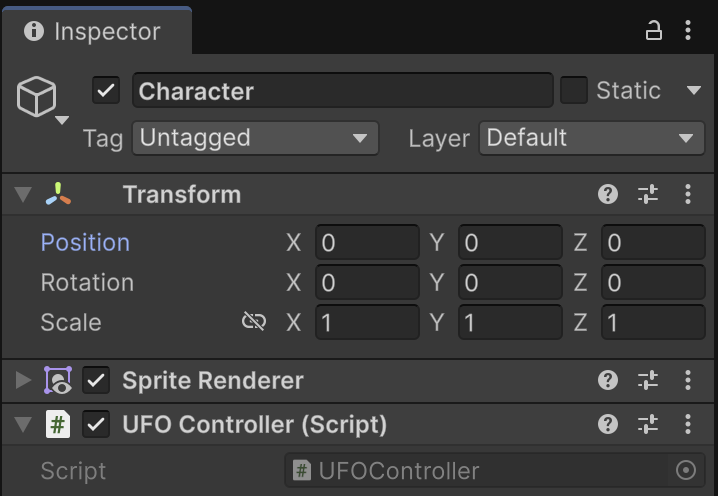
In Line 16, we access UFOController's sibling Transform component through the transform property. This technique lets our two components talk to each other. A sibling component is one that lives on the same GameObject as another component. One of the properties we saw in the Inspector within Transform was Position, which we can also access in code using the same name. (By convention, class names are capitalized in Unity C# code, while properties and variable names are lowercase. In our code, lowercase position is a property of the Transform class. Lowercase transform is a property of UFOController giving us a shortcut to access its sibling Transform component.)
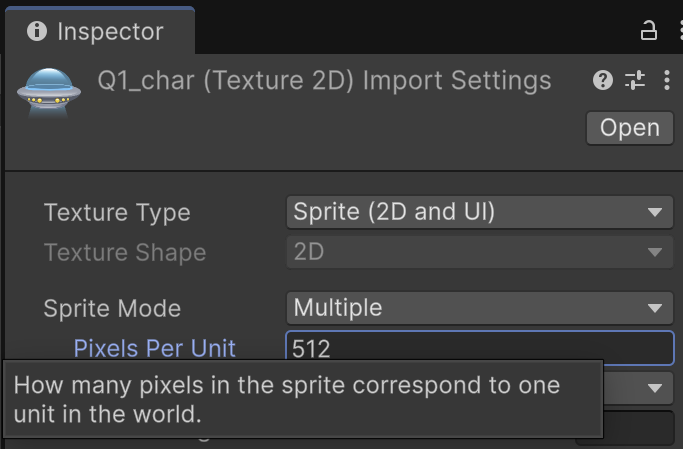
Vector3 and Other Data Types
Position data is stored as a bundle of three numbers known as a Vector3. (Unity has Vector2 and Vector4 objects too.) Vectors are great for tracking coordinates (x = 2, y = -4, z = 0) and directions (northwest: x = -1, y = 1). More specifically, a Vector3 is a bundle of three float numbers. Float numbers are the main Unity data type for tracking numbers with decimal places. Whole numbers would be integers. You will be exposed to a variety of the most common C# data types used in game development thoughout class. These include int, float, string, bool, Vector2, and Vector3 just to name a few.
We move our character in a desired direction by adding a little to its current position using the += syntax with values only in the axes we want to move. Vector3 organizes axes into x, y, and z. Adding 0 to the x axis means we won't move left or right, but adding 0.02f to the y axis means we will move up a small amount. Different types of number data require different amounts of memory, so C# requires that float numbers be denoted with an "f" at the end of the number. Leaving out the "f" actually describes a double-precision number which takes up twice as much memory as a float. (0.02f is different data than 0.02.)
transform.position += new Vector3(0, 0.02f, 0);
Putting It All Together
This is all a lot of verbose explanation for what is essentially only three Unity coding concepts you need to take away from this assignment: the Update event, conditional player input, and assigning a Transform position. We'll practice and expand on the details in future assignments.
If connecting the dots between abstract functionality and code implementation is not yet comfortable for you, a good way to practice learning game development logic is to focus on code only one line at a time. Ask for feedback while breaking down the bigger functionality of a game mechanic into smaller and smaller chunks until there's no further simplification possible. Our approach toward learning new material will be iterative. We'll continue to review previous code and introduce new concepts and complexity in layers.