Writing an Ink Story
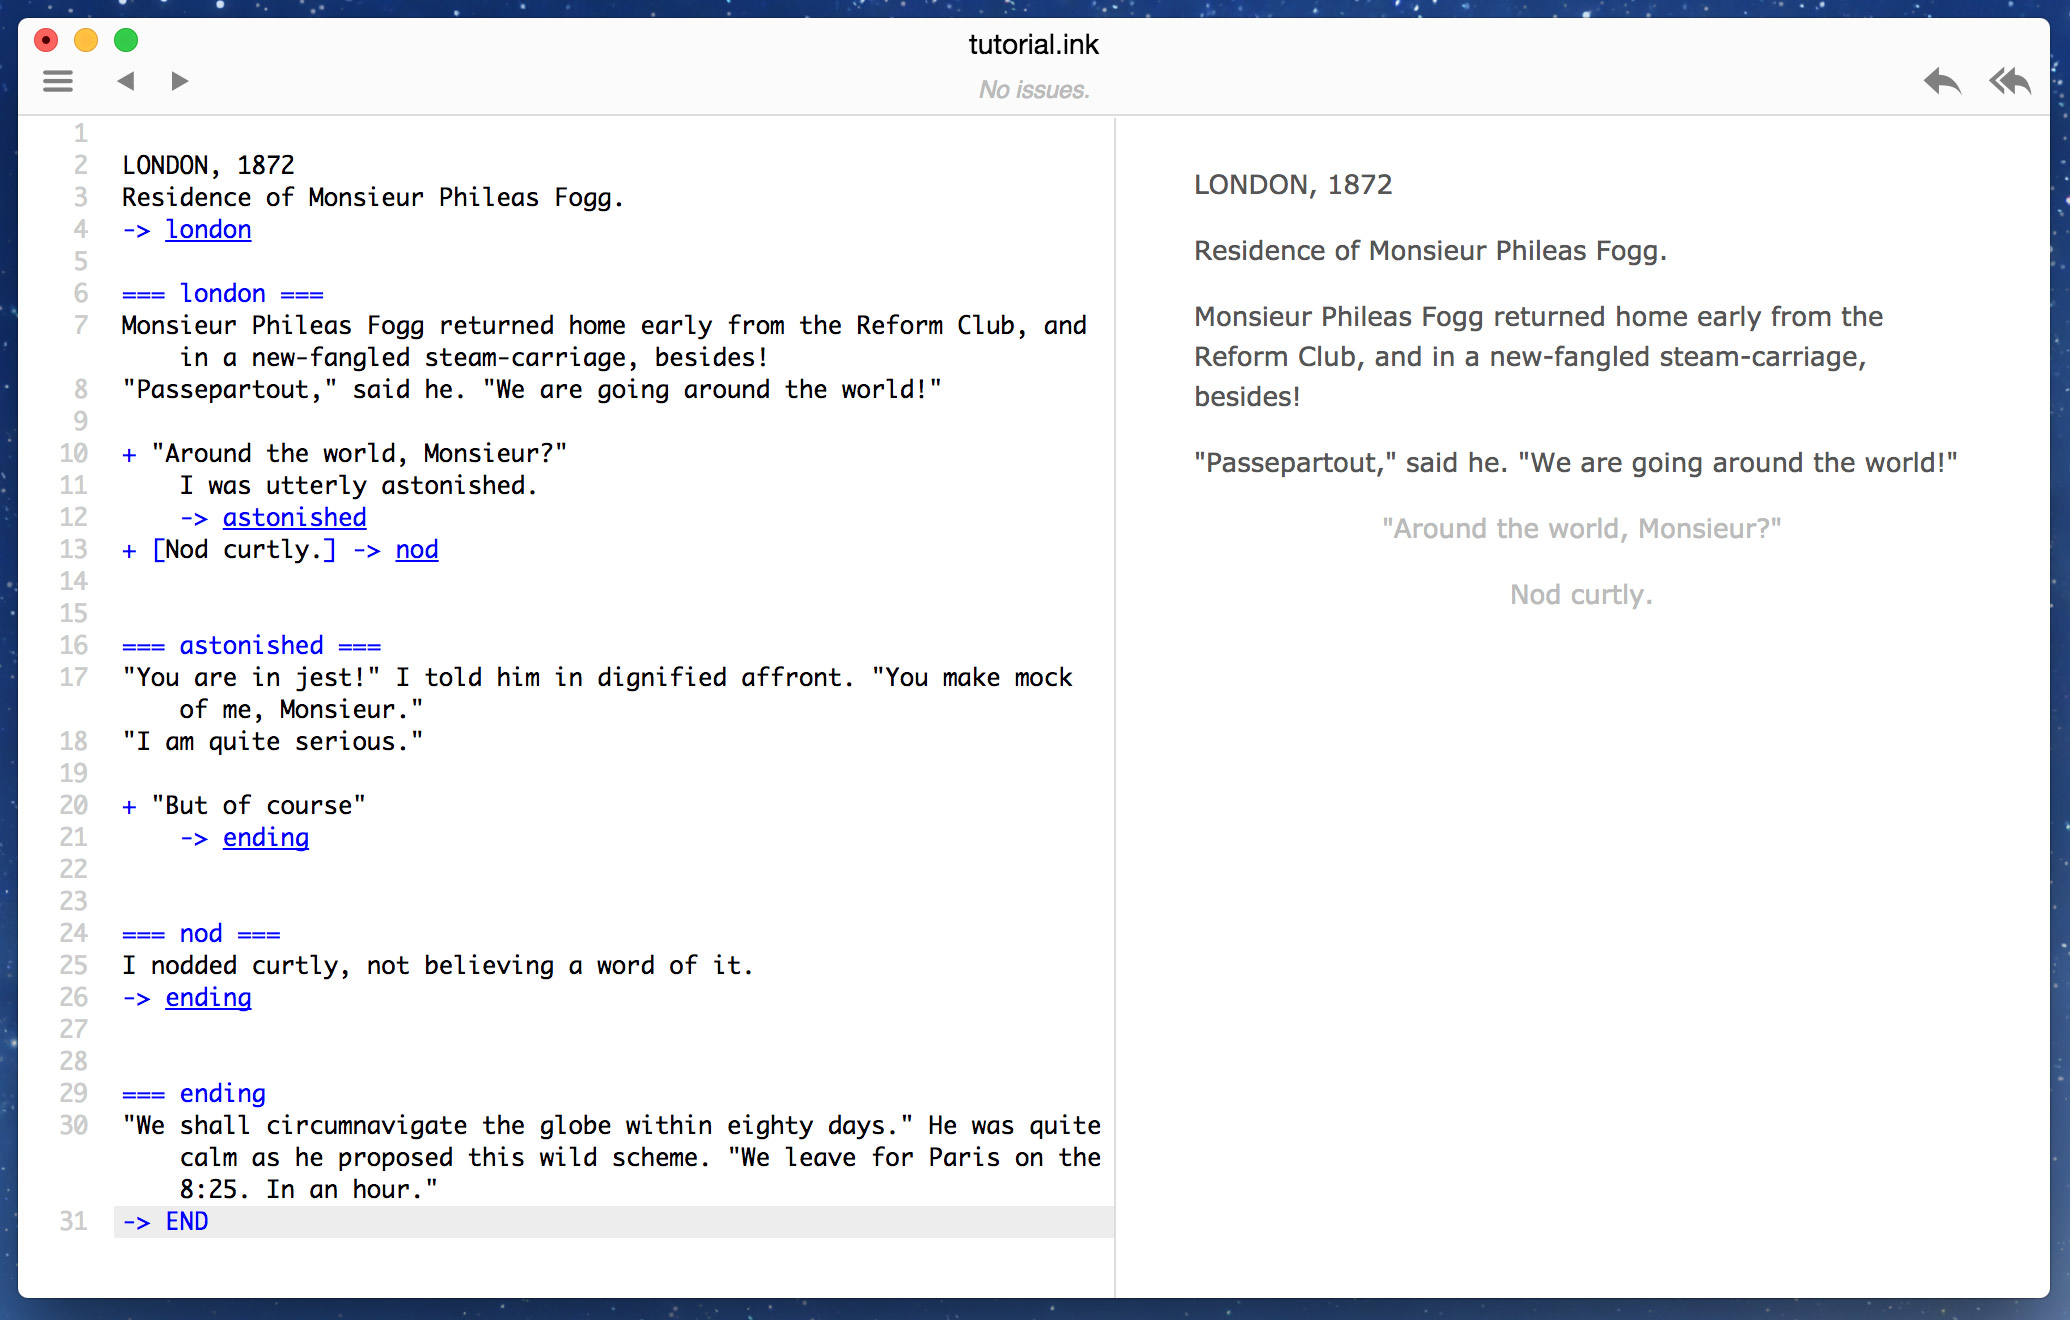
You may optionally install Inky (the text editor for Ink) to experiment with our story as you write it. https://www.inklestudios.com/ink/
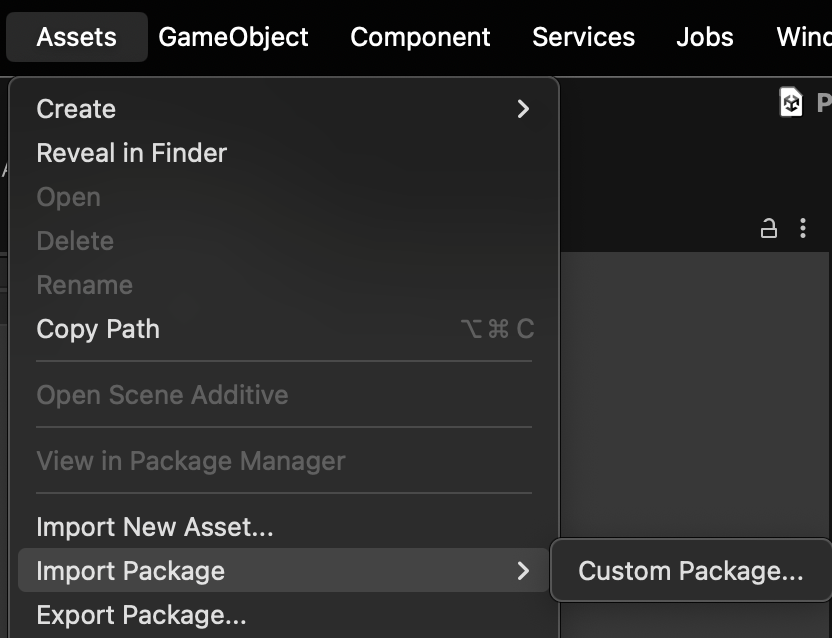
Inevitably, you need only to save the following plain text in a file named "Band.ink" and drag it into your Unity /Assets/ folder to continue with these instructions.
What follows is an interactive story in which the player searches rooms to gather three bandmates who then travel to an auditorium to perform. The sequence in which players visit rooms and gather the bandmates is open-ended. Similarly, the story concludes with an endless conversation in which you can repeatedly ask any of the bandmates to adjust the individual volume of their separate instruments. (An upcoming assignment will use these conversations to influence dynamic music played during the story.)
// What bandmates do we have?
VAR hasKeyboard = false
VAR hasDrums = false
VAR hasBass = false
// Unity functions
EXTERNAL StartKeyboard()
EXTERNAL StartDrums()
EXTERNAL StartBass()
EXTERNAL VolumeDownKeyboard()
EXTERNAL VolumeUpKeyboard()
EXTERNAL VolumeDownDrums()
EXTERNAL VolumeUpDrums()
EXTERNAL VolumeDownBass()
EXTERNAL VolumeUpBass()
-> Intro
=== Intro ===
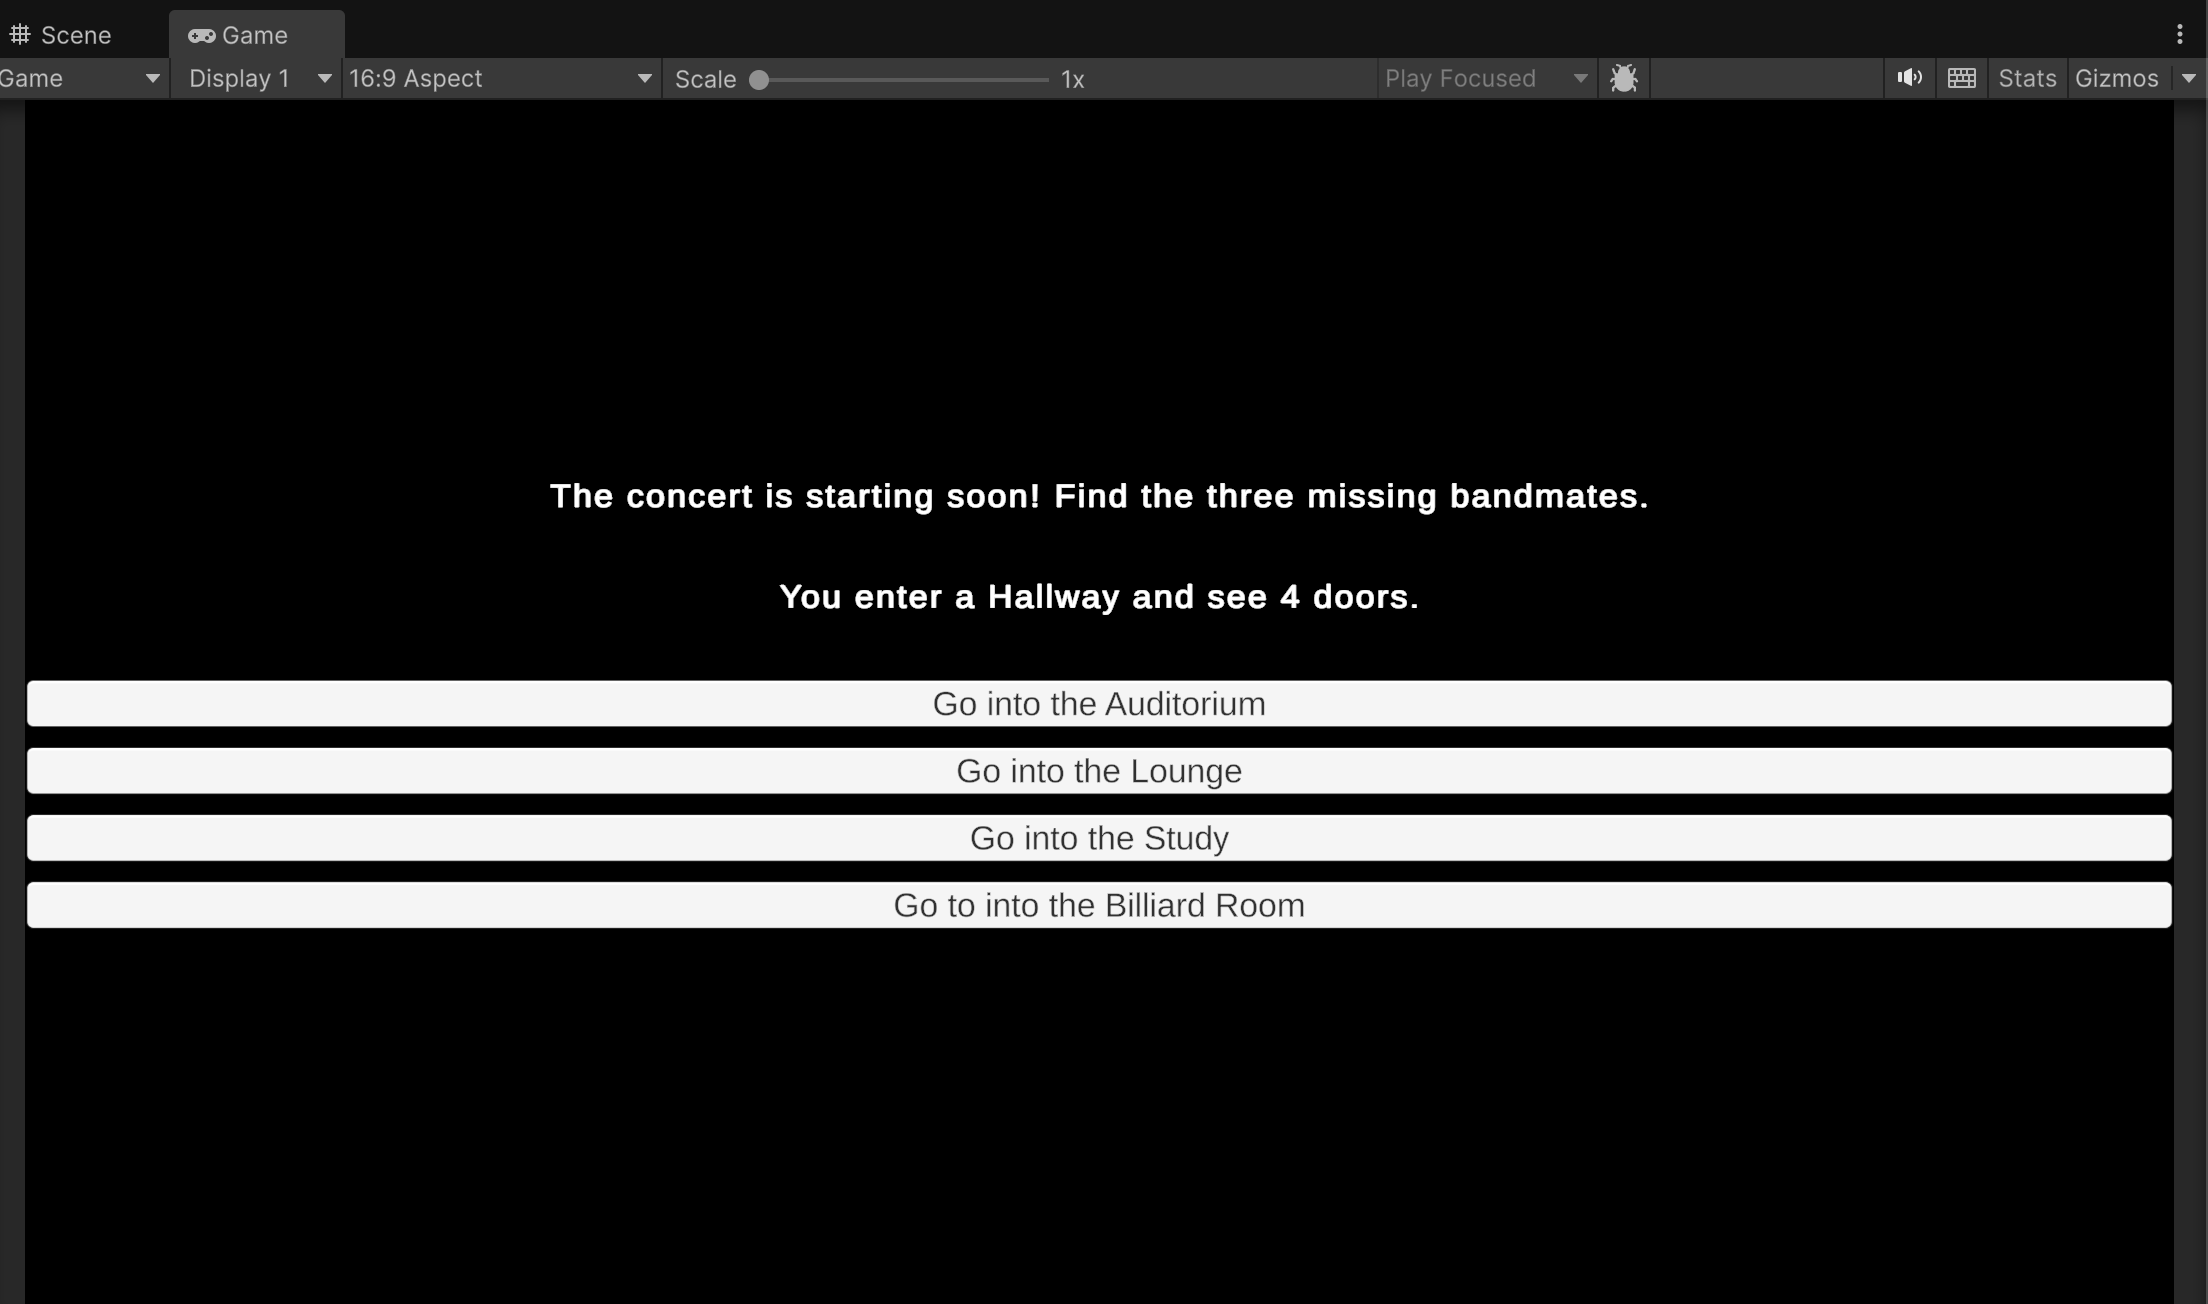
The concert is starting soon! Find the three missing bandmates.
-> Hallway
=== Hallway ===
You enter a Hallway and see 4 doors.
+ [Go into the Auditorium] You enter the Auditorium.
-> Auditorium
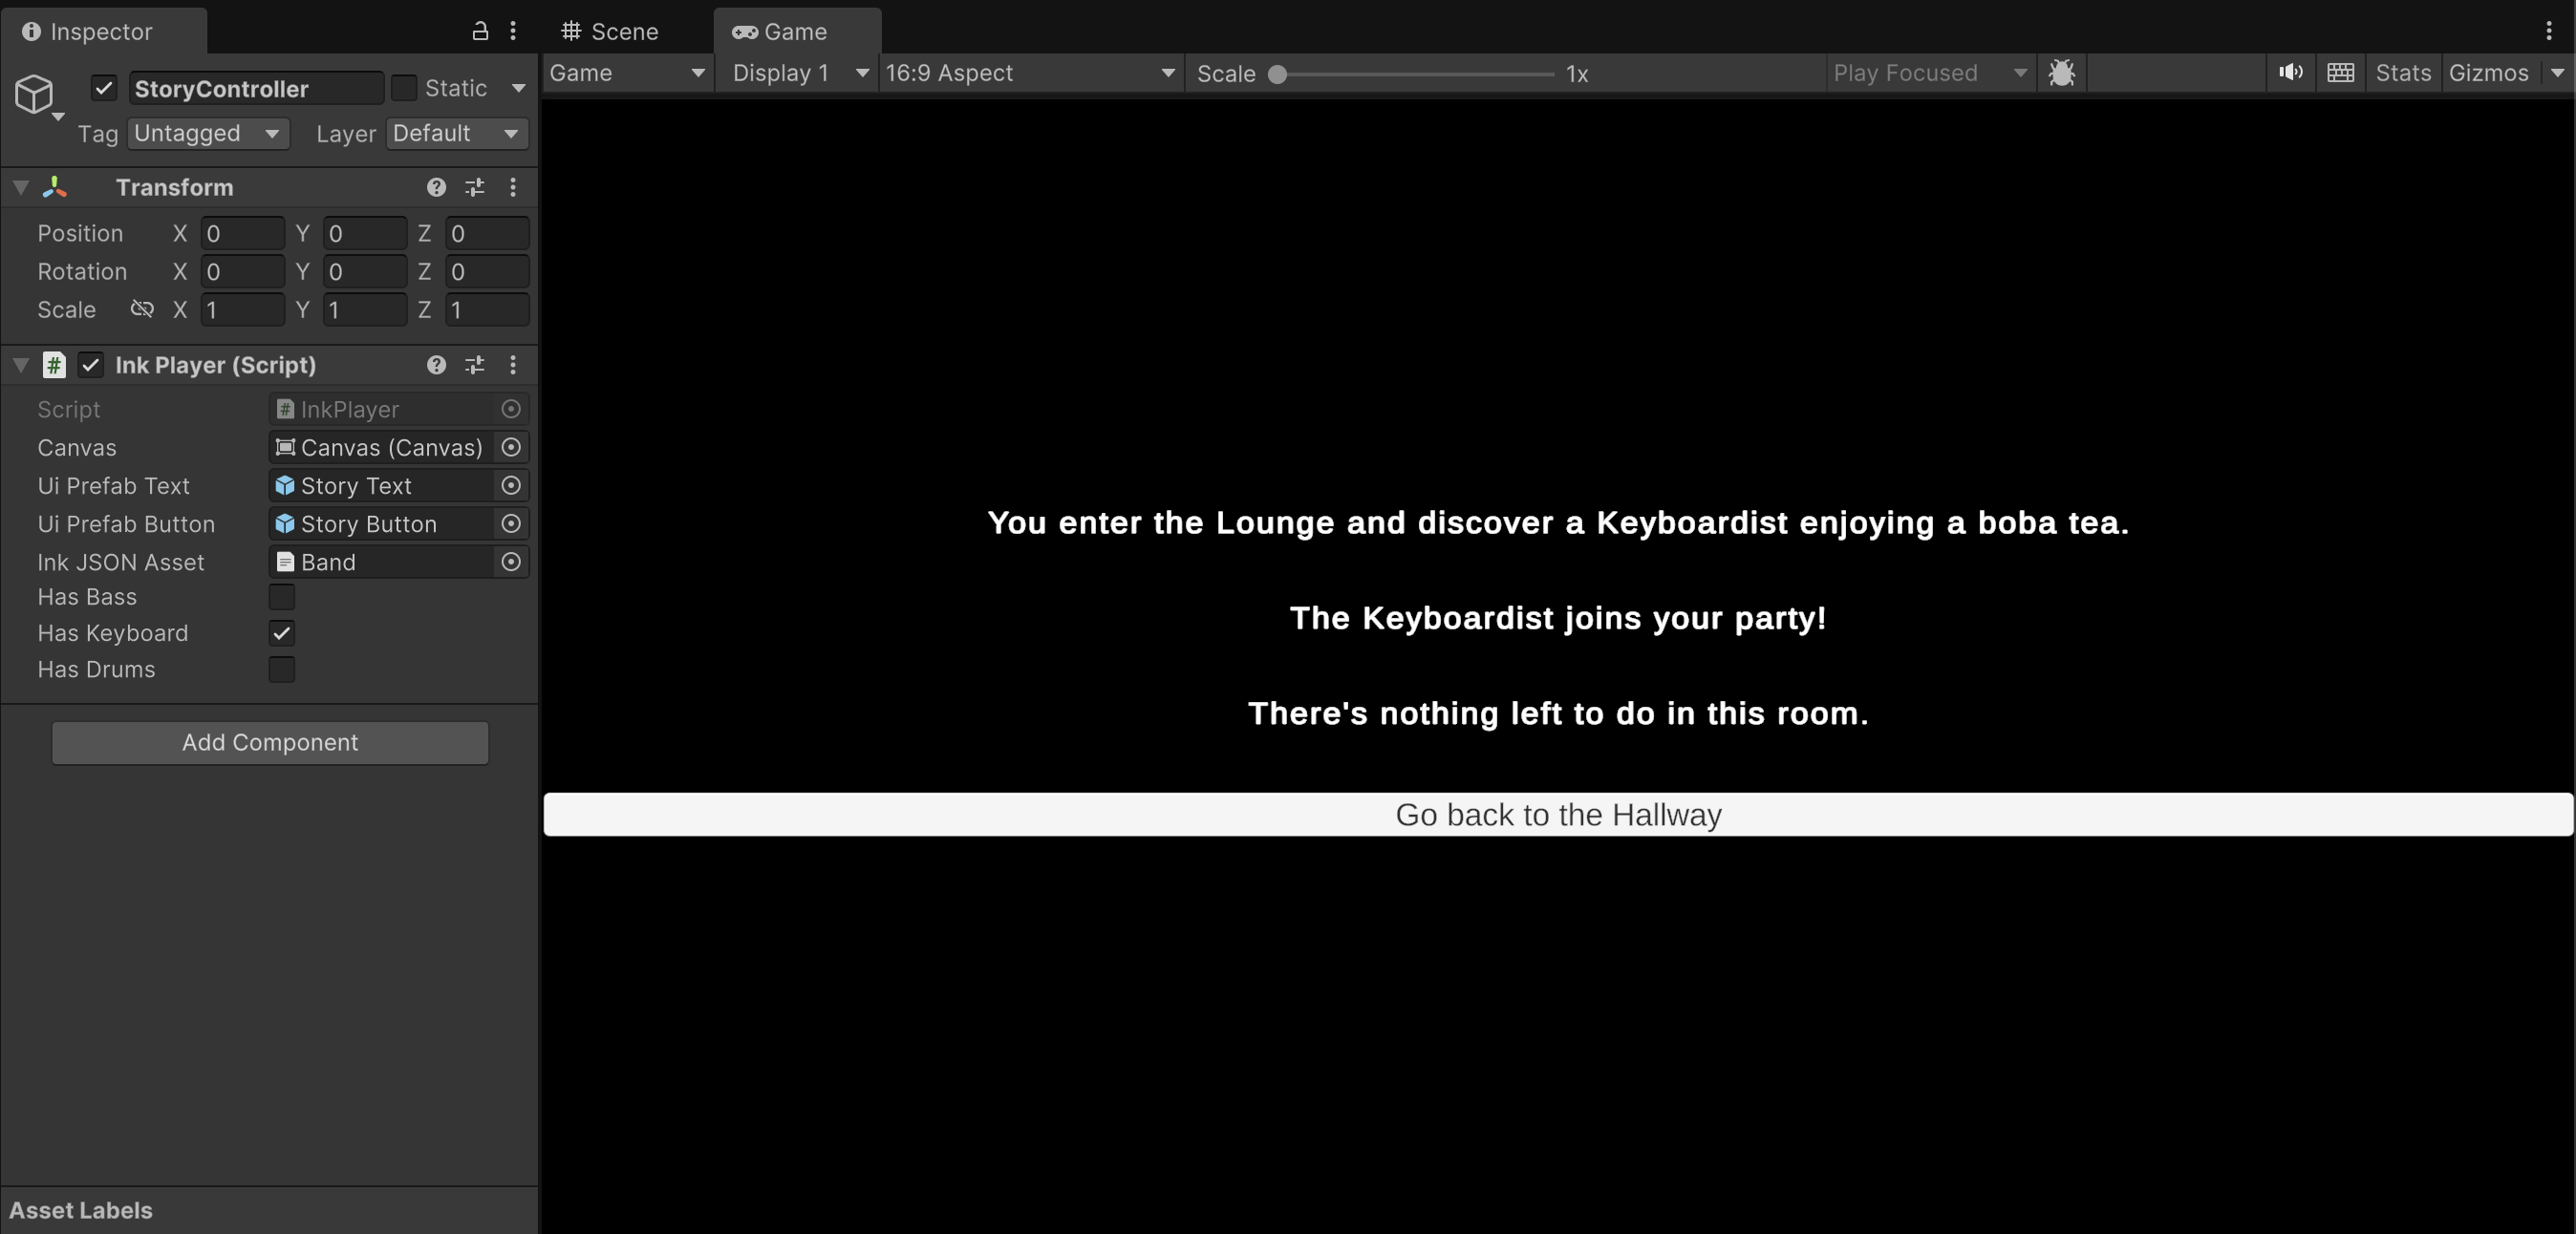
* [Go into the Lounge ] You enter the Lounge and discover a Keyboardist enjoying a boba tea.
The Keyboardist joins your party!
~hasKeyboard = true
~StartKeyboard()
-> Empty
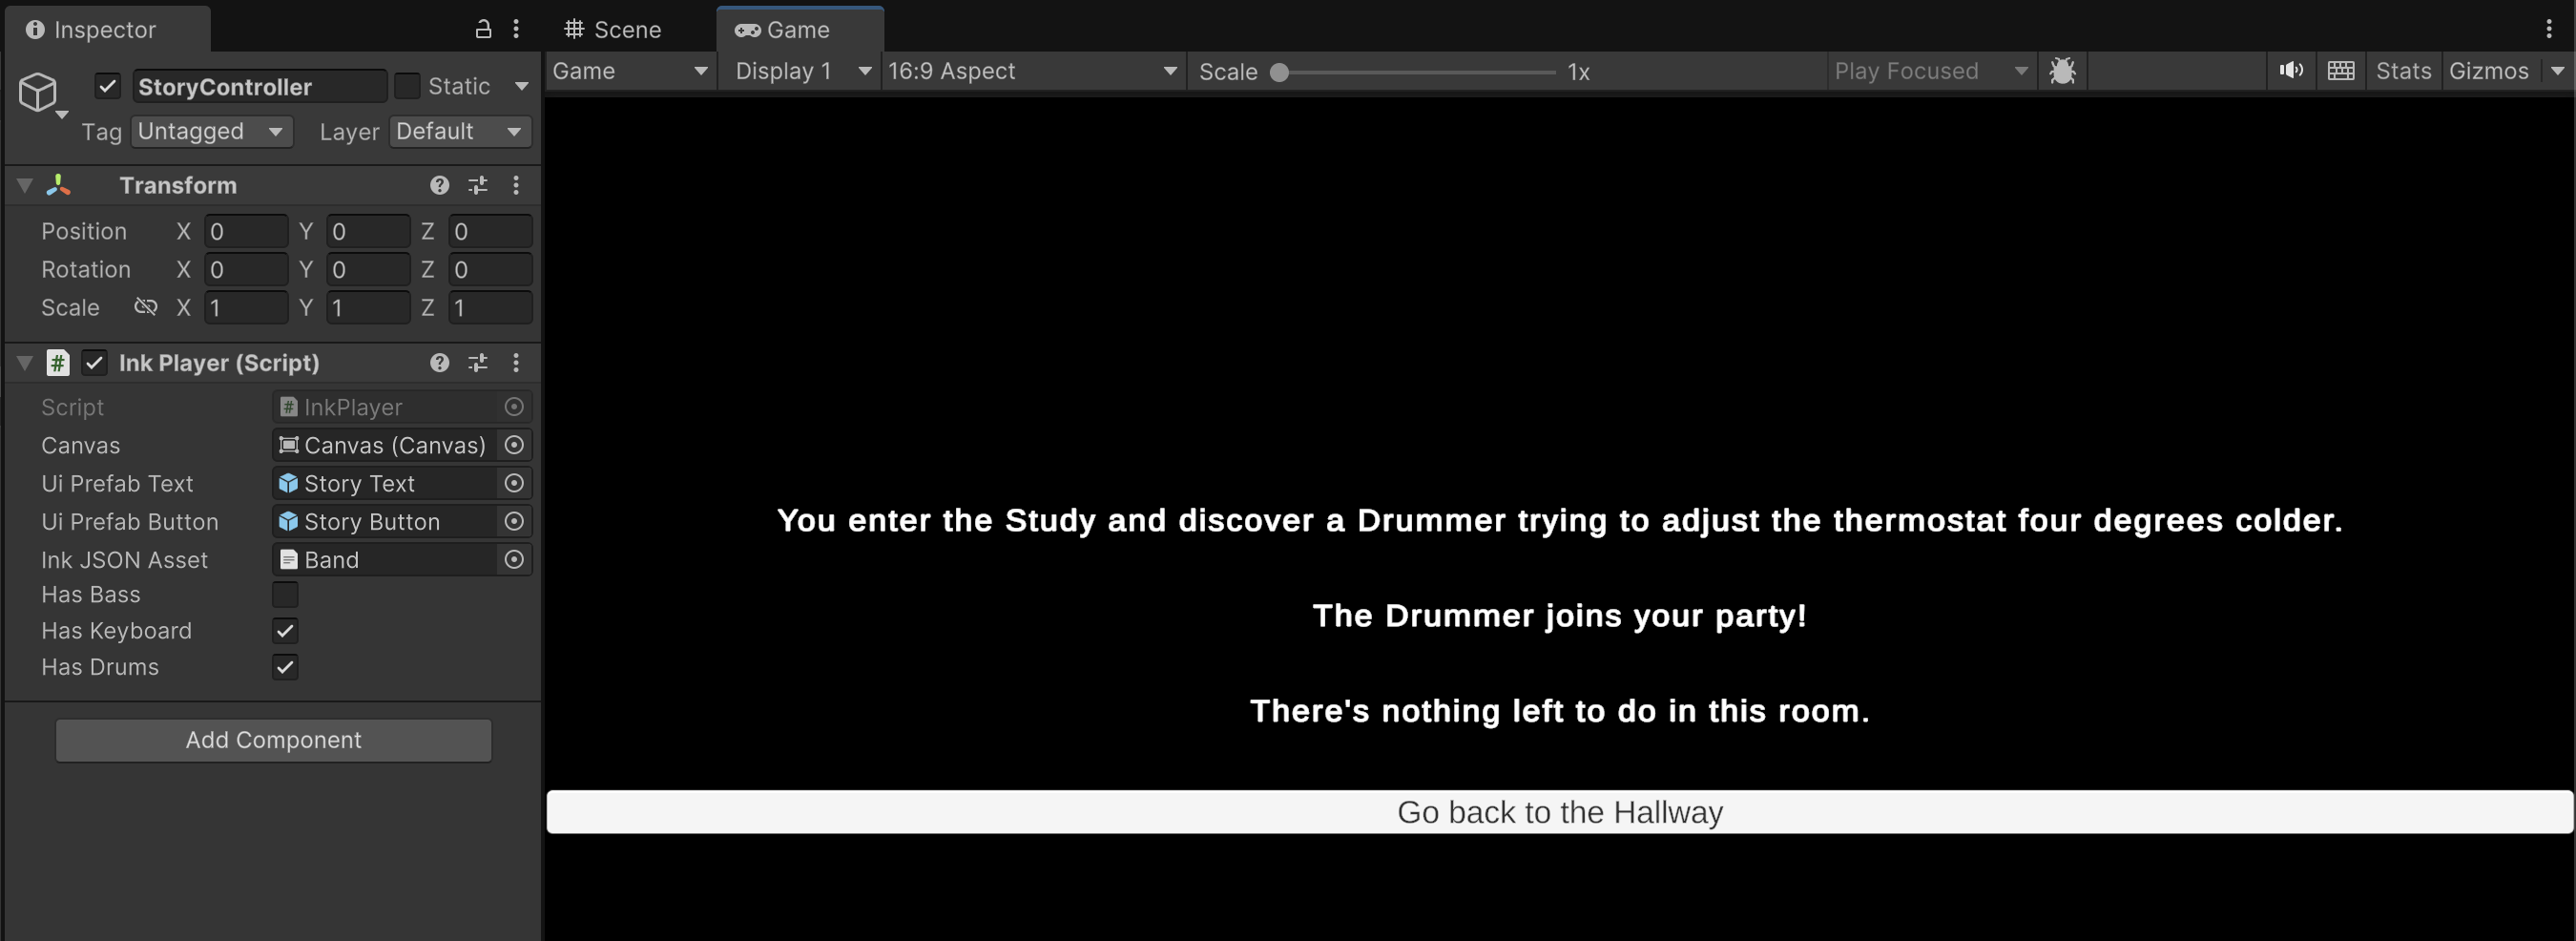
* [Go into the Study ] You enter the Study and discover a Drummer trying to adjust the thermostat four degrees colder.
The Drummer joins your party!
~hasDrums = true
~StartDrums()
-> Empty
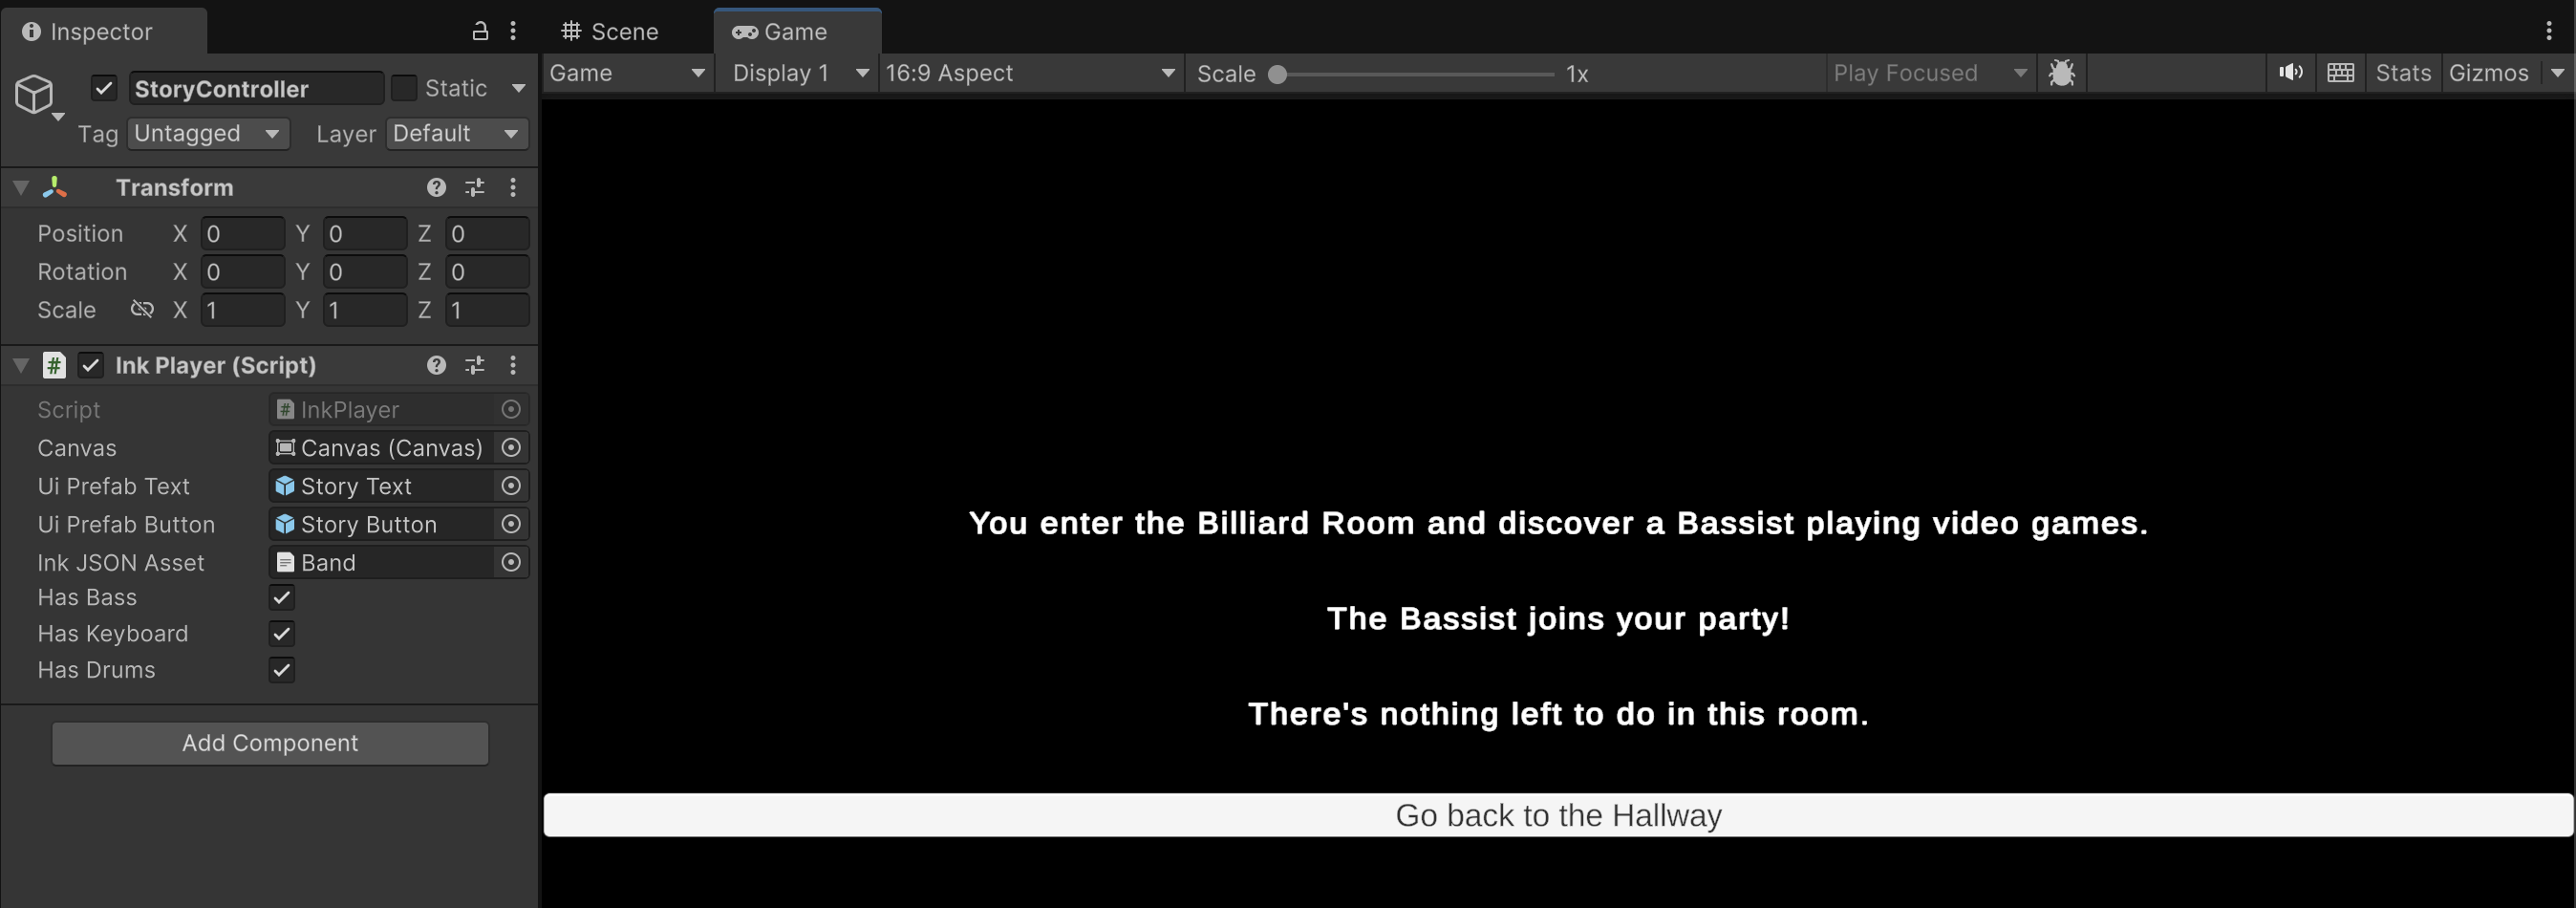
* [Go to into the Billiard Room ] You enter the Billiard Room and discover a Bassist playing video games.
The Bassist joins your party!
~hasBass = true
~StartBass()
-> Empty
=== Empty ===
There's nothing left to do in this room.
+ [Go back to the Hallway]
-> Hallway
=== Auditorium ===
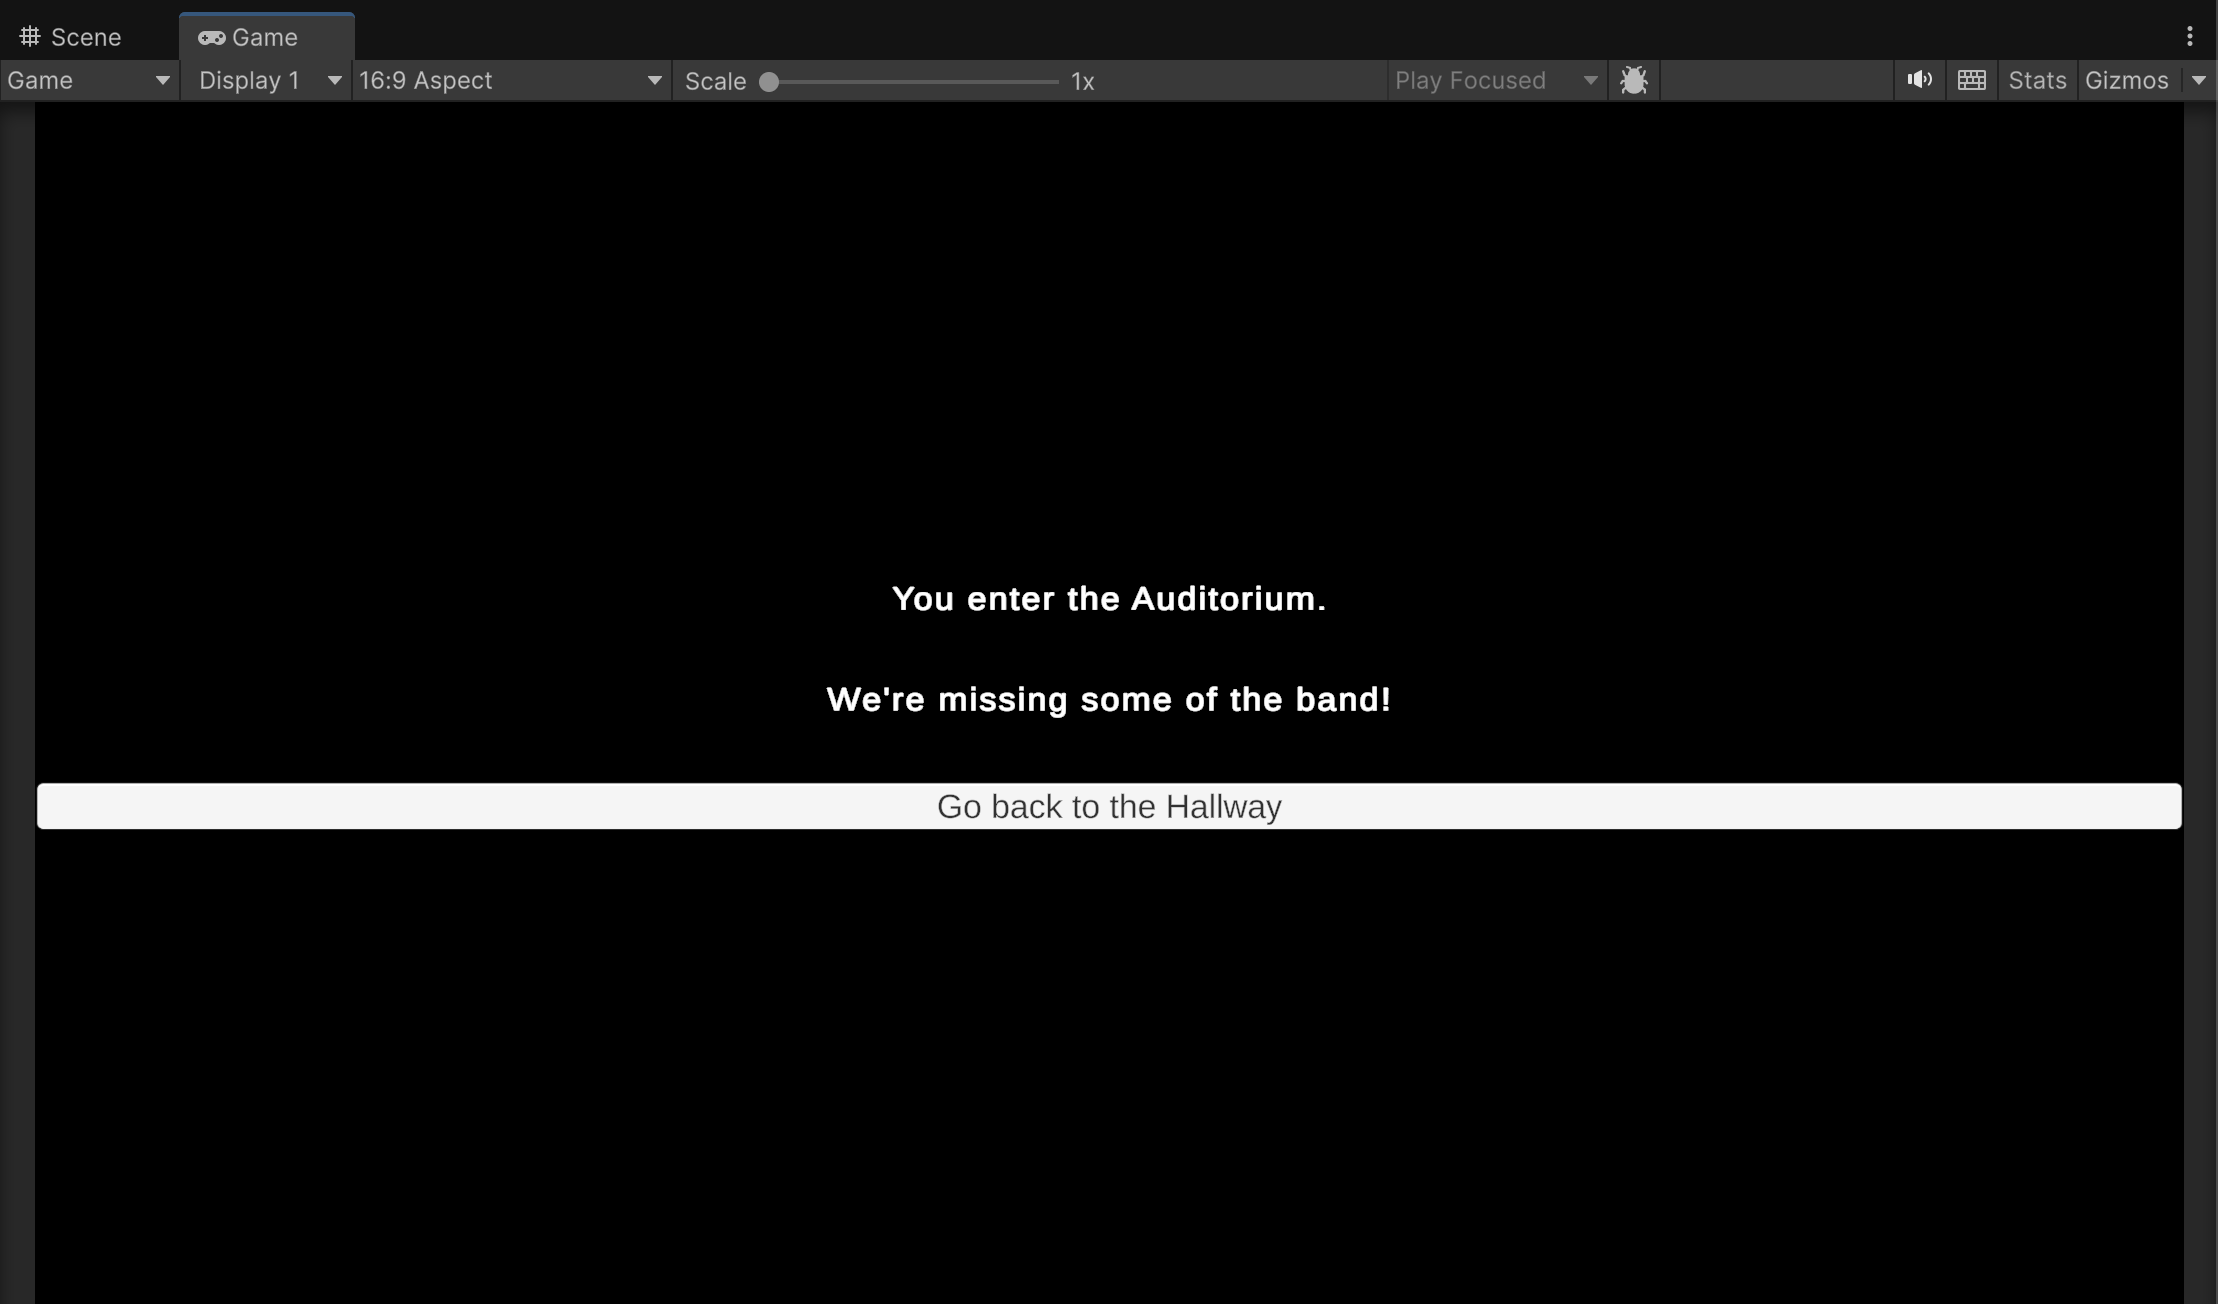
{hasKeyboard == false || hasDrums == false || hasBass == false:
We're missing some of the band!
+ [Go back to the Hallway]
-> Hallway
- else:
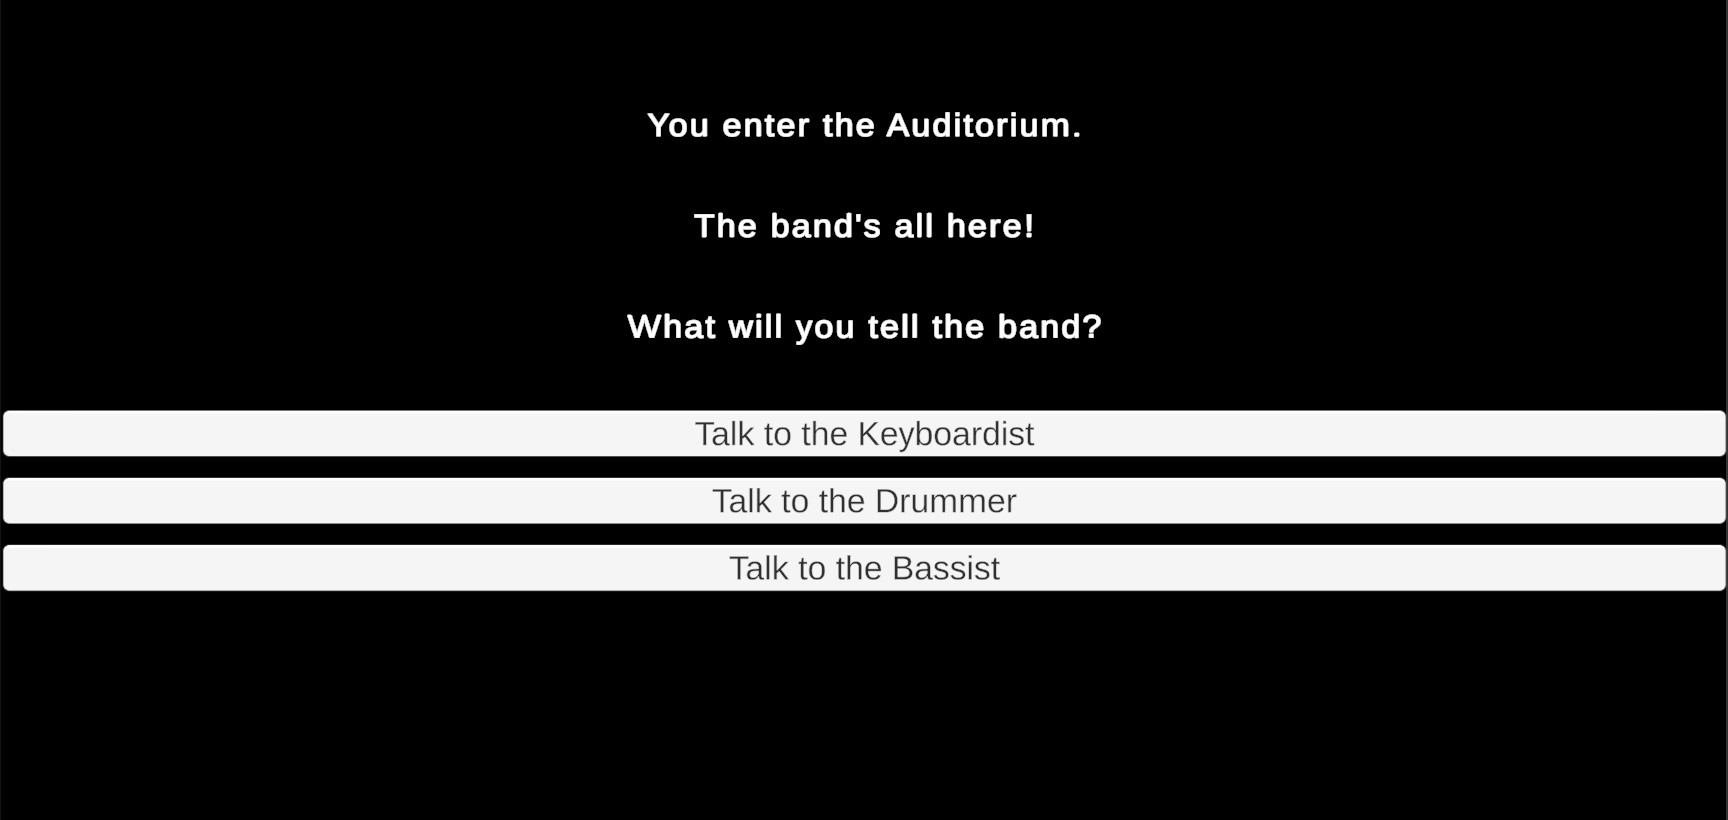
The band's all here!
-> Band
}
=== Band ===
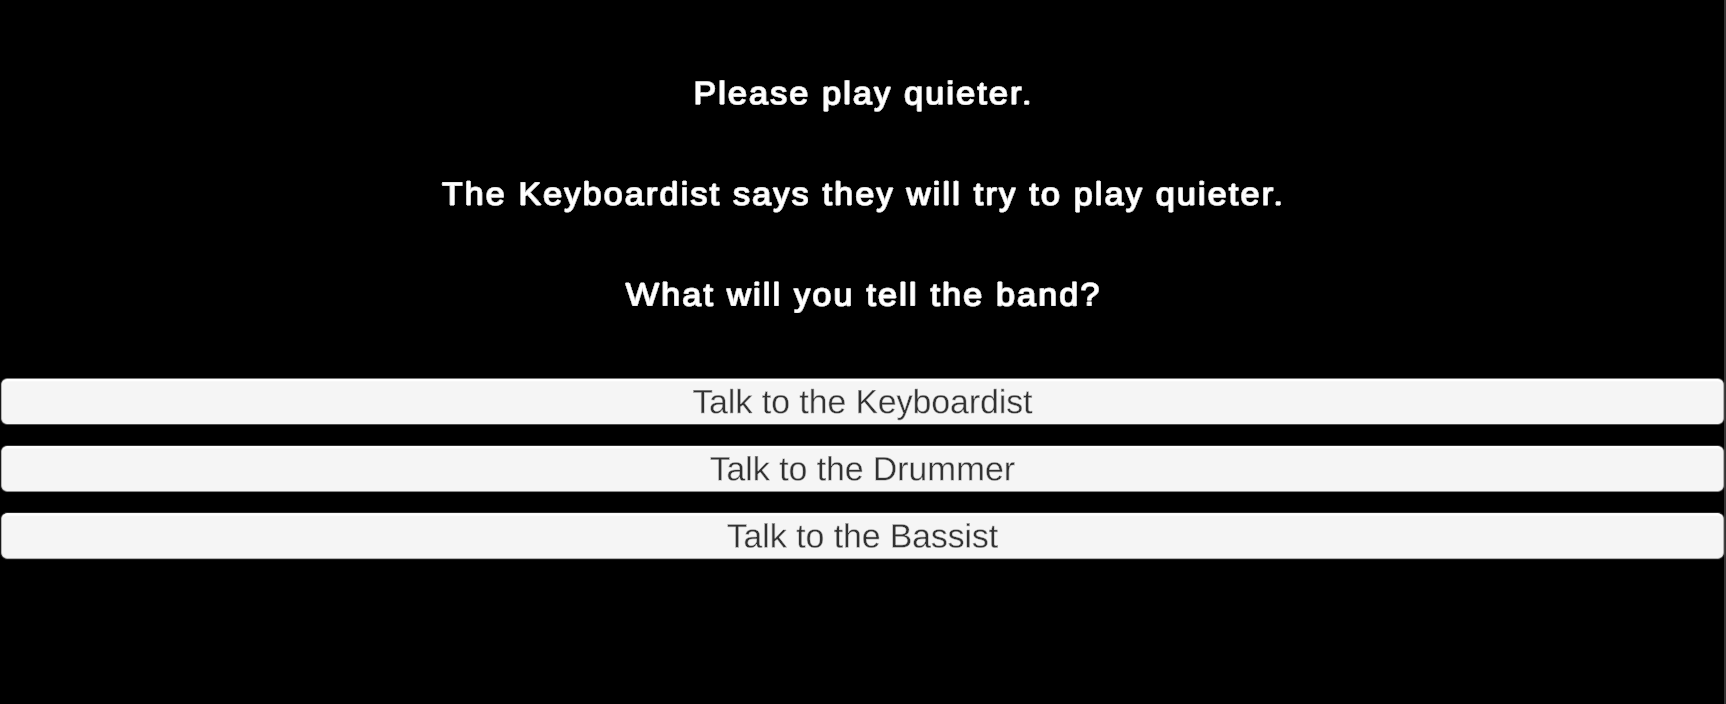
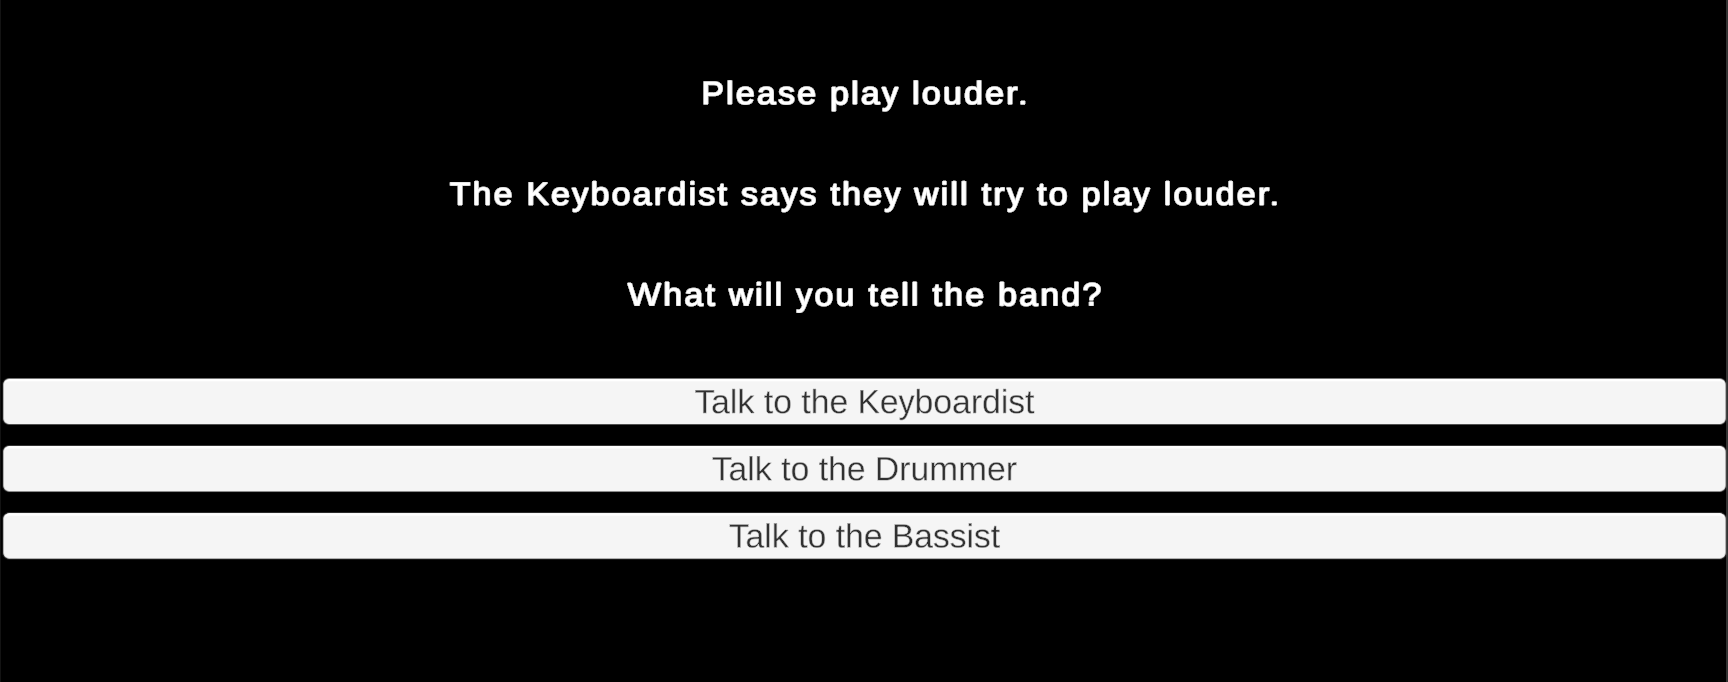
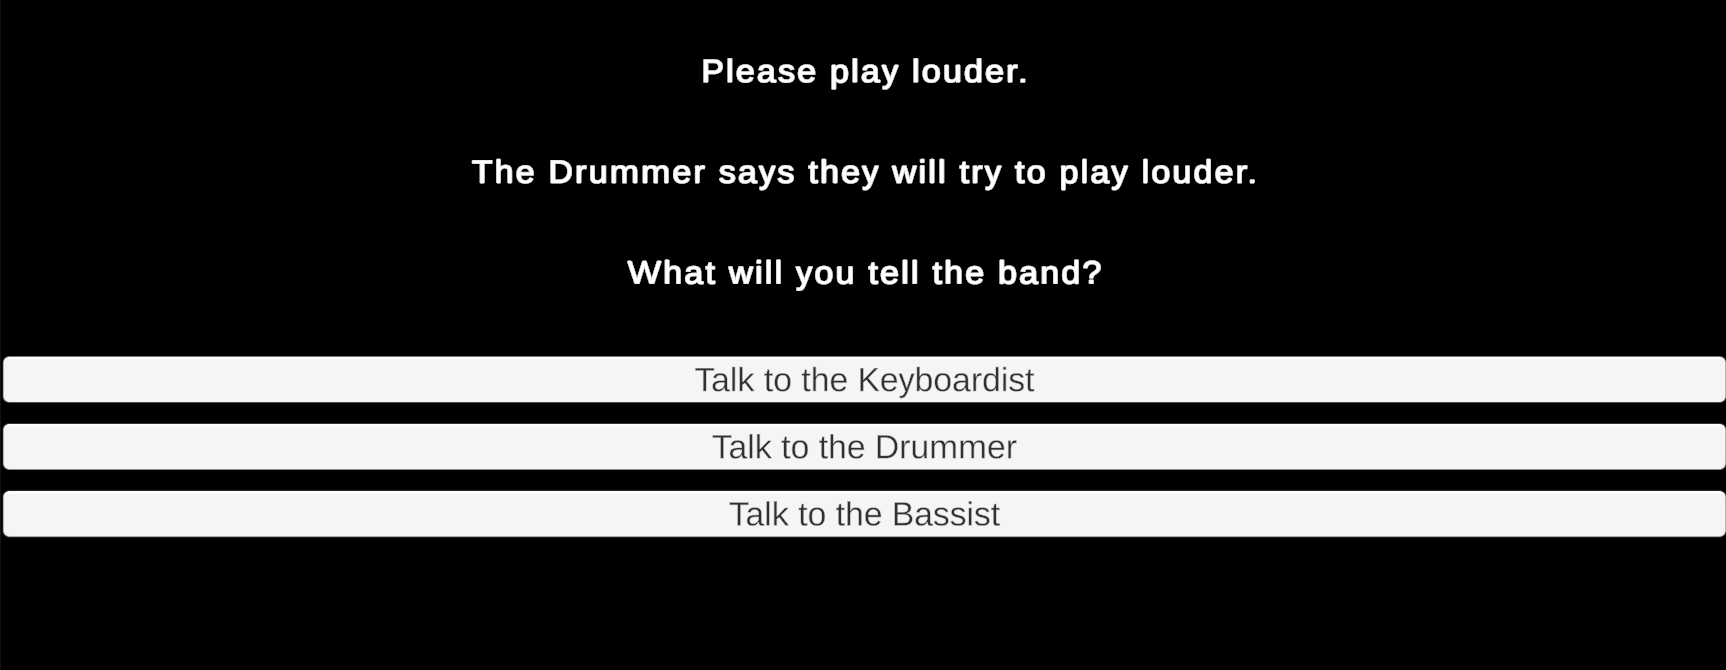
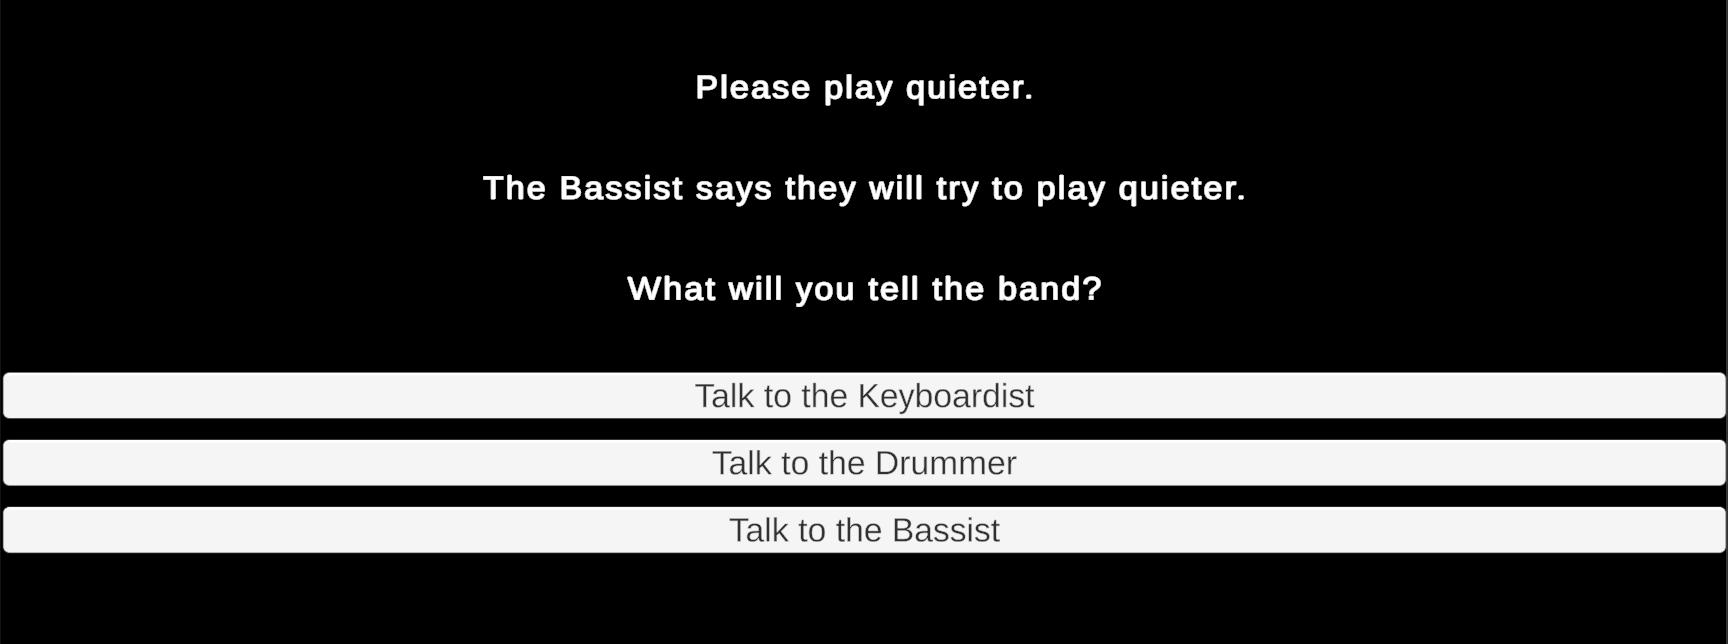
What will you tell the band?
+ [Talk to the Keyboardist] You talk to the Keyboardist:
++ Please play quieter.
The Keyboardist says they will try to play quieter.
~VolumeDownKeyboard()
-> Band
++ Please play louder.
The Keyboardist says they will try to play louder.
~VolumeUpKeyboard()
-> Band
+ [Talk to the Drummer ] You talk to the Drummer:
++ Please play quieter.
The Drummer says they will try to play quieter.
~VolumeDownDrums()
-> Band
++ Please play louder.
The Drummer says they will try to play louder.
~VolumeUpDrums()
-> Band
+ [Talk to the Bassist] You talk to the Bassist:
++ Please play quieter.
The Bassist says they will try to play quieter.
~VolumeDownBass()
-> Band
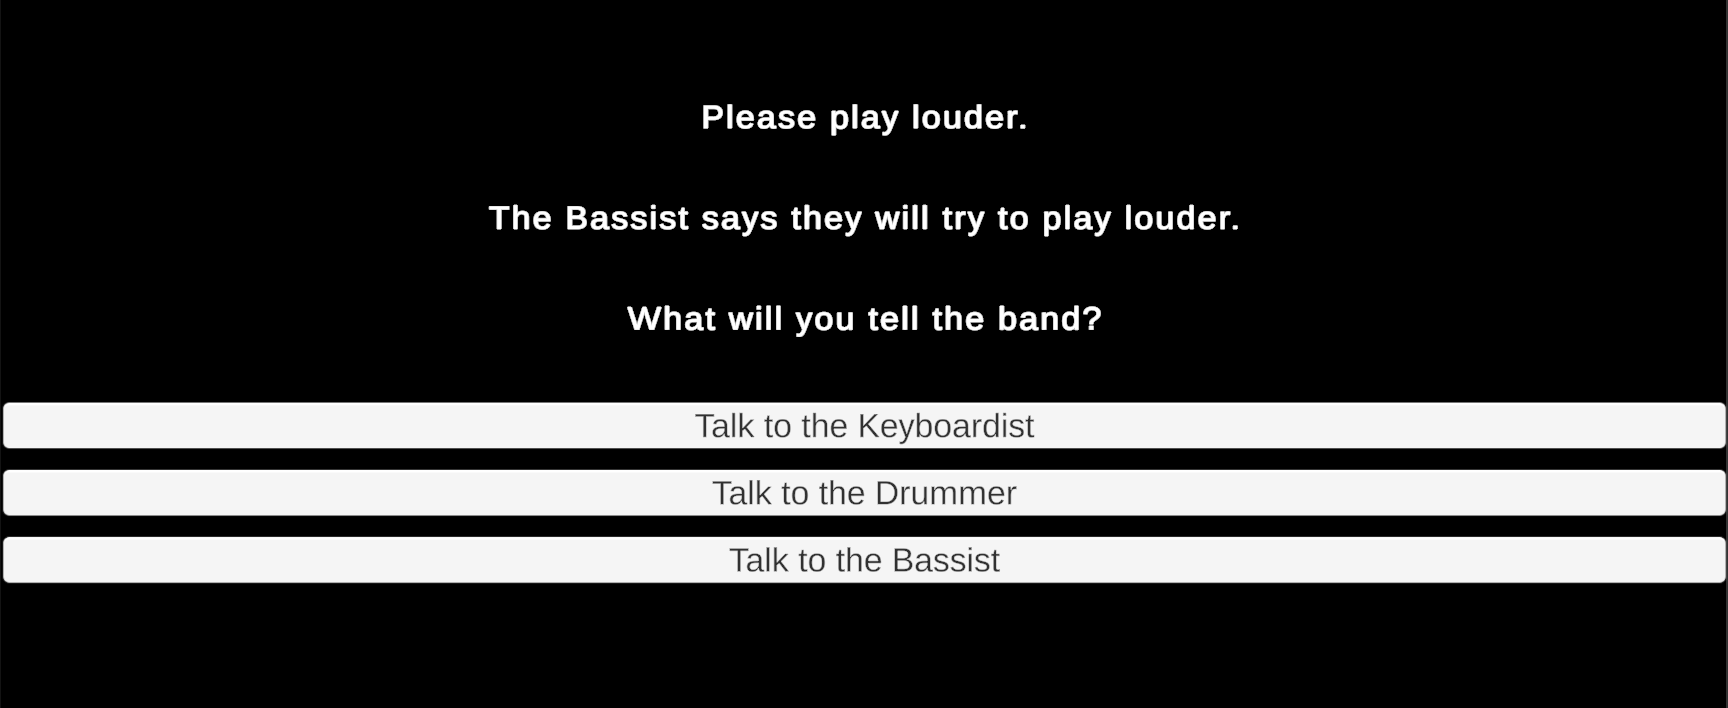
++ Please play louder.
The Bassist says they will try to play louder.
~VolumeUpBass()
-> Band
Three variables track the progress of finding all three bandmates. Until the band is fully assembled, certain parts of the story are blocked by a conditional. (Lines 1 to 4)
We define references to several Unity functions outside of Ink that will be used in an upcoming adaptive audio assignment. For this assignment, these functions will be called, but they won't do anything yet. (Lines 6 to 16)
The Intro section is the first part of the story shown to the player. It is only shown once and immediately jumps to the Hallway section. (Lines 18 to 21)
The Hallway section is revisited multiple times as the player explores various rooms. It provides an explanatory text before offering the player four choices. Notice that one of these choices is a Sticky Choice while three of them are normal Choices. (Lines 23 and 24)
The choice to visit the Auditorium is a Sticky Choice because the player may visit the Auditorium too early before the story can progress. The player needs to be able to eventually return to the Auditorium last even if the Auditorium has been visited multiple times beforehand. The Auditorium choice diverts to a larger section of the story dedicated to the auditorium. It is not necessary to write all of the auditorium script here, when he can be better organized later in the story. (Lines 26 and 27)
The player can only choice to visit the Lounge once. Upon visiting the Lounge, some story text is shown, a variable is updated to track that the player has found the Keyboardist bandmate, a Unity function is triggered for the Keyboardist, and the story jumps to the empty room section of the story. (Lines 29 to 33)
When the player visits the Study, the same logic occurs as visiting the Lounge, except the details pertain to meeting the Drummer instead. (Lines 35 to 39)
Similarly, visiting the Billiard Room focuses on the Bassist. (Lines 41 to 45)
Visiting any of the bandmates jumps to this "Empty" room section of the story which prompts the player to return to the starting Hallway. The player will inevitably see this portion of the story 3 times, once for each bandmate. (Lines 47 to 50)
The Auditorium section is conditional whether all the bandmates have been gathered. If any of the bandmates are missing, the player is directed back to the Hallway. Once all three bandmates have joined together, the story jumps to final "Band" section. (Lines 52 to 60)
The "Band" section loops indefinitely allowing you to endlessly converse with the bandmates. This section opens with narrative text prompting the player to talk to the band. The player is given three stick choices, one for each bandmate. (Lines 62 and 63)
Players can choose to talk to the Keyboardist and are given two more choices in their conversation with that bandmate. The player can ask that band member to player louder or quieter. (Lines 64 to 72)
Players have the same options regarding volume when talking to the Drummer. (Lines 74 to 82)
Finally, players can also ask the Bassist to adjust their volume. (Lines 84 to 92)
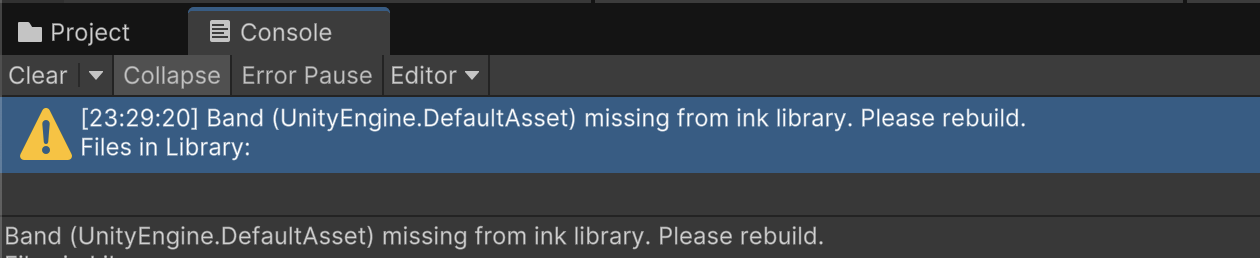
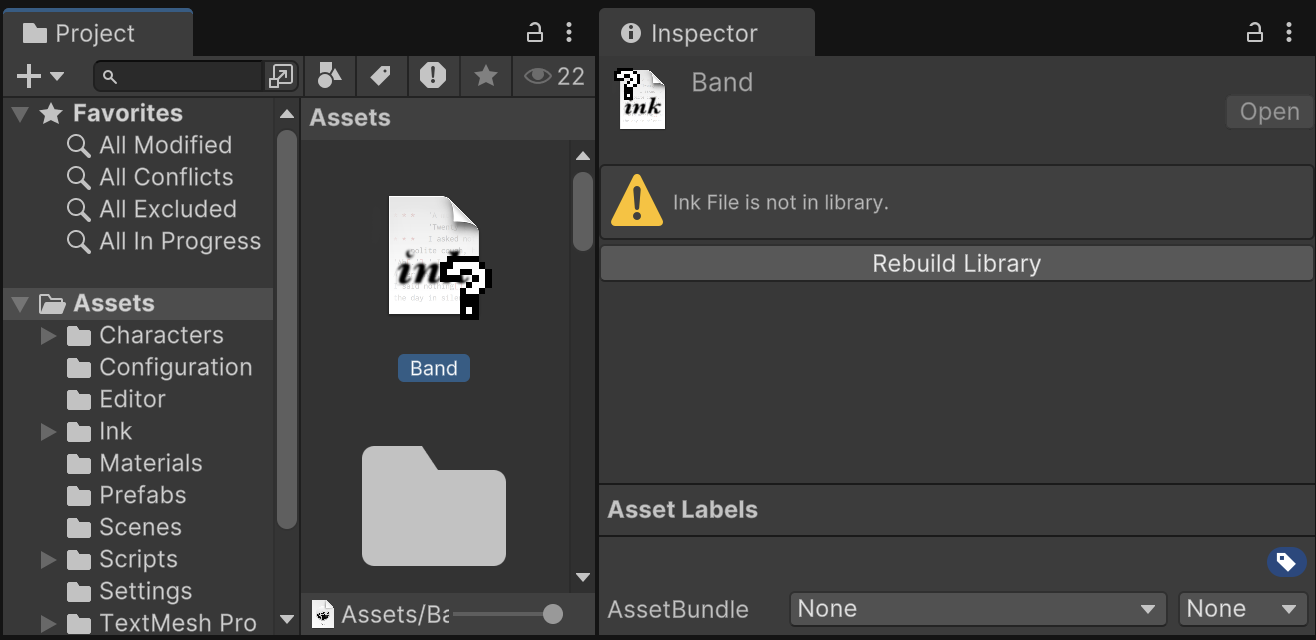
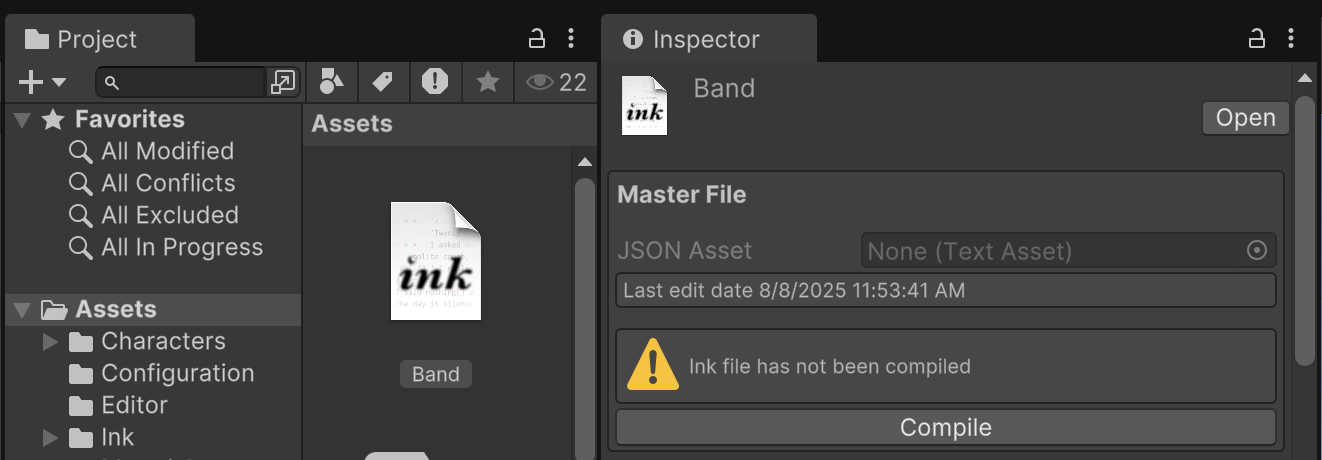
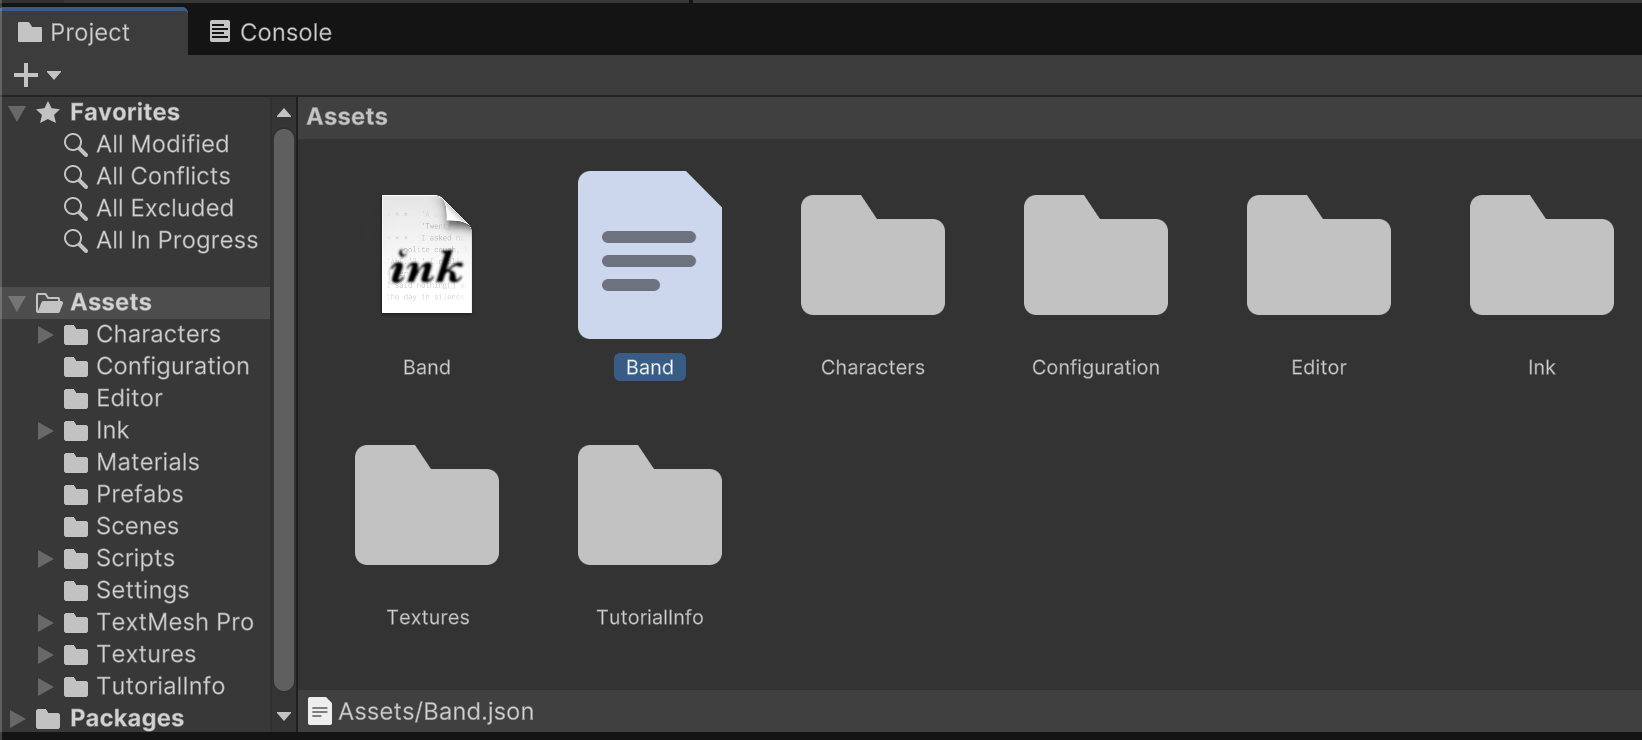
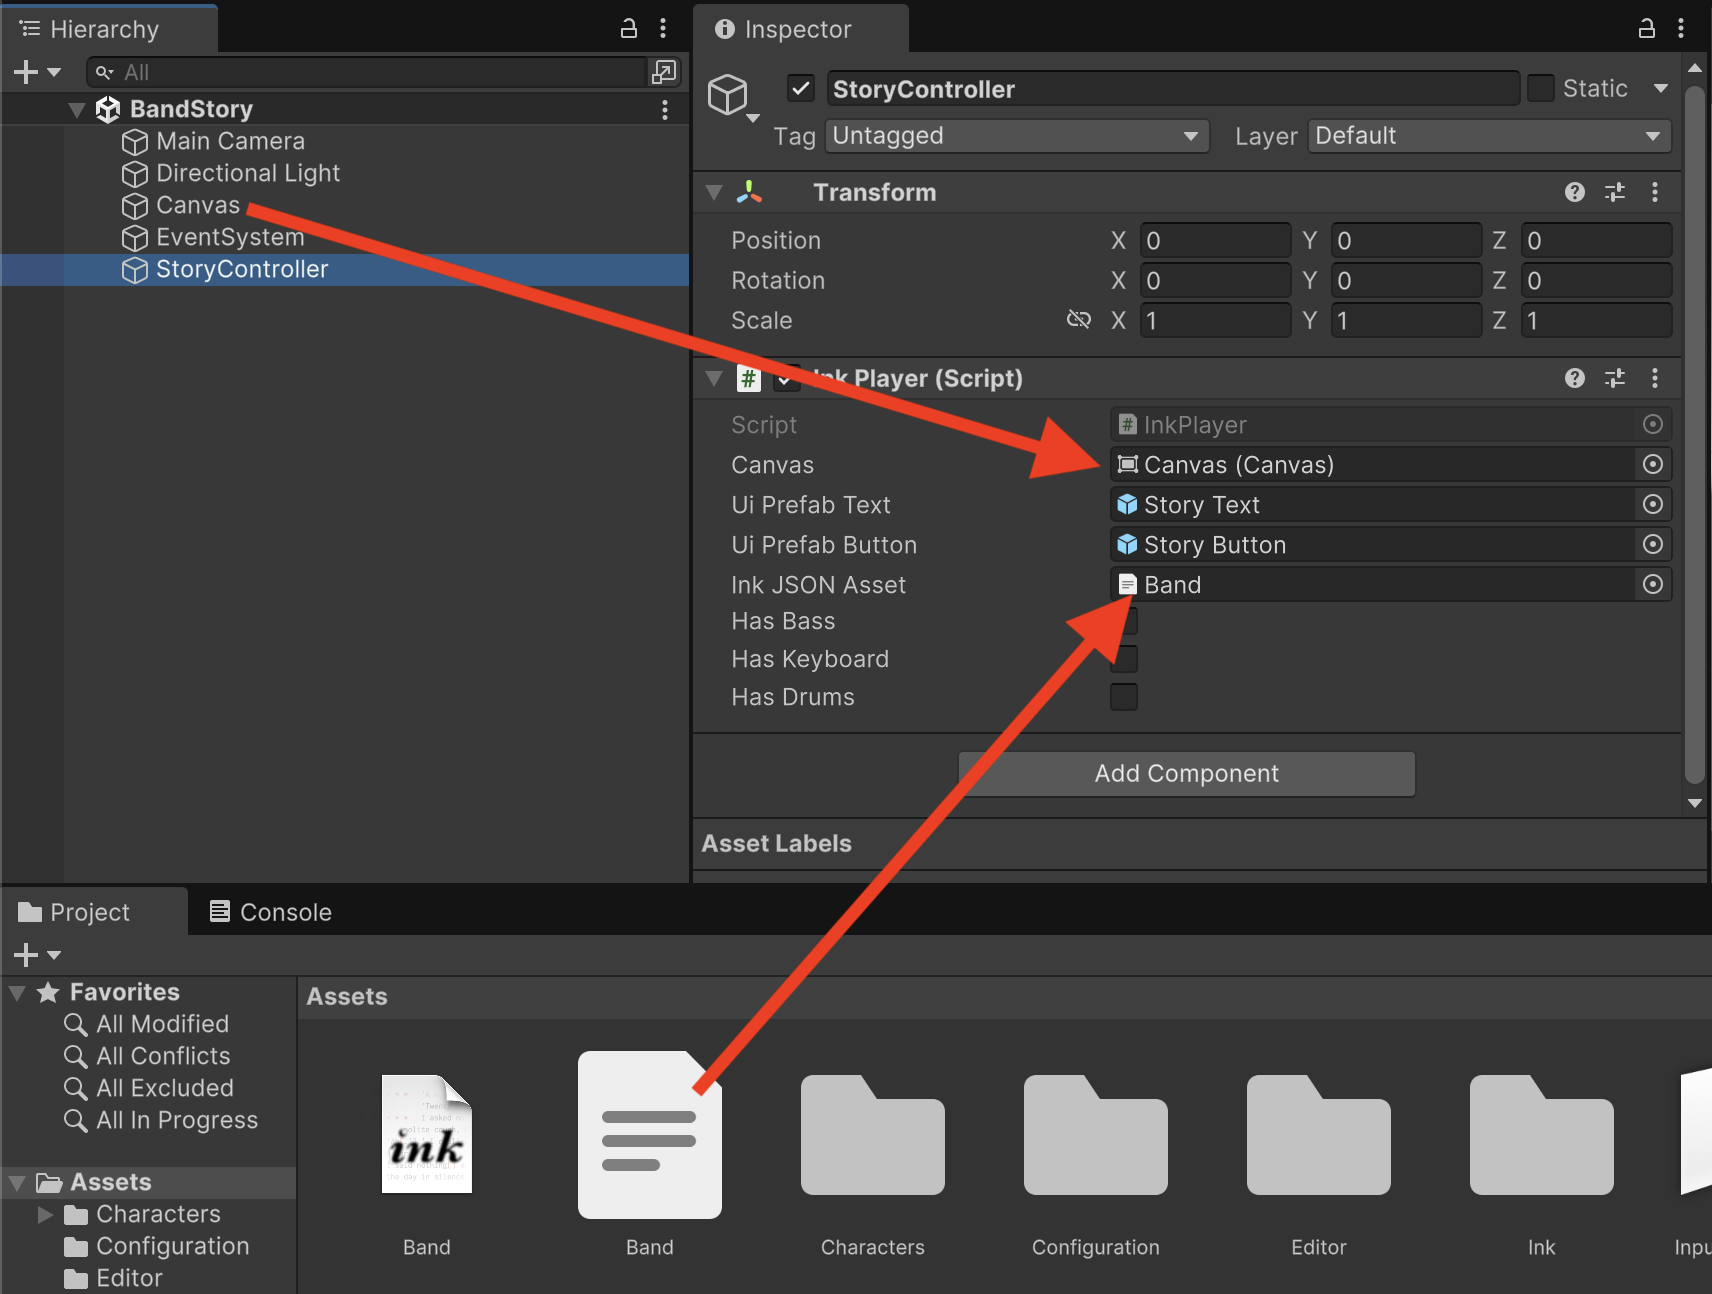
Whatever approach you use to produce this text file, drag "Band.ink" into Unity's /Assets/ folder.