Supporting files for VG3 quests are part of a single archive that you can download here.
In this assignment we will introduce foundational concepts and implement math samples for using random numbers to generate video game content using a technique known as Procedural Generation. There are many variations and applications in the use of procedural generation, but overall these techniques go deeper than just "rolling the dice" to randomly select video game content. Procedural Generation in video games refers to the process of using algorithms to create content. This may include music, levels, textures, and more. Although some techniques may overlap, we should not confuse this approach with generic buzzword marketing used for some kinds of "AI-generated" content. Over-applying the label "AI-generated" can confuse and obscure the nature of the expertise involved in what we explore in this assignment.
Perhaps one of the most famous examples of procedurally generated game content are the landscapes of Minecraft, but many other games such as Dwarf Fortress and No Man's Sky preceded Minecraft or made advances beyond this major example.
Fully computer-generated randomness represents one extreme on the continuum of procedural generation, but realistically, creators put a heavy emphasis on curation of content. Procedural generation is still one tool of many that must serve the game creators' intent to deliver a particular experience for their audience. Thus, a heavy emphasis of this exercise focuses on being able to configure the randomness, so that the generated content will make sense within a particular gameplay context. Overall, "curated randomness" can be used as the summary for what we will achieve for our foundation in this assignment.
A follow-up assignment will use this foundation to generate both 2D and 3D landscapes to be used as in-game content.
ADDITIONAL RESOURCES:
Although we don’t use the exact same code samples or equations, students may find it helpful to play with some of the interactive browser examples on this page to help visualize our discussion of procedural generation concepts:
https://www.redblobgames.com/maps/terrain-from-noise/
In addition to the prior link, portions of our assignment have also been adapted and condensed from a much longer video series that examines procedural generation beyond the scope of what we can fit in our semester:
https://www.youtube.com/watch?v=wbpMiKiSKm8
Up until this point, it's possible that your experience with Random Number Generation has been limited to using the Random.Range() function to produce individual numbers within a minimum and maximum. Expanding our experience with randomness into the realm of procedural generation requires that we clarify more terminology to understand how to use additional functionality.
A "seed" value can be used to initialize a number generator causing the generator to produce the same random set of numbers each time. This "repeatable randomness" feature may seem contradictory, but consider how in a video game like Minecraft, friends want to play together in the same random map. We previously discussed the value of "curated randomness" within the realm of Game Design, and using a seed helps facilitate that goal.
Suppose you were to visualize a single random number between 0 and 1 as the darkness or brightness of an individual pixel. For example, a middling gray may have a value of 0.5. This would be a possibility space provided by our existing expertise generating one number at a time with the Random.Range() function. You might visualize this range of numbers between 0 and 1 as a spectrum or gradient of greyscale colors from black to white.
When a lot of random numbers are necessary, one way to visualize them would be to arrange the values in a two dimensional map. It’s possible such a visualization might look like the static snow on old tube TVs. Individual values would still map a level of gray to a particular number, but now we have a collection of random data at our disposal instead of just one number.
In some circumstances, the changes between random values can be so drastic and chaotic that they lose their usefulness for the curation intentions of our Game Design. The previous image of tv static noise or "snow" is such an example. For these situations, another form of random number generation known "gradient noise" (specifically Perlin Noise) is useful because the changes between random values occur gradually. This has the effect of giving perlin noise the appearance of blurred transitions between peaks and valleys of bright and dark values in the random grayscale data. Despite the randomness, this gives our data a measurable smoothness that makes it useful in such areas as random landscape generation.
Besides visualizing random data as a two dimensional noise map, it is also useful to visualize random data as one dimensional sequential data occurring one random number after another. Low numbers that were previously portrayed as darker pixels would be visualized as a low amplitude. Similarly, high numbers that were previously portrayed as lighter pixels would be visualized as a high amplitude. Given the smoothness of perlin noise, such data may take on a form similar to a sound wave.
Using a sound wave analogy, the Amplitude of the data would be its volume, and its Frequency would describe the pitch. These facets are useful for random terrain generation because amplitude could describe how tall mountains may reach and frequency could influence detail density, such as how hilly an areas is. Having settings to control these details would be extremely useful for a Level Designer working with procedural generation.
Continuing with our sound wave analogy, only so much can be described by a single basic wave. In music, multiple instruments contribute their individual notes into a combined sound that listeners appreciate in aggregate. Similarly, multiple layers of random data could separately describe mountains, jaggedness, and foliage. These would all combine together as one landscape.
In order for these waves to avoid overpowering each other, we separate them into octaves. Each octave has an increased frequency relative to prior octaves (a measurement we call "lacunarity") and also has reduced amplitude (which we will measure as "persistence"). Notice in the prior diagram, how the second and third waves each have increased frequency and lower amplitude, so as not to overpower the overall landscape of each prior wave.
In the next steps, we will create a practical implementation of a random noise map generator where these terms will appear as the configuration options.
Start a new scene from the File > New Scene menu. Create a scene from the "Basic (URP)" template and save it as "ProceduralMap" in the /Assets/Scenes/ folder.
Open and ensure the ProceduralMap scene is the currently open scene for editing.
Create an Empty Game Object named "Map Generator". We will soon attach components to this object that handle configuration and rendering of our random terrain data.
From the Hierarchy tab's + menu, create a new game object using 3D Object > Plane and name it "Plane". This game object will be used to portray a two dimensional map of our random noise data. Remove the Plane's MeshCollider since we will only be using it for visualization purposes in this assignment.
While we previously used the Random.Range() function to generate individual random numbers, creating enough random data to portray an entire landscape requires the use of the Perlin Noise function.
Using the Project tab, create a subfolder within /Assets/Scripts/ named "ProcGen". Within the /Assets/Scripts/ProcGen/ folder, create a new C# file named Noise.cs.
Noise.cs will not be a MonoBehaviour component, which means we will not be attaching it to any particular game object. Instead it simply exists in the codebase to be used as a utility class to handle any requests we have for random data. Notice how the class declaration at the start of our code does not include a subclass for "MonoBehaviour" unlike most of our other code files. To help organize the complexity of our project, all of the procedural generation exercises will use the ProcGen namespace.
Noise.cs
using UnityEngine; namespace ProcGen { public class Noise { public static float[,] GenerateNoiseMap(int mapSize, float scale) { // Prepare an empty array at the size of our map float[,] noiseMap = new float[mapSize, mapSize]; // Avoid dividing by 0 and negative-sized maps if (scale <= 0) { scale = 0.0001f; } // Track our highest and lowest values float maxNoiseHeight = float.MinValue; float minNoiseHeight = float.MaxValue; // Generate a random perlin noise value at each position on our map for (int y = 0; y < mapSize; y++) { for (int x = 0; x < mapSize; x++) { float perlinValue = 0; float sampleX = x / scale; float sampleY = y / scale; perlinValue = Mathf.PerlinNoise(sampleX, sampleY); // Track our highest and lowest values if(perlinValue > maxNoiseHeight) { maxNoiseHeight = perlinValue; } else if(perlinValue < minNoiseHeight) { minNoiseHeight = perlinValue; } // Save randomly generated value to the map noiseMap[x, y] = perlinValue; } } // Based on our lowest and highest values, normalize all values to be between 0 and 1 for(int y = 0; y < mapSize; y++) { for(int x = 0; x < mapSize; x++) { noiseMap[x, y] = Mathf.InverseLerp(minNoiseHeight, maxNoiseHeight, noiseMap[x, y]); } } return noiseMap; } } }
The GenerateNoiseMap function requires an integer for the size of the map and a float for the scale, which acts as a sort of zoom level. The function returns a two dimensional float array denoated by the square brackets with a comma in the middle [ , ]. (Line 6). This means the resulting collection of data can be navigated by examining a particular x and y position. Typical arrays are denoted by square brackets [ ] and are navigated by a single index number. You can think of the comma as a placeholder separating where an x and y would go if they were inserted inside the square bracket syntax. For example, you would access a one dimensional array with [3] vs accessing a two dimensional array with [2, 1].
We create an empty array using similar syntax to make sure the array is the correct size. This is akin to sectioning off some graph paper in which we will insert some random numbers throughout the grid. (Line 8)
Because map scaling is achieved by dividing coordinates, we must be careful not to divide by 0. (Lines 10 to 13)
We prepare these variables to help us track the lowest and highest numbers produced during our random number generation. (Lines 15 to 17)
Because our map is two dimensional, we loop through every x for every y. You can visualize this as looping through every column for every row. (Lines 19 to 21)
Perlin noise can be visualized as a two dimensional landscape of random grayscale color values, which was shown in a prior diagram. In Unity, the actual values range from 0 to 1. We use portions of that landscape to produce our own random map by sampling various x and y coordinates from the Perlin noise data. The X and Y coordinates we use vary depending on the scale. (Lines 22 to 26)
As we build a map of random values, we want to keep track of the lowest and highest numbers. (Lines 28 to 33)
The individual random number we sampled is saved to the appropriate position on our two dimensional array. (Line 36)
The random data we sampled has an unpredictable range, which can make it difficult to interpret the numbers in a way that is useful for Game Design. These lines of code use our lowest and highest numbers to scale our entire map so we get a predictable spread where 0 is the lowest value and 1 is the highest. (Lines 40 to 45)
Finally, we return the resulting two-dimensional array which is now like a map filled with random numbers. (Line 47)
At this point, it is difficult to know if our code is working, so the next steps will focus on visualizing the result of our random number generation.
We previously created a Plane in our scene, which we can use to visualize our random noise data as a two dimensional map. In order render graphics on our plane mesh, we need to create a Texture that will hold the graphical data, create a Material that will use that Texture, and assign that Material to the mesh.
The actual creation of the texture will be performed programmatically. It is not necessary for us to create the texture as an asset file within the project tab.
Because this is a flat visualization, we do not want lighting or shadows to influence the preview of our noise data. By default, the plane was created with a texture that responds to light. Instead, we must switch it with a texture that is unlit.
Within the Project tab, create a folder in /Assets/ named Materials. Within /Assets/Materials/ create a Material asset named "Plane". Inspect the new Plane material asset, and in the inspector, configure its shader to use Unlit/Texture. "Unlit" does not mean that a texture is dark, but rather that it does not require or react to light.
Inspect Plane in the hierarchy. Expand it's Mesh Renderer's material configuration, and replace its material with the new Plane material we just created.
You should notice the plane brighten significantly in the Scene tab preview now that the plane no longer requires or reacts to lighting.
Our plane is now ready to receive graphical data, but we currently only have a series of numbers. We will need to convert those random numbers into colors before anything will appear on the preview plane.
While Noise.cs handles the generation of random data, we will create two additional components to orchestrate our data preview. Within /Assets/Scripts/ProcGen/ create MapDisplay.cs. This file will coordinate the game objects and their rendering components in the scene.
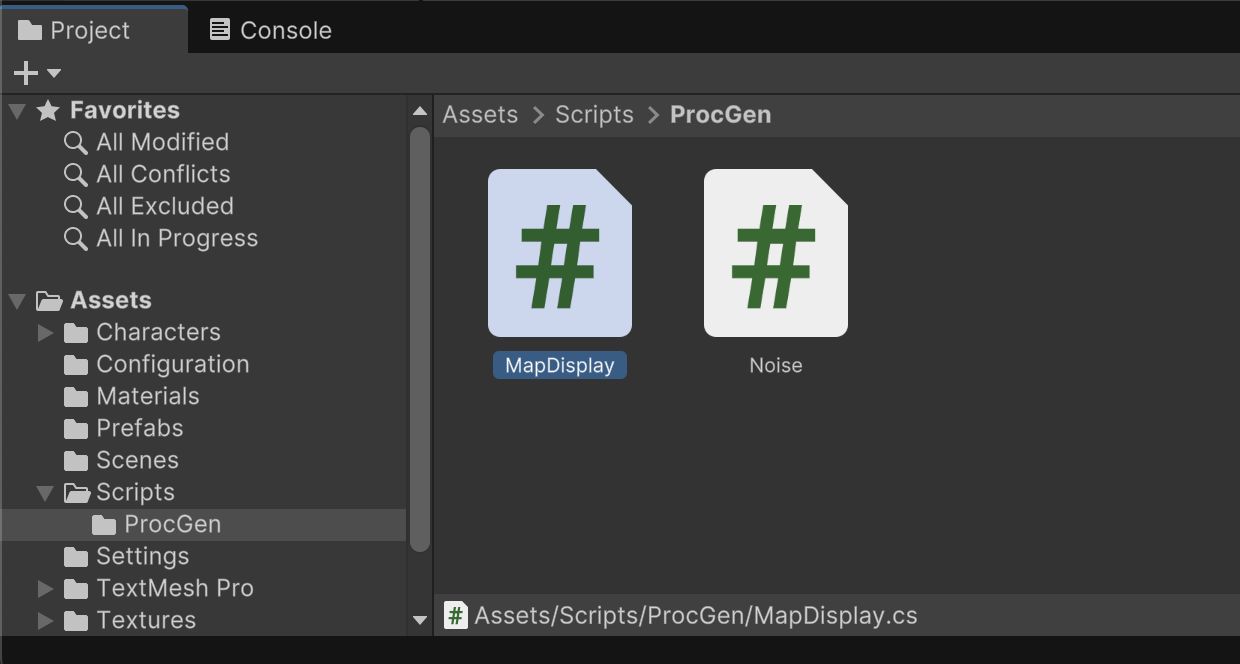
Within /Assets/Scripts/ProcGen/ create MapGenerator.cs. This file will take the data produced by Noise.cs and convert its random numbers into color data that is usable by MapDisplay. We previously discussed how a significant effort in using procedural generation actually goes into curating the randomness so that it makes sense for our game design. MapGenerator.cs performs this job of refining the output of Noise.cs into relevant content our game.
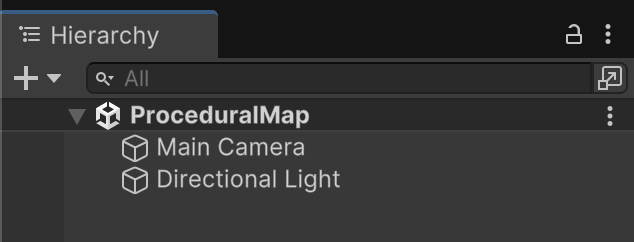
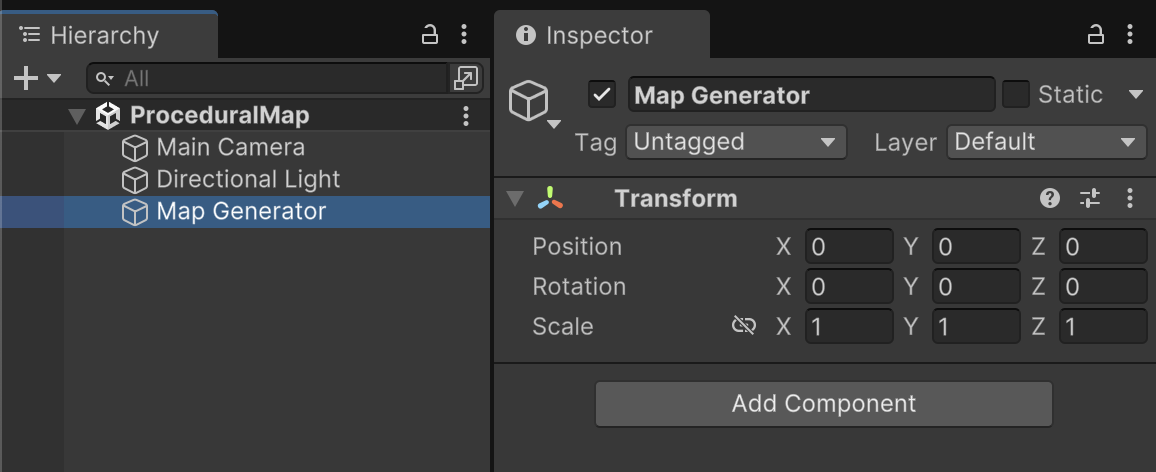
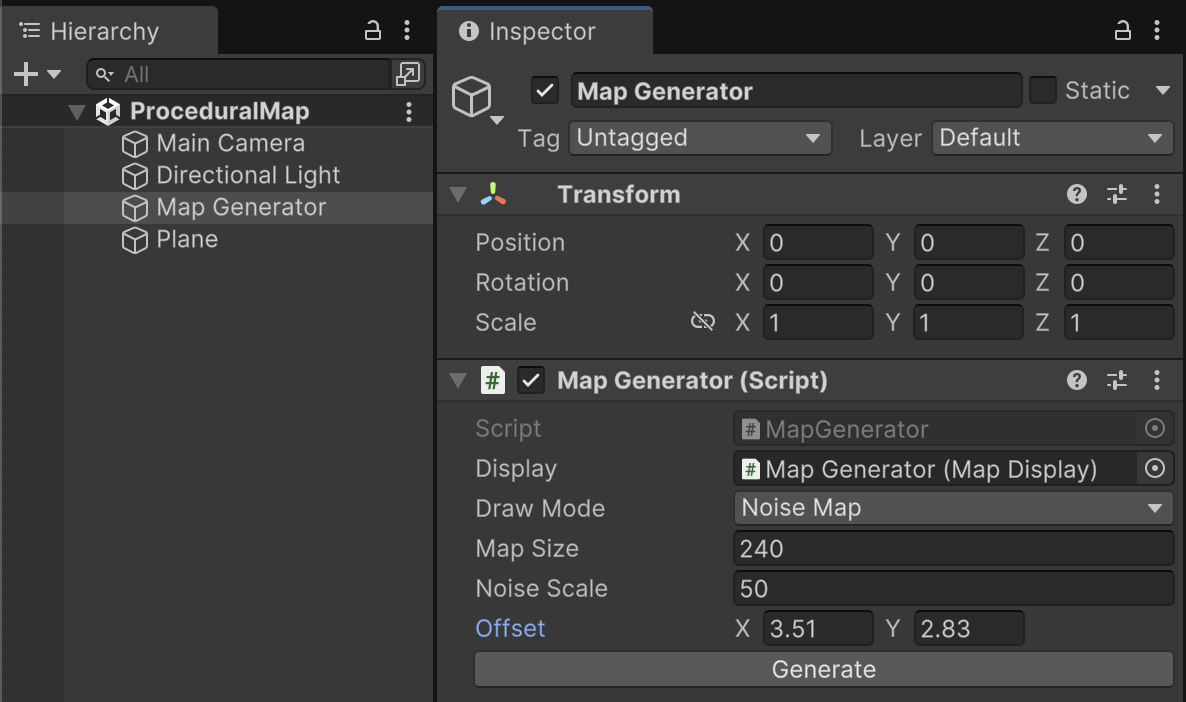
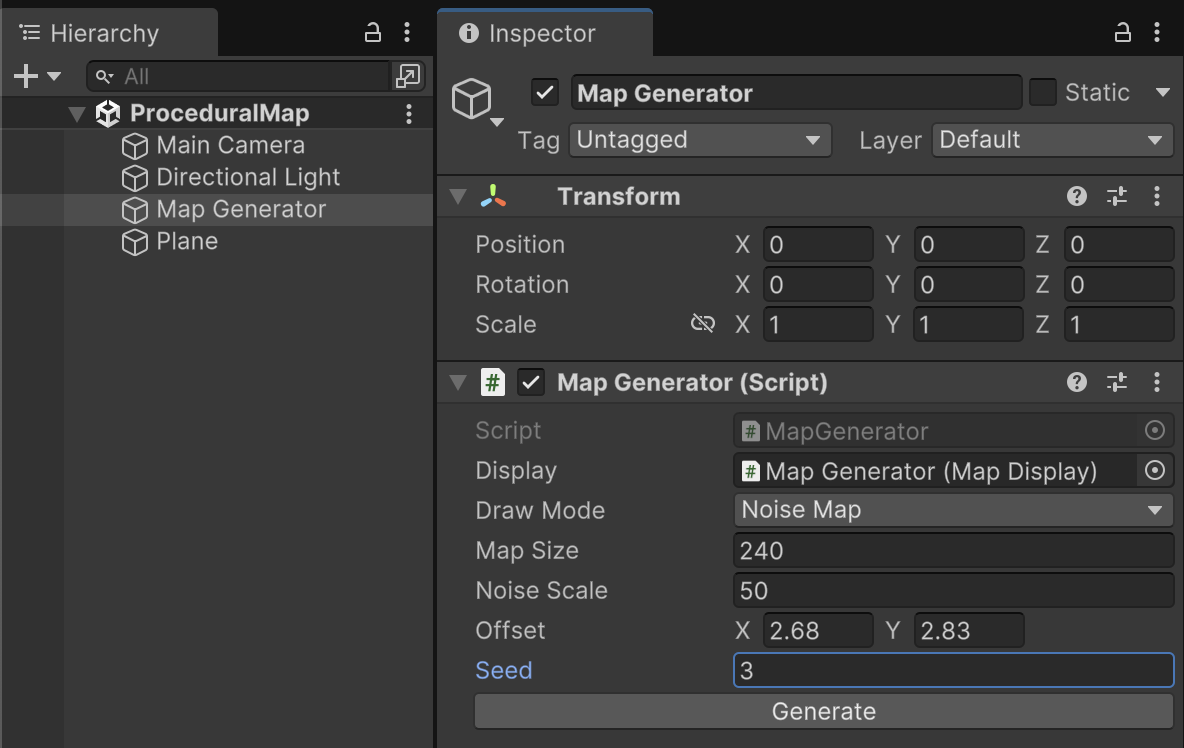
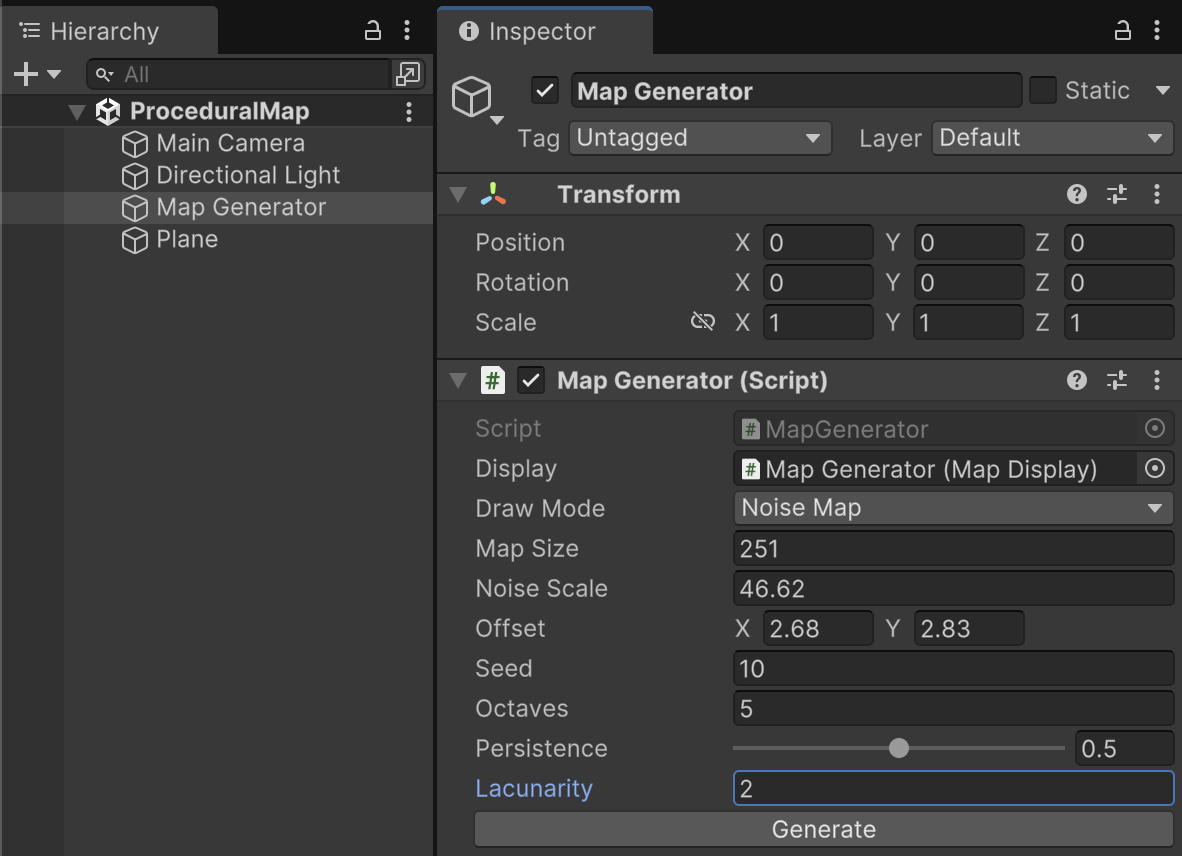
Attach both MapGenerator and MapDisplay C# files to the "Map Generator" game object in the scene. These components appear deceptively simple in the inspector for now, but they will gain many configuration options in upcoming steps.
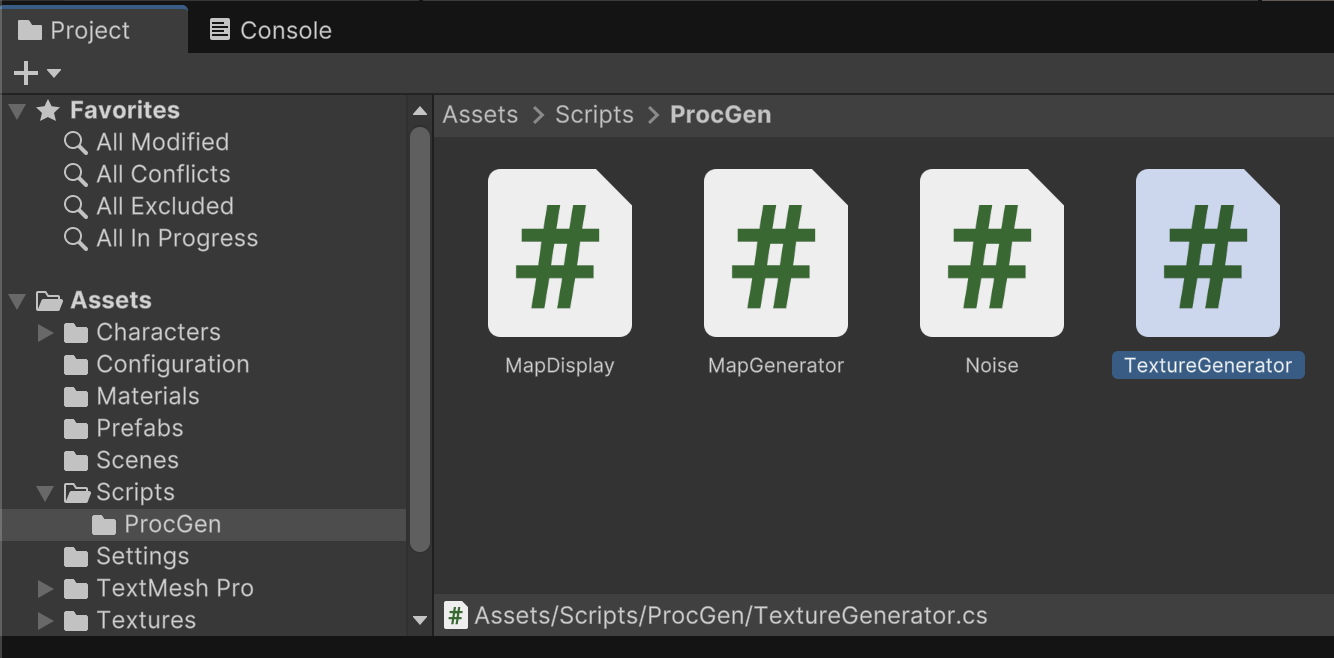
In addition to our two new components, we will need one more C# file that is a utility class. This means it will not be a MonoBehaviour and it will not be a component that is attached to any particular game object. Create a new C# file within /Assets/Scripts/ProcGen/ named TextureGenerator.cs. The purpose of this file is to help organize code relating to the generation of flat graphical data.
Eventually, MapDisplay will coordinate both two dimensional and three dimension previews of our randomly generated landscapes. For now, it only needs to accept 2D texture data for our plane (Line 8) and assign that graphical data to the material on our plane mesh. (Line 9)
MapDisplay.cs
using UnityEngine; namespace ProcGen { public class MapDisplay : MonoBehaviour { public Renderer textureRender; public void DrawTexture(Texture2D texture) { 
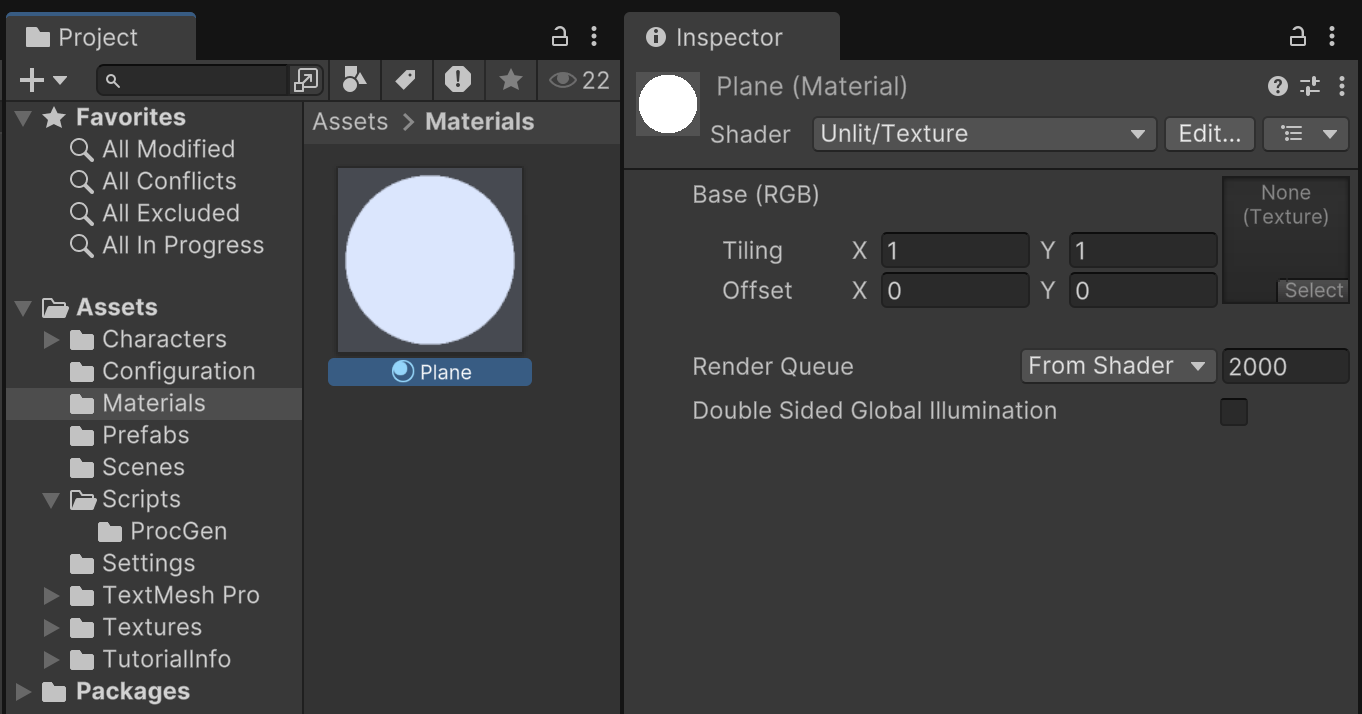
textureRender.sharedMaterial.mainTexture = texture; textureRender.transform.localScale = new Vector3(texture.width, 1, texture.height); } } }
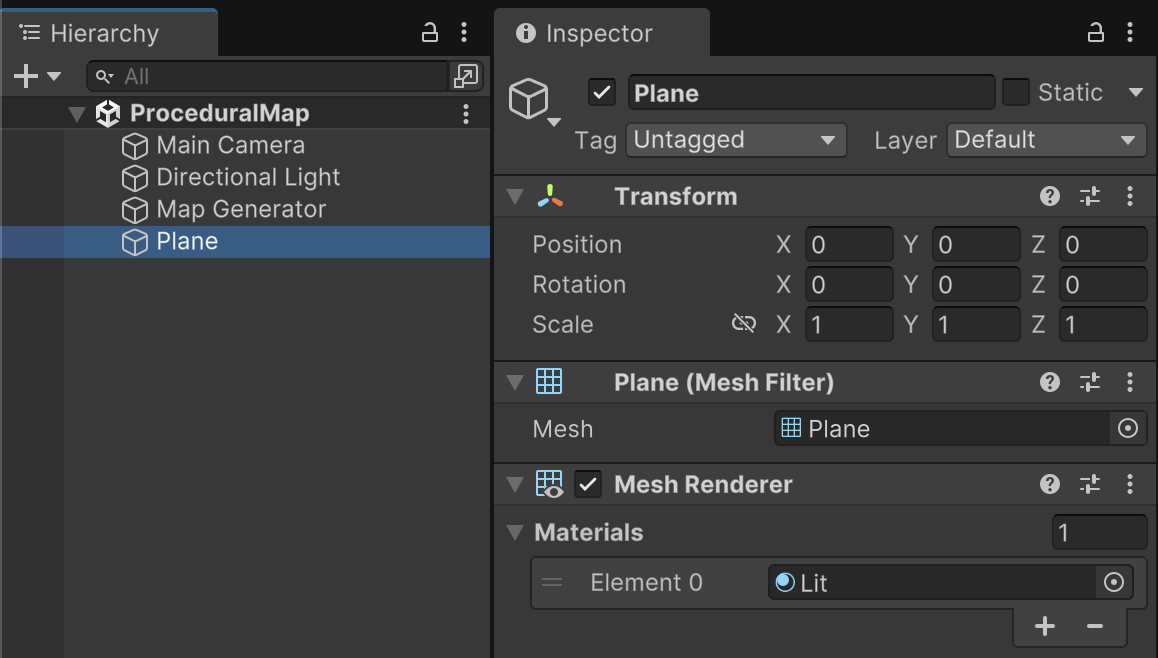
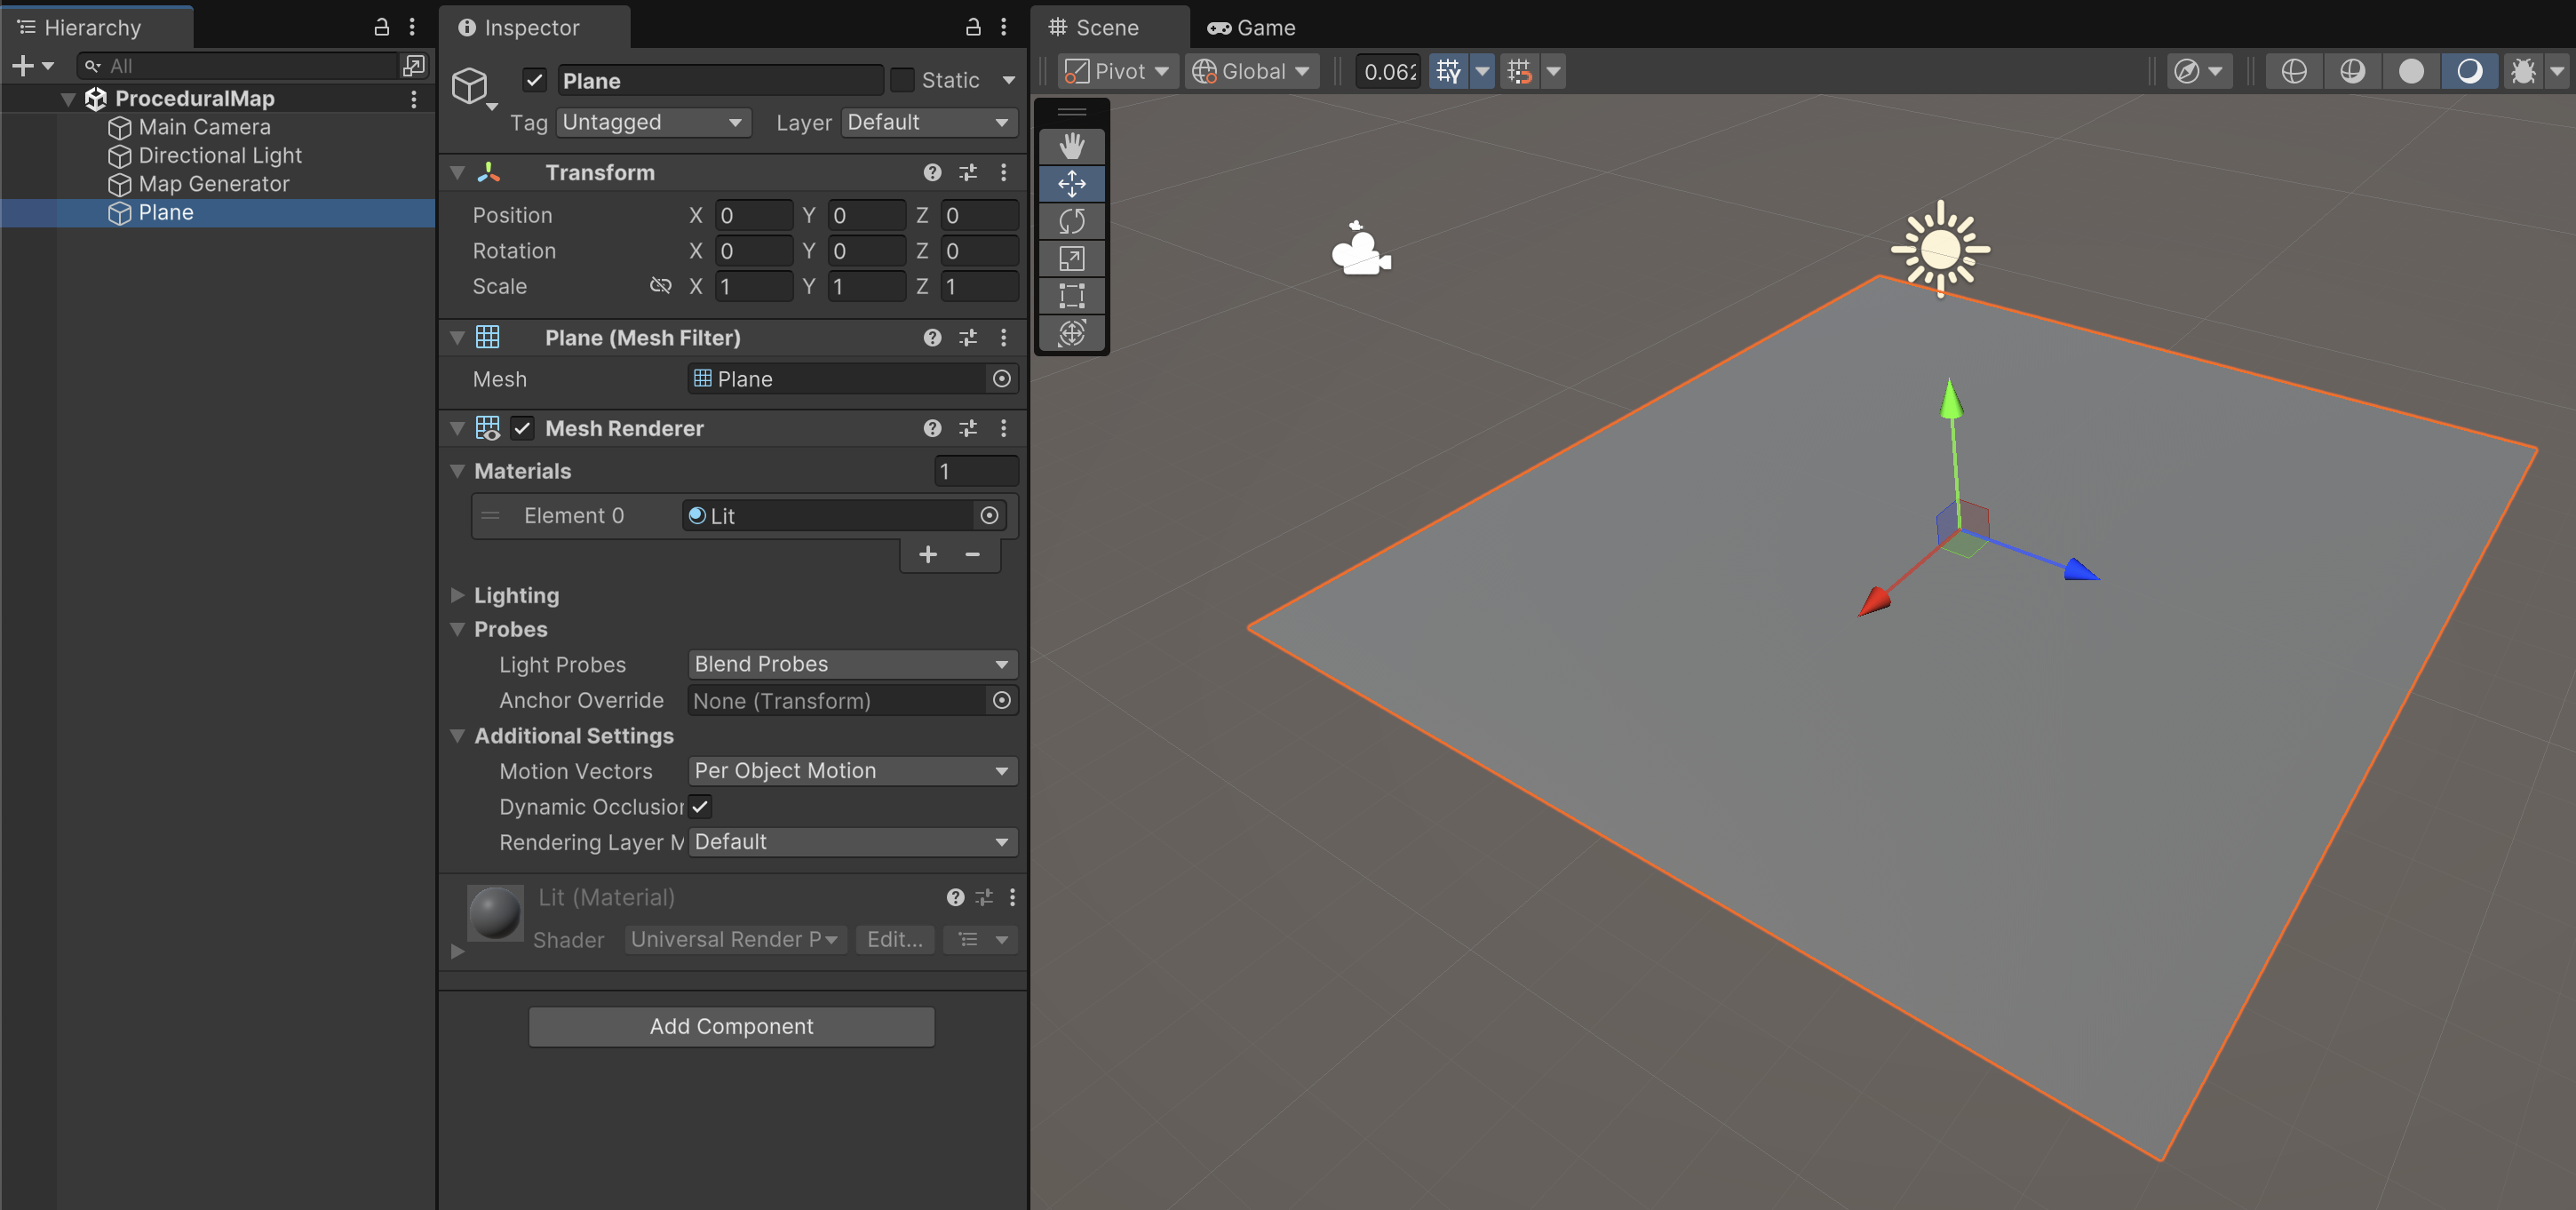
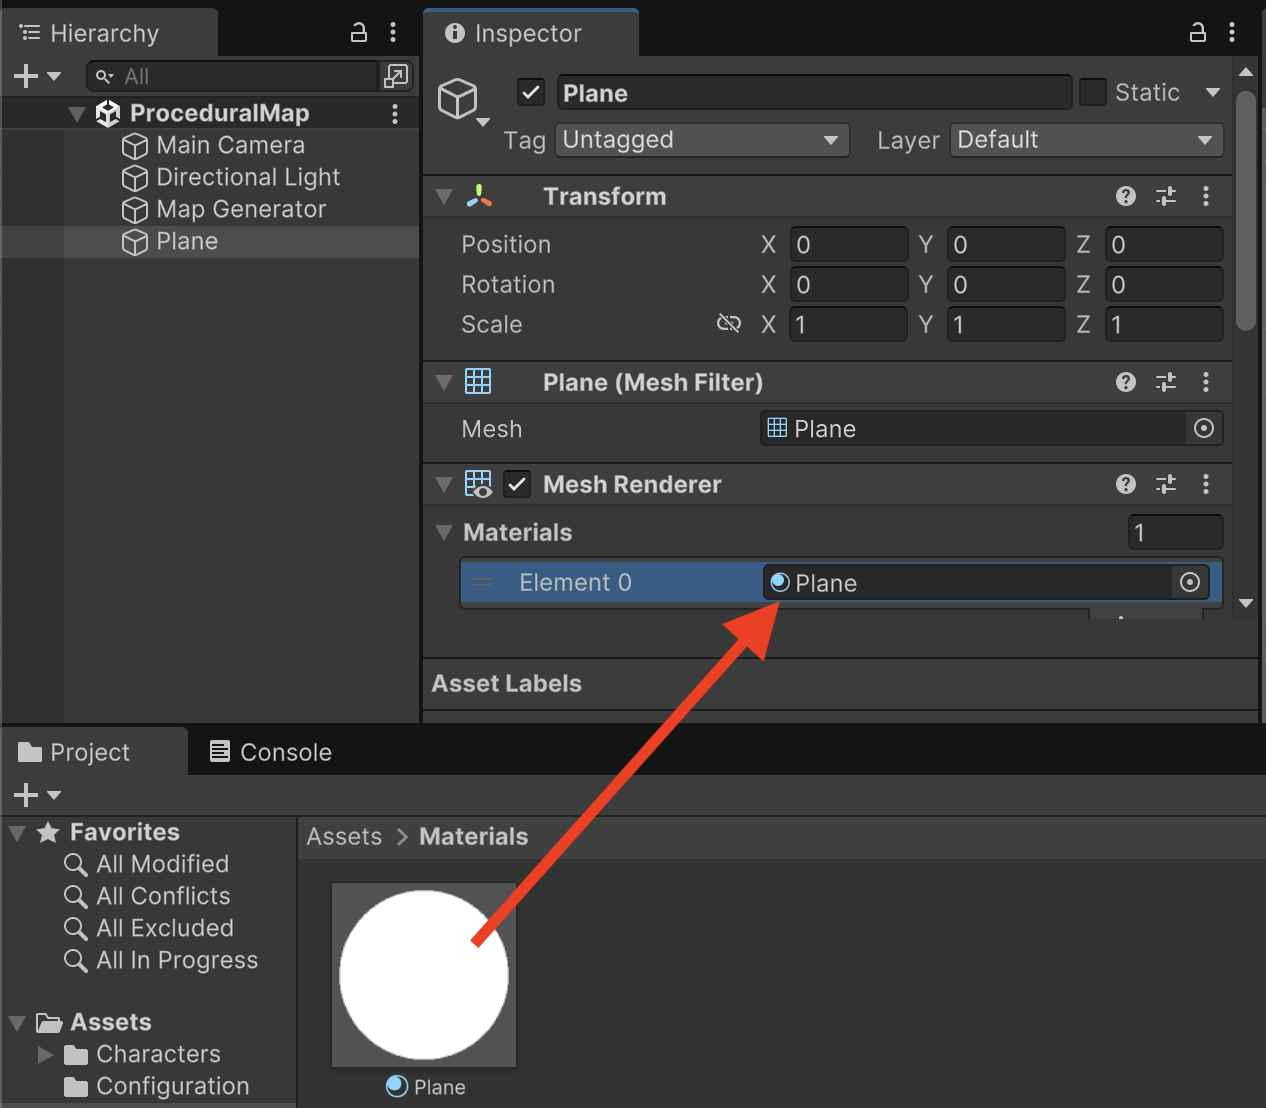
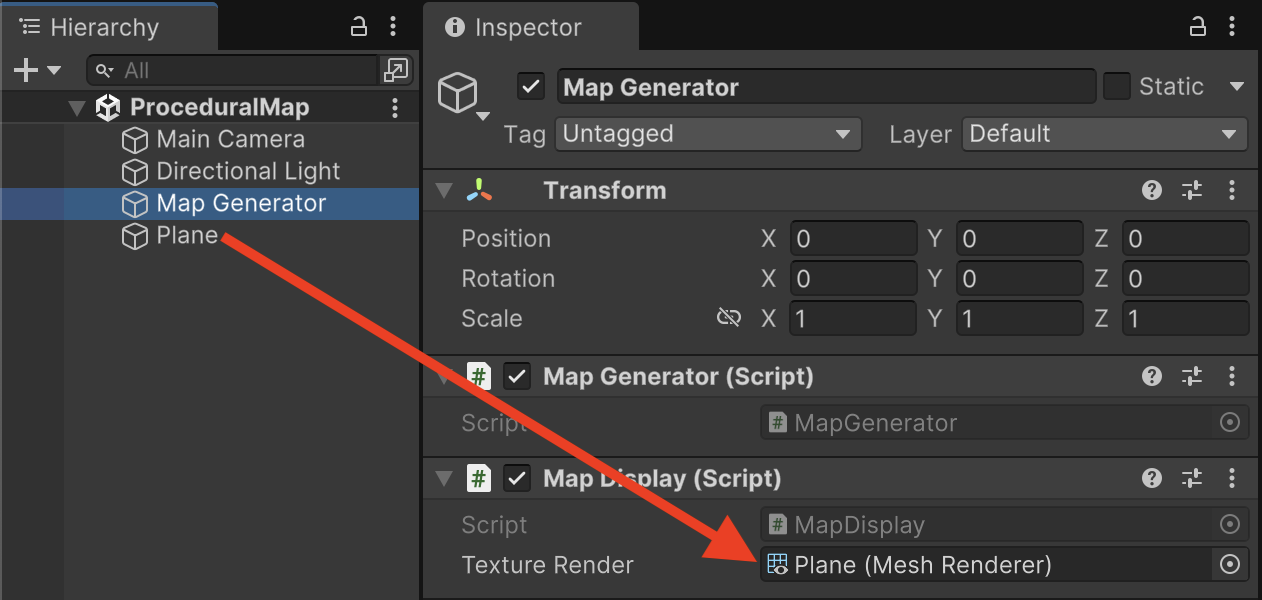
Assign the Plane game object into the MapDisplay's textureRender property.
TextureGenerator.cs
using UnityEngine; namespace ProcGen { public static class TextureGenerator { public static Texture2D TextureFromHeightMap(float[,] heightMap) { int width = heightMap.GetLength(0); int height = heightMap.GetLength(1); Color[] colorMap = new Color[width * height]; for (int y = 0; y < height; y++) { for (int x = 0; x < width; x++) { float heightValue = heightMap[x, y]; colorMap[y * width + x] = Color.Lerp(Color.black, Color.white, heightValue); } } return TextureFromColorMap(colorMap, width); } public static Texture2D TextureFromColorMap(Color[] colorMap, int size) { Texture2D texture = new Texture2D(size, size); texture.filterMode = FilterMode.Point; texture.wrapMode = TextureWrapMode.Clamp; texture.SetPixels(colorMap); texture.Apply(); return texture; } } }
Our TextureFromHeightMap function expects to receive a two dimensional float array. This is the exact same format produced by our Noise.GenerateNoiseMap function. From that float array, TextureFromHeight map will return Texture2D, which is a graphic that can be rendered on models in Unity. (Line 6)
We can't assume the size of the Texture2D we are making, so we determine that size by measuring the float array we originally received. (Lines 7 to 8)
Based on the measurements of the two dimensional float array. We create a Color array to keep track of the pixels for our graphic. Because of how Unity's graphical functions work, our Color array is actually one dimensional even though the graphic will eventually be two dimensional. (Line 10)
Since we know the width and height of the float array, we can loop through every X and Y in its coordinate system. (Lines 11 to 12)
For every number stored in the float array, translate that to a grayscale color. 0 is treated as black, while 1 is treated as white. The Lerp function computes all of the shades of grey in between. We store the resulting color in the color array by doing some row and column math to translate the 2D coordinate of the float array to a 1D coordinate in the color array. (Line 13 to 14)
We pass our color array to the TextureFromColorMap function which is a helper function that produces Texture2D data. (Line 18)
The TextureFromColorMap function receives a one dimensional color array and a size in order to return a Texture2D. (Line 21)
Often, textures are stored as square graphics for optimization reasons. This line creates a blank Texture2D at the configured square size. (Line 22)
These settings configure common graphical options you might recognize from the inspector when you have imported graphics by hand. We are configuring those same settings programmatically. We don't want our map to loop and we want the clarity of seeing sharp individual pixels. (Line 23 to 24)
The color data is assigned to the Texture2D object and the changes are saved. (Line 25 to 26)
The resulting texture is returned back to the calling function. (Line 28)
MapGenerator.cs
using UnityEngine; namespace ProcGen { public class MapGenerator : MonoBehaviour { public enum DrawMode { NoiseMap } public DrawMode drawMode; // Outlets public MapDisplay display; // Configuration public int mapSize = 240; public float noiseScale = 50f; // Methods public void GenerateMap() { float[,] noiseMap = Noise.GenerateNoiseMap(mapSize, noiseScale); if(drawMode == DrawMode.NoiseMap) { Texture2D mapTexture = TextureGenerator.TextureFromHeightMap(noiseMap); display.DrawTexture(mapTexture); } } } }
For this assignment, we are only previewing the noise as grayscale. An upcoming assignment will add more options here for previewing other kinds of video game maps. (Lines 6 to 9)
We link to MapDisplay which is in charge of rendering visuals. (Line 12)
Size and scale will influence how much random data we generate and how big the resulting map will be. (Lines 15 to 16)
The GenerateMap function is the primary function of this entire exercise. It kicks off the process of random data generation and map visualization. (Line 19)
GenerateMap orchestrates gathering random data produced by the Noise class and passing it to the proper renderer depending on our preview mode. (Line 20)
Depending on our preview mode, we render the appropriate kind of graphics based on the random data received in the prior lines. For now, our goal is just to draw a grayscale map of the random noise. (Lines 22 to 24)
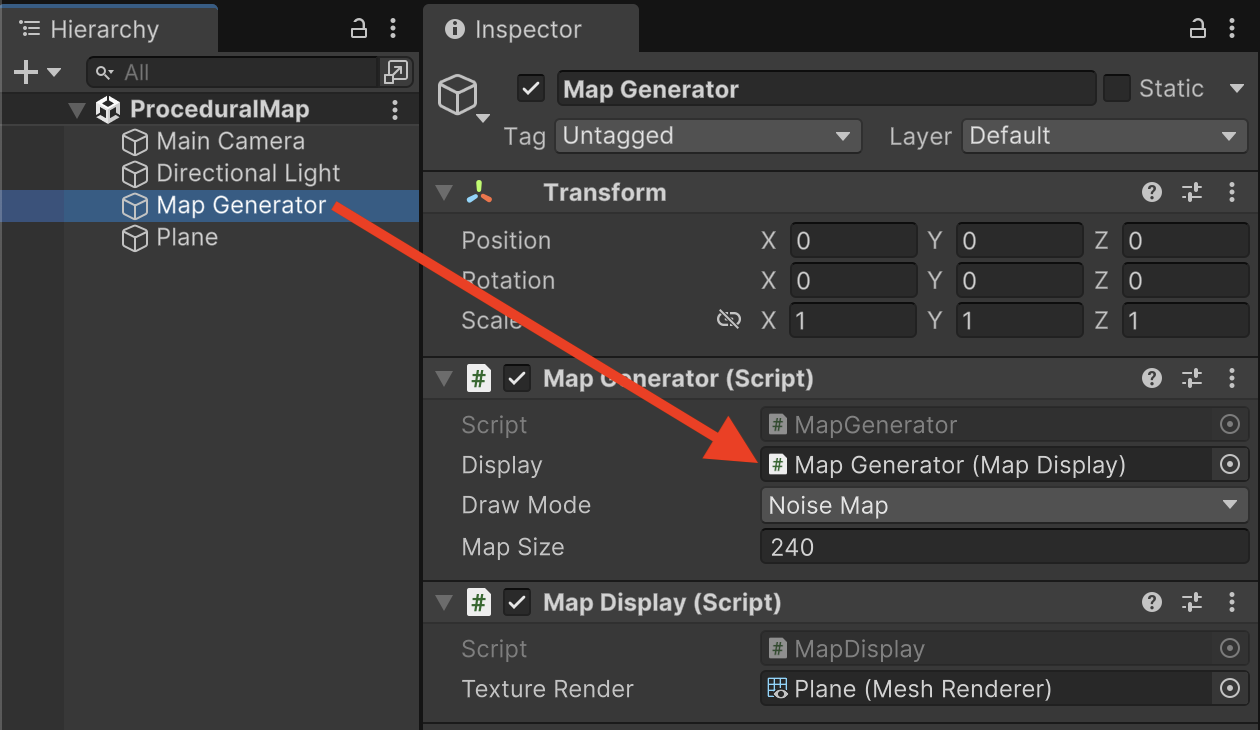
Because MapDisplay is a sibling of MapGenerator, the display property can be assigned by dragging the "Map Generator" game object into its own property.
There is one last piece of code required to execute all that we've created up so far. The MapGenerator.GenerateMap() function kicks off the entire process, but currently nothing actually calls that function. You could call GenerateMap() at the Start of the game or other relevant gameplay moment, but the purpose of this assignment is to preview random data as a sort of developer tool. It would be more convenient if we could trigger GenerateMap() from the inspector without starting the game, since there is no gameplay at present.
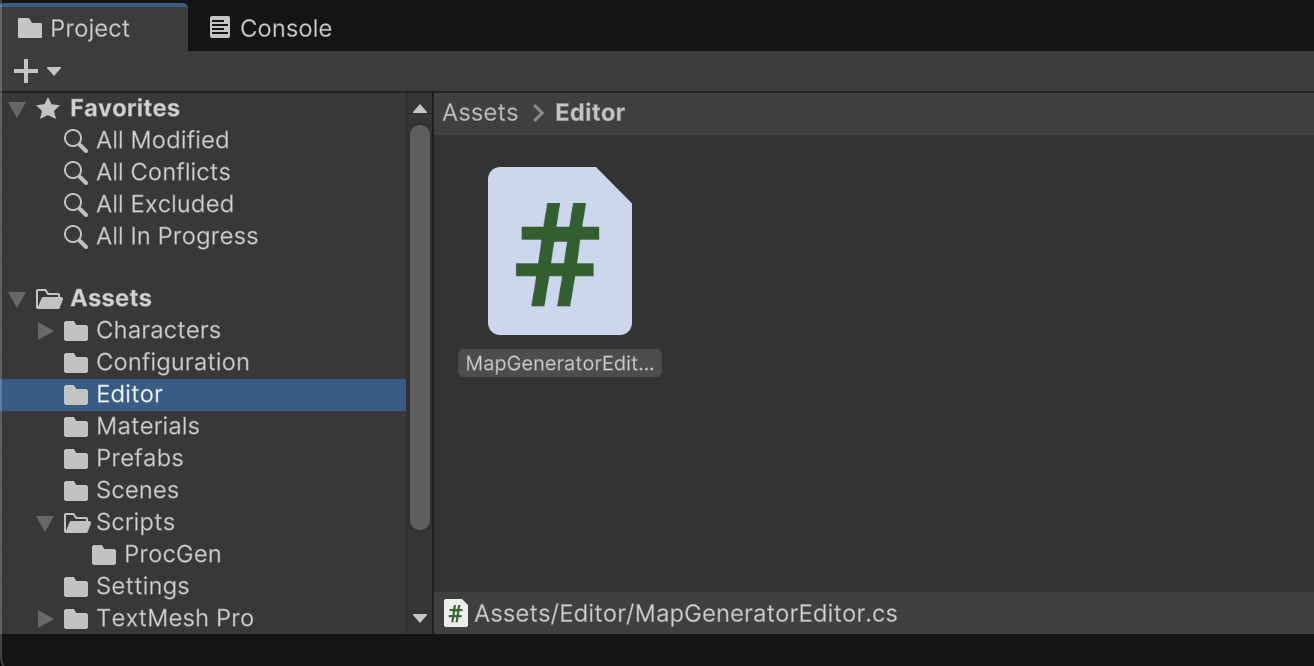
Create a subfolder within /Assets/ called Editor. Within /Assets/Editor/ create a new C# file named MapGeneratorEditor.cs.
The "Editor" folder is a special folder for writing scripts that influence the Unity Editor itself. Such code is not included in exported builds of the game. You should not put your gameplay logic in this folder. Unity Editor code is useful for creating your own development tools or enhancing existing tools within Unity Editor.
The purpose of our editor code is to enhance the Inspector for MapGenerator to have an additional button for generating map data. The editor will also call the GenerateMap function whenever other values are changed in that component's inspector.
MapGeneratorEditor.cs
using UnityEngine; using UnityEditor; namespace ProcGen { [CustomEditor(typeof(MapGenerator))] public class MapGeneratorEditor : Editor { public override void OnInspectorGUI() { MapGenerator mapGen = (MapGenerator)target; if(DrawDefaultInspector()) { mapGen.GenerateMap(); } if(GUILayout.Button("Generate")) { mapGen.GenerateMap(); } } } }
You should notice that the code in our file has a using statement for "UnityEditor" which provides the additional functionality for influencing the Editor. Unlike our use of the MonoBehaviour subclass when making components, this class declaration subclasses from Editor instead. Just as components have events such as "Update", Editor code has events such as "OnInspectorGUI" which occurs whenever the Inspector window needs to be drawn or updated.
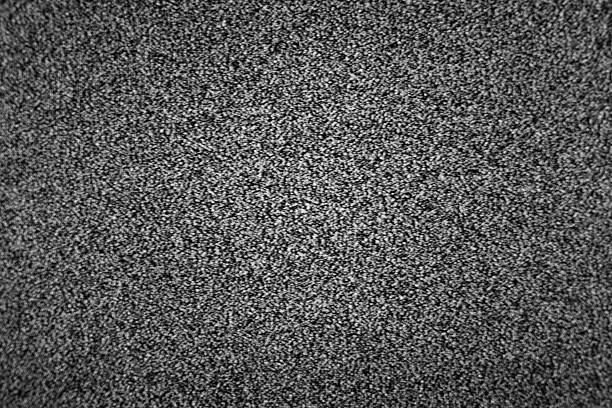
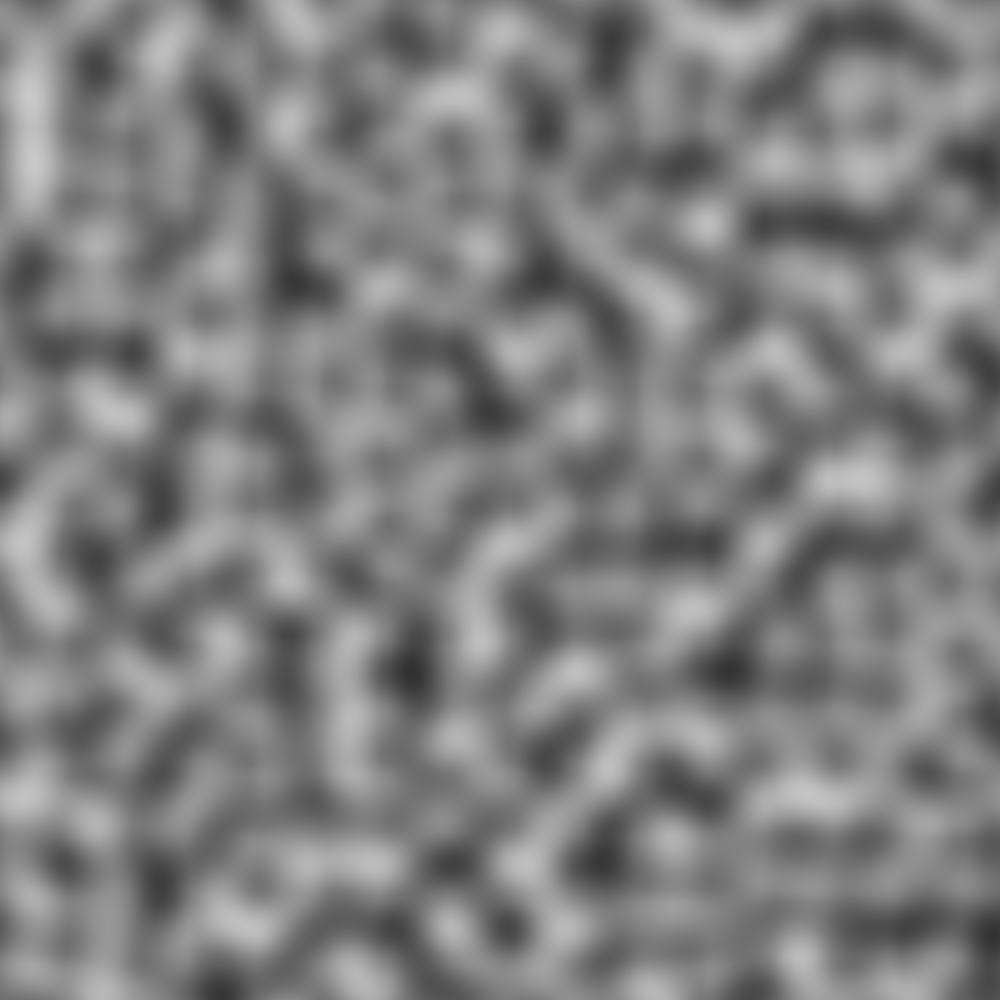
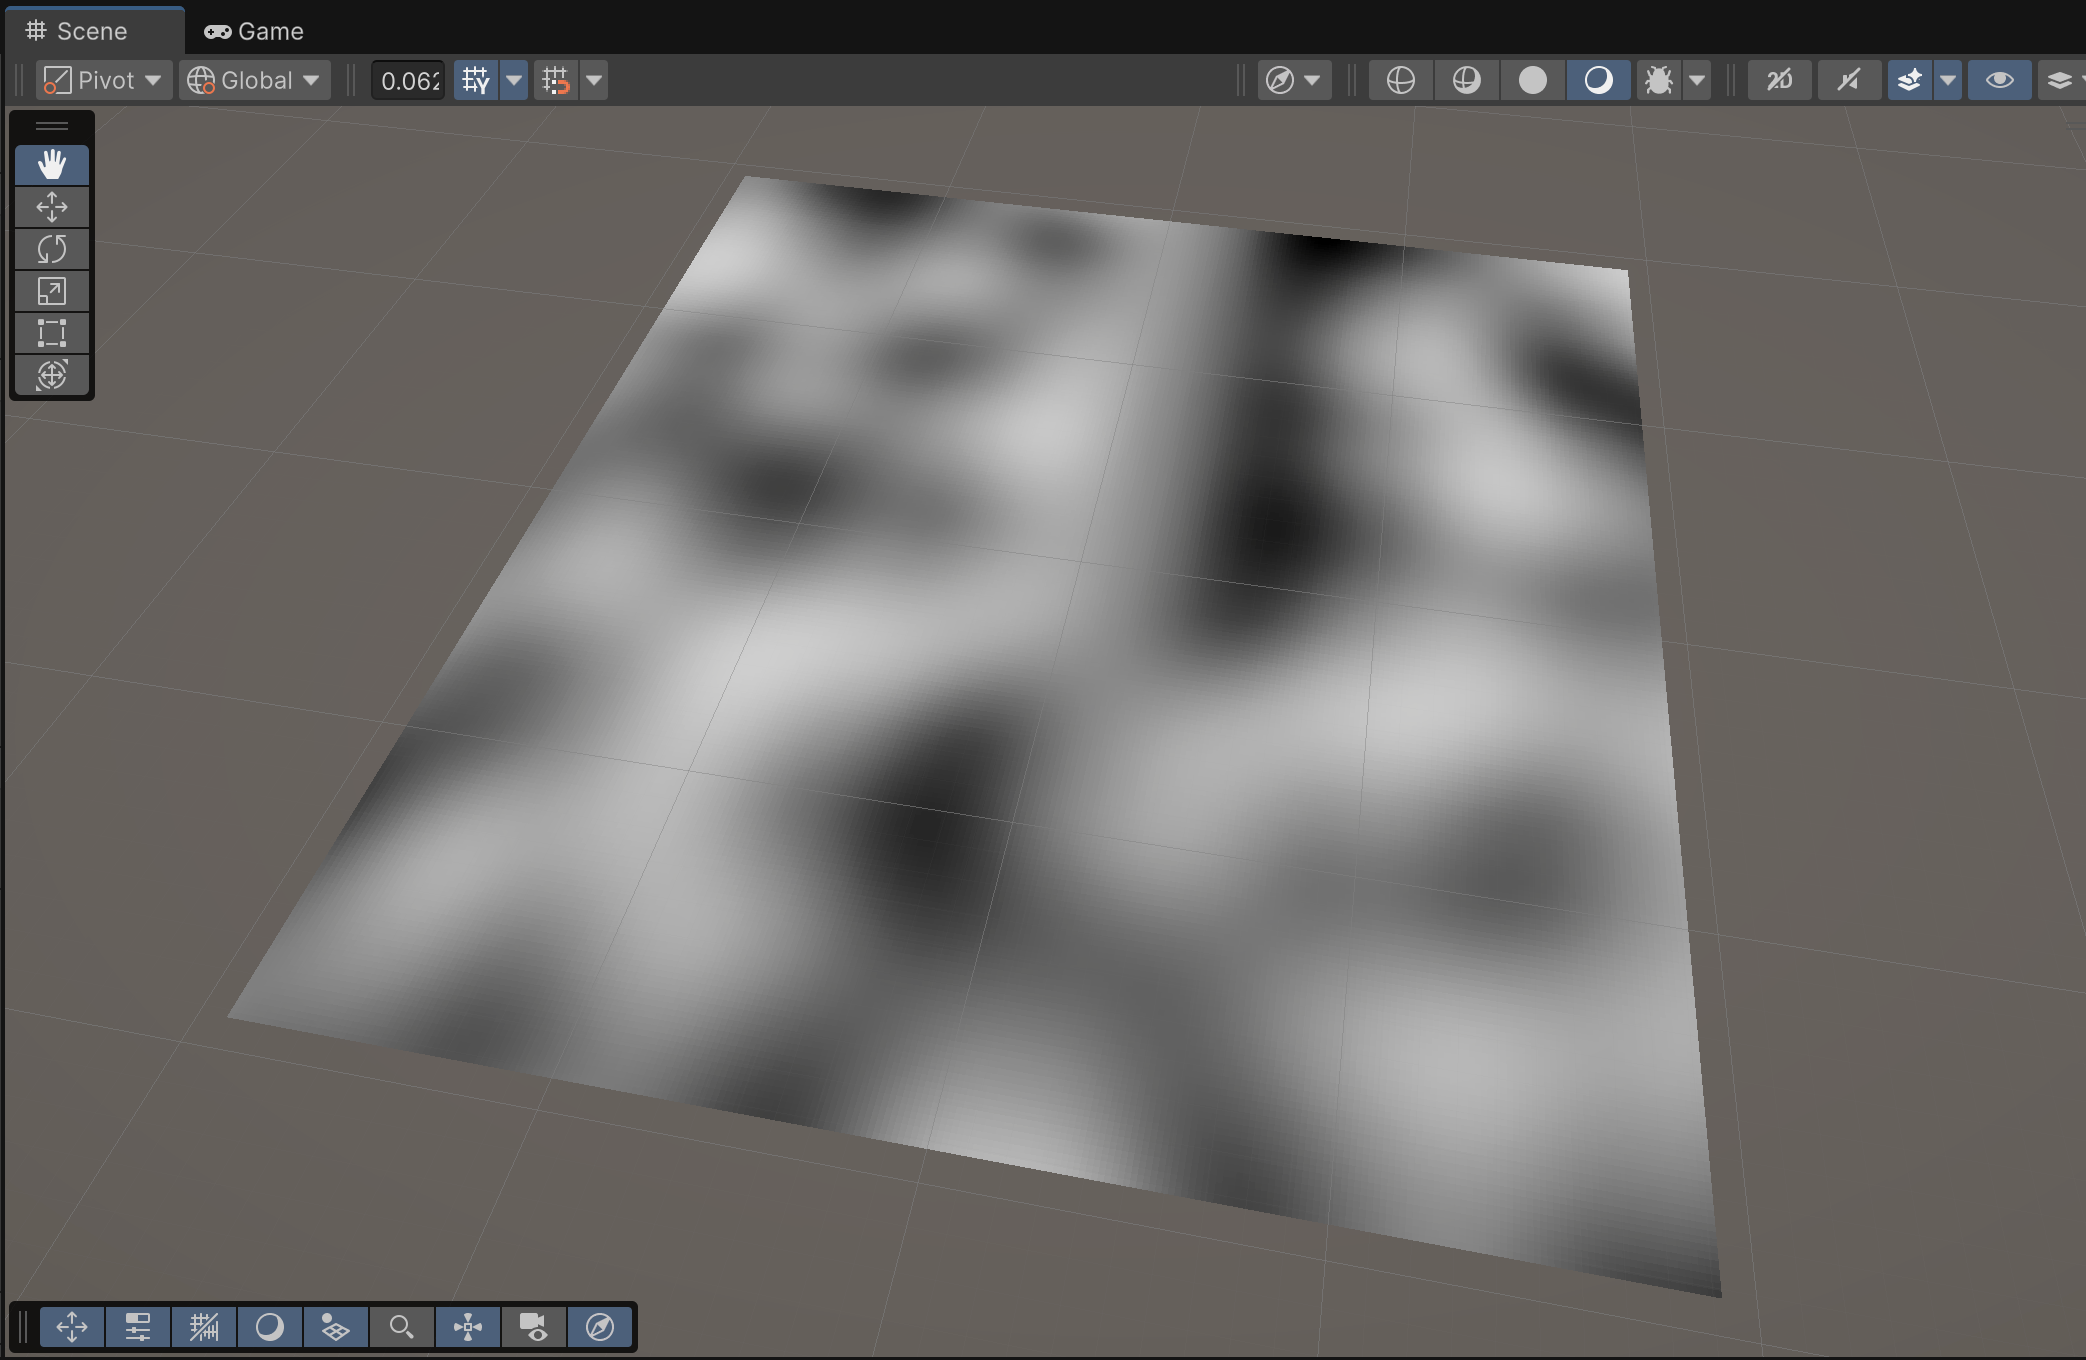
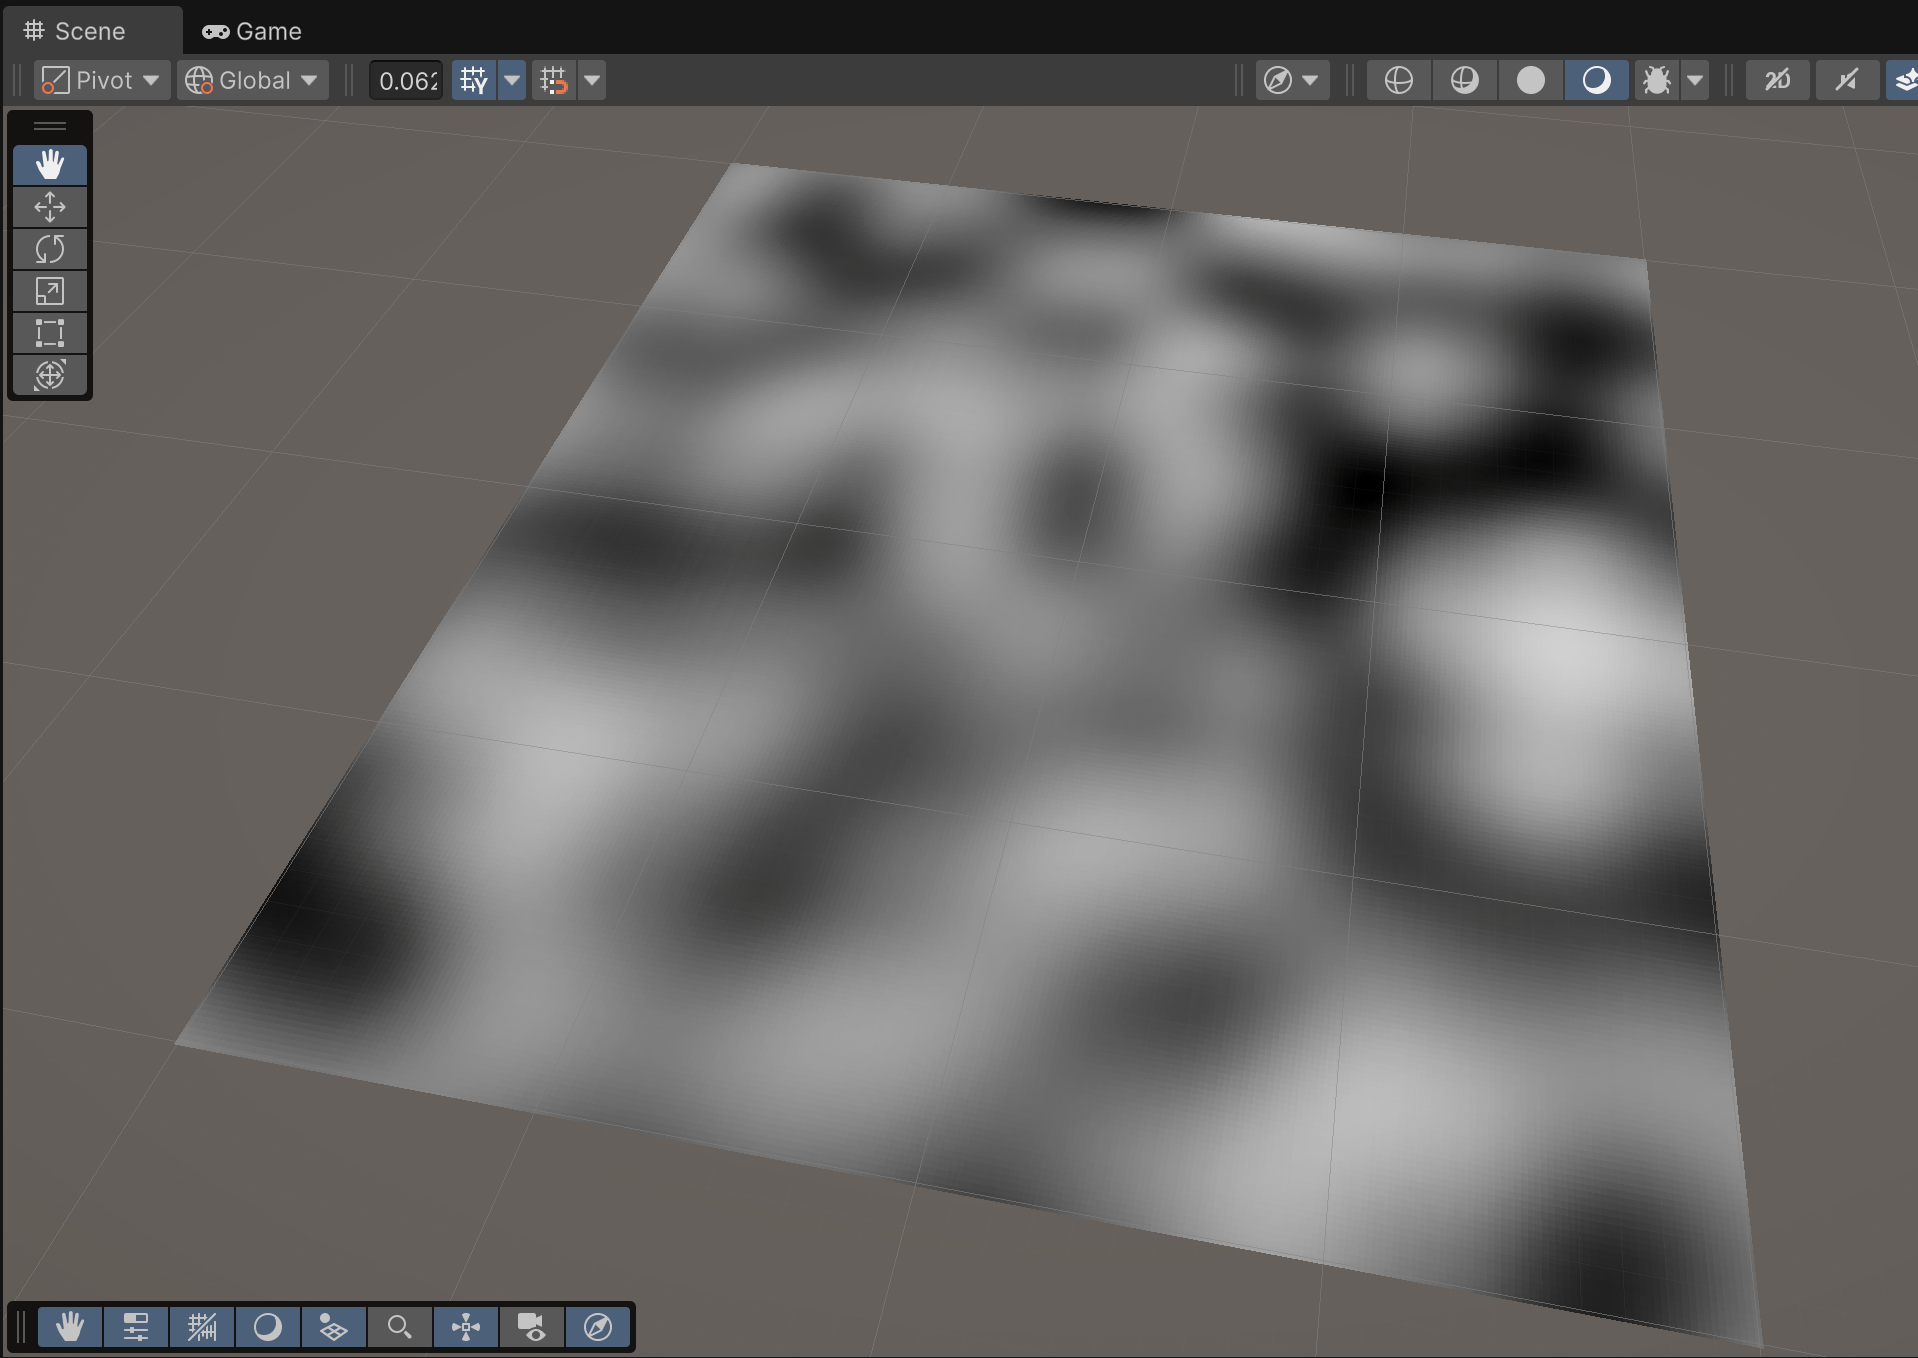
When inspecting the "Map Generator" game object, you should now see a "Generate" button in the inspector tab. Clicking this button or changing any of the inspector values will show a randomly generated grayscale map of perlin noise, which may look like clouds for certain settings.
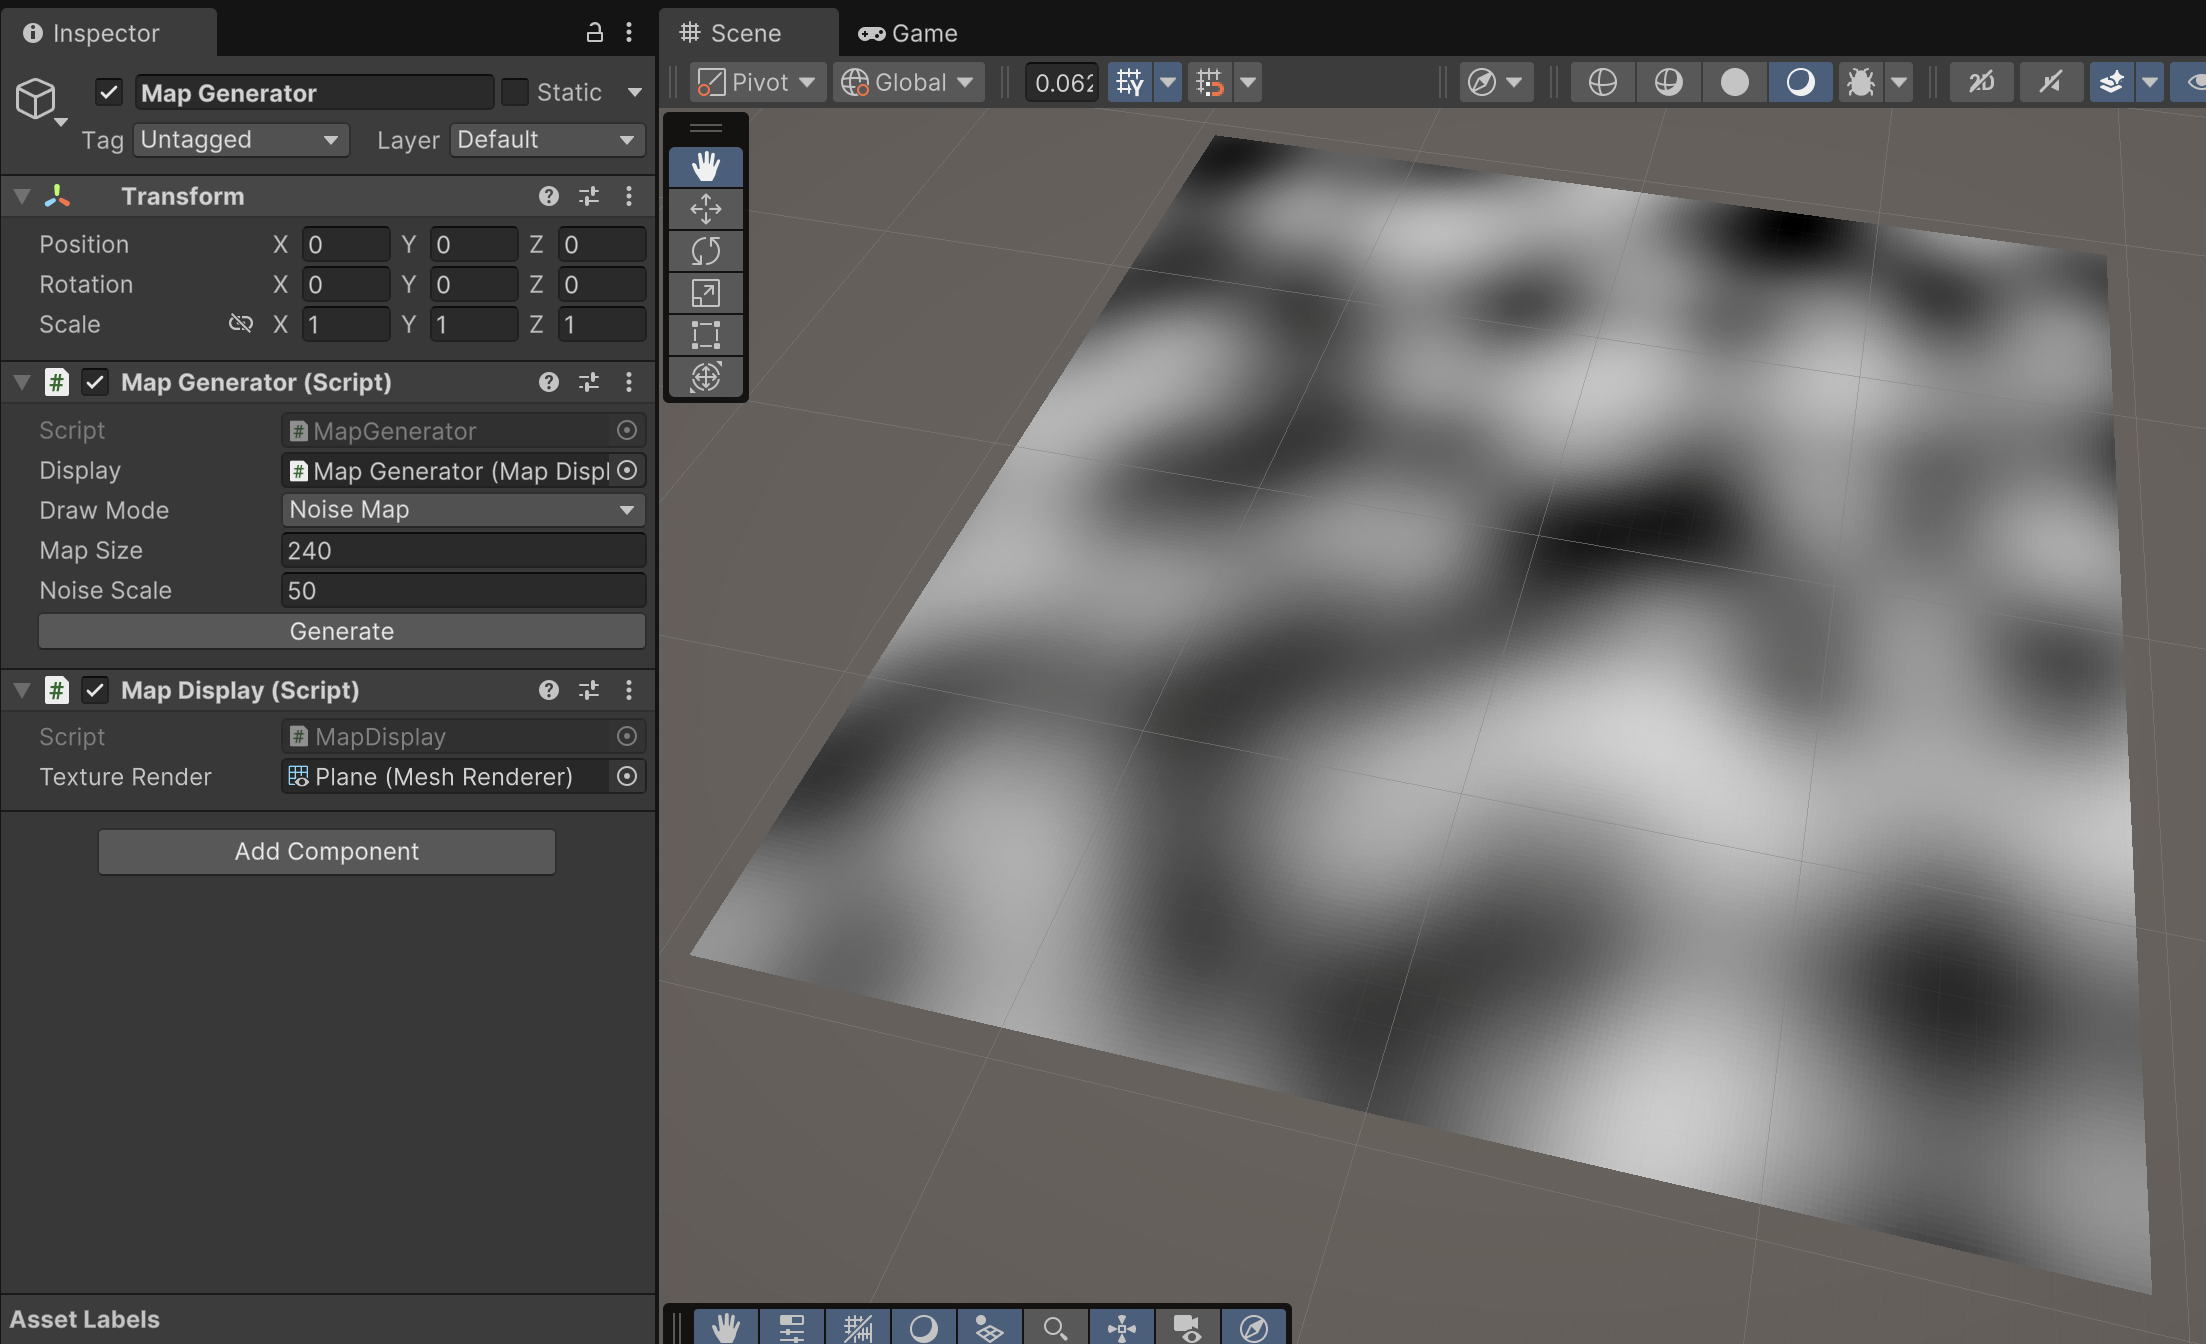
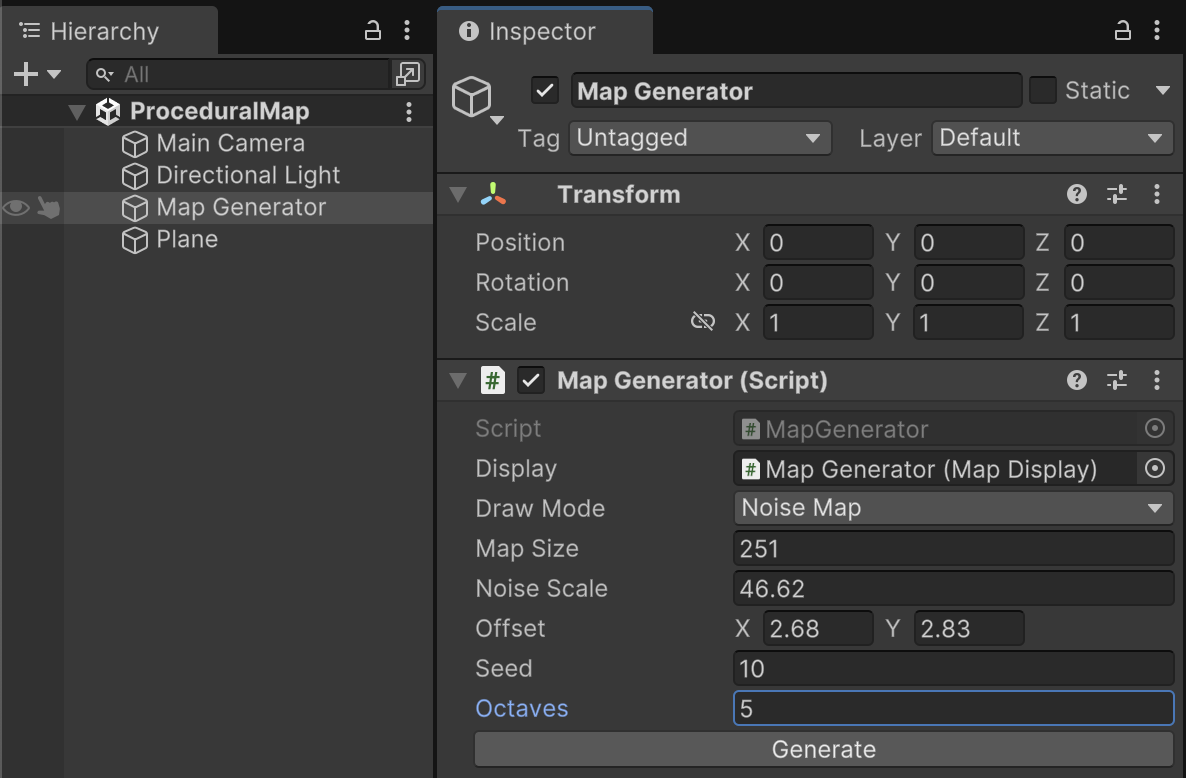
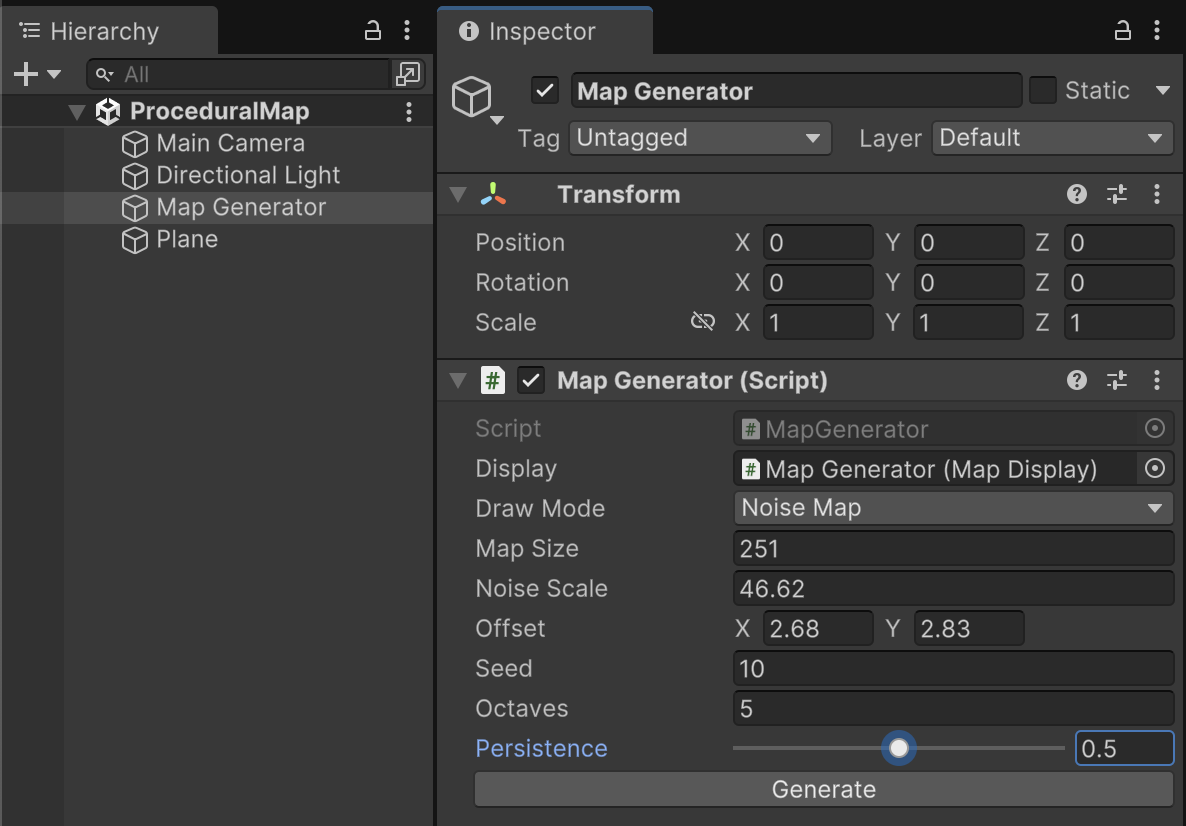
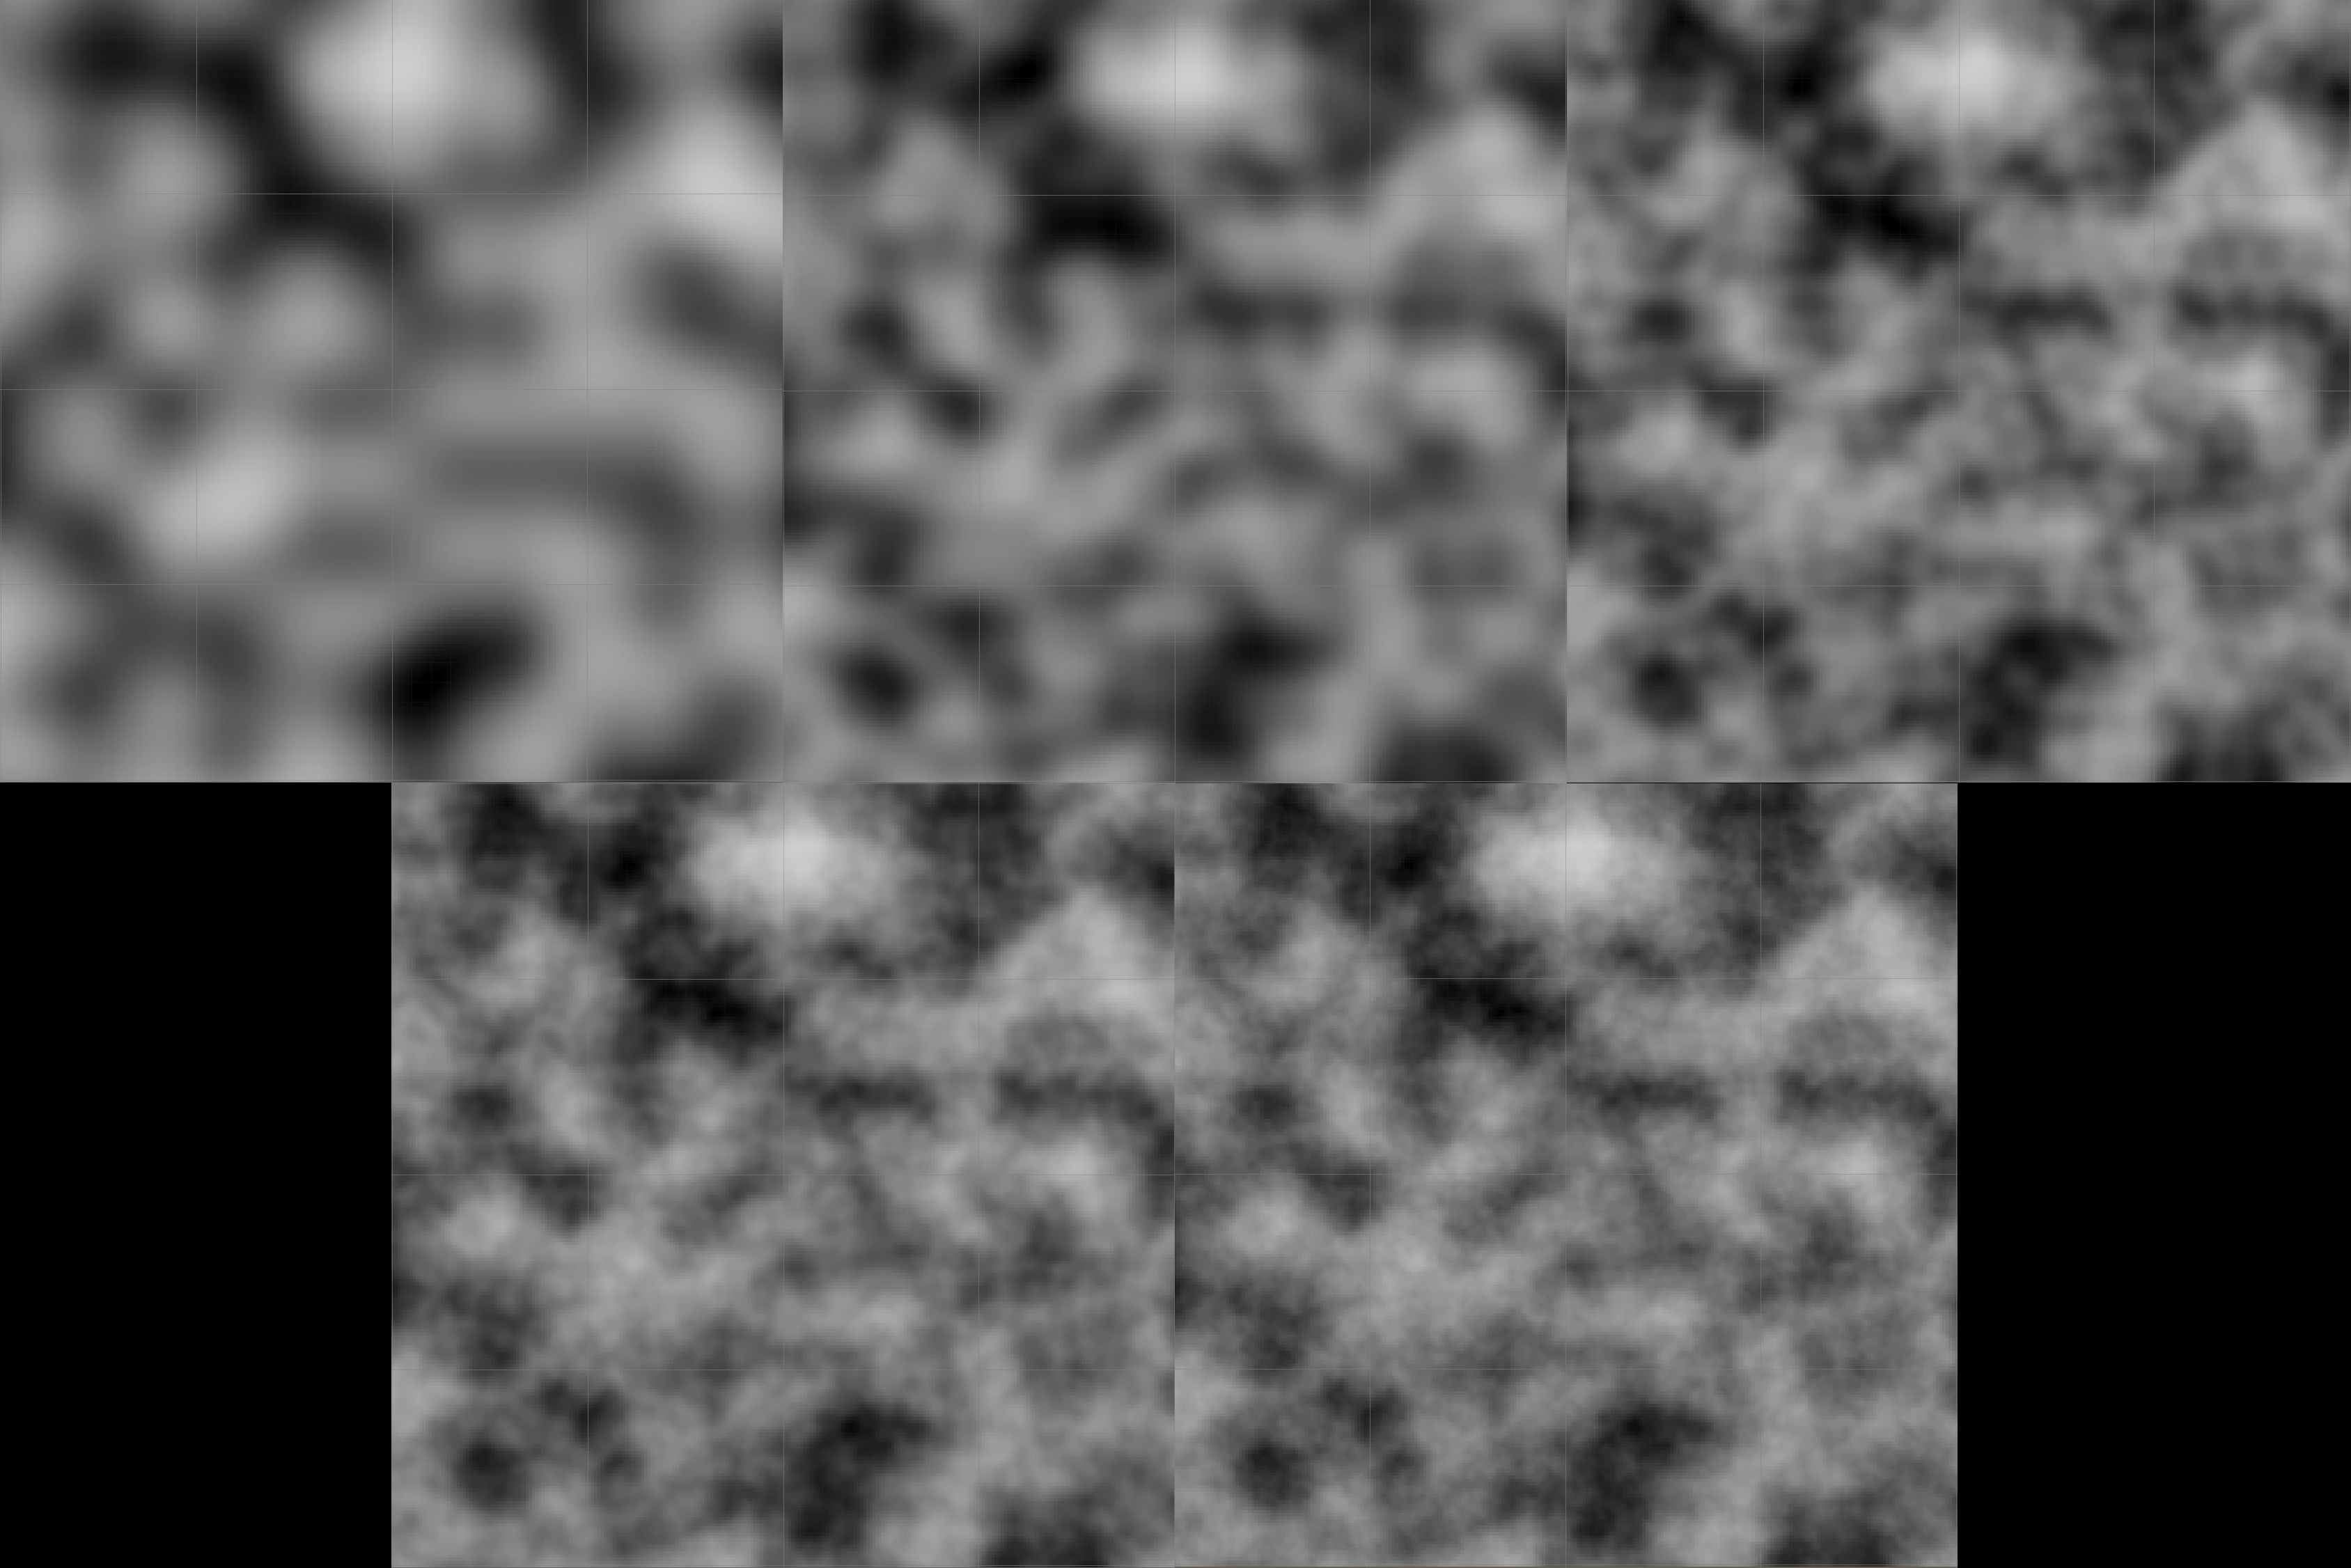
We will add more configuration options in the upcoming steps, but for now you should be able to control the size of the map and the scaling of the random data, which gives the appearance of zooming in and out of the random noise.
Even though we only see a square portion of the map, the actual range of the random data is much more vast. It would be helpful if we could travel across the map beyond the default square to find portions we want to use in our game. We will add an offset property that will allow users to configure this.
Because the user can offset in any direction on the two dimensional plane, a Vector2 is used to describe the desired distance. We'll add a Vector2 offset as an argument to our generate function. (Line 6) We'll use that offset to shift where we are visualizing data in the Perlin noise map. (Lines 24 and 25)
Noise.cs
public static float[,] GenerateNoiseMap(int mapSize, float scale, Vector2 offset) { // Prepare an empty array at the size of our map float[,] noiseMap = new float[mapSize, mapSize]; // Avoid dividing by 0 and negative-sized maps if (scale <= 0) { scale = 0.0001f; } // Track our highest and lowest values float maxNoiseHeight = float.MinValue; float minNoiseHeight = float.MaxValue; // Generate a random perlin noise value at each position on our map for (int y = 0; y < mapSize; y++) { for (int x = 0; x < mapSize; x++) { float perlinValue = 0; float sampleX = x / scale + offset.x; float sampleY = y / scale + offset.y; perlinValue = Mathf.PerlinNoise(sampleX, sampleY);
In MapGenerator, we should add an inspector property where the user can configure a Vector2 to use as the offset, and that offset variable should be passed along to the Noise utility we just edited.
MapGenerator.cs
// Configuration public int mapSize = 240; public float noiseScale = 50f; public Vector2 offset; // Methods public void GenerateMap() { float[,] noiseMap = Noise.GenerateNoiseMap(mapSize, noiseScale, offset);
If you click the label for X or Y of the Offset and drag through a range of values, you can visualize how these numbers pan across a vast map of random data as the scene preview updates in real time.
Another change we will add with our map offset is to adjust the map to size and scale from the center. Currently if you change the size or scale properties, the entire map appears to shift from a particular corner, which can be a little disorienting
By computing half the size of the map (Line 15) and using that measurement to adjust where we sample X and Y coordinates (Lines 26 and 27), the map will appear to size and scale from the center.
Noise.cs
public static float[,] GenerateNoiseMap(int mapSize, float scale, Vector2 offset) { // Prepare an empty array at the size of our map float[,] noiseMap = new float[mapSize, mapSize]; // Avoid dividing by 0 and negative-sized maps if (scale <= 0) { scale = 0.0001f; } float halfSize = mapSize / 2f; // Track our highest and lowest values float maxNoiseHeight = float.MinValue; float minNoiseHeight = float.MaxValue; // Generate a random perlin noise value at each position on our map for (int y = 0; y < mapSize; y++) { for (int x = 0; x < mapSize; x++) { float perlinValue = 0; float sampleX = (x - halfSize) / scale + offset.x; float sampleY = (y - halfSize) / scale + offset.y; perlinValue = Mathf.PerlinNoise(sampleX, sampleY);
Although we can now change the size, scale, and offset of the map through the inspector, such properties appear to just zoom and scroll across different parts of the same noise data. We don't yet have a setting that will let us request a new random map or view the same random map as another user. (Recall our previous discussion on the Game Design value of repeatable randomness.) To achieve this extra control over the data, we need to expose a property that will configure the Seed of the random generation.
If you need a reminder how this works, you can review our discussion of the use of Seeds in the "Terminology and Concepts" step.
Noise.cs
public static float[,] GenerateNoiseMap(int mapSize, float scale, Vector2 offset, int seed) { // Prepare an empty array at the size of our map float[,] noiseMap = new float[mapSize, mapSize]; // Avoid dividing by 0 and negative-sized maps if (scale <= 0) { scale = 0.0001f; } float halfSize = mapSize / 2f; // Initialize our pseudo-random number generator (prng) System.Random prng = new System.Random(seed); float offsetX = prng.Next(-100000, 100000) + offset.x; float offsetY = prng.Next(-100000, 100000) + offset.y; // Track our highest and lowest values float maxNoiseHeight = float.MinValue; float minNoiseHeight = float.MaxValue; // Generate a random perlin noise value at each position on our map for (int y = 0; y < mapSize; y++) { for (int x = 0; x < mapSize; x++) { float perlinValue = 0; float sampleX = (x - halfSize) / scale + offsetX; float sampleY = (y - halfSize) / scale + offsetY; perlinValue = Mathf.PerlinNoise(sampleX, sampleY);
The seed used by the random number generator is configured when the generator is initialized. We'll supply a seed into our GenerateNoiseMap() function as an additional argument. (Line 6) We'll create a random number generator whose constructor will use the supplied integer as a seed. (Lines 17 and 18)
You will sometimes see terminology labeling this technique as "psuedo-random" because when we create numbers in a predictably random fashion, the randomness can be determined by some algorithm, and is therefore not truly random. True randomness is important in the study of Mathematics and cryptography, but it is not much of a hindrance for gameplay purposes. What is important for our use is if the same seed number is supplied to the random generator on multiple computers, then those computers will be able to generate the same random map and conceivably play the same game level together.
We'll use our number generator to place us at random positions on the Perlin noise data by modifying our offsets a random amount. (Lines 19 and 20) In essence, we are actually randomizing our location somewhere in the Perlin noise map rather than generating a completely new random landscape every time. Some platforms struggle to generate values at extreme distances, so we constrain our randomization between -100,000 and 100,000. Finally, we must supply these randomized offsets to the Perlin noise function. (Lines 31 and 32)
In MapGenerator, we should add an inspector property where the user can configure an integer to use as a seed (Line 18), and that seed variable should be passed along to the Noise function we just edited. (Line 22)
MapGenerator.cs
// Configuration public int mapSize = 240; public float noiseScale = 50f; public Vector2 offset; public int seed; // Methods public void GenerateMap() { float[,] noiseMap = Noise.GenerateNoiseMap(mapSize, noiseScale, offset, seed);
If you inspect Map Generator and try different values for the Seed property, you can visualize how these numbers preview an entirely separate area of random map data. Additionally, if you ever reset to the same seed value, you should see the same data every time. At this point, we can generate random noise maps, but also control that we see the same random map when we want.
Although the random "clouds" appear very amorphous and unpredictable, there is no sense that there are even smaller random details to be discovered should you zoom in. We can achieve a greater sense of depth of detail in the map by layering more randomization in the form of octaves.
If you need a reminder how this works, you can review our discussion of the use of Octaves in the "Terminology and Concepts" step.
We will supply an "octaves" setting as an additional integer which describes how many more layers to add to the noise generation. (Line 6) Each octave should use random data from a different area of Perlin noise to avoid adding the same random data to itself. To achieve this, each octave will have a different randomized offset. (Lines 19 to 24) The code to measure the Perlin noise at any position on the map already exists, but we need to repeat that code for every octave. Any individual map point is the combination of all octaves, so we must loop through each octave and add each of their contributions to our measurement. (Lines 33 to 39)
Noise.cs
public static float[,] GenerateNoiseMap(int mapSize, float scale, Vector2 offset, int seed, int octaves) { // Prepare an empty array at the size of our map float[,] noiseMap = new float[mapSize, mapSize]; // Avoid dividing by 0 and negative-sized maps if (scale <= 0) { scale = 0.0001f; } float halfSize = mapSize / 2f; // Initialize our pseudo-random number generator (prng) System.Random prng = new System.Random(seed); Vector2[] octaveOffsets = new Vector2[octaves]; for (int i = 0; i < octaves; i++) { float offsetX = prng.Next(-100000, 100000) + offset.x; float offsetY = prng.Next(-100000, 100000) + offset.y; octaveOffsets[i] = new Vector2(offsetX, offsetY); } // Track our highest and lowest values float maxNoiseHeight = float.MinValue; float minNoiseHeight = float.MaxValue; // Generate a random perlin noise value at each position on our map for (int y = 0; y < mapSize; y++) { for (int x = 0; x < mapSize; x++) { float perlinValue = 0; for(int i = 0; i < octaves; i++) { float sampleX = (x - halfSize) / scale + octaveOffsets[i].x; float sampleY = (y - halfSize) / scale + octaveOffsets[i].x; float perlinSample = Mathf.PerlinNoise(sampleX, sampleY); perlinValue += perlinSample; } // Track our highest and lowest values if(perlinValue > maxNoiseHeight) { maxNoiseHeight = perlinValue; } else if(perlinValue < minNoiseHeight) { minNoiseHeight = perlinValue; } // Save randomly generated value to the map noiseMap[x, y] = perlinValue; } }
In MapGenerator, we add an integer property for configuring the number of octaves (Line 19) and share that variable when we use our Noise functions. (Line 23) As we add more configuration options, there is greater risk that game-breaking values could be supplied. In this step, we'll also add an OnValidate function that will enforce proper values. (Lines 31 to 39)
MapGenerator.cs
// Configuration public int mapSize = 240; public float noiseScale = 50f; public Vector2 offset; public int seed; public int octaves; // Methods public void GenerateMap() { float[,] noiseMap = Noise.GenerateNoiseMap(mapSize, noiseScale, offset, seed, octaves); if(drawMode == DrawMode.NoiseMap) { Texture2D mapTexture = TextureGenerator.TextureFromHeightMap(noiseMap); display.DrawTexture(mapTexture); } } void OnValidate() { if(mapSize < 1) { mapSize = 1; } if(octaves < 0) { octaves = 0; } }
You can now try the octaves setting by inspecting the "Map Generator" game object, but the results don't look great. This implementation has a problem because it is incomplete. Although we have set up octaves, each octave has roughly the same amplitude and frequency range, making the result more of a cacophany of noise rather than an orchestra. We must still set up persistence and lacunarity to fix this in the remaining steps.
Adding a persistence setting will reduce the amplitude of each subsequent octave to avoid overpowering the previous ones.
We add persistence as a float argument to our Noise function. (Line 6) We use a float so that the persistence value can be multiplied throughout our computations as a modifier of the amplitude. We establish a base amplitude modifier of 1 (Line 34) and multiply our Perlin measurement by that amplitude. (Line 40) Each subsequent octave, however, will be multiplied to a reduced amplitude as determined by the persistence value. (Line 42) Peristence is typically measured between 0 and 1, so a persistence value of 0.5 would mean that each octave has half the amplitude of the prior octave.
Noise.cs
public static float[,] GenerateNoiseMap(int mapSize, float scale, Vector2 offset, int seed, int octaves, float persistence) {
Noise.cs
// Generate a random perlin noise value at each position on our map for (int y = 0; y < mapSize; y++) { for (int x = 0; x < mapSize; x++) { float perlinValue = 0; float amplitude = 1f; for(int i = 0; i < octaves; i++) { float sampleX = (x - halfSize) / scale + octaveOffsets[i].x; float sampleY = (y - halfSize) / scale + octaveOffsets[i].x; float perlinSample = Mathf.PerlinNoise(sampleX, sampleY); perlinValue += perlinSample * amplitude; amplitude *= persistence; }
In MapGenerator, we add persistence as a float property. (Line 22) A technique for constraining possible values is preceed the property with an attribute. In this case, a RangeAttribute is used to ensure that persistence is a float value between 0 and 1. (Line 21) As usual, the persistence value is passed to our Noise function with the rest of the settings. (Line 26)
MapGenerator.cs
// Configuration public int mapSize = 240; public float noiseScale = 50f; public Vector2 offset; public int seed; public int octaves; [Range(0, 1)] public float persistence = 0.5f; // Methods public void GenerateMap() { float[,] noiseMap = Noise.GenerateNoiseMap(mapSize, noiseScale, offset, seed, octaves, persistence); if(drawMode == DrawMode.NoiseMap) { Texture2D mapTexture = TextureGenerator.TextureFromHeightMap(noiseMap); display.DrawTexture(mapTexture); } }
In the inspector, you can see that the RangeAttribute causes the persistence property to render as a slider.
The resulting map preview looks improved compared to the prior step, but we still require a lacunarity setting to add clearer details to the map.
Adding a lacunarity setting will increase the frequency of each subsequent octave adding smaller details to the map with each additional octave.
We add lacunarity as a float argument to our Noise function. (Line 6) We use a float so that the lacunarity value can be multiplied throughout our computations as a modifier of the frequency. We establish a base frequency multiplier of 1 (Line 35) and multiply our X and Y sample positions by our frequency modifier. (Lines 38 and 39) Each subsequent octave, however, will be multiplied to an increased frequency as determined by the lacunarity value. (Line 44) Lacunarity should be configured greather than 1, so a lacunarity value of 2 would mean that each octave has double the frequency of the prior octave.
Noise.cs
public static float[,] GenerateNoiseMap(int mapSize, float scale, Vector2 offset, int seed, int octaves, float persistence, float lacunarity) {
Noise.cs
// Generate a random perlin noise value at each position on our map for (int y = 0; y < mapSize; y++) { for (int x = 0; x < mapSize; x++) { float perlinValue = 0; float amplitude = 1f; float frequency = 1f; for(int i = 0; i < octaves; i++) { float sampleX = (x - halfSize) / scale * frequency + octaveOffsets[i].x; float sampleY = (y - halfSize) / scale * frequency + octaveOffsets[i].x; float perlinSample = Mathf.PerlinNoise(sampleX, sampleY); perlinValue += perlinSample * amplitude; amplitude *= persistence; frequency *= lacunarity; }
In MapGenerator, we add lacunarity as a float property. (Line 23) We pass the lacunarity value to our Noise function with the rest of the settings. (Line 27) To constrain lacunarity input within a reasonable range, we add a value check to the OnValidate function. (Lines 44 to 46)
MapGenerator.cs
// Configuration public int mapSize = 240; public float noiseScale = 50f; public Vector2 offset; public int seed; public int octaves; [Range(0, 1)] public float persistence = 0.5f; public float lacunarity = 2f; // Methods public void GenerateMap() { float[,] noiseMap = Noise.GenerateNoiseMap(mapSize, noiseScale, offset, seed, octaves, persistence, lacunarity); if(drawMode == DrawMode.NoiseMap) { Texture2D mapTexture = TextureGenerator.TextureFromHeightMap(noiseMap); display.DrawTexture(mapTexture); } } void OnValidate() { if(mapSize < 1) { mapSize = 1; } if(octaves < 0) { octaves = 0; } if(lacunarity < 1) { lacunarity = 1; } }
In the inspector, you can see that the addition of the lacunarity property.
The resulting map preview looks much more clearer with both large scale and smaller details. The sequence of images below shows what the default settings (persistence = 0.5, lacunarity = 2) look like as you go from 1 octave to 5 octaves. Each higher octave setting adds additional details while many attributes of the prior octaves still persist. Experiment with different settings to gain a better understanding of the effect each holds.
All this work has been foundational toward producing a curated random number generator. In an upcoming assignment, we will interpret these resulting numbers to create two dimensional and three dimensional video game landscapes.
Unlike prior assignments, this exercise is not tested by hitting Play and using the Game view. Instead, you should test the game using the Scene preview. Inspect the "Map Generator" game object, and ensure all inspector buttons and configuration options perform as described throughout this assignment.
SAVE any open files or scenes.
Submit your assignment for grading following the instructions supplied for your particular classroom.