Home Scene
Players will be able to load saved characters from a Character Select scene (which we will build in an upcoming step). Players can reach the Character Select screen through the Home scene. The Home screen will act as a content hub connecting all of our developer exercises. Building the Home scene is the focus of this step.
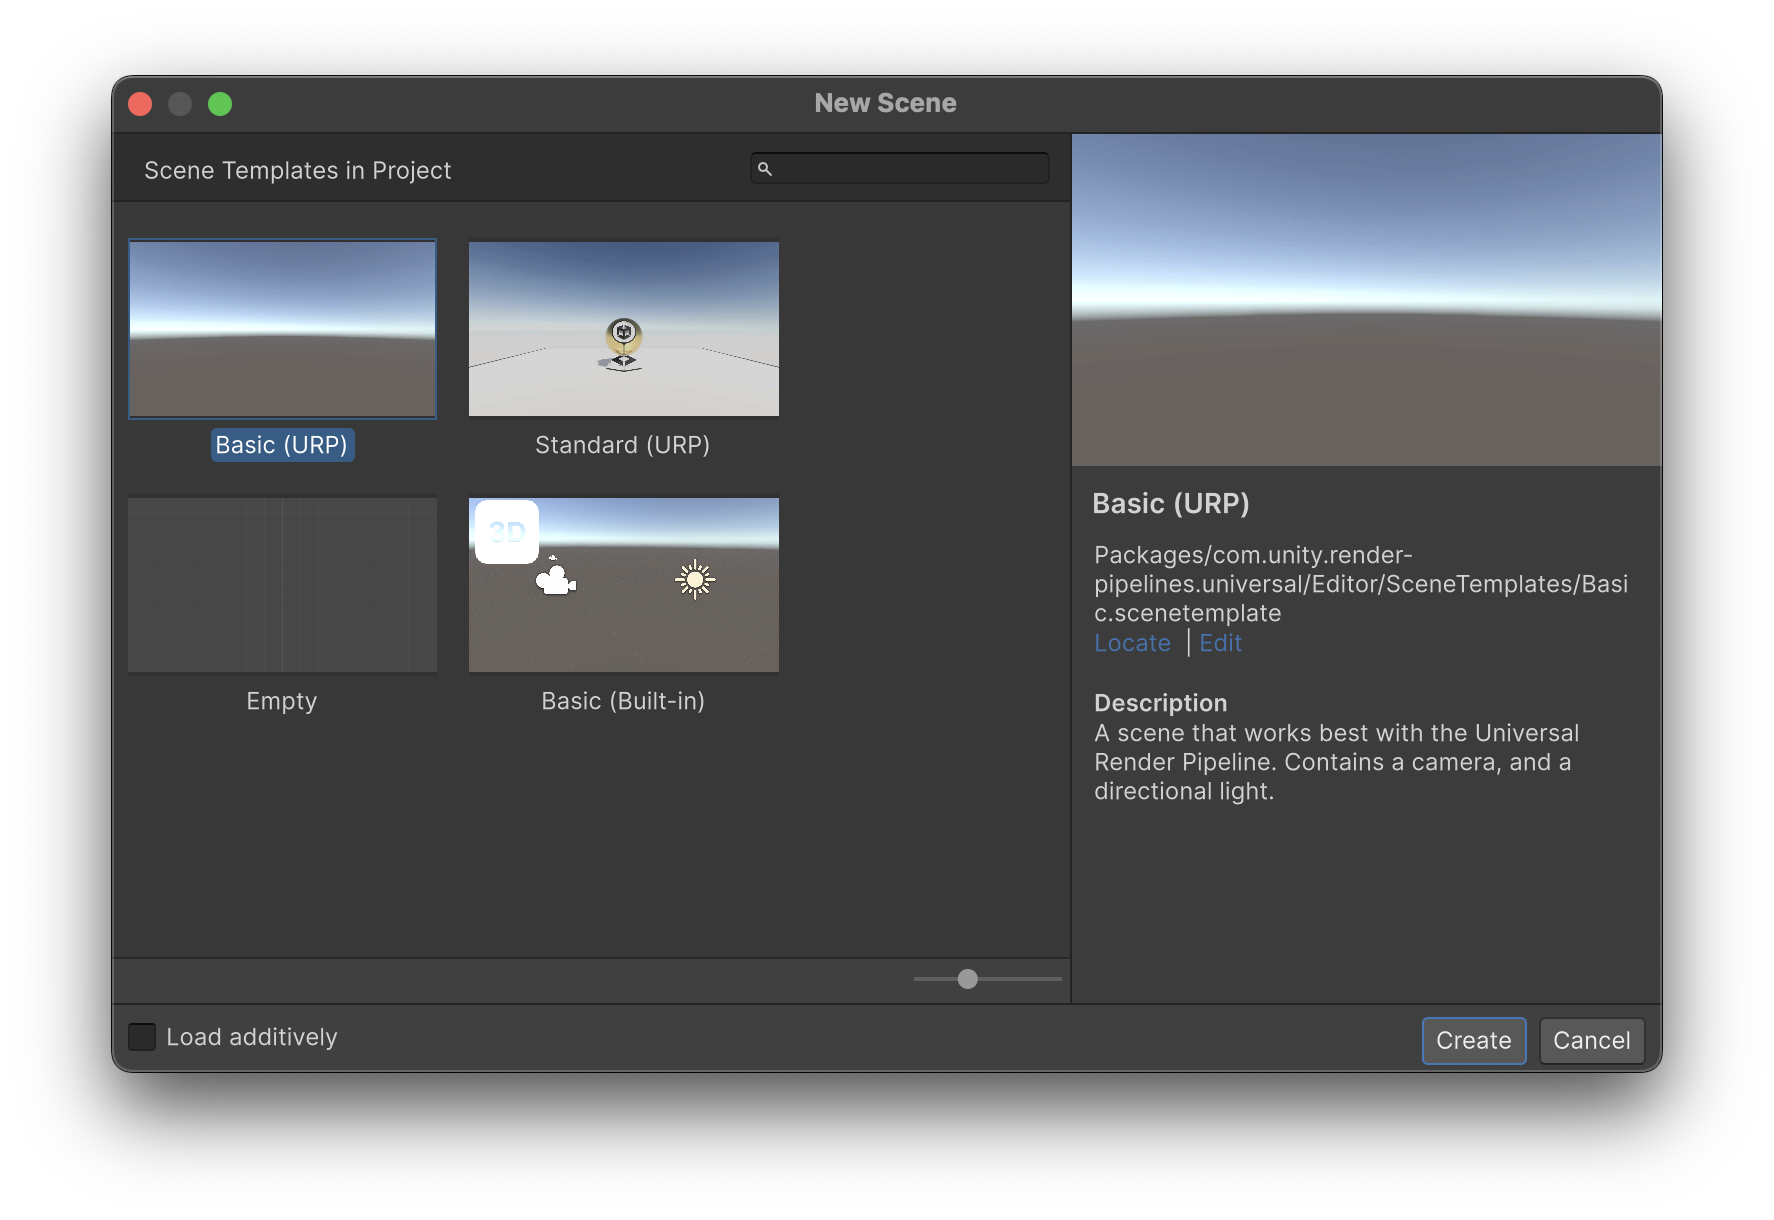
Save any leftover changes in the currently open scene and start a new scene from the File > New Scene menu. Create a scene from the "Basic (URP)" template and save it as "Home" in the /Assets/Scenes/ folder.
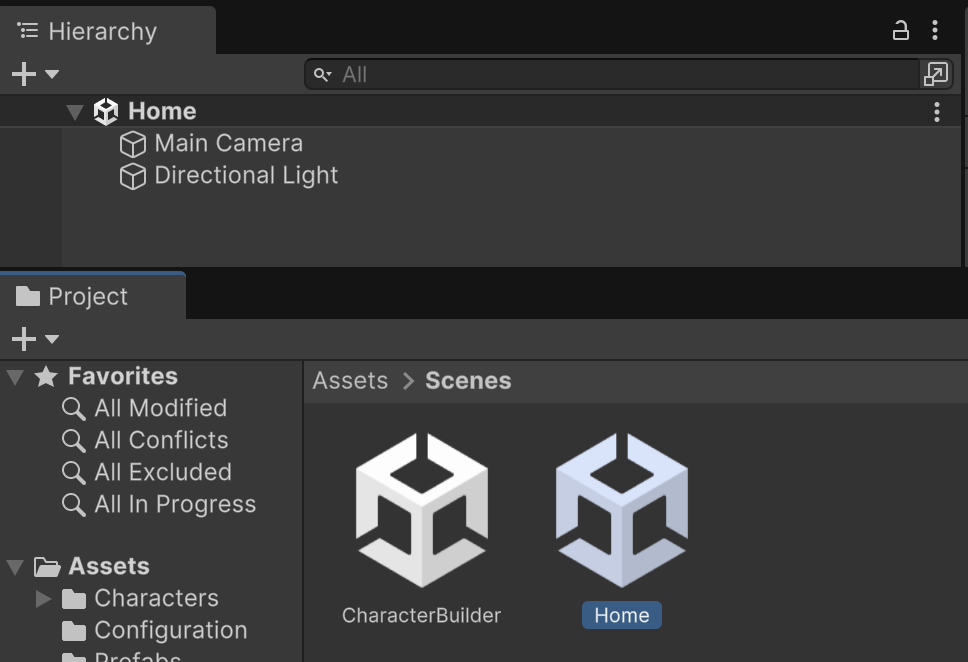
Ensure that the Home scene is the currently open scene for editing.
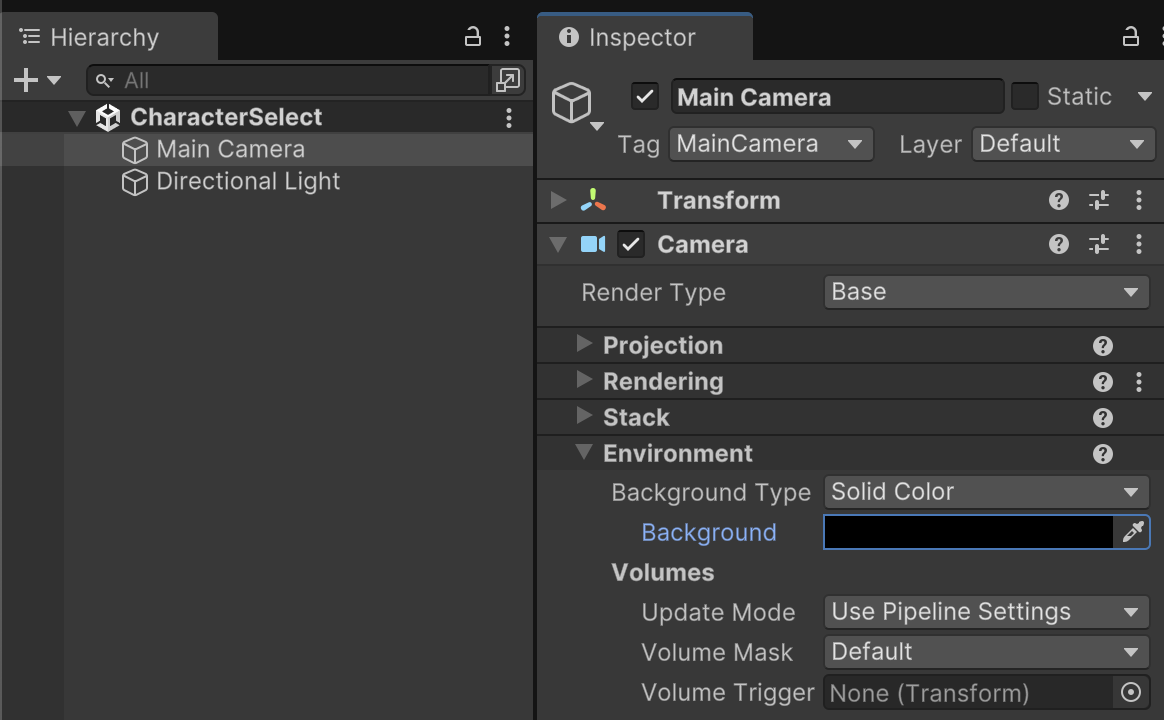
To match the black background of our other scene, inspect Main Camera. Set the Camera's Environment properties to a Solid Color of black.

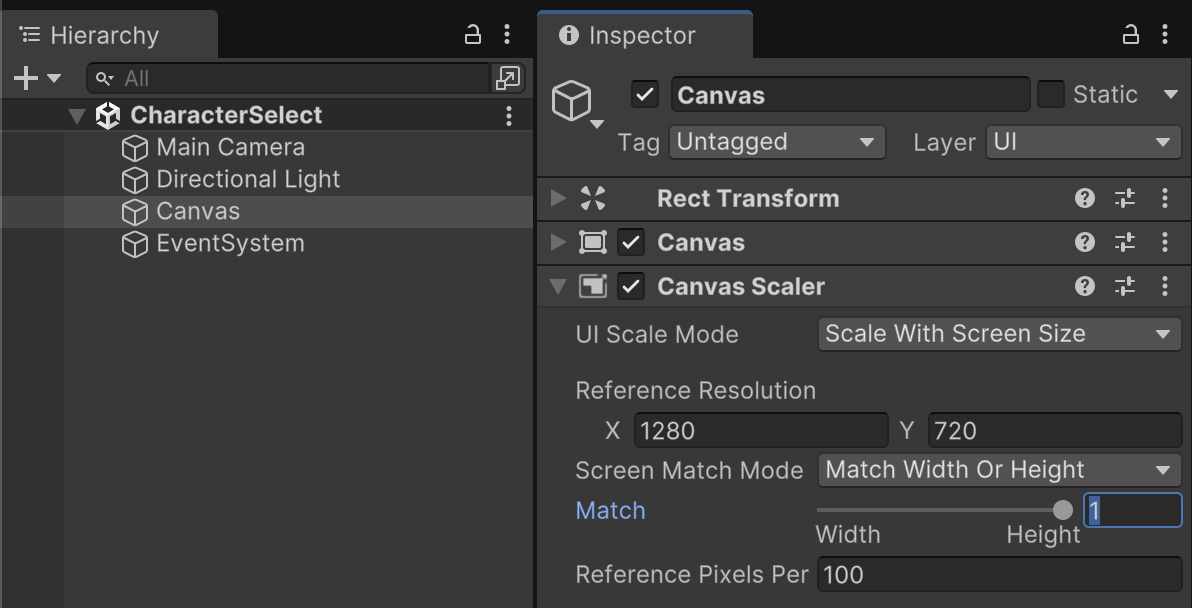
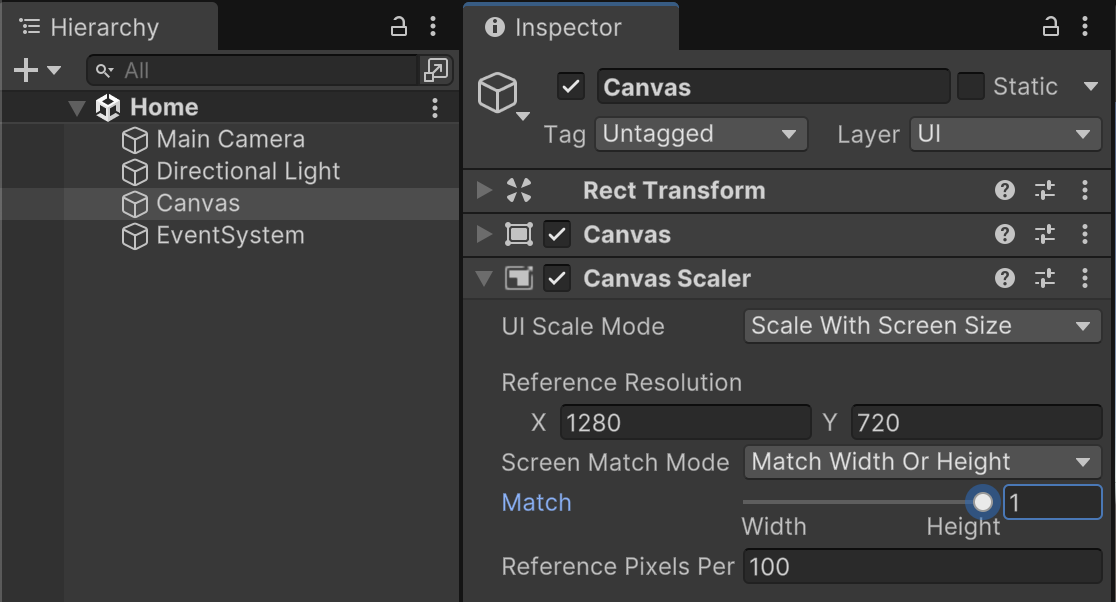
Create a Canvas from the Hierarchy's + > UI menu. In the Canvas Scaler component, switch Mode to "Scale with Screen Size" and set a reference resolution of 1280 by 720 for high definition. Match the Height of the screen to maintain the look of our UI across various widescreen aspect ratios.
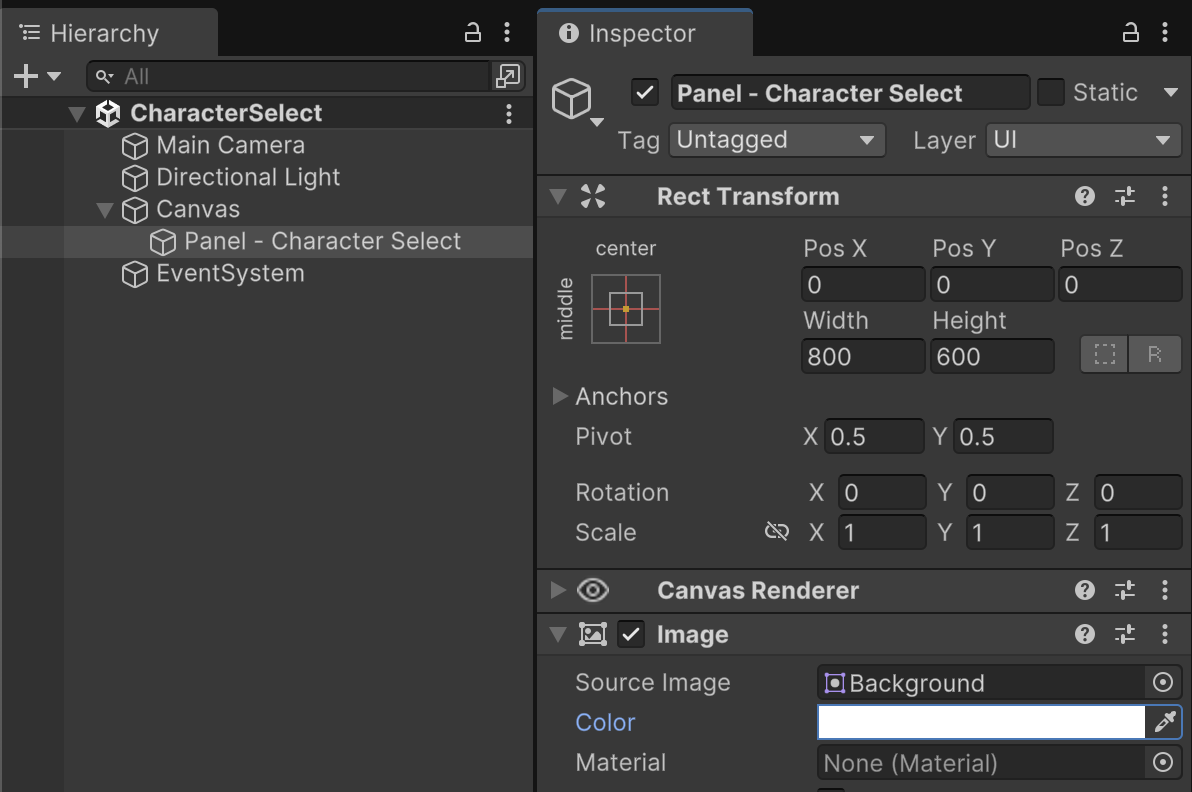
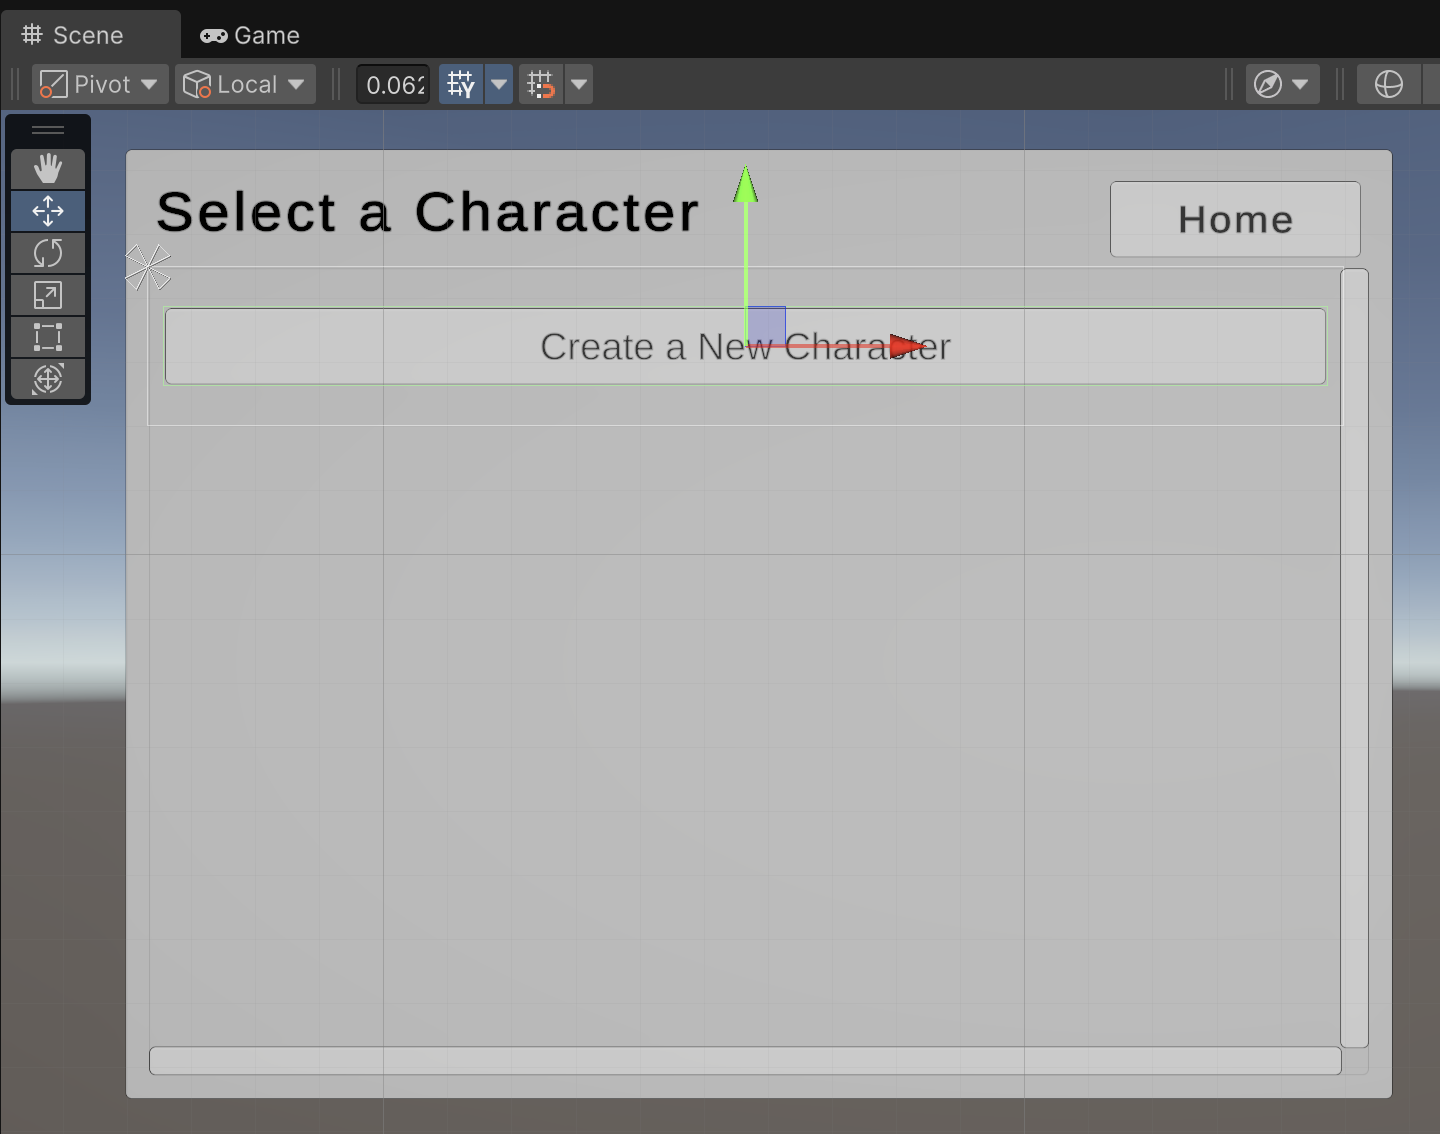
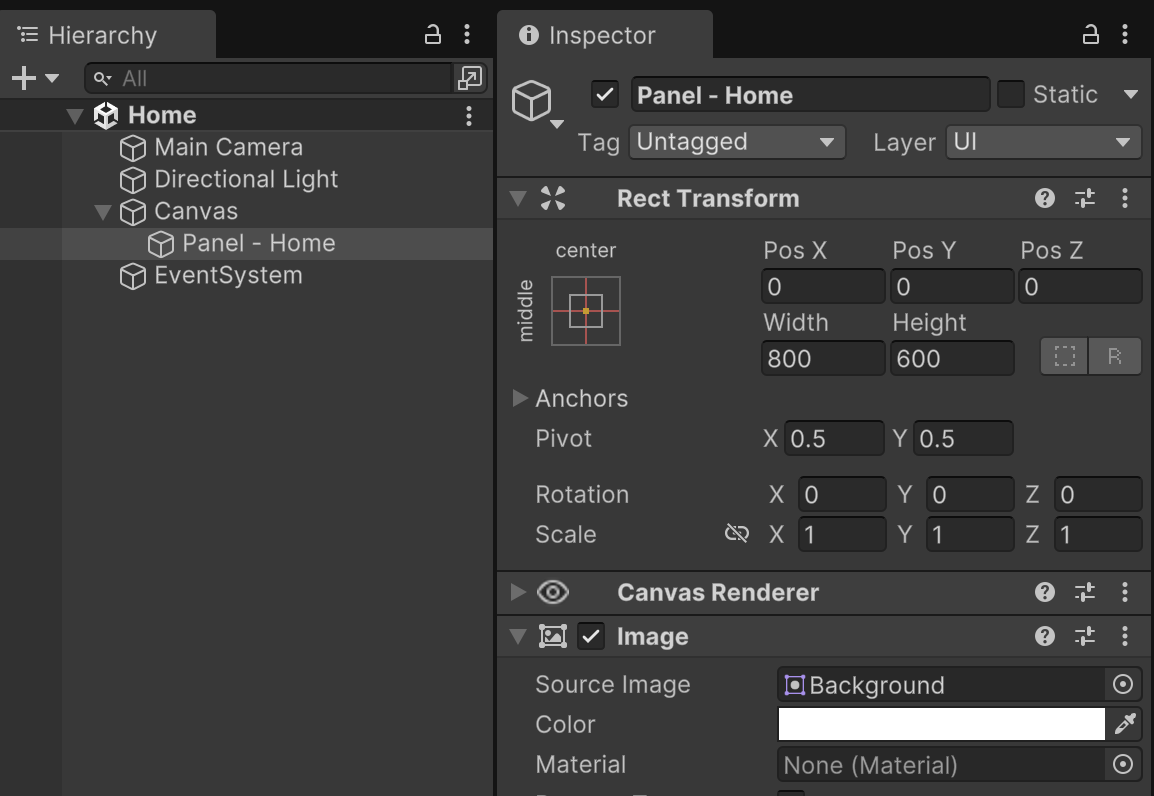
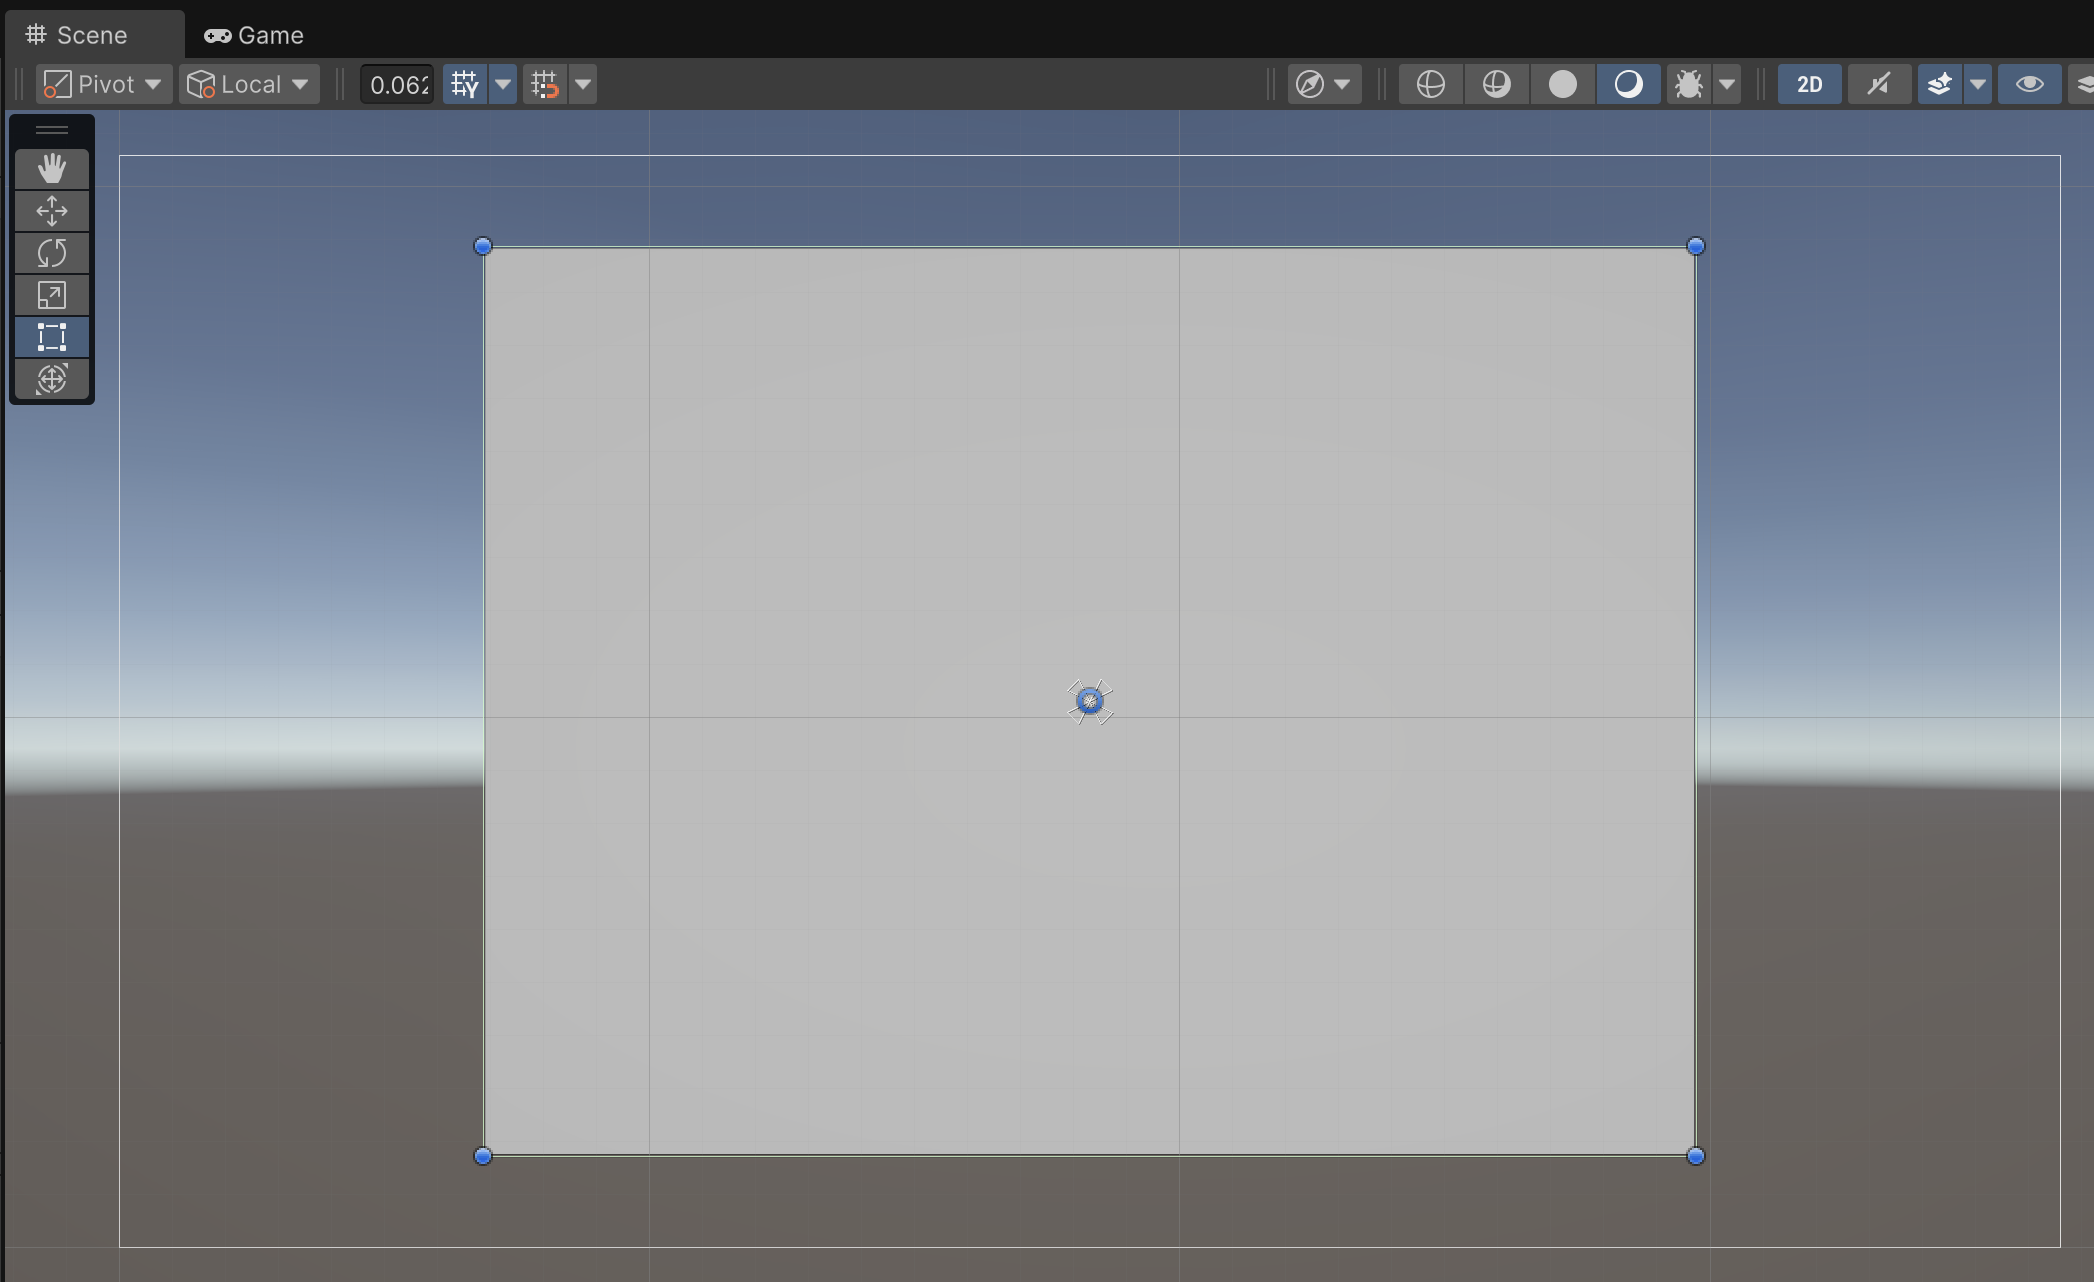
Within the Canvas game object, create a UI Panel named "Panel - Home" to organize the content of this screen. "Panel - Home" should be centered with a size of 800 by 600. Adjust the Image component's Color to remove all of the transparency from this panel, so that it is fully opaque.
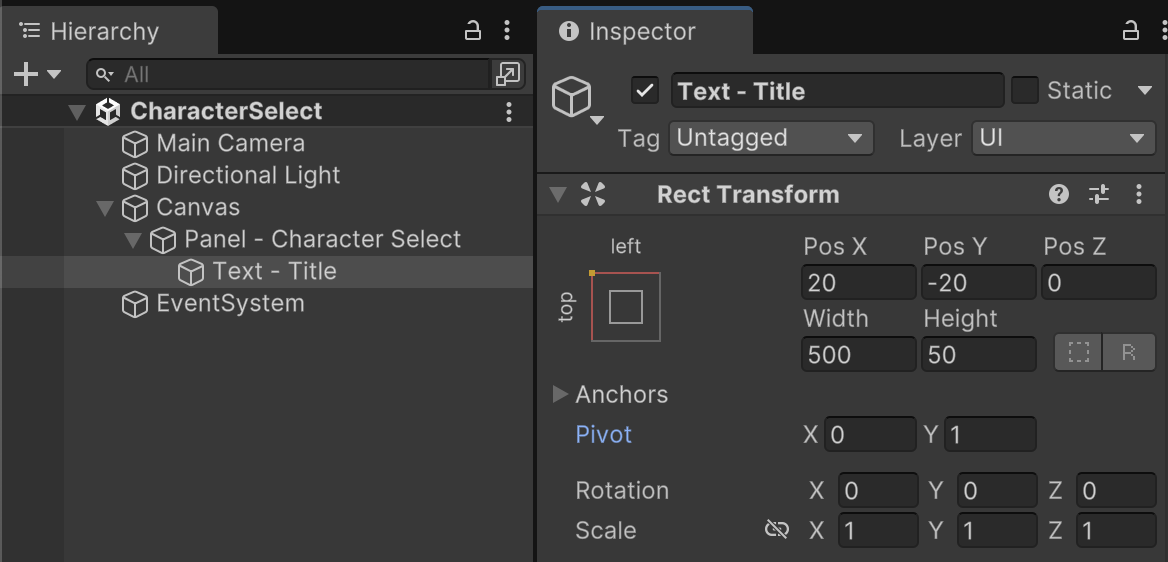
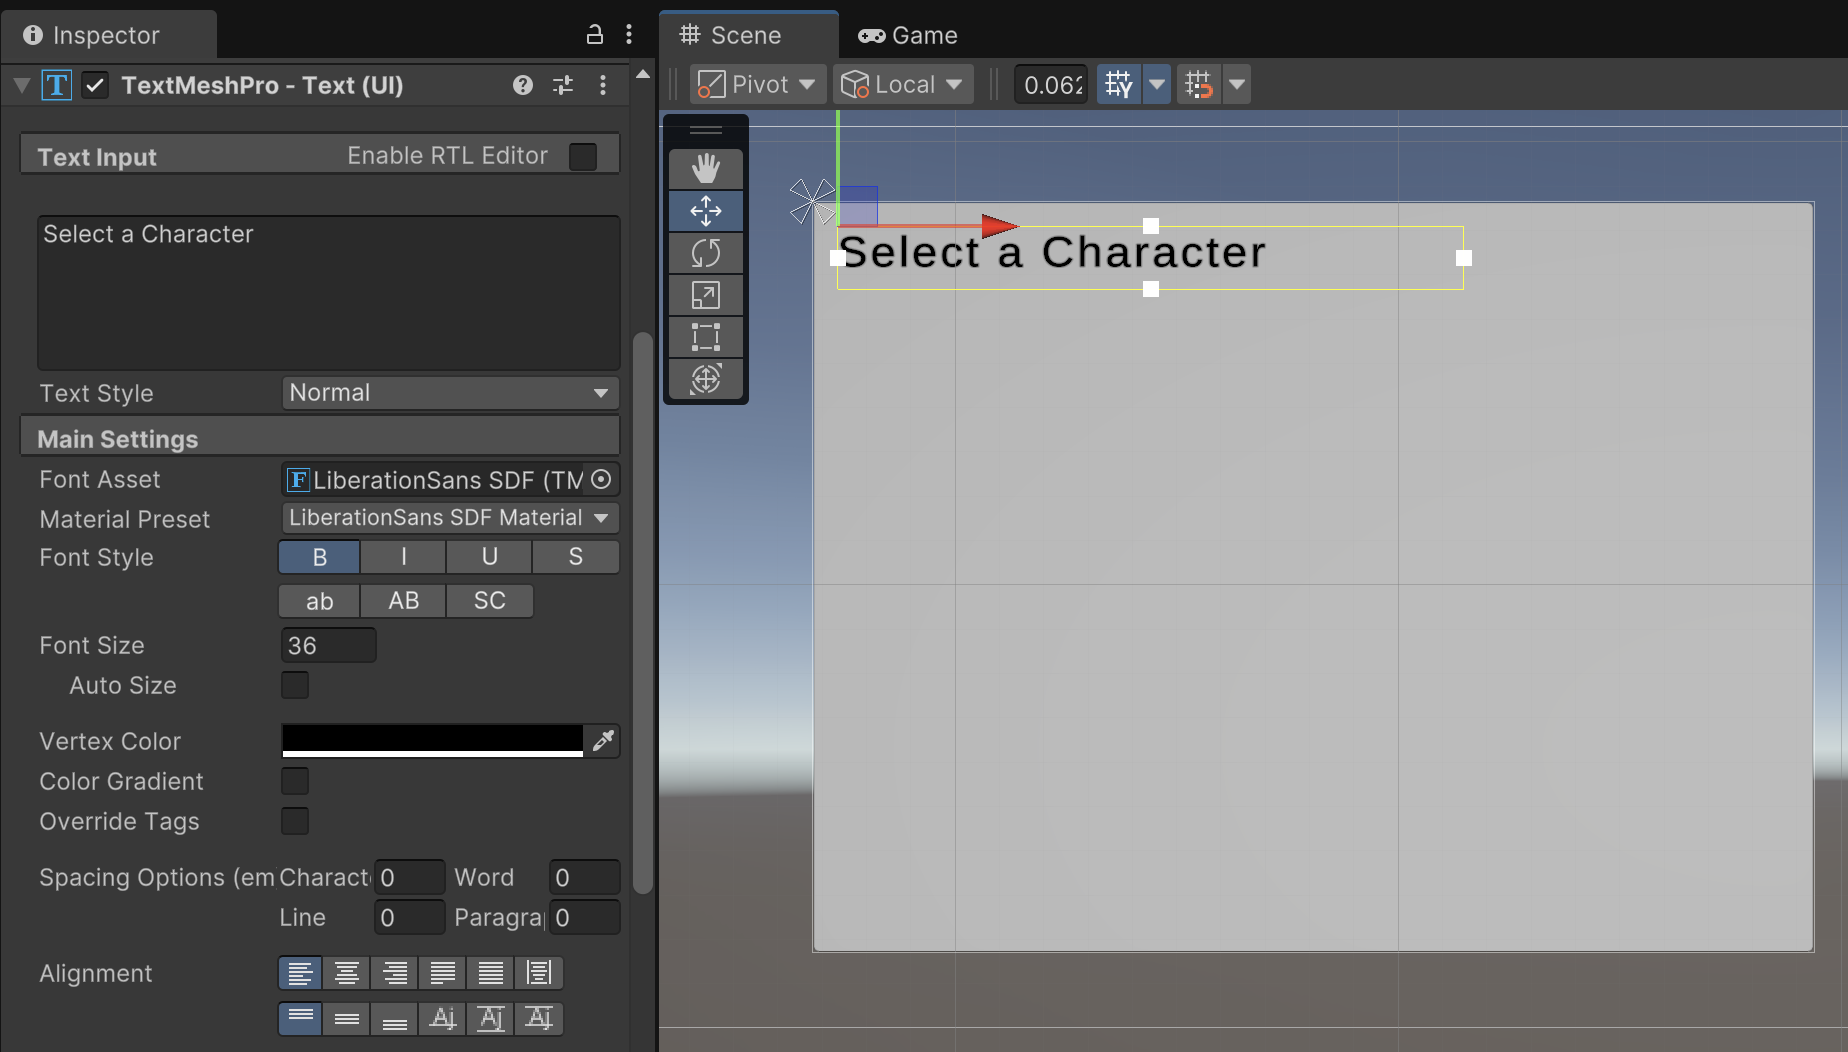
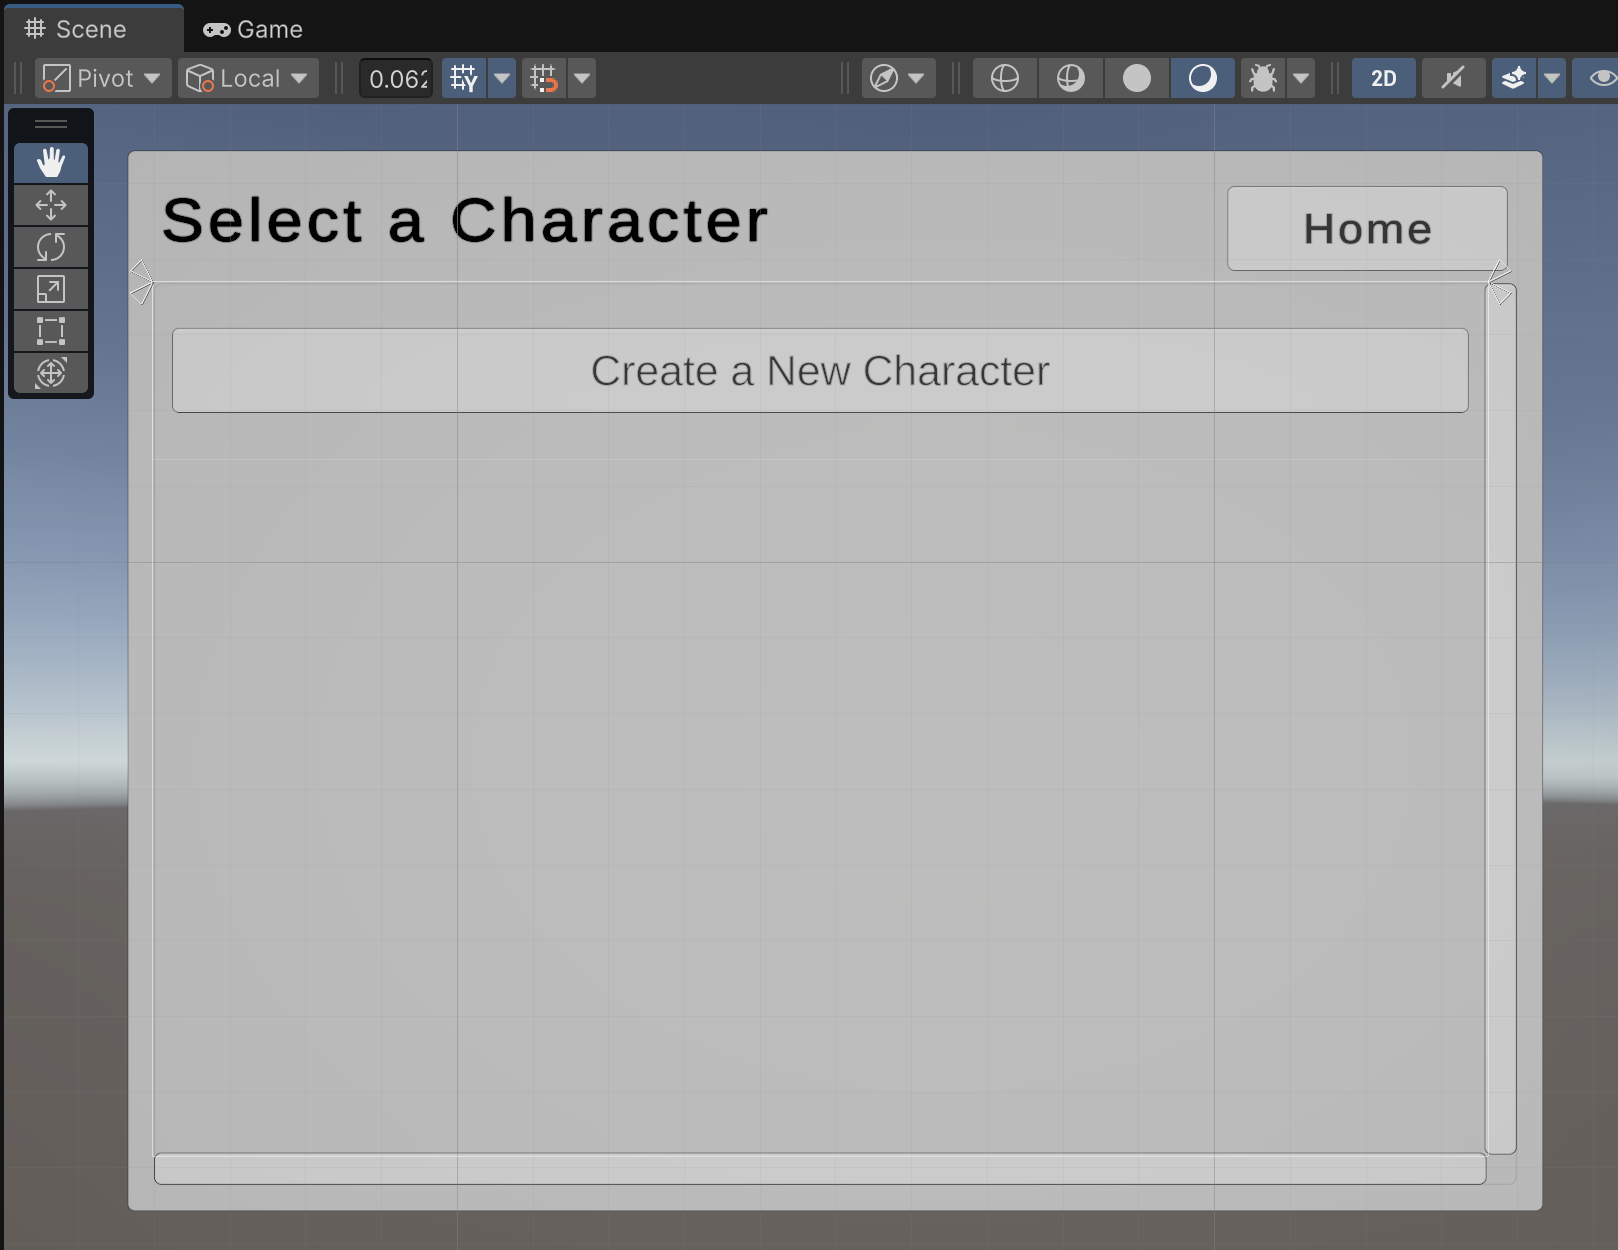
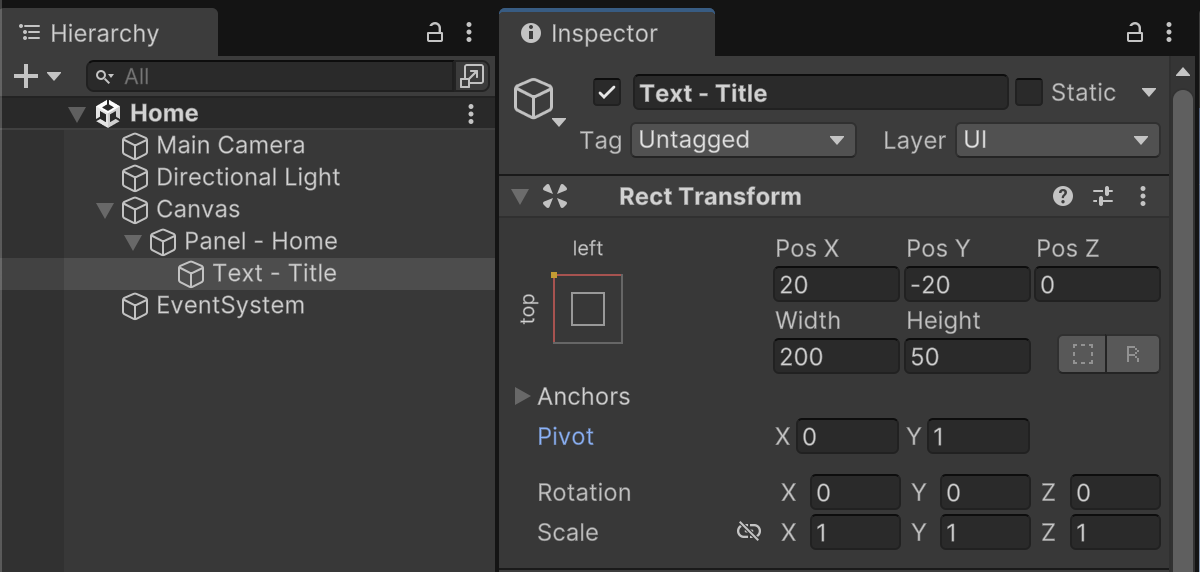
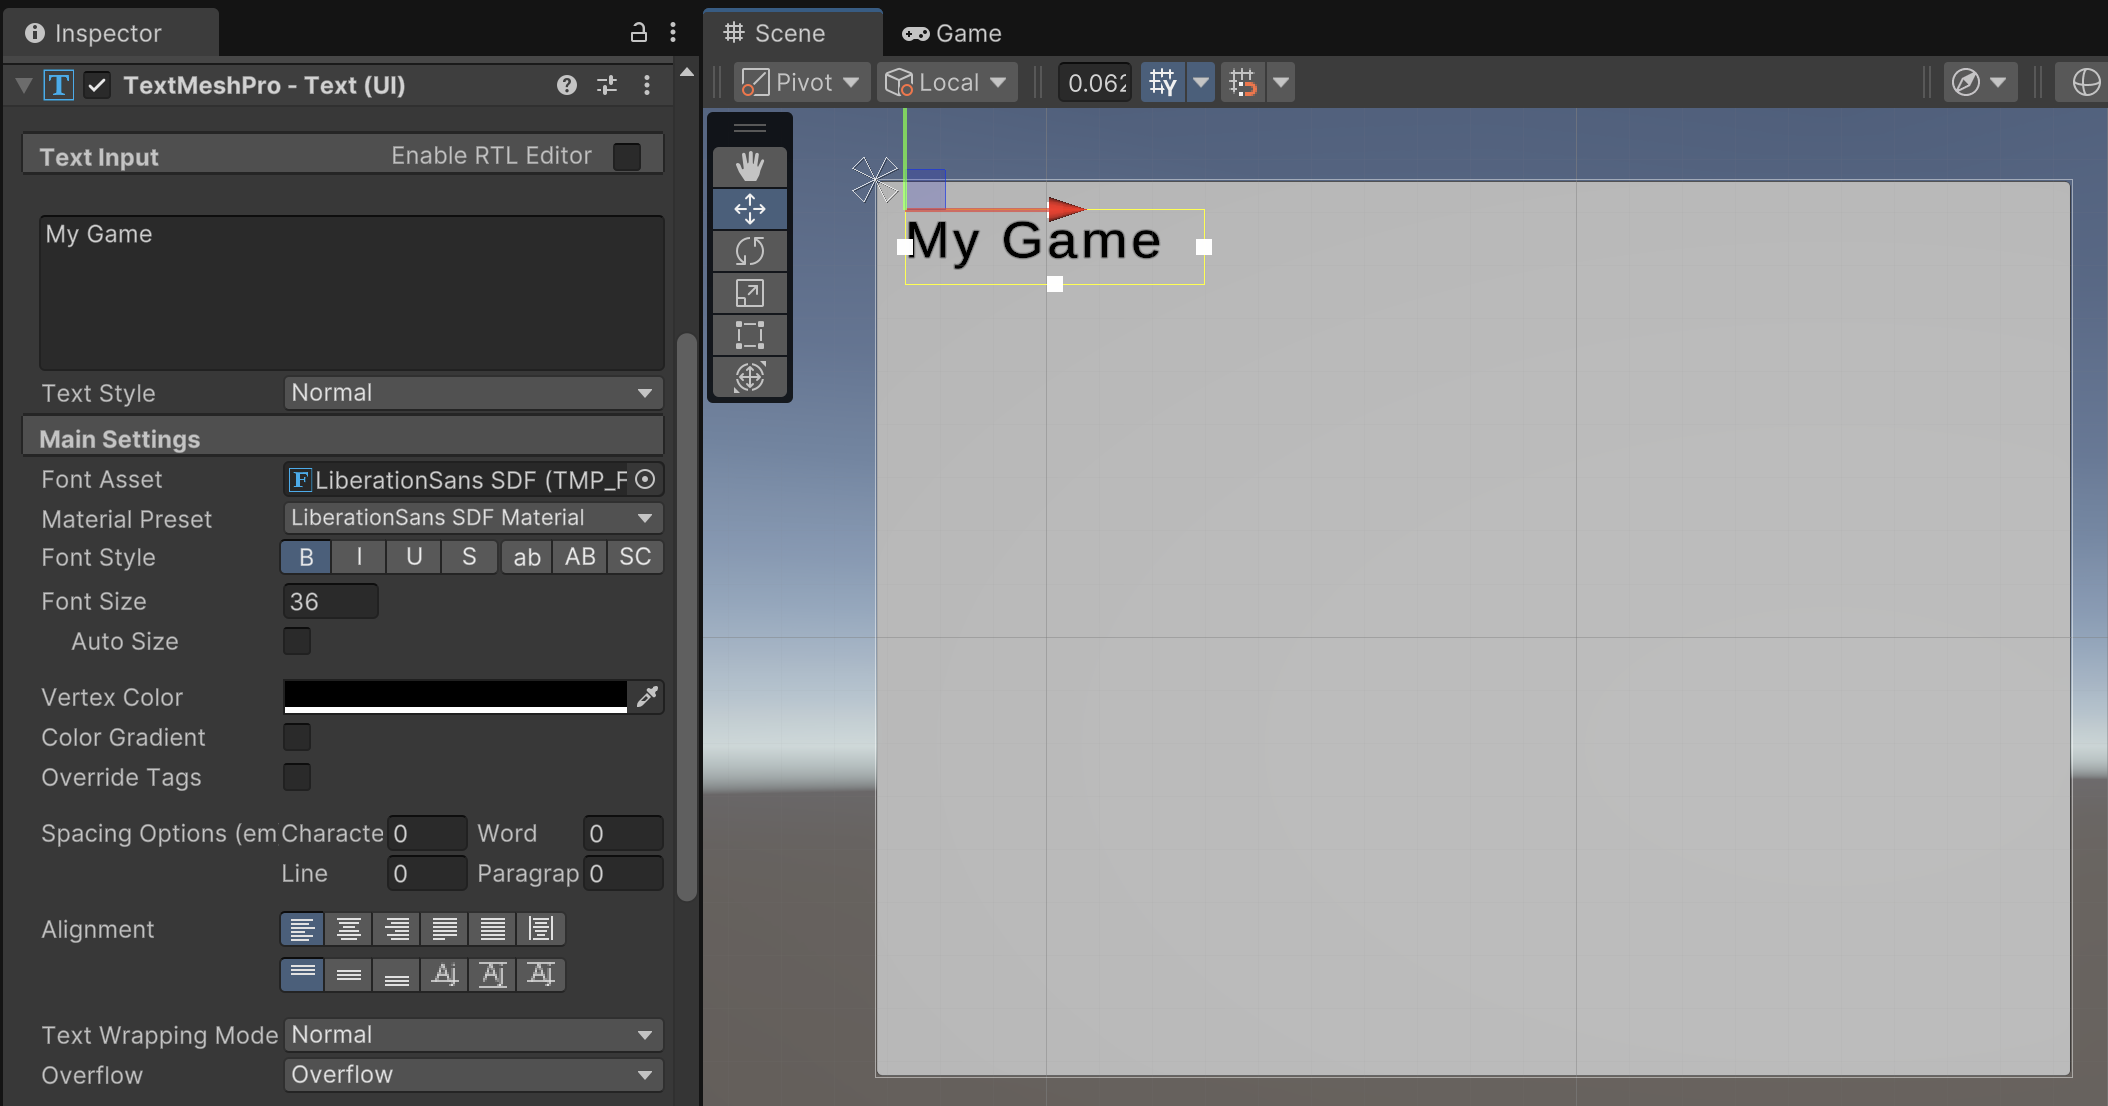
Add a UI Text (TextMeshPro) object as a child of "Panel - Home" and name it "Text - Title". To implement a title header content style, position "Text - Title" anchored and pivoted upper-left with 20 pixels of spacing from the left and 20 pixels down from the top. The text content should read "My Game" with a bold font sized 36. The text color should be black.
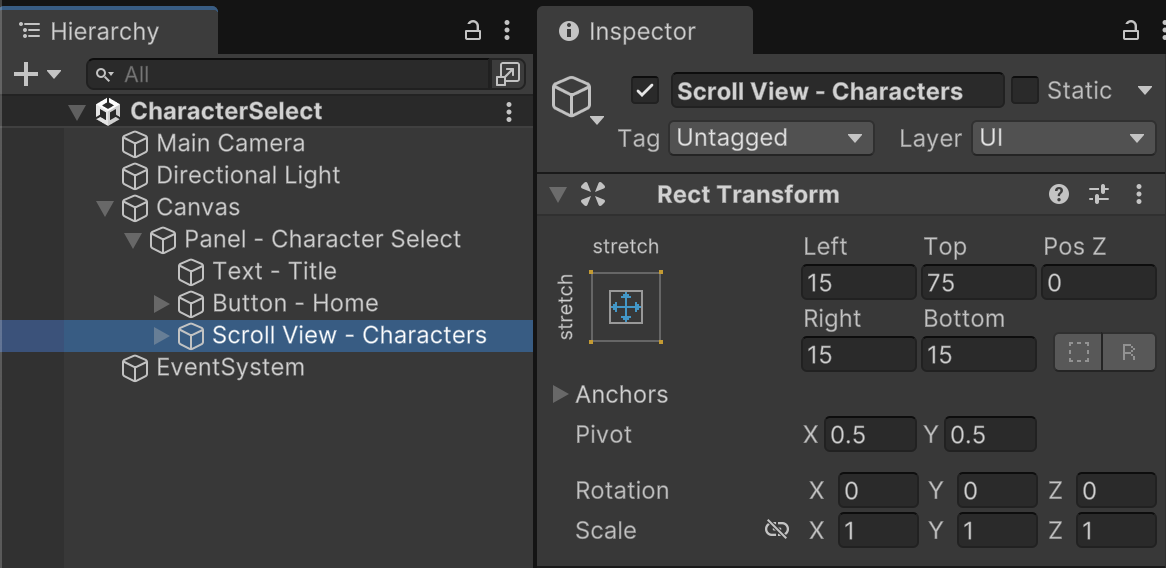
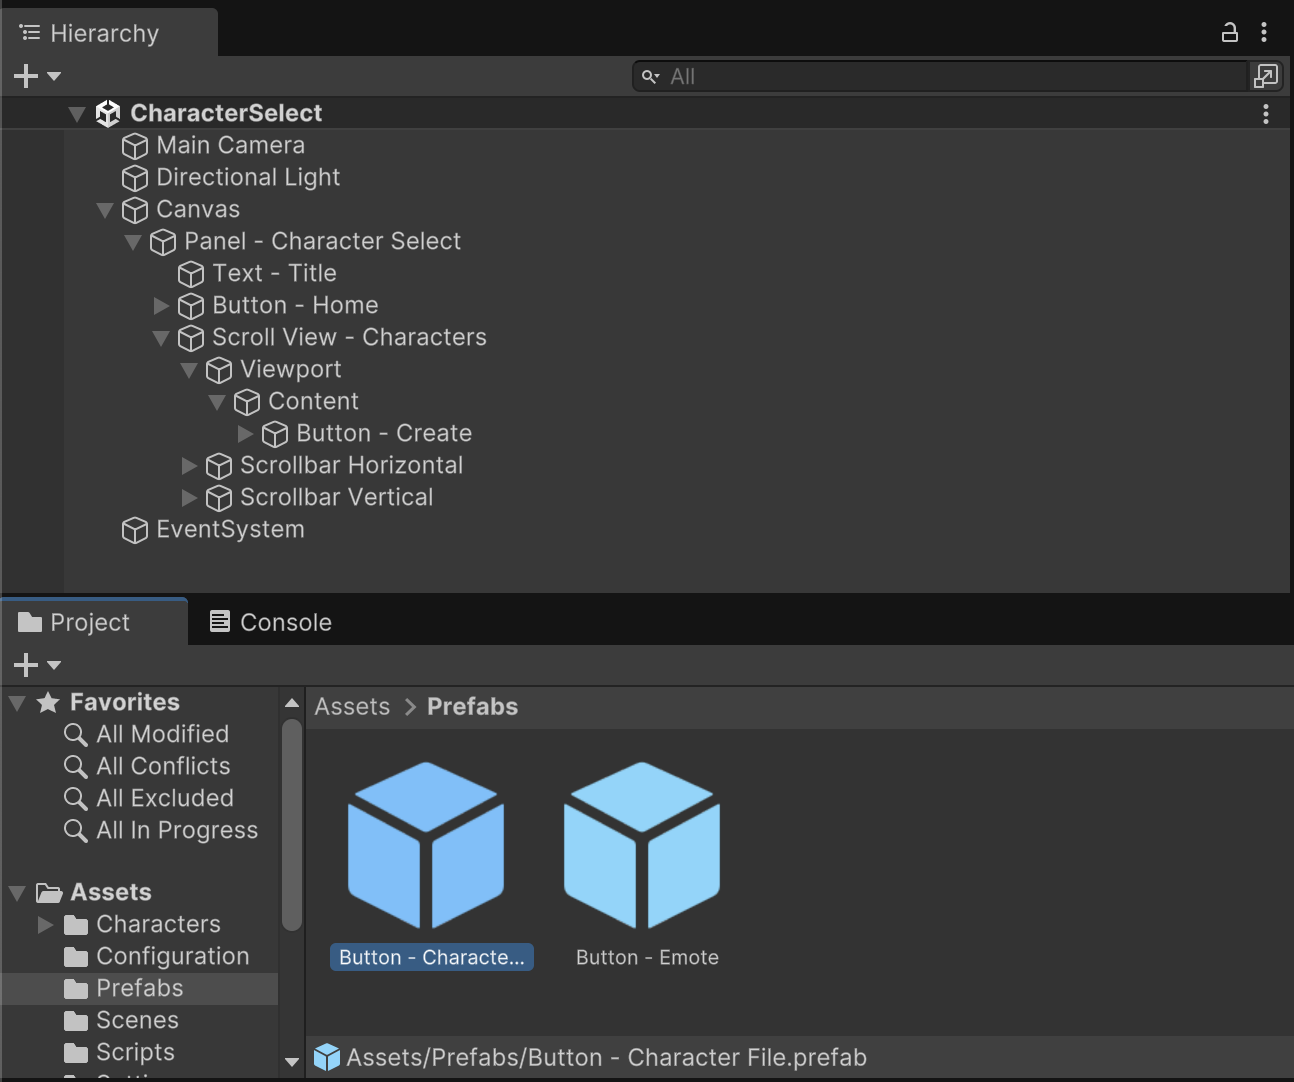
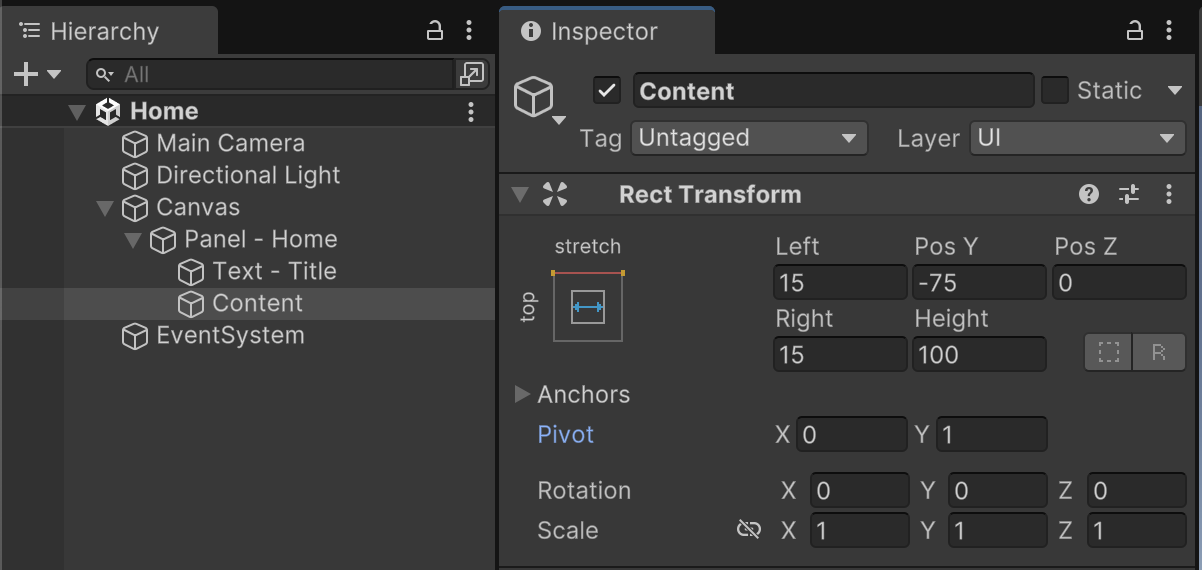
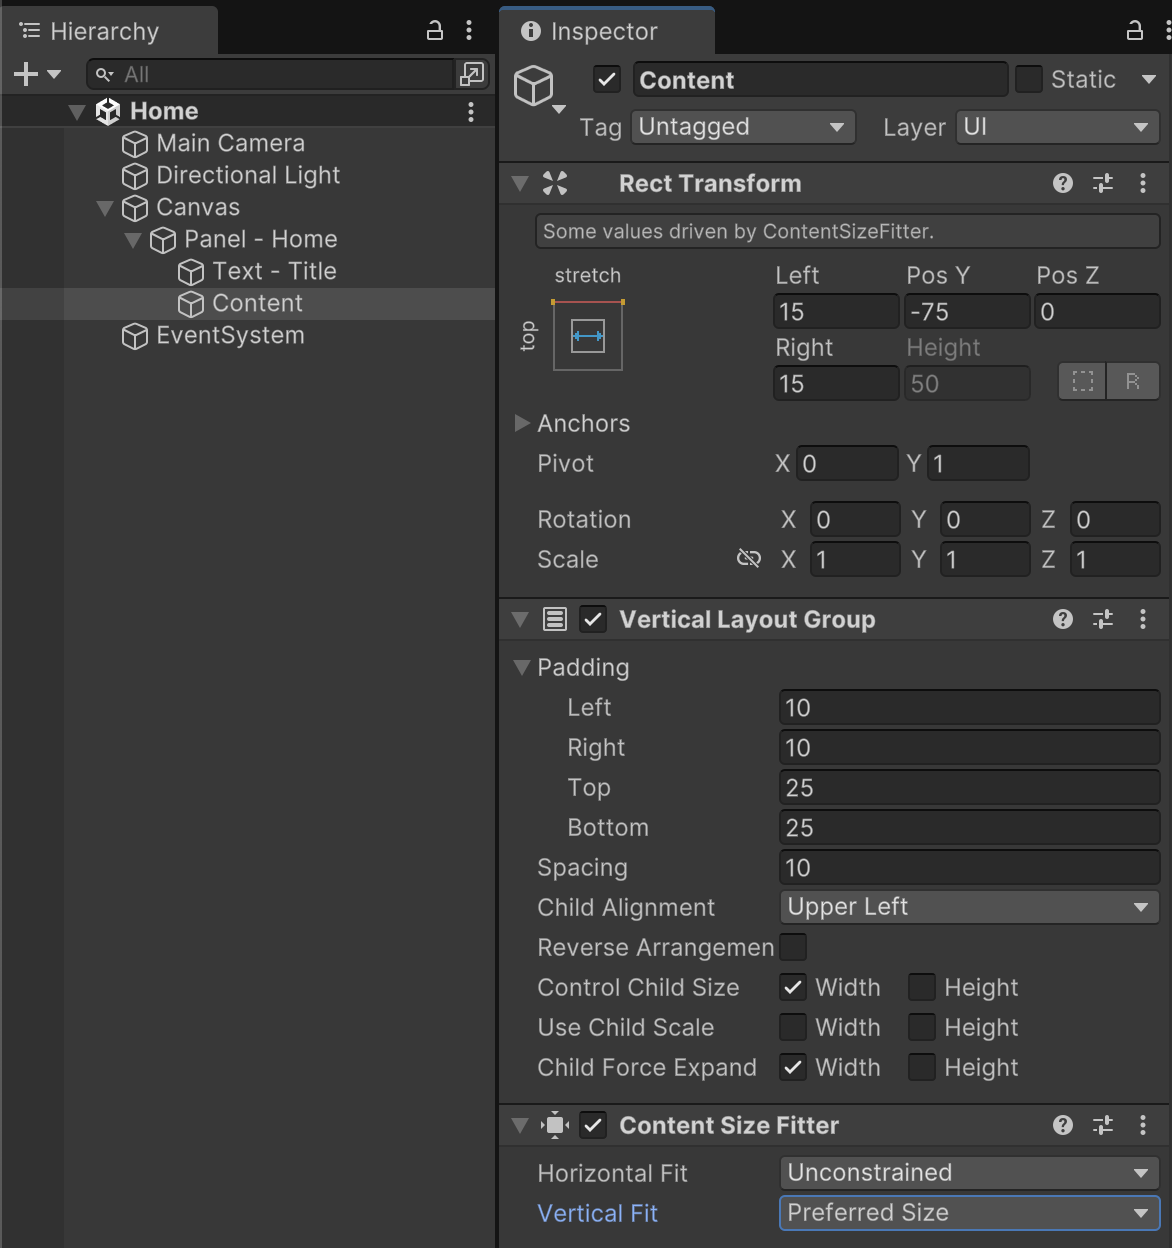
Our Home screen will present the player with a list of buttons. To achieve this menu composition, create an empty child game object of "Panel - Home" named "Content". This game object should be anchored to the top and stretch the width of its parent with 15 pixels of spacing on both left and right. It should also be pivoted upper-left and positioned 75 pixels down from the top.
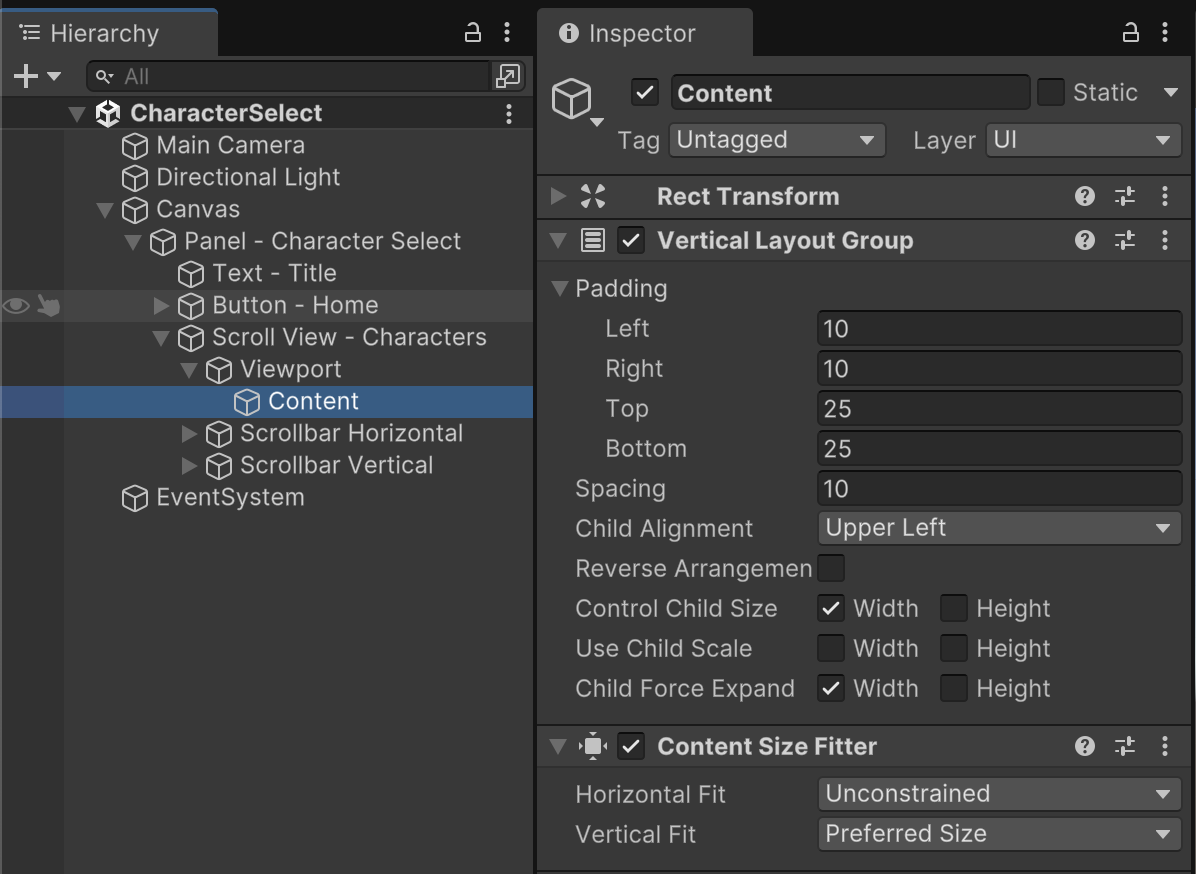
We'll add a Vertical Layout Group component to the Content object to auto-arrange our buttons. The Vertical Layout Group should have left and right padding of 10, top and bottom padding of 25, and a spacing of 10. Align the children to the Upper Left. We want "Control Child Size" and "Child Force Expand" enabled for Width, so that our buttons will always be the full width of the menu.
To make sure our "Content" object is always big enough to show any number of buttons in our menu, we'll add a Content Size Fitter component. Content Size Fitter influences the sizing of the "Content" object and not the children. With this in mind, Horizontal Fit should be Unconstrained because we have set our width manually, while Vertical Fit should be Preferred Size because we want to automatically adjust the height of "Content" based on his children.
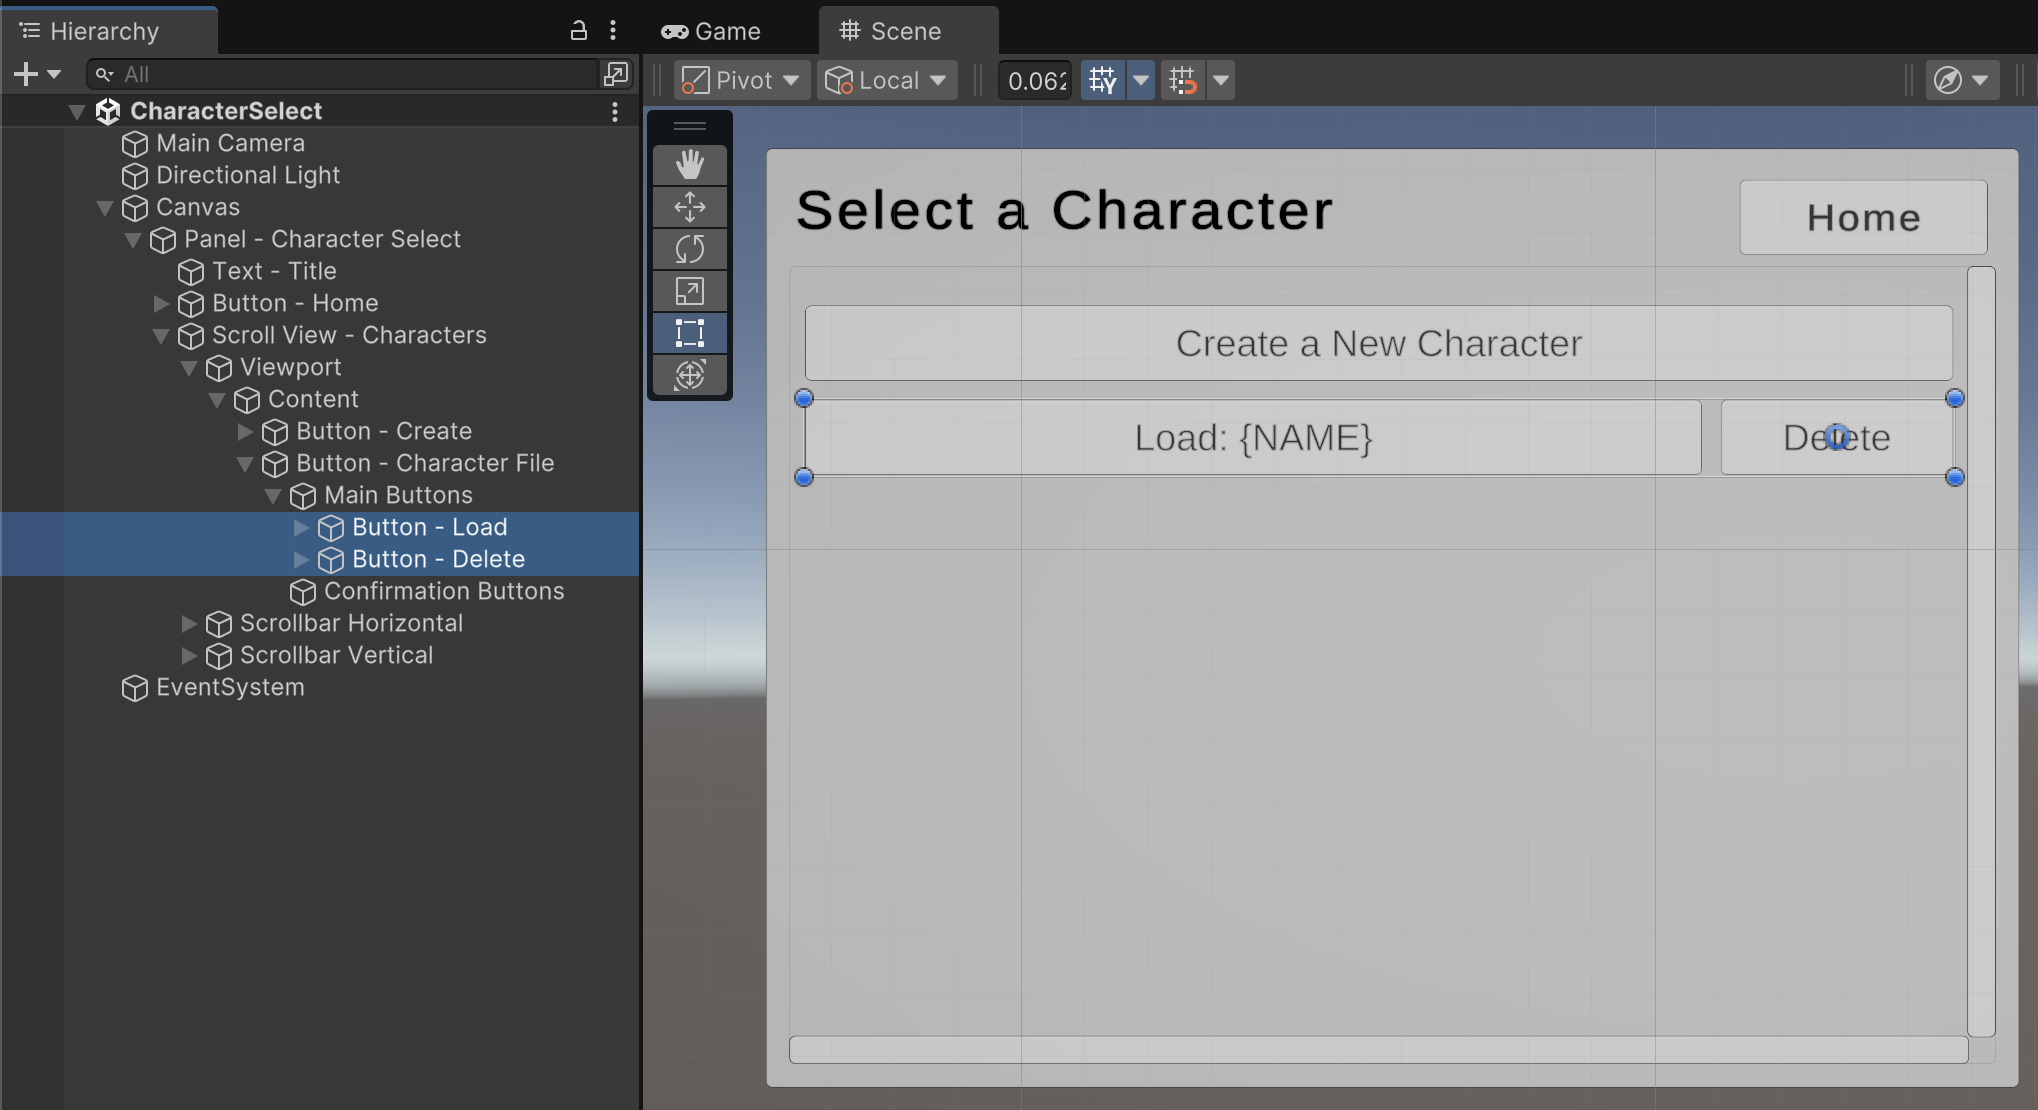
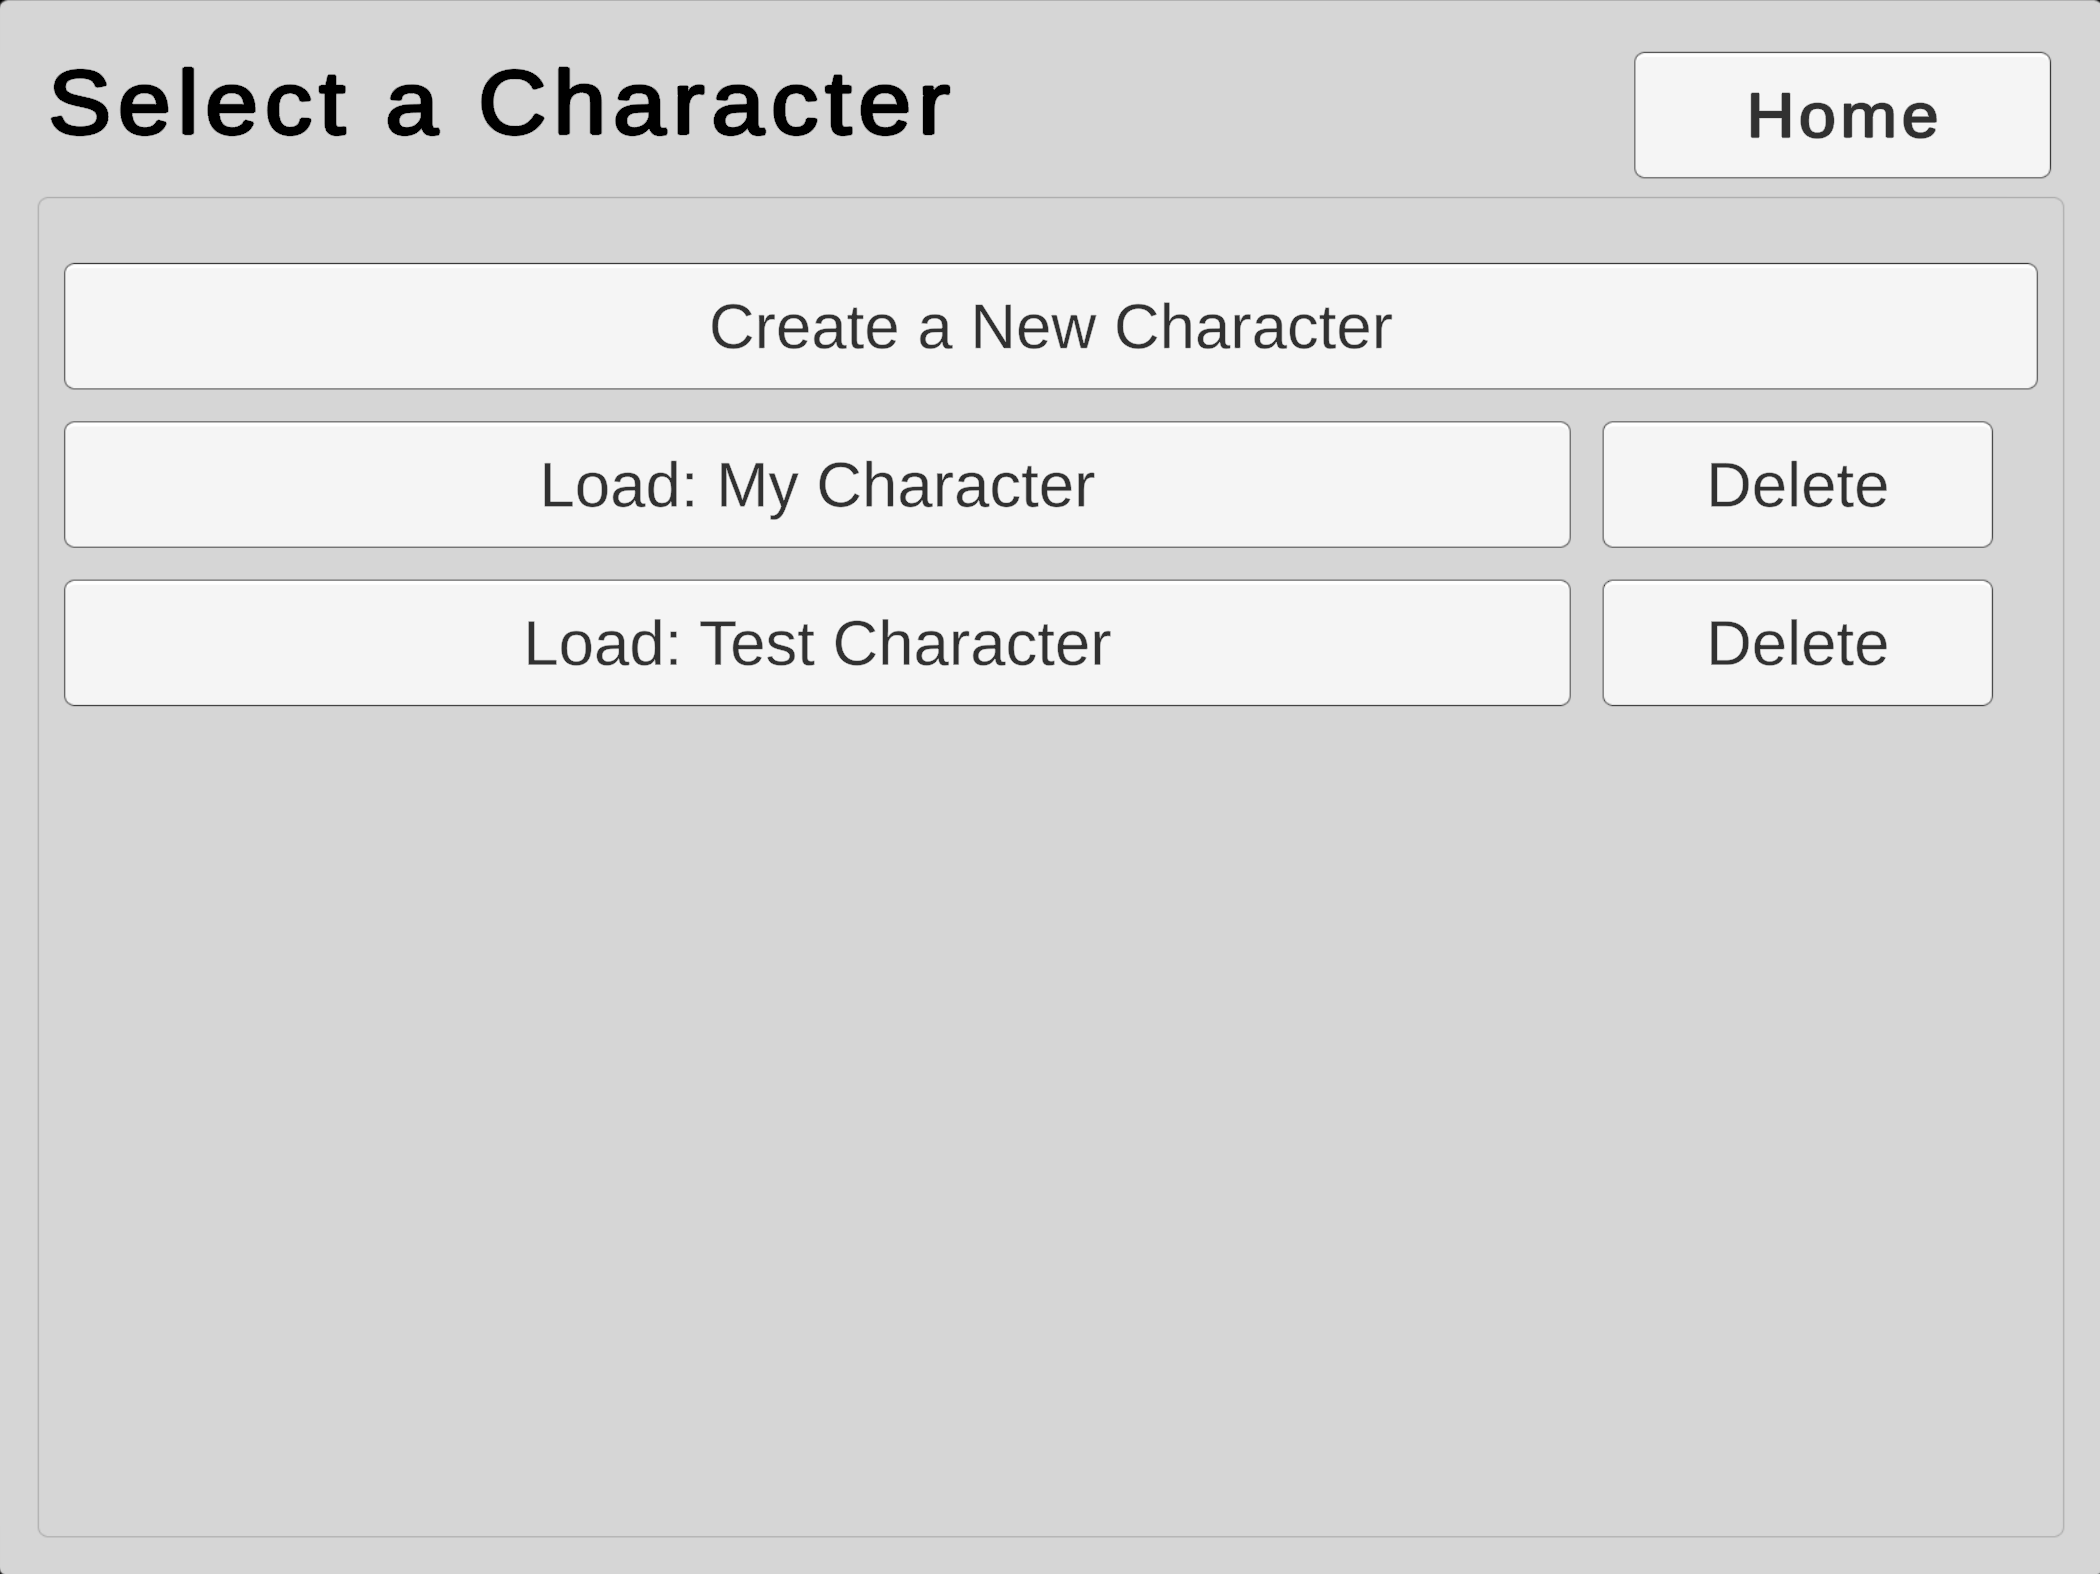
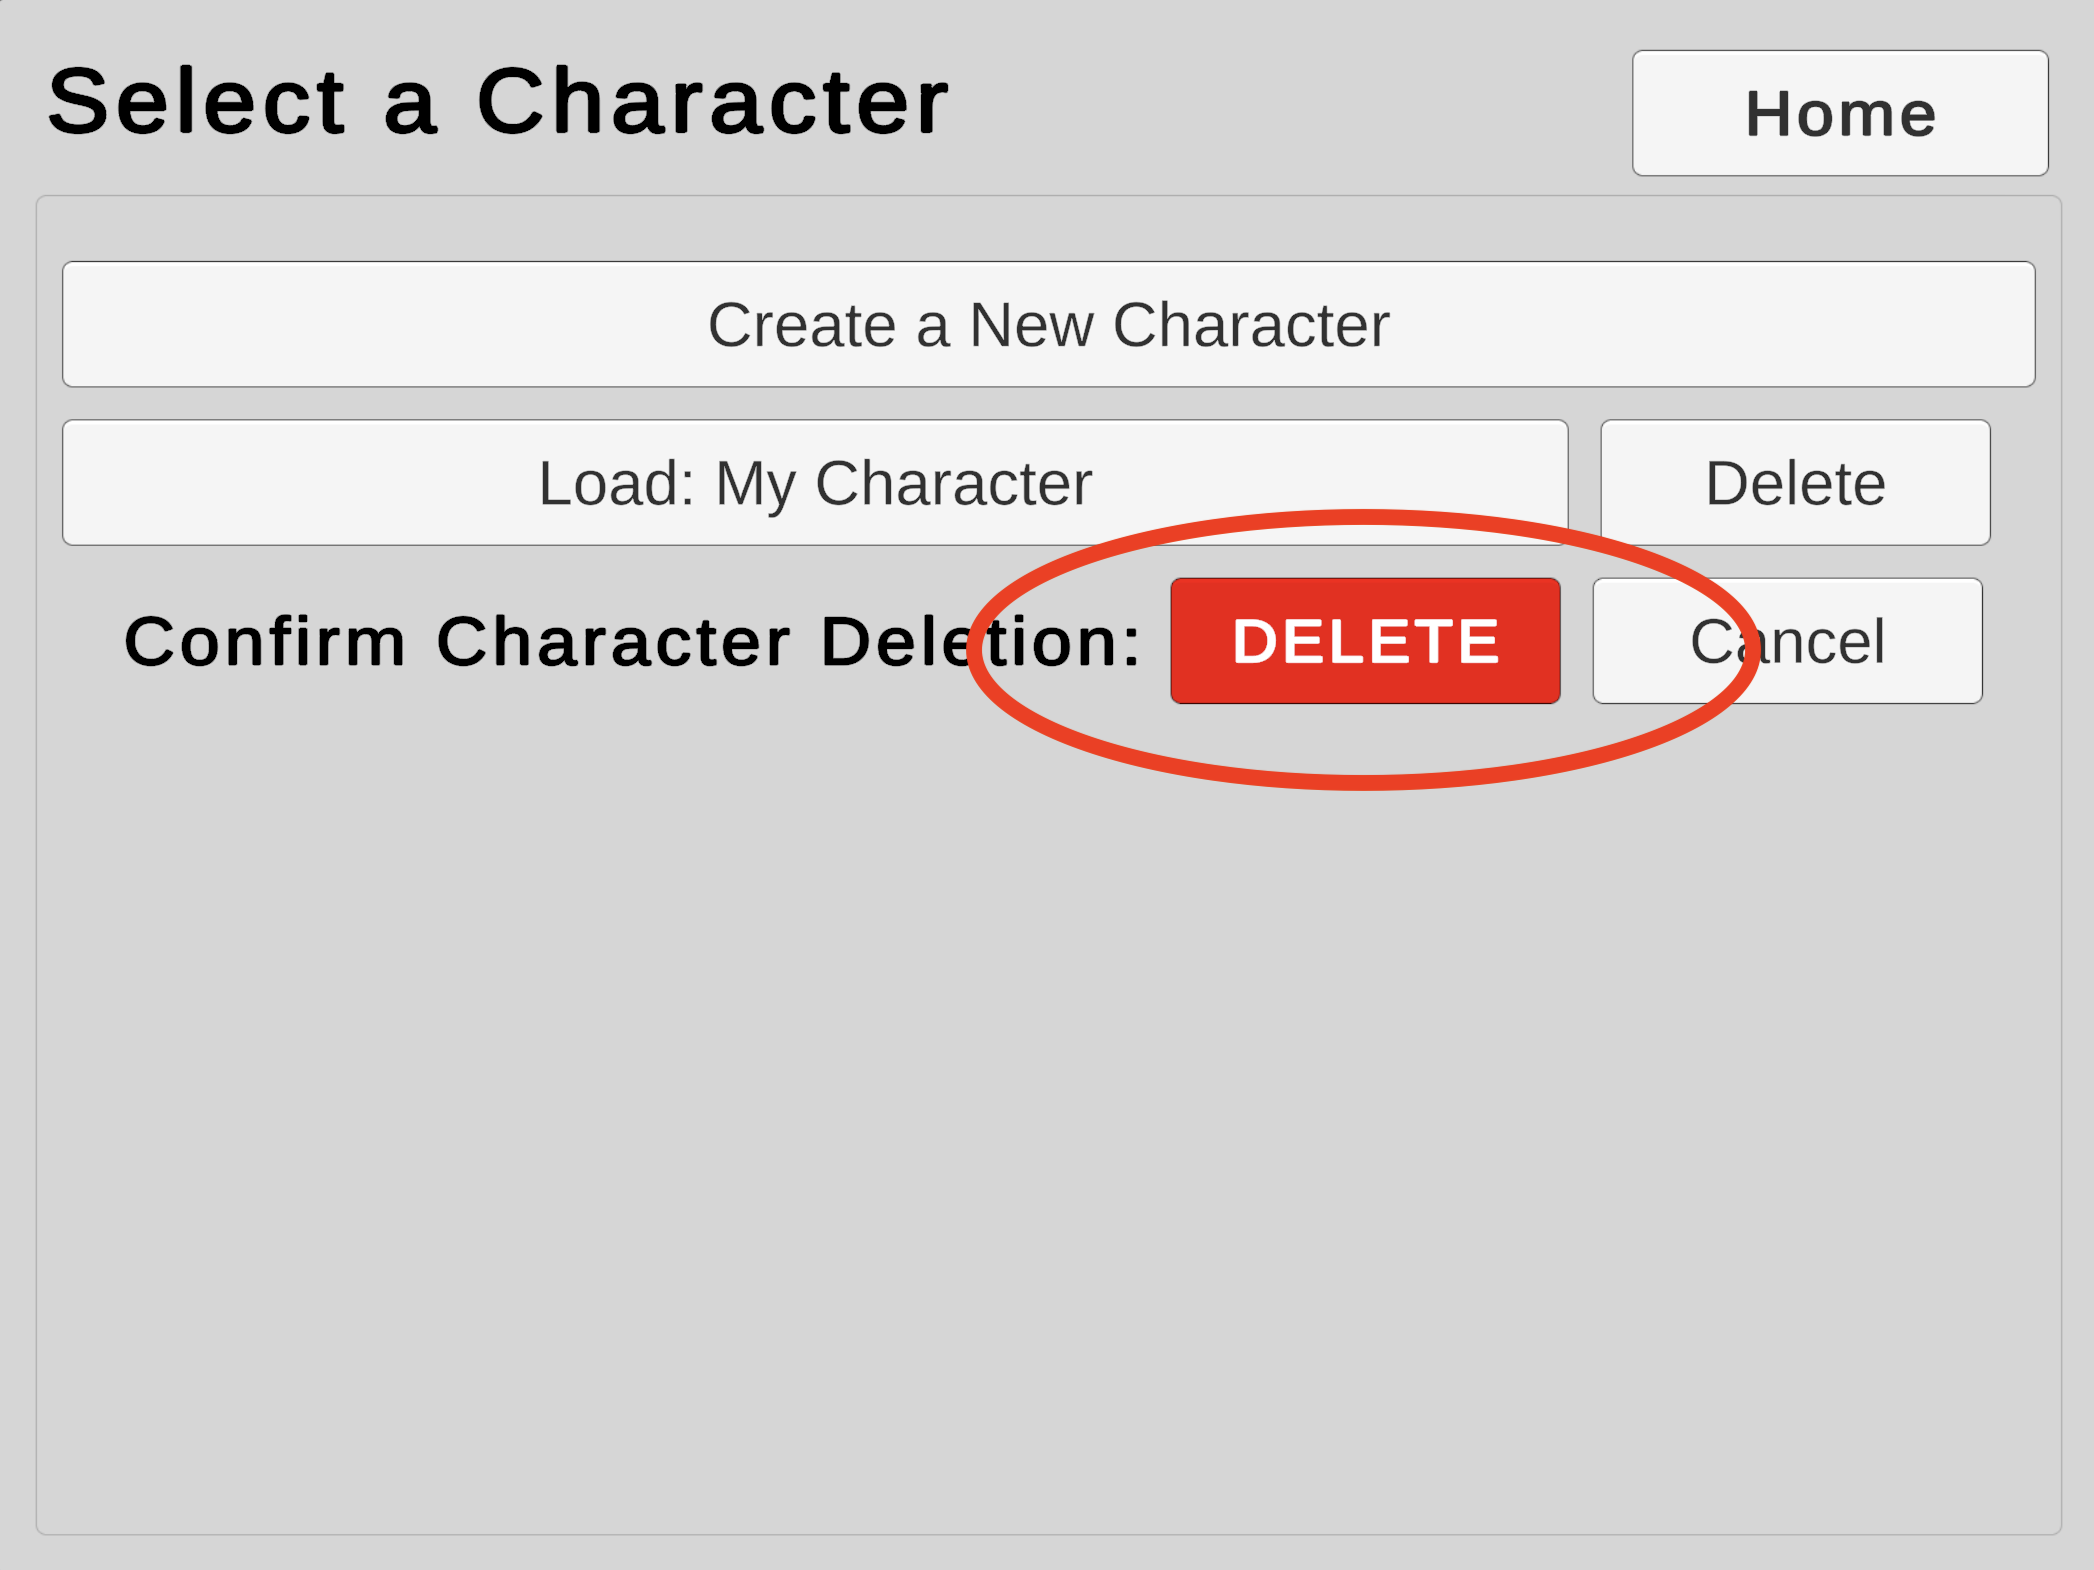
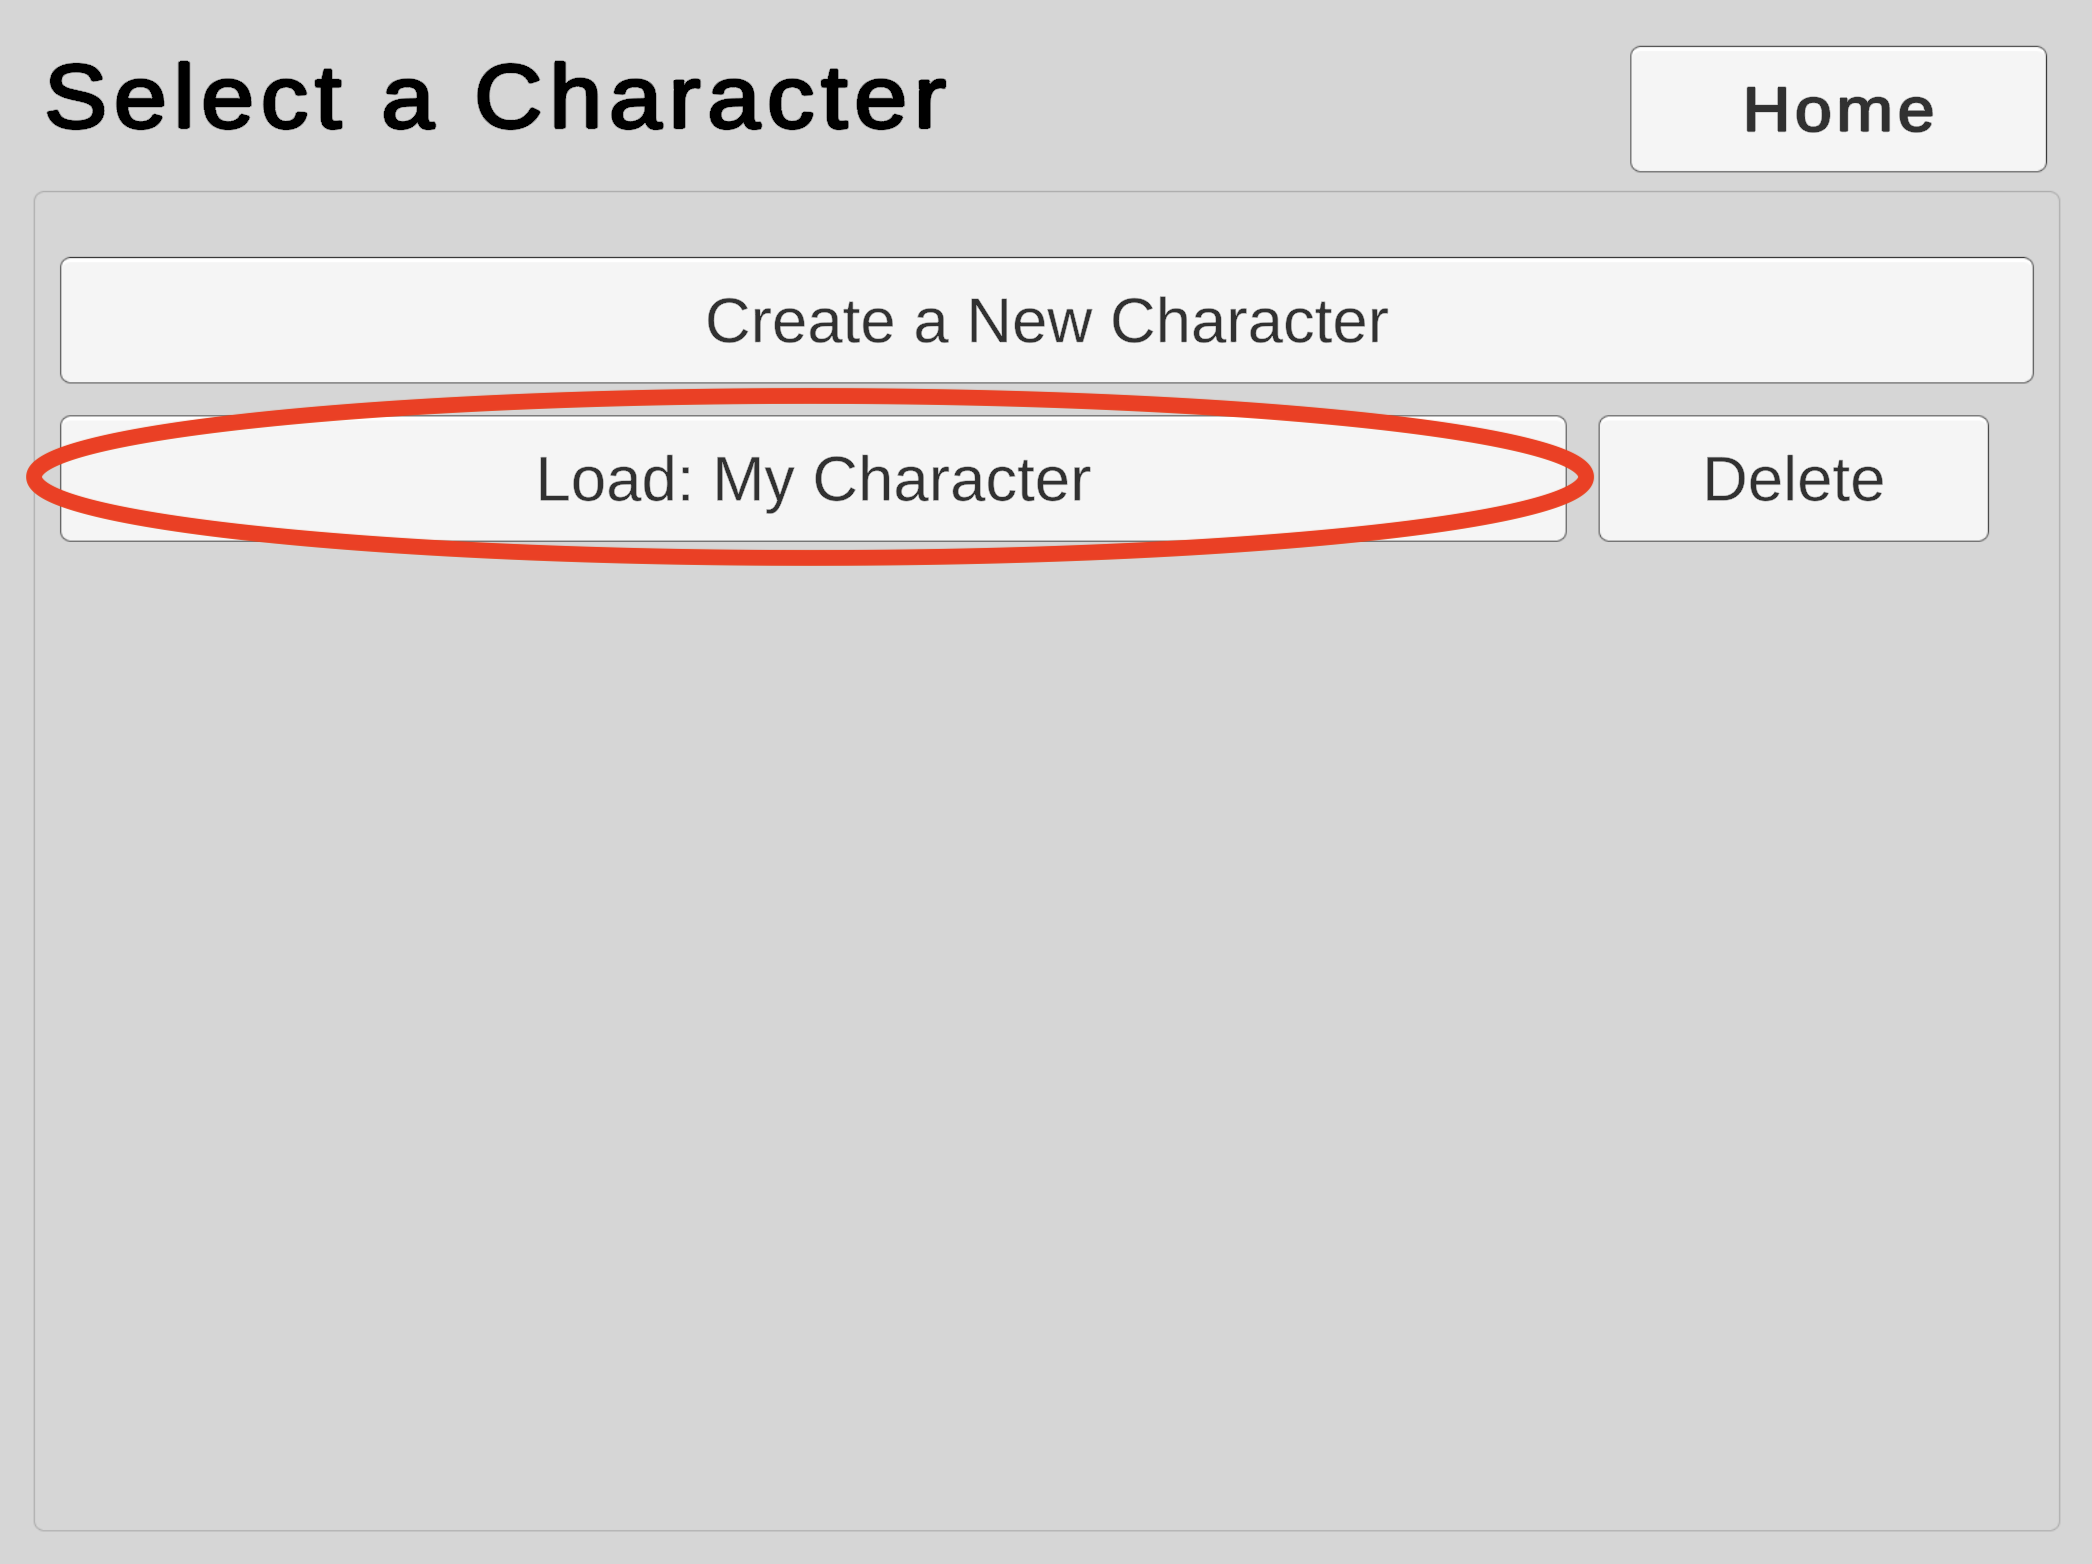
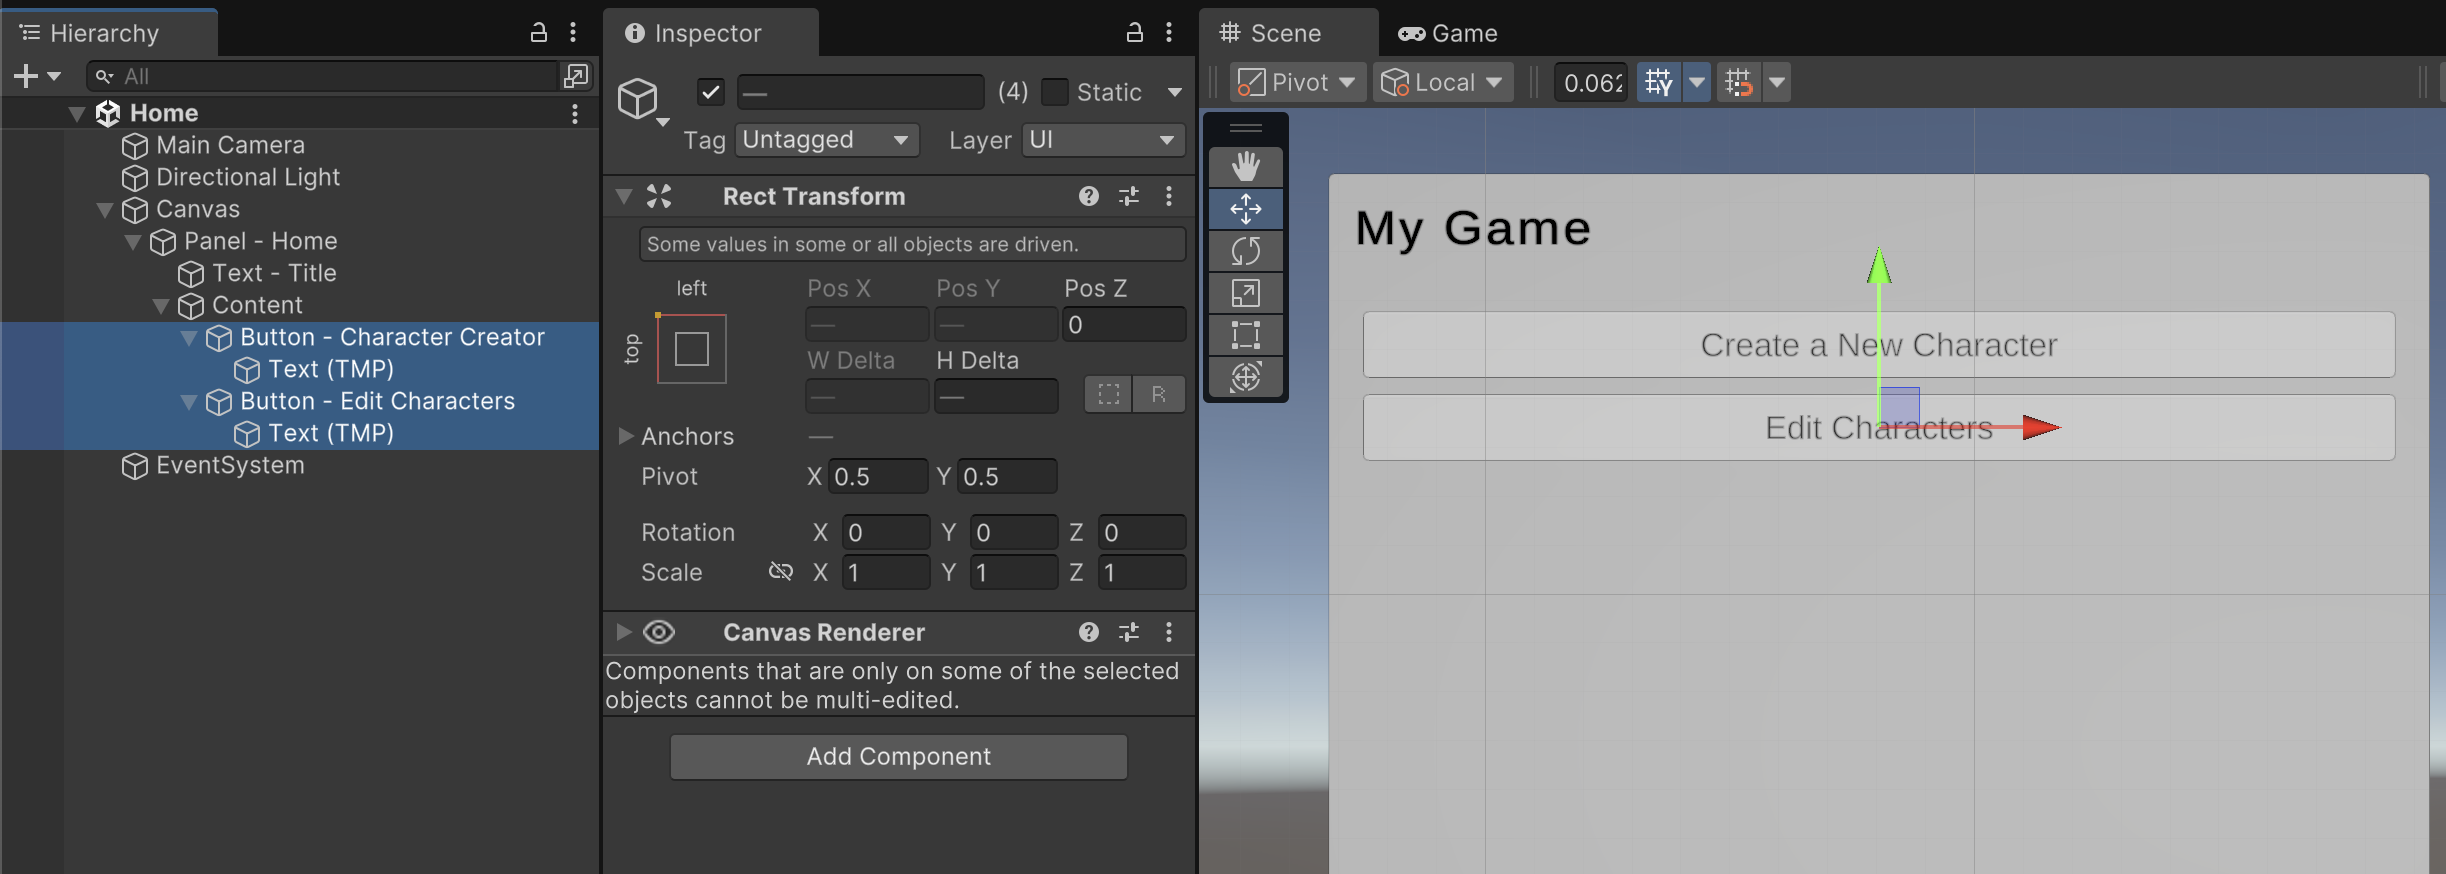
Our Menu will start with only two buttons. A "Create New Character" button will lead to the Character Builder scene from our prior assignments. An "Edit Characters" button will lead to our upcoming Character Select scene for loading save files.
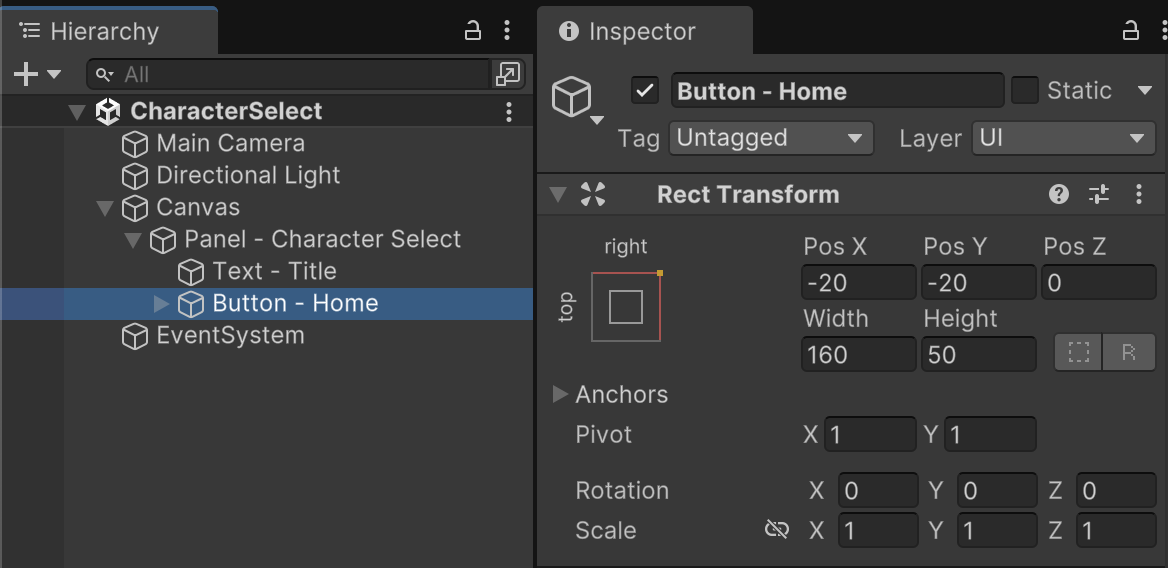
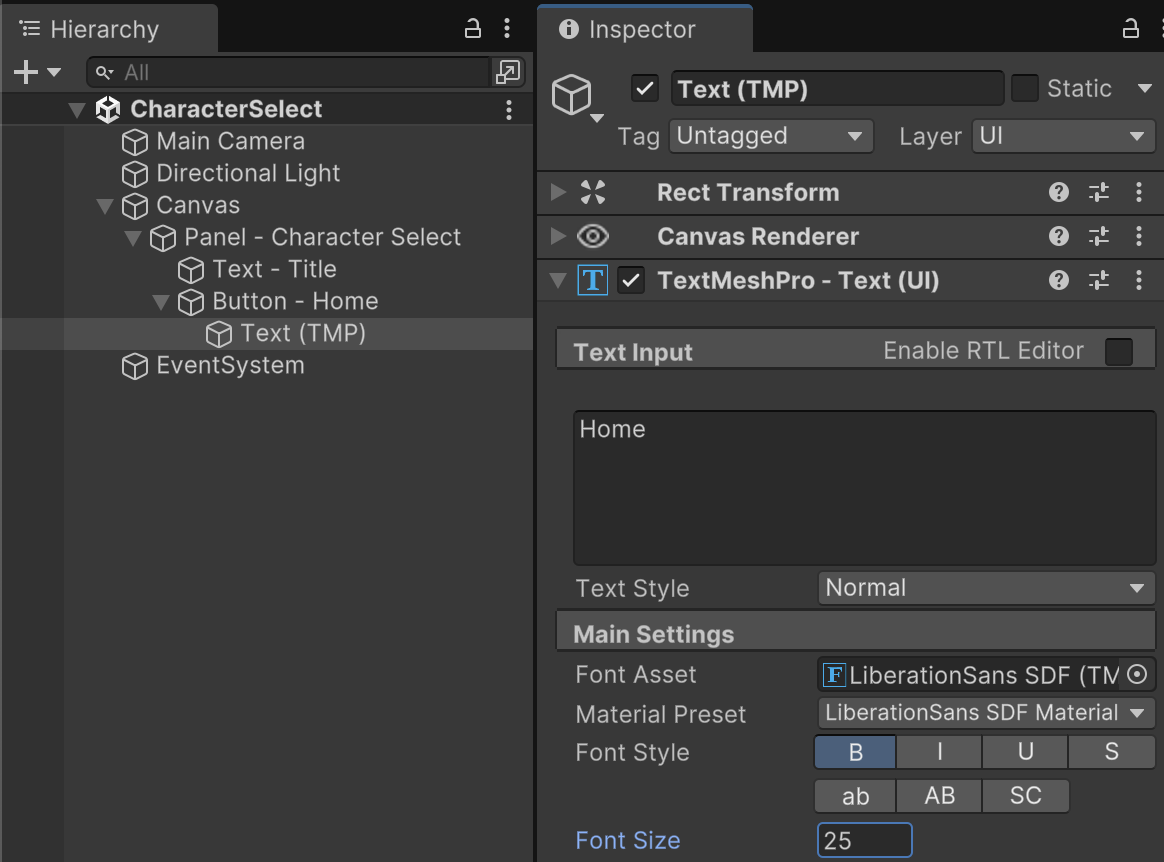
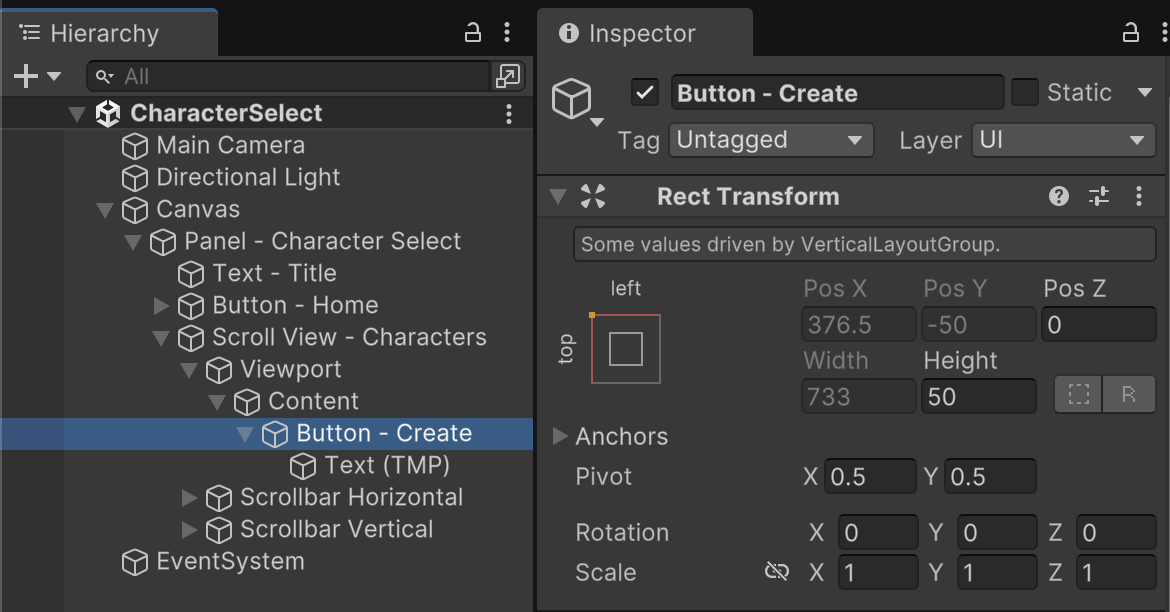
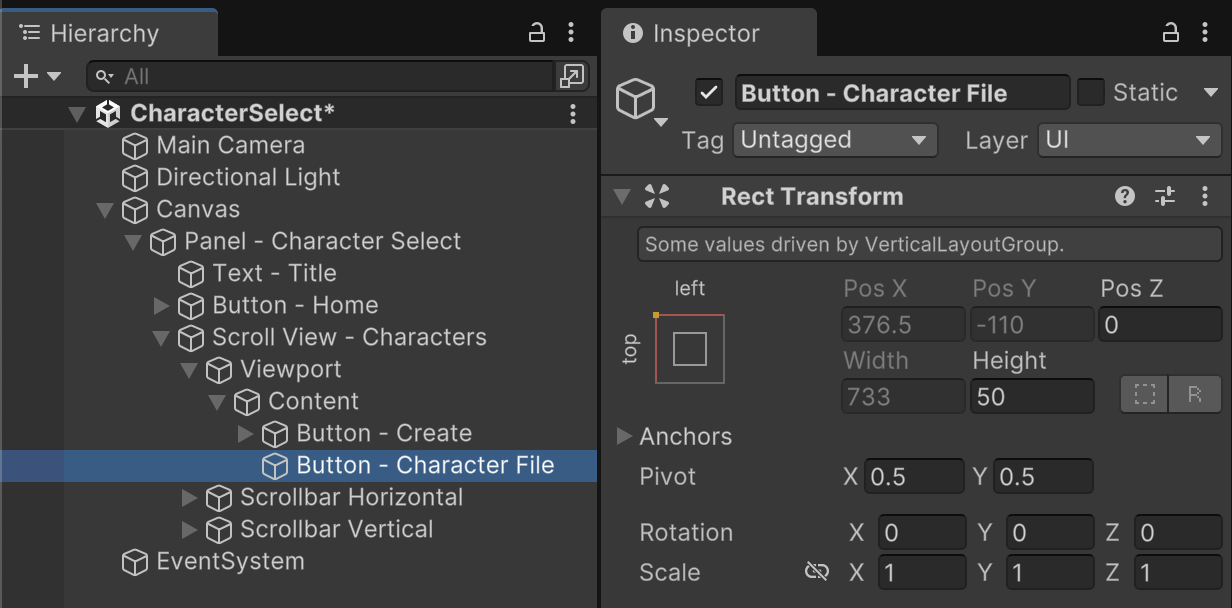
Create two UI Buttons (TextMeshPro) as children of the "Content" object, each with a height of 50. The first button should be named "Button - Character Creator" with a button text of "Create a New Character". The second button should be named "Button - Edit Characters" with a button text of "Edit Characters".
Because of the Vertical Layout Group component in the parent, these buttons should automatically form a nice menu composition.
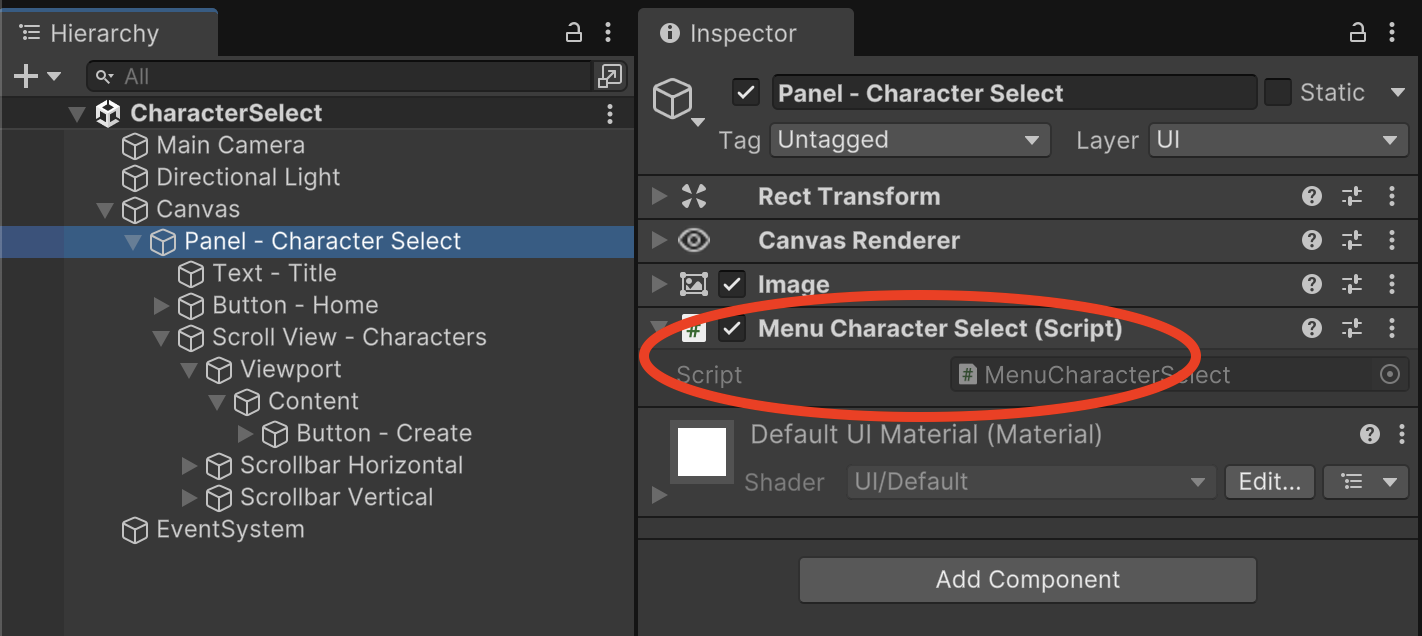
To make our menu buttons functional, create a MenuHome.cs file in the /Assets/Scripts/ folder.
Attach MenuHome to the "Panel - Home" game object in the scene.
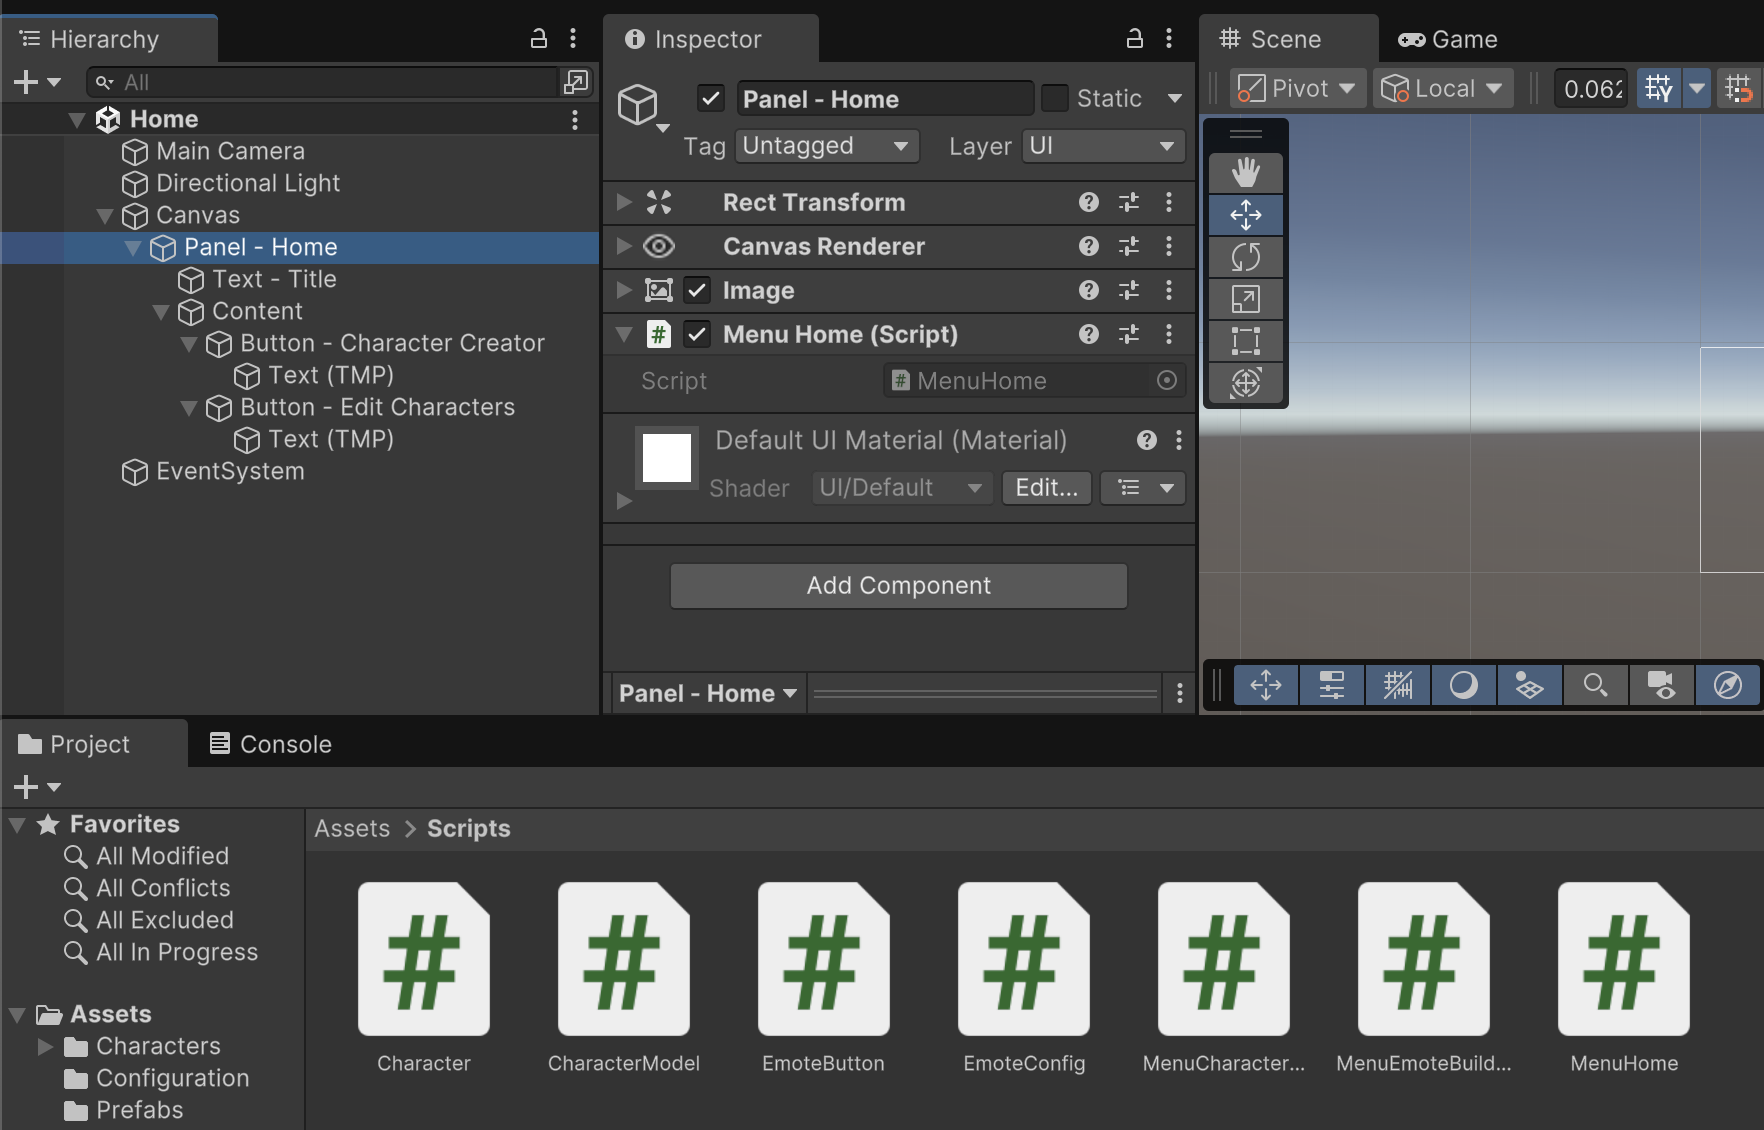
MenuHome.cs
using UnityEngine;
using UnityEngine.SceneManagement;

public class MenuHome : MonoBehaviour
{
	// Methods
	public void GoToScene(string sceneName) {
		if(!string.IsNullOrWhiteSpace(sceneName)) {
			SceneManager.LoadScene(sceneName);
		}
	}
}
The sole purpose of this screen is to jump to other scenes, which is why our C# file contains just one "GoToScene" function. The function is public so that we can access it with our buttons' click events. These click events should send in a string for the requested scene name (though we make sure an empty scene hasn't been requested accidentally). If a scene name has been supplied, we attempt to load the scene using the SceneManager class.
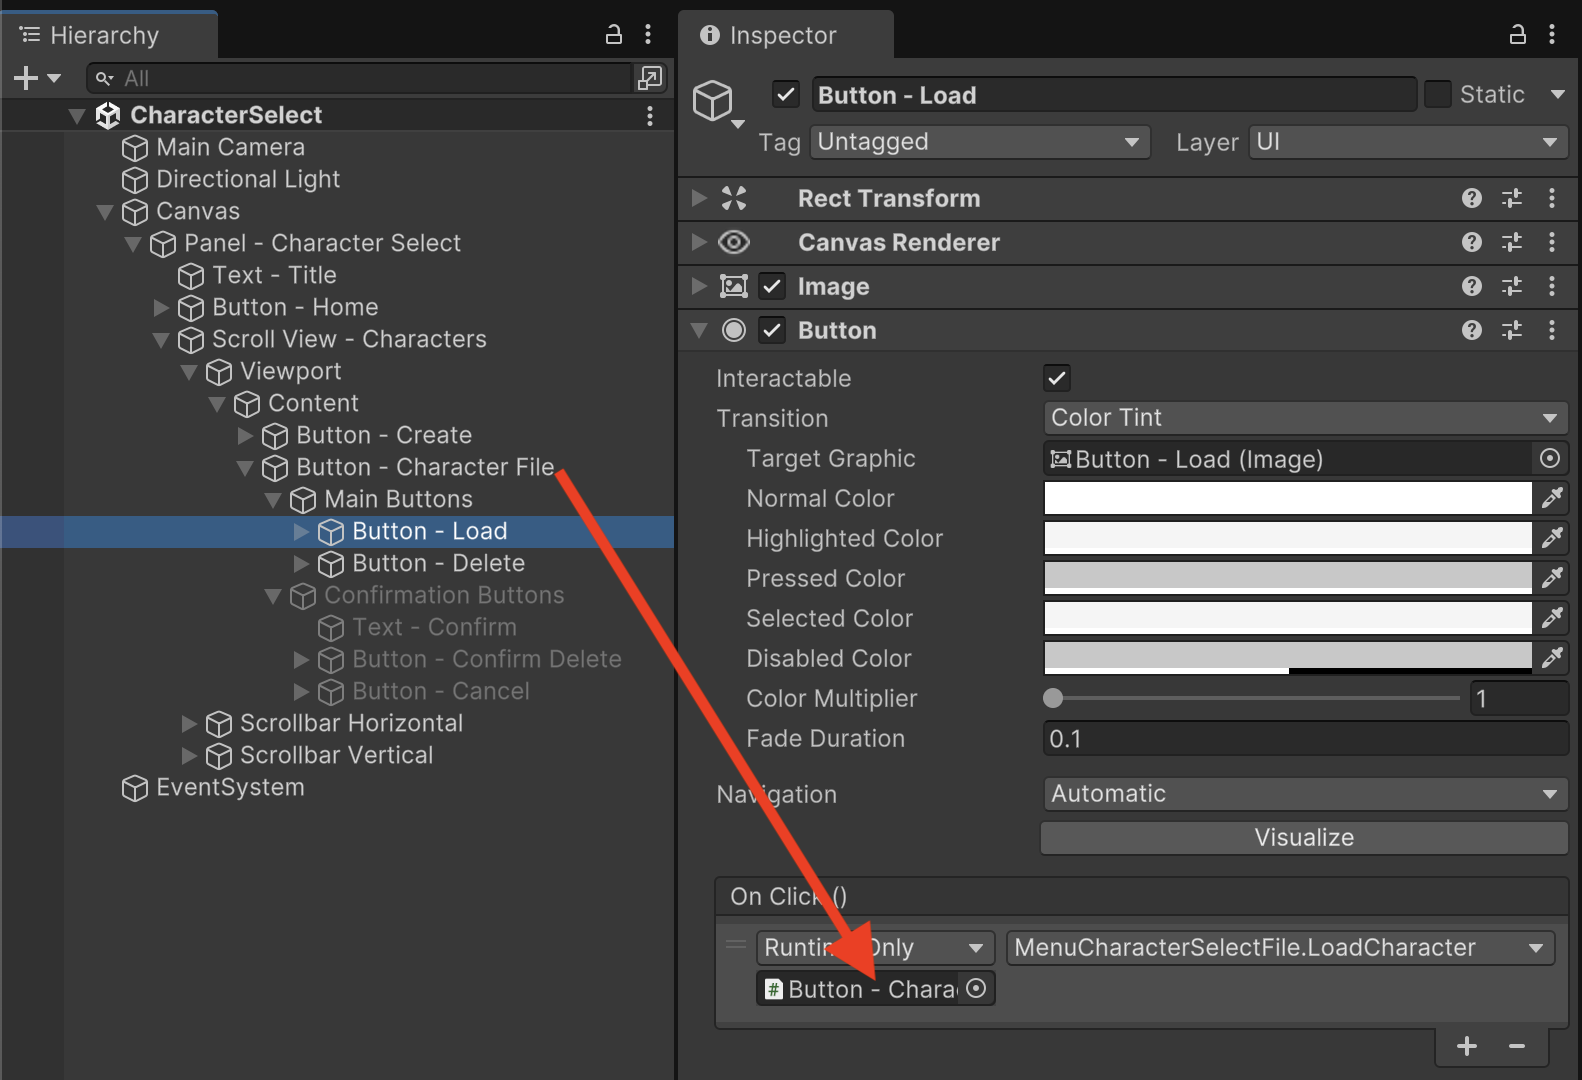
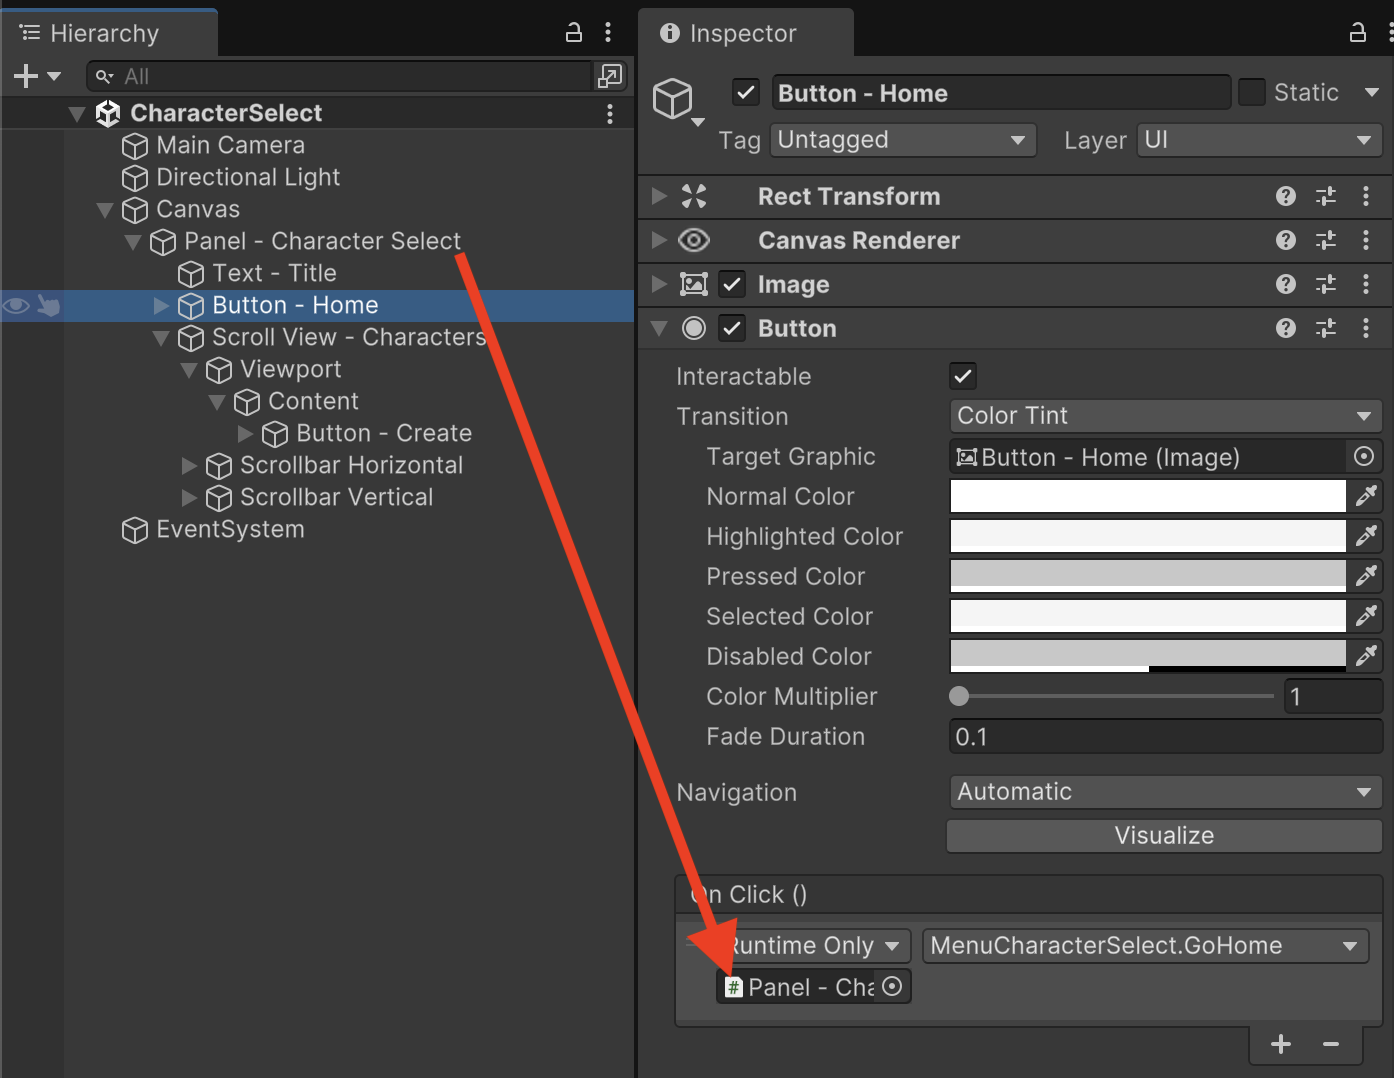
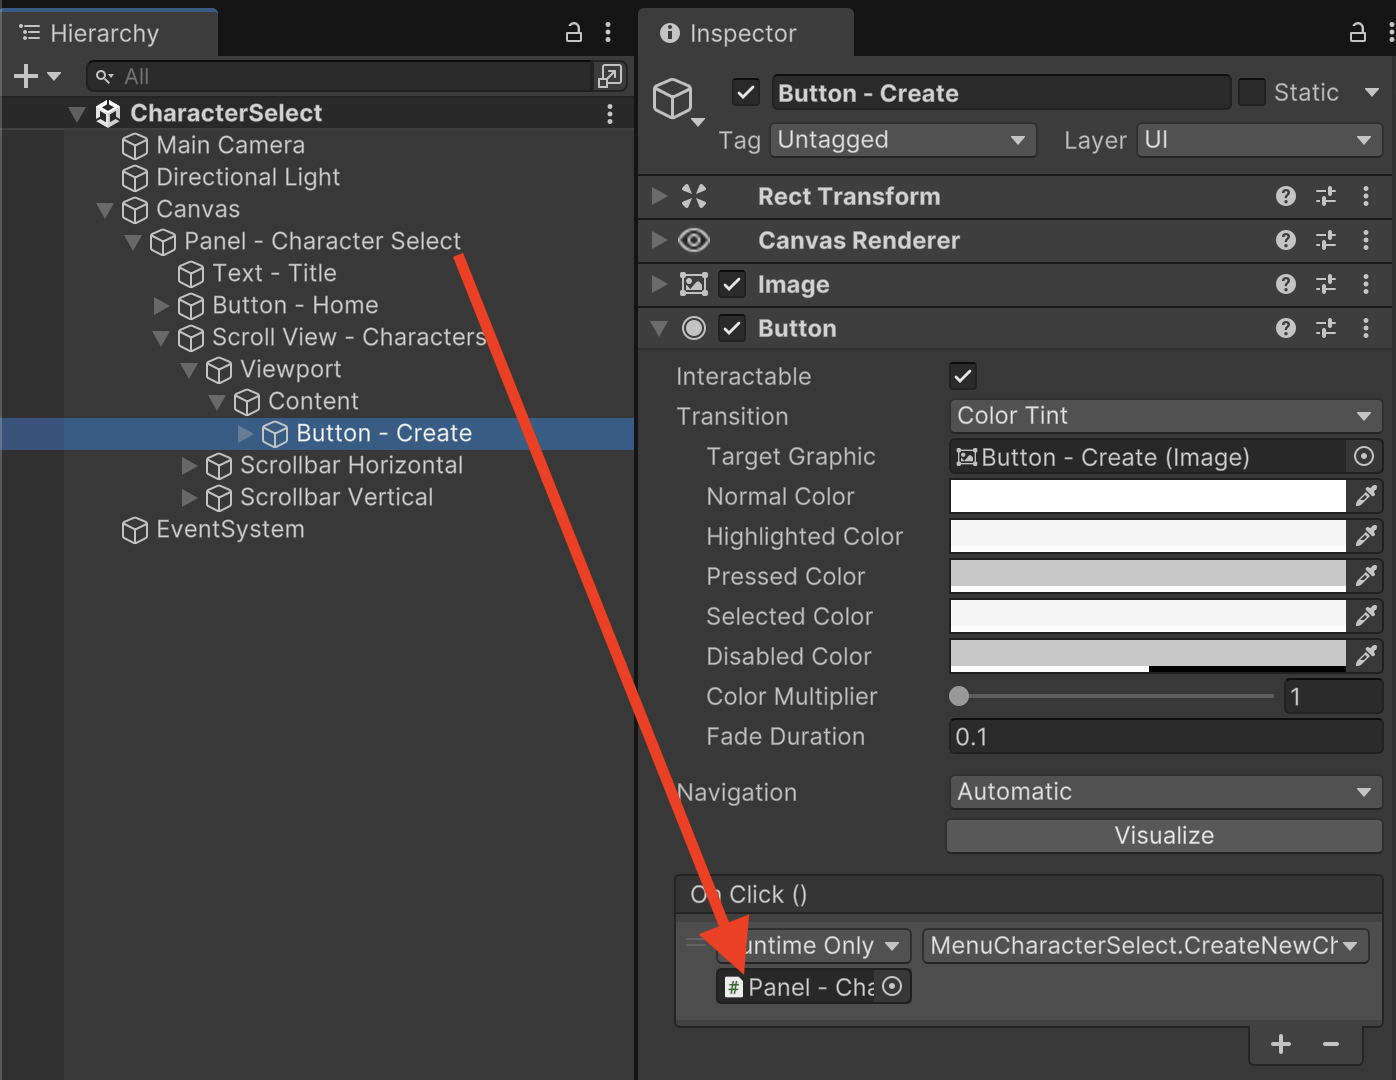
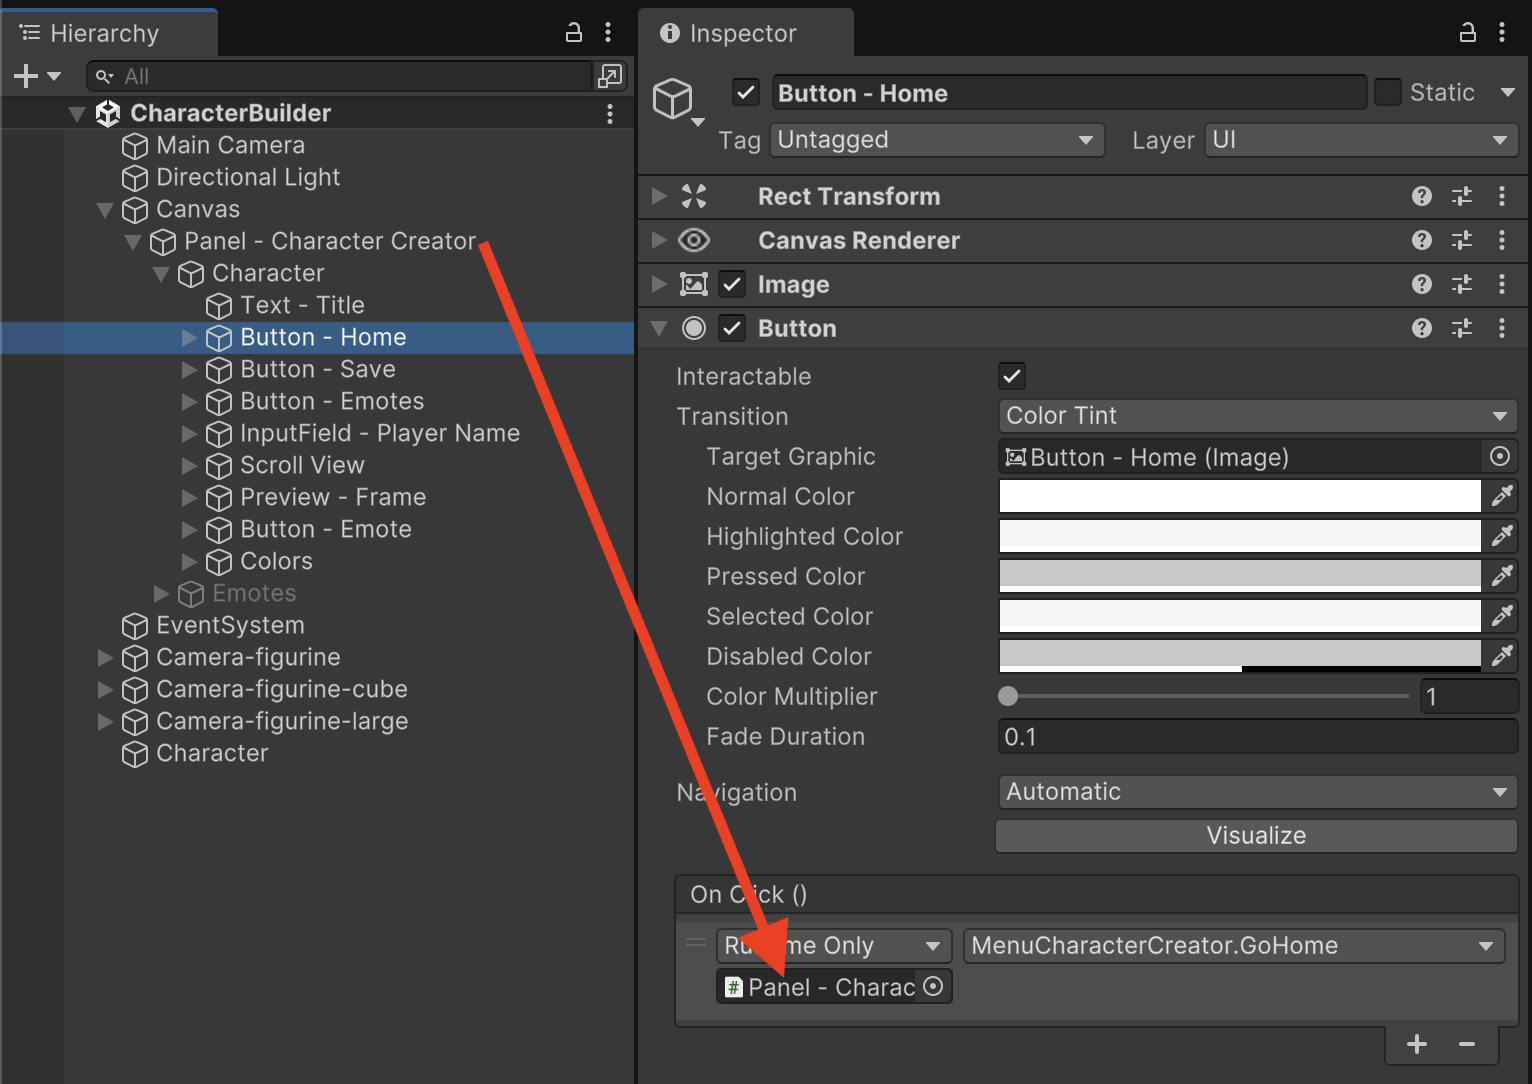
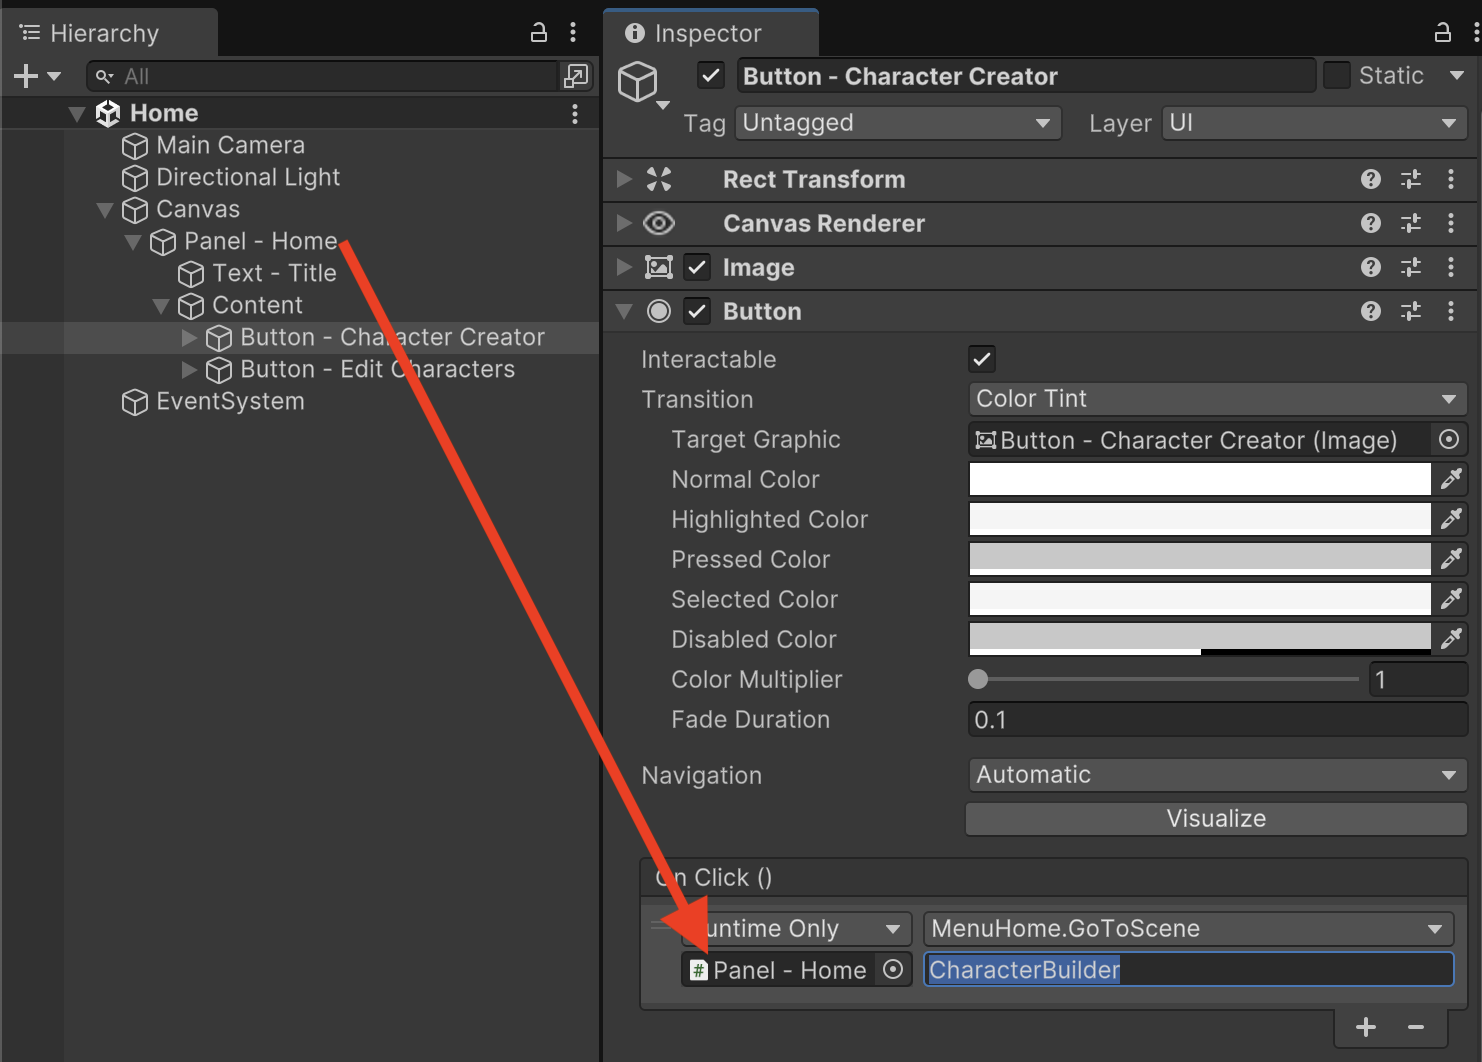
Inspect "Button - Character Creator" and add a button click event that references the "Panel - Home" object. From the drop-down, choose the MenuHome.GoToScene function and supply a function argument requesting the "CharacterBuilder" scene.
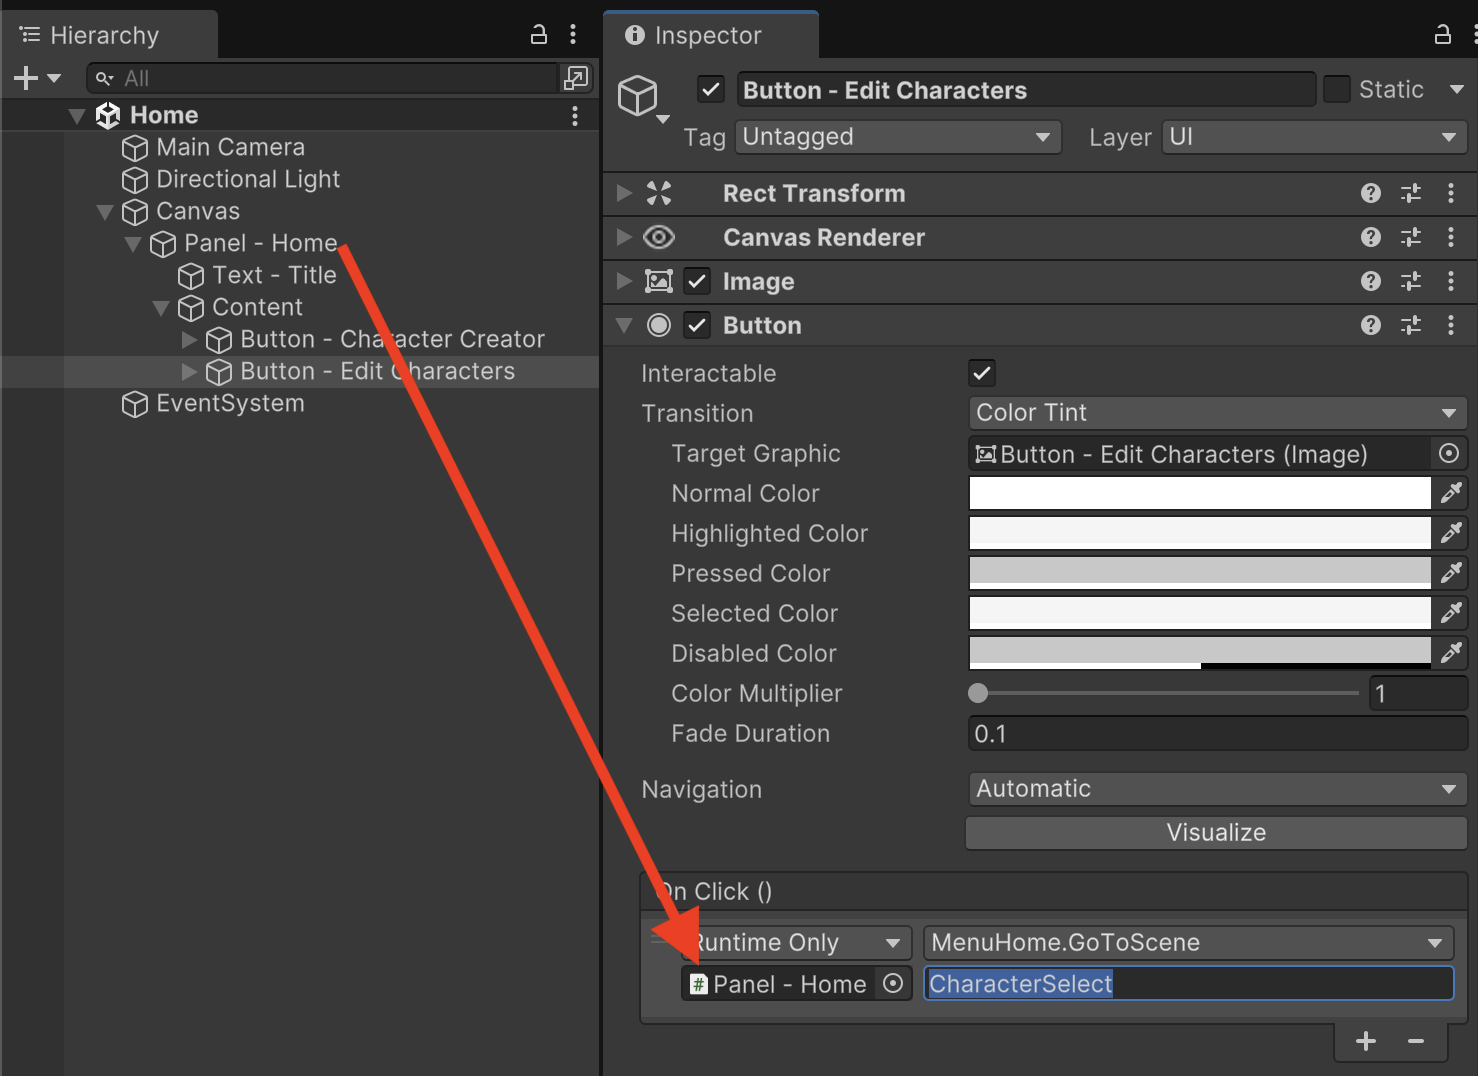
Inspect "Button - Edit Character" and add a button click event that references the "Panel - Home" object. From the drop-down, choose the MenuHome.GoToScene function and supply a function argument requesting the "CharacterSelect" scene.
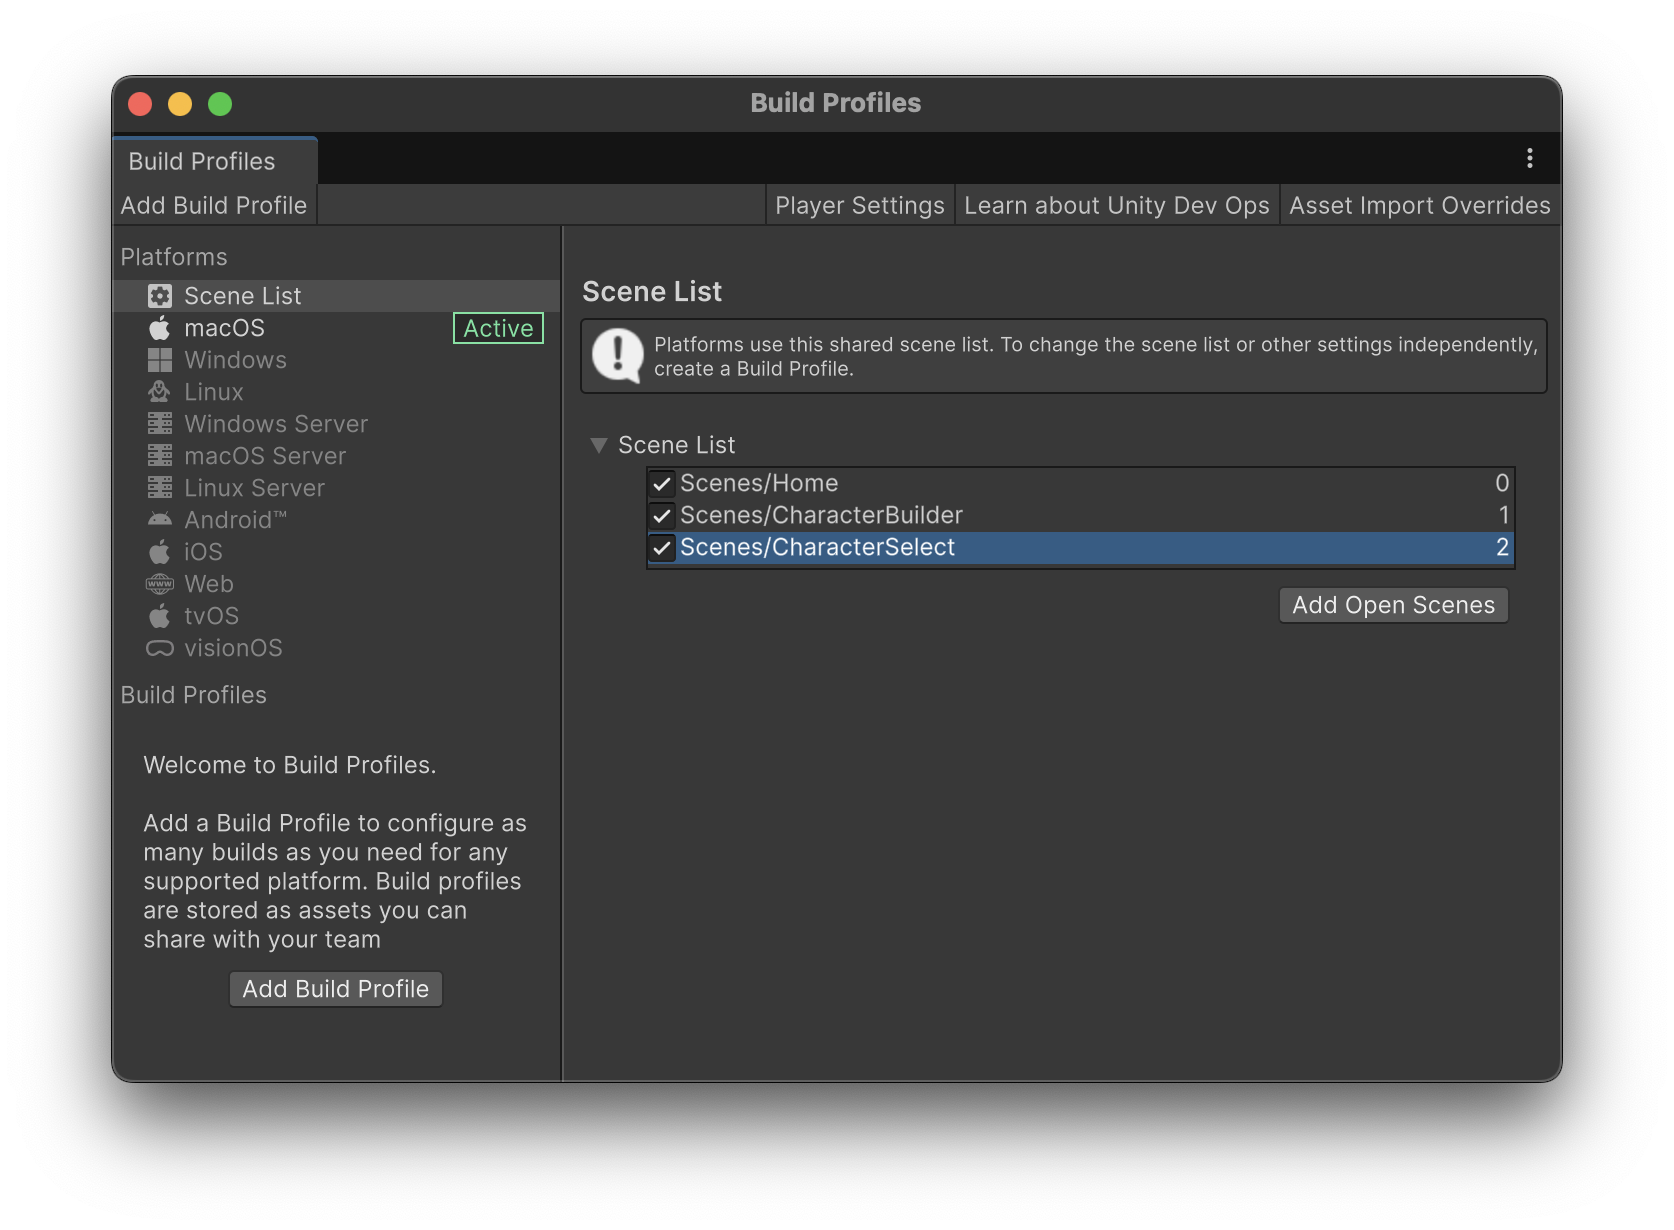
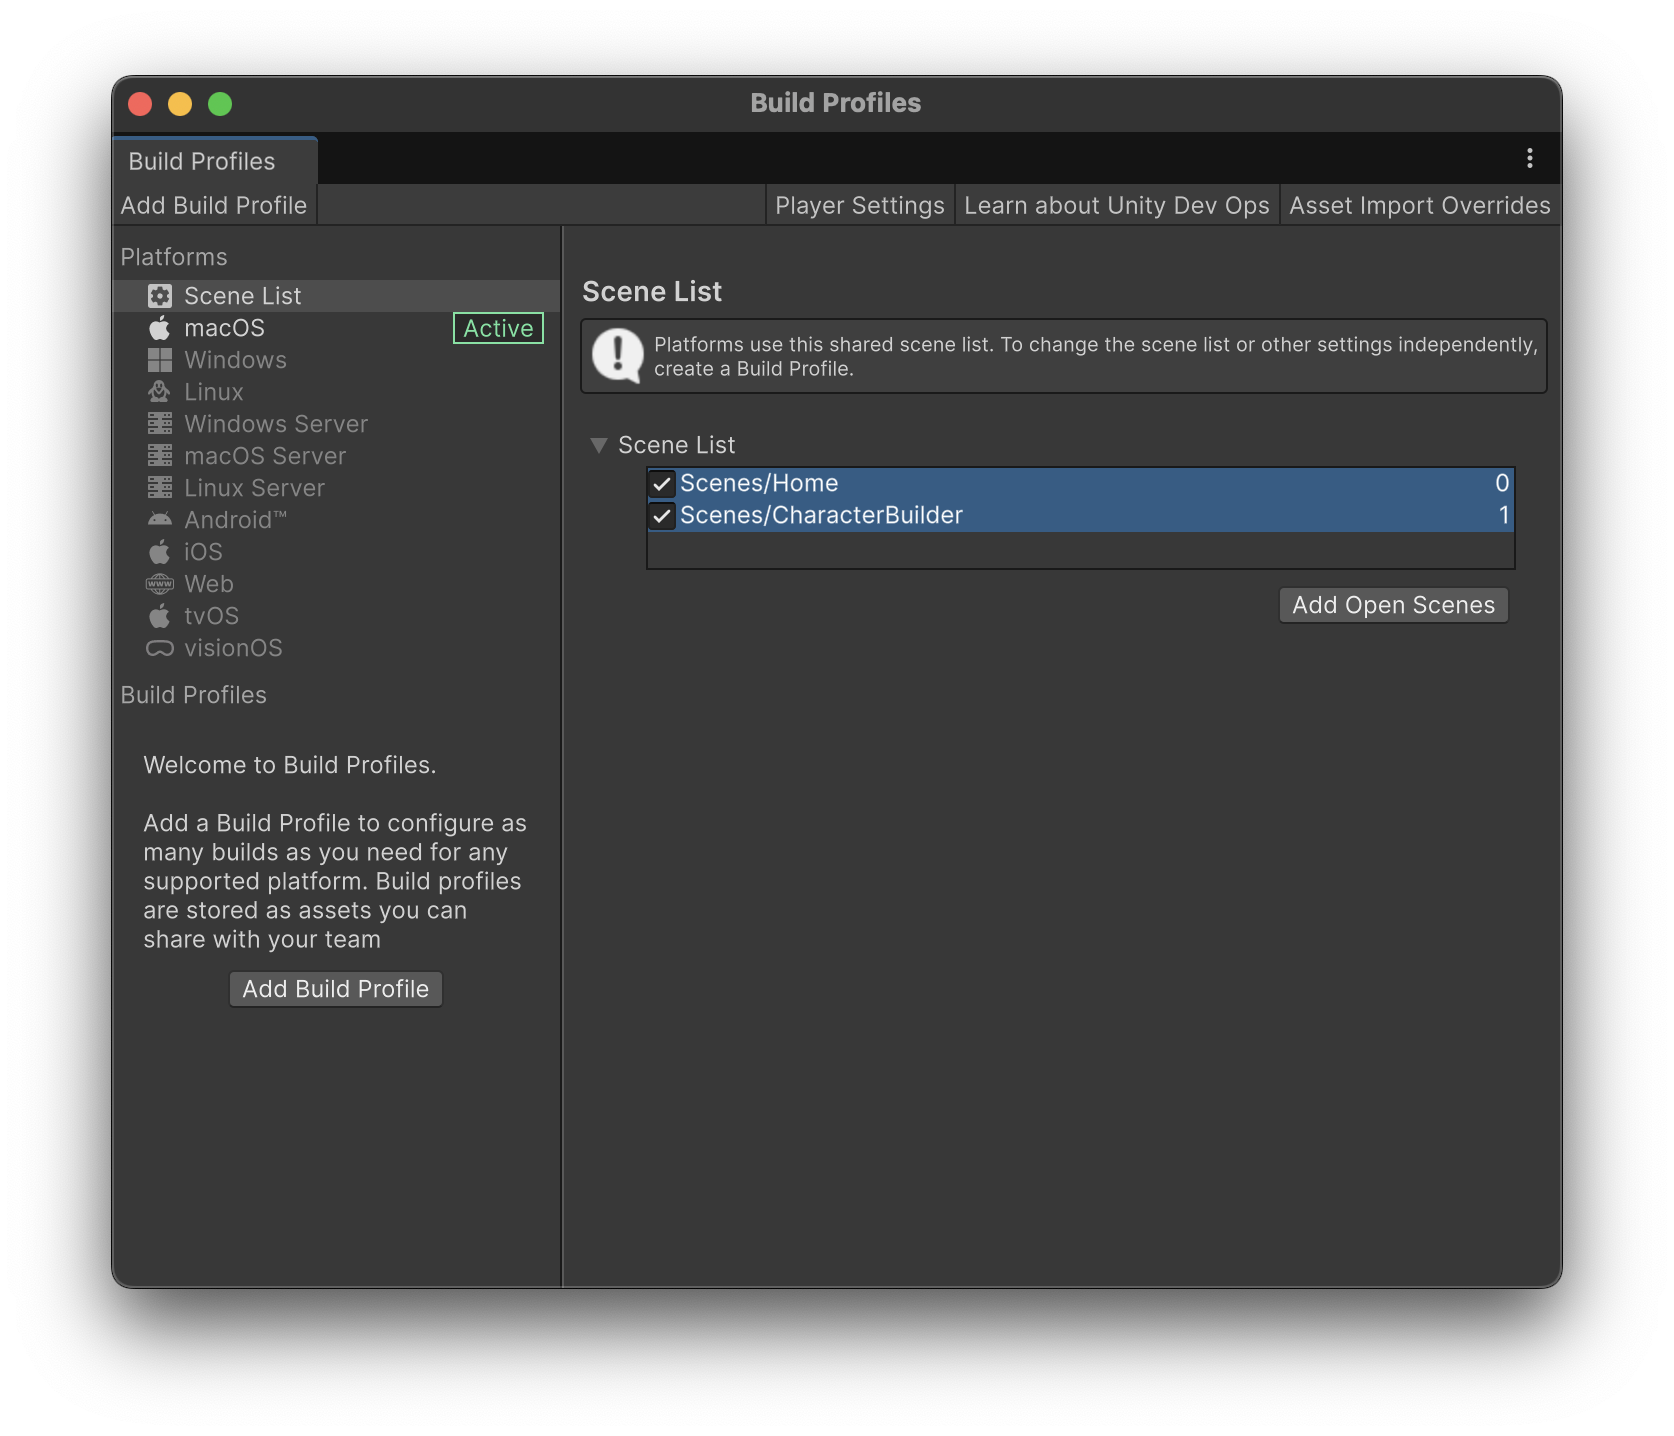
From the menu bar, open File > Build Profiles. Make sure the Scene List includes Home and CharacterBuilder. (You can drag scenes from the Project tab into the Build Profiles tab if anything is missing.)
Testing the game at this point should reveal that you can use the Home menu to travel to the CharacterBuilder scene by clicking the "Create a New Character" button. For now, the Home button on the CharacterBuilder screen doesn't work, and the CharacterSelect scene does not yet exist.