Creating video games also includes being diligent about how you store your files. Simply keeping files on your personal hard drive puts your projects at serious risk of data loss. It also makes it difficult to share work and collaborate with others.
To manage projects when data loss is unacceptable, we utilize a source control solution. "Souce Control" is also known as "version control" and describes a variety of source code management platforms. Source control allows us collaborate on projects, track file changes, and back up work. Whether a project is small or massive, it is good practice to maintain it in source control. We will use a free GitHub account in class for this purpose.
You will need to create and log in to an account at https://github.com/ to share project files.
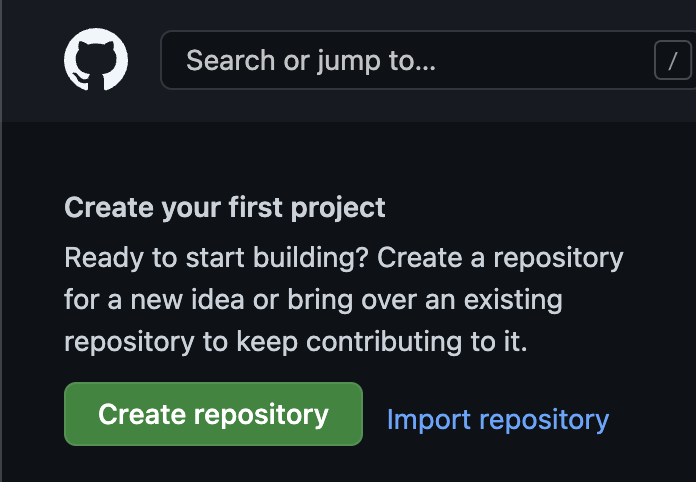
You will be asked the usual mix of account setup questions. Once you are logged in, you will arrive at a home dashboard where you will be offered the option to create a repository. A repository is like having a storage folder in the cloud where you can upload and sync your project files.
Continue to the Create Repository page on the GitHub website.
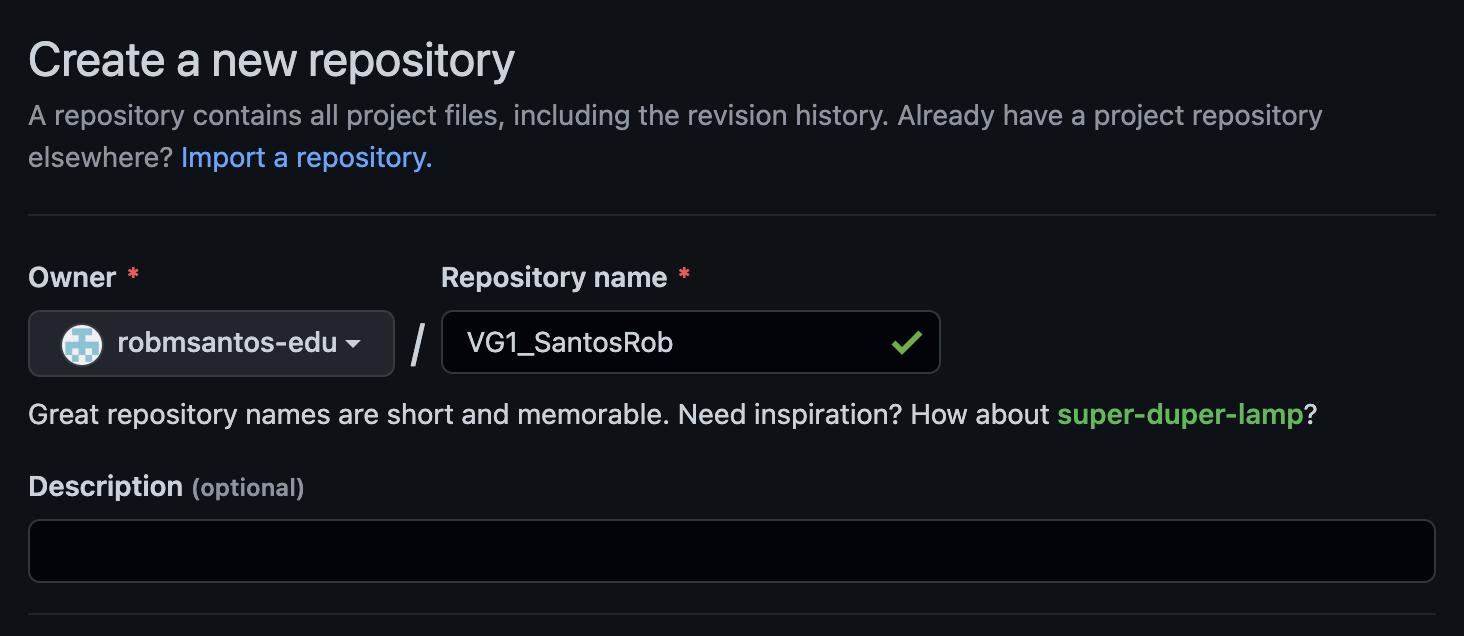
On the Create Repository form, there are several fields we will customize to meet our project needs. Use a repository name that matches the naming format of projects for your course such as VG1_LastnameFirstname or VG2_LastnameFirstname. Of course, substitute your own first name and last name. Making your repository identifiable is necessary for receiving a grade.
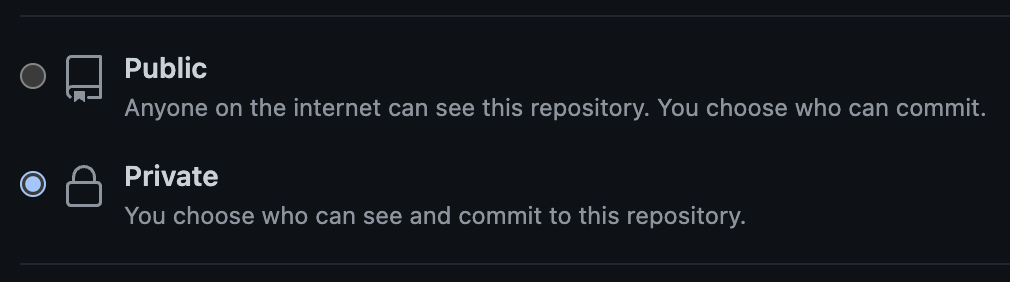
You should keep your repository private, otherwise anyone on the internet will be able to copy your work.
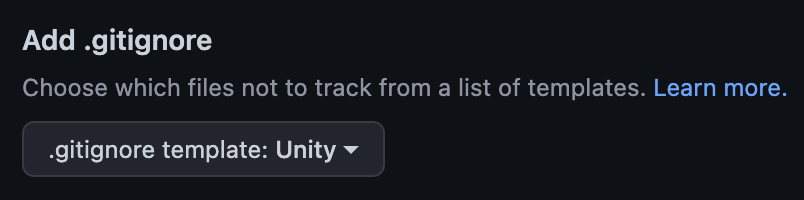
Unity projects generate a lot of temporary files that should not be uploaded. These are files needed only for your specific computer and aren't meant to be shared to other computers. Incorrectly sharing these files can cause your project to waste online storage beyond free account limits and even corrupt a project when it is loaded on another computer.
A gitignore file configures a list of files to exclude when uploading to the repository. We will use the Unity gitignore template to avoid uploading unnecessary files to GitHub.
If you mistakenly forget to include the correct gitignore configuration during repo setup, you can manually create a ".gitignore" file using the text found at https://github.com/github/gitignore/blob/main/Unity.gitignore. It is important to name the file ".gitignore" exactly including the period at the beginning of the filename. The file should be located within the root of your repository.
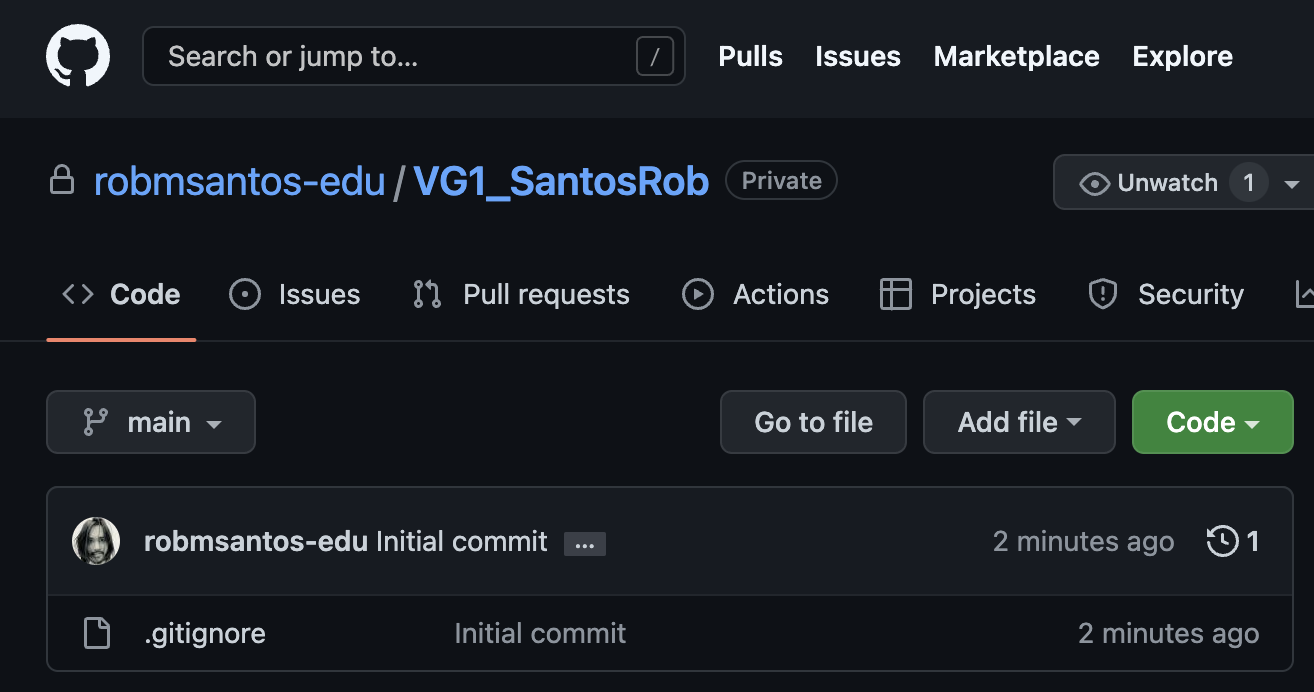
Once you've created your repository, you will arrive at a page listing all of the files currently in your repo. Notice that it is just the single ".gitignore" file for now. We are going to make a change to this gitignore file to make it more flexible for our class needs. Click the file to explore its contents.
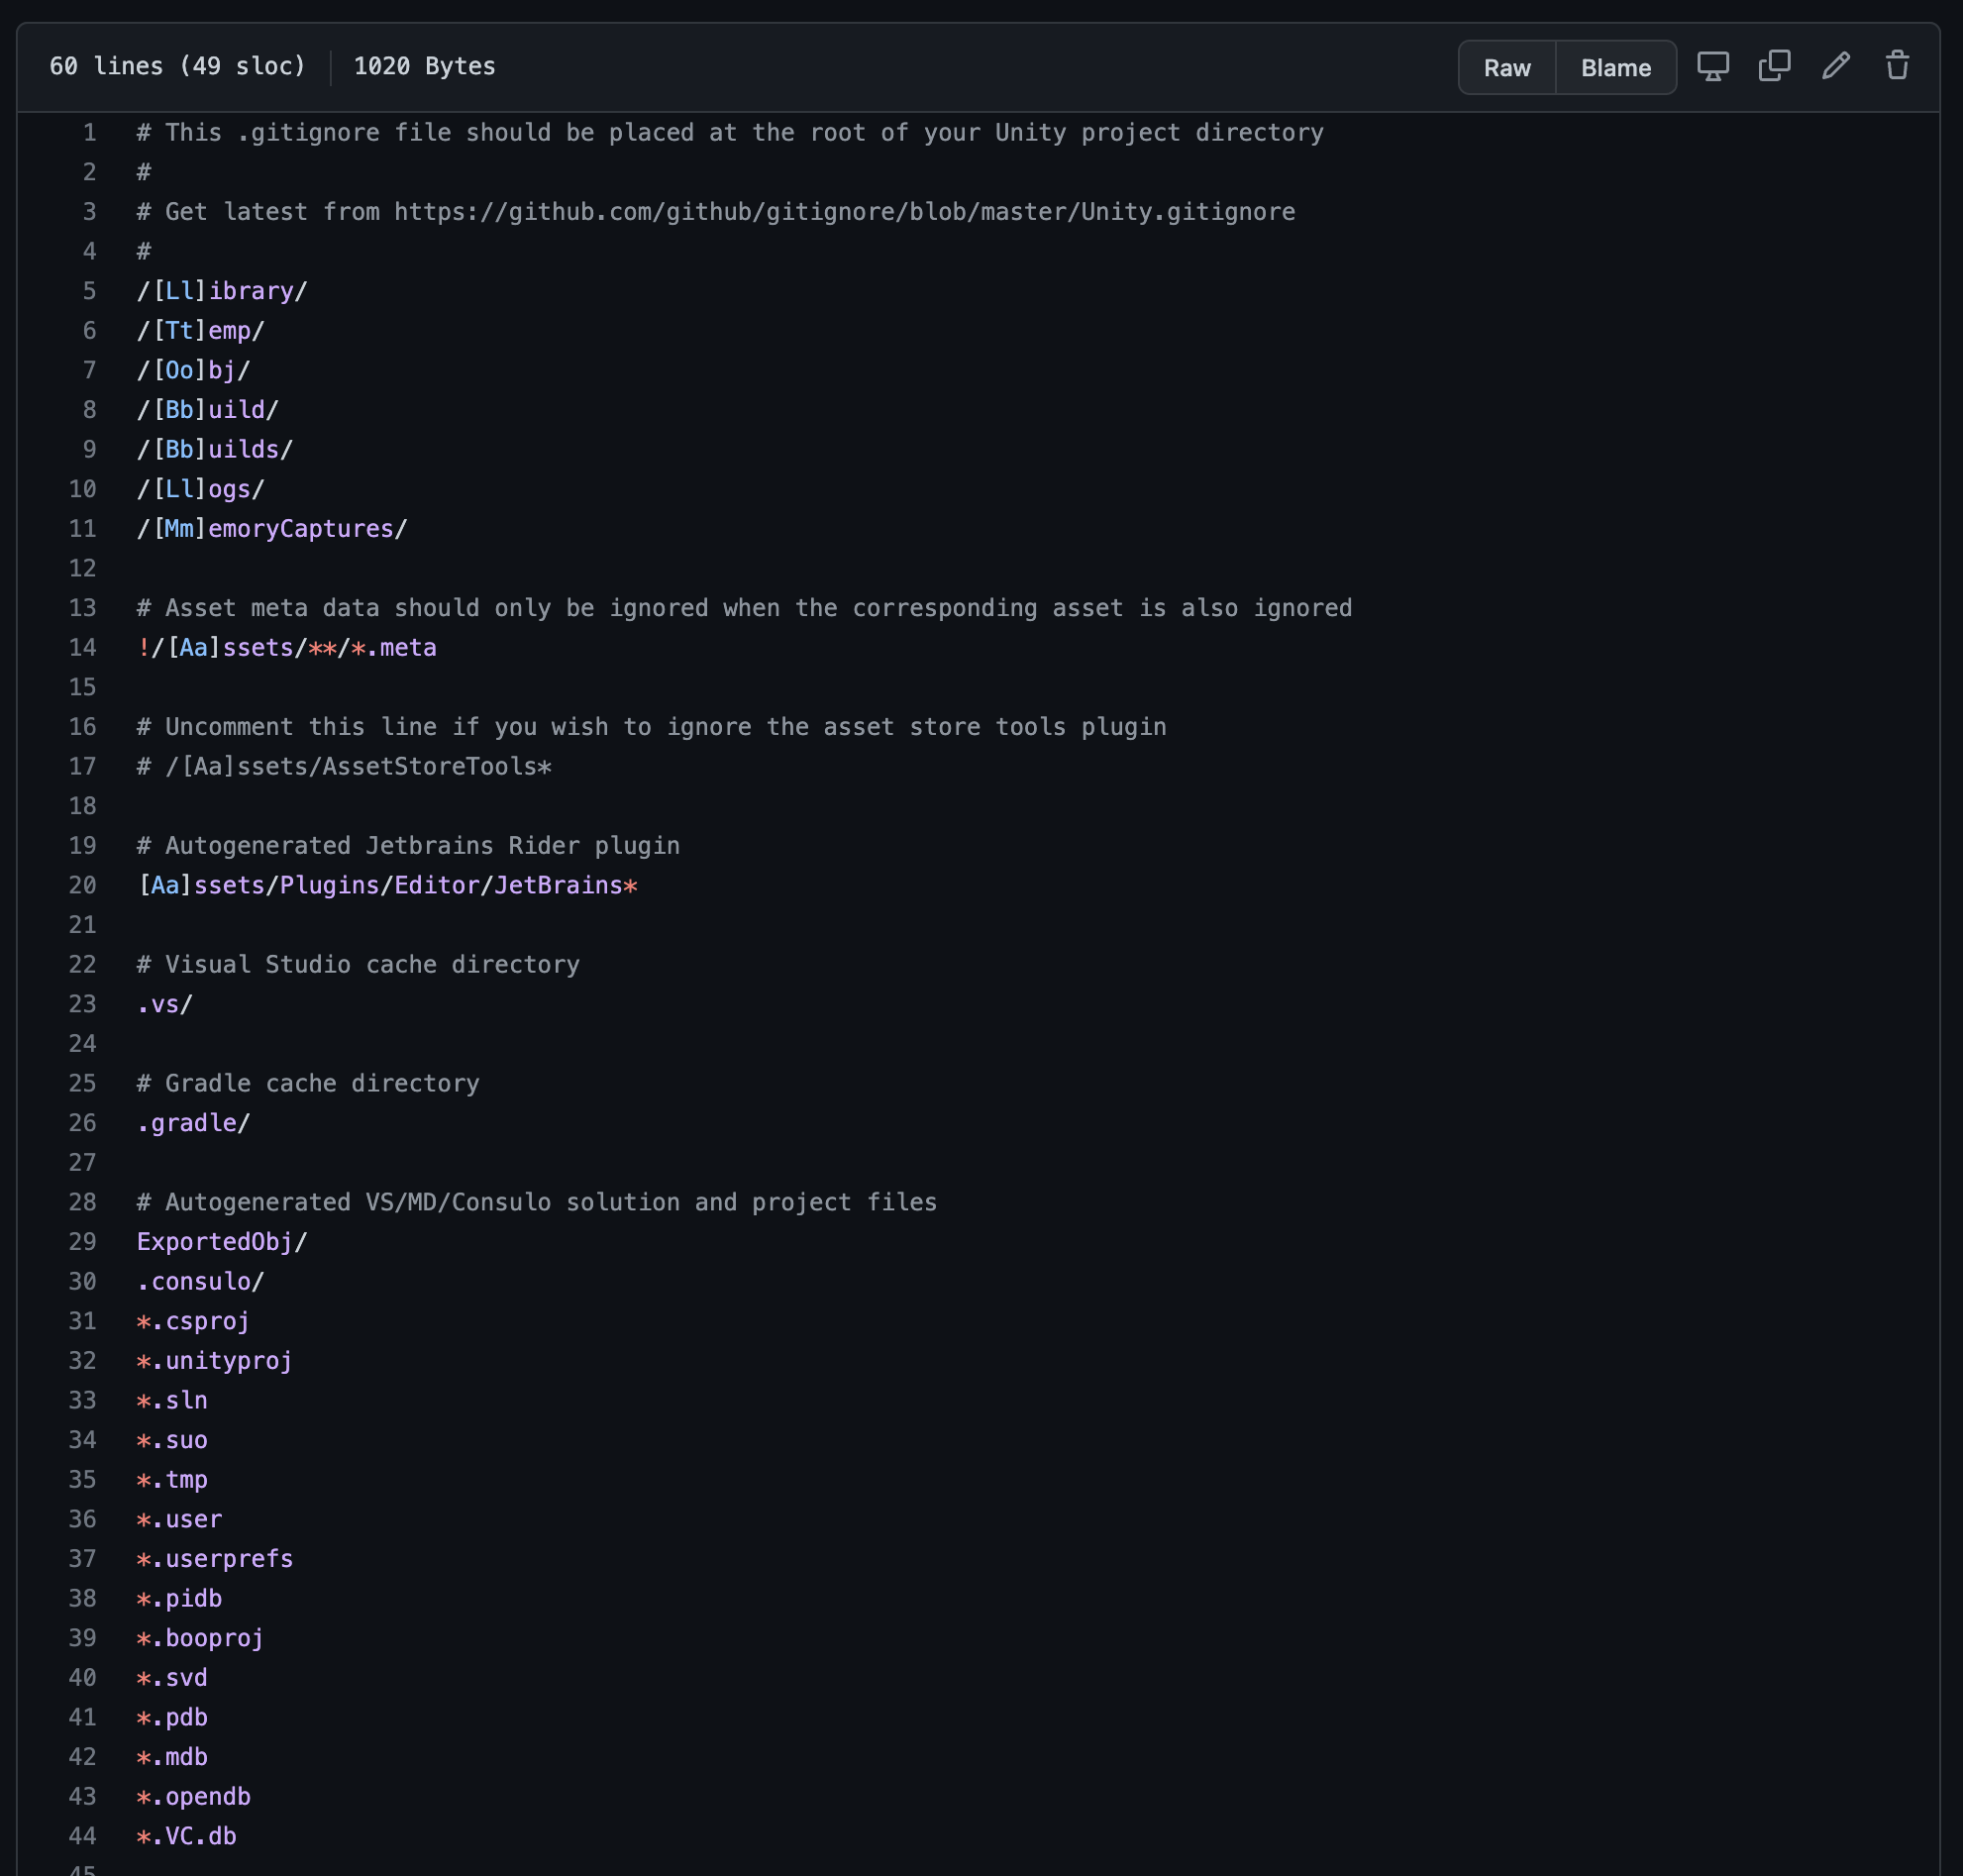
You can examine the contents of any file uploaded to your repository. Text-based files like the gitignore can also be edited in the browser. (Your file contents may differ slightly from this screenshot.)
Click the edit icon to make changes to the gitignore file.
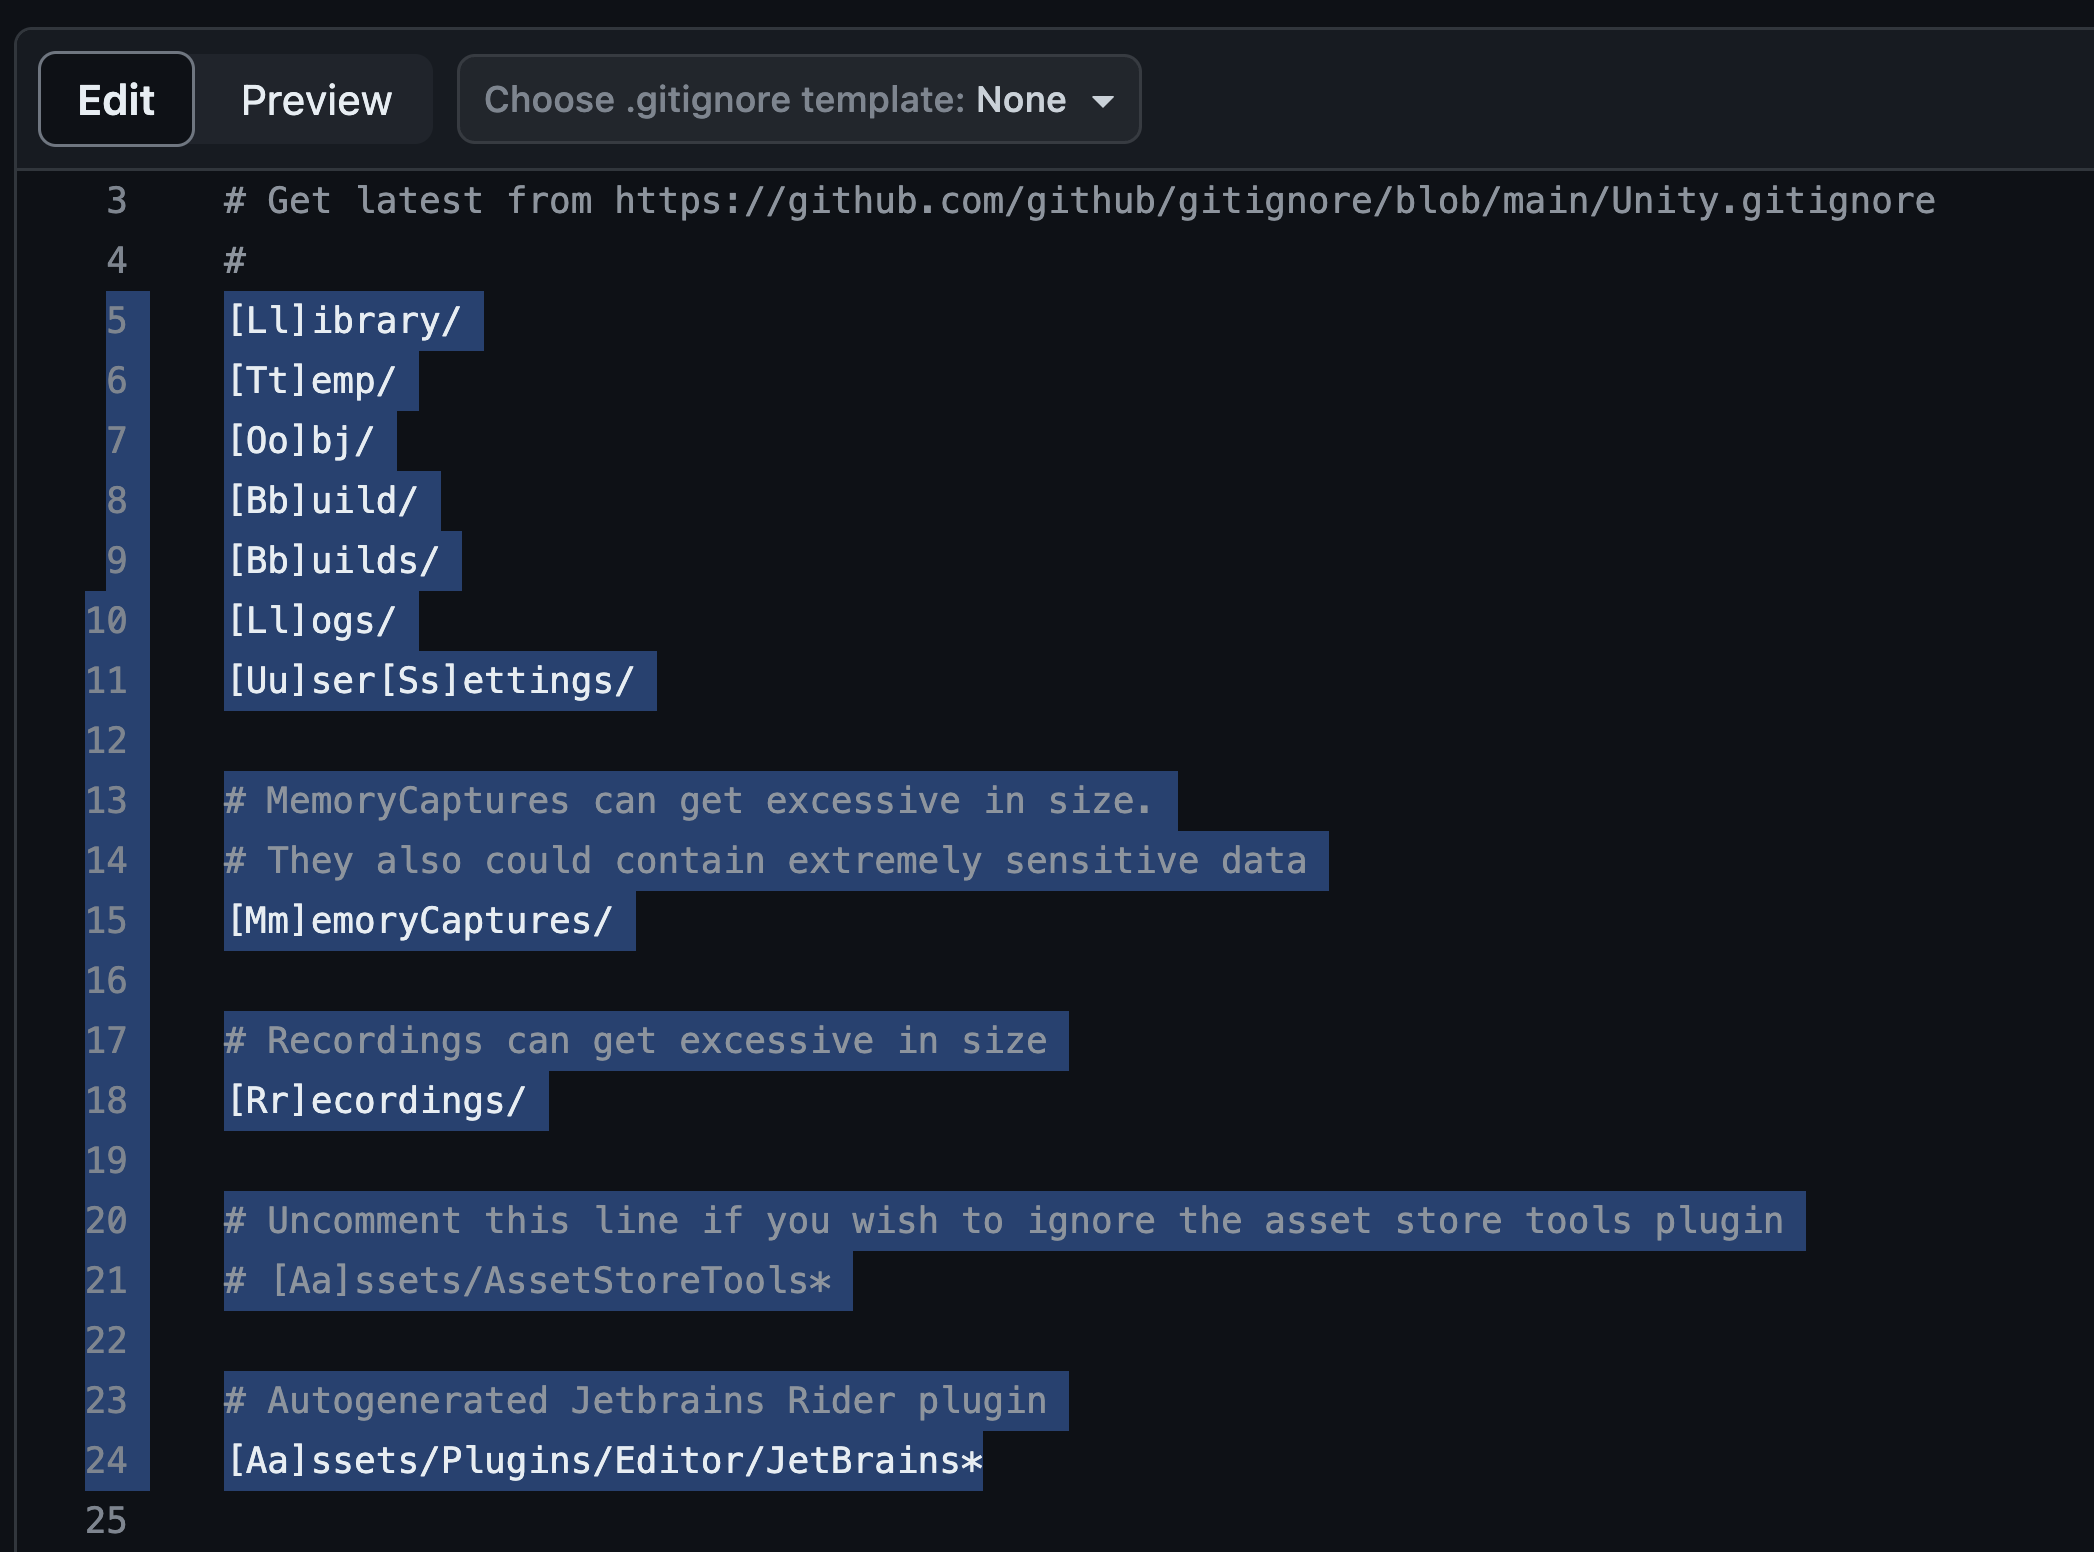
Because GitHub frequently updates their templates, your .gitignore may differ slightly from the screenshot below. Using the picture below only as an example, REMOVE ONLY the first slash "/" at the very beginning of each line throughout the entire file. Do NOT remove any other slashes. When a leading slash is present, that gitignore rule only triggers for folders and files at the root of the repo. People frequently organize their projects in all sorts of places besides the root folder, however, so removing the slash will give you more flexibility in structuring your repo with subfolders.
Make sure you remove leading slashes for all lines throughout the file, including lines not shown in the above screenshot.
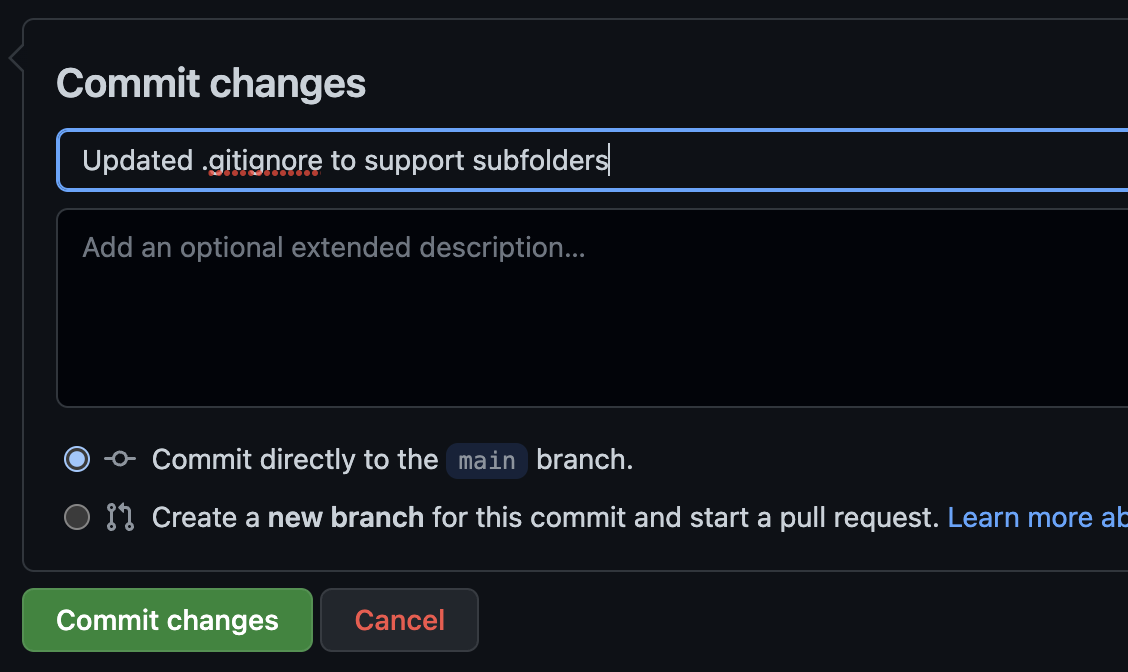
When you make changes, you must save them to the repository. This is known as "comitting" the change to the repository's history. Always leave an explanation of the changes you are making. It can be very confusing in larger projects to have unlabeled entries in your project history. Do NOT type vague or gibberish commit messages, otherwise, you may not receive full credit for the relevant assignment.
With your online repository created in the cloud, the next step will be cloning a copy of it to your local file system. We will build our project in this local copy before synchronizing it back to the cloud for sharing.
*If you are well-versed in Git, you are welcome to use any alternative clients and tools you prefer. We will not be able to offer support for other tools in the classroom.
For simplicity, I will perform any Git demonstrations using the official GitHub Desktop client. Visit the website https://desktop.github.com/.
Download and install the version of GitHub Desktop appropriate for your computing platform.
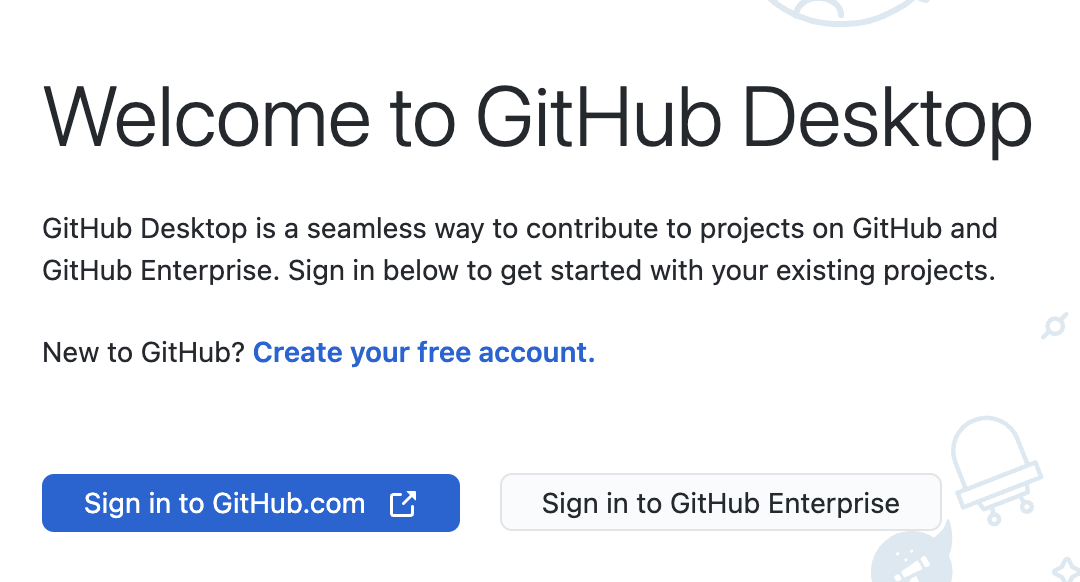
Upon running GitHub Desktop, you'll be presented with the login screen.
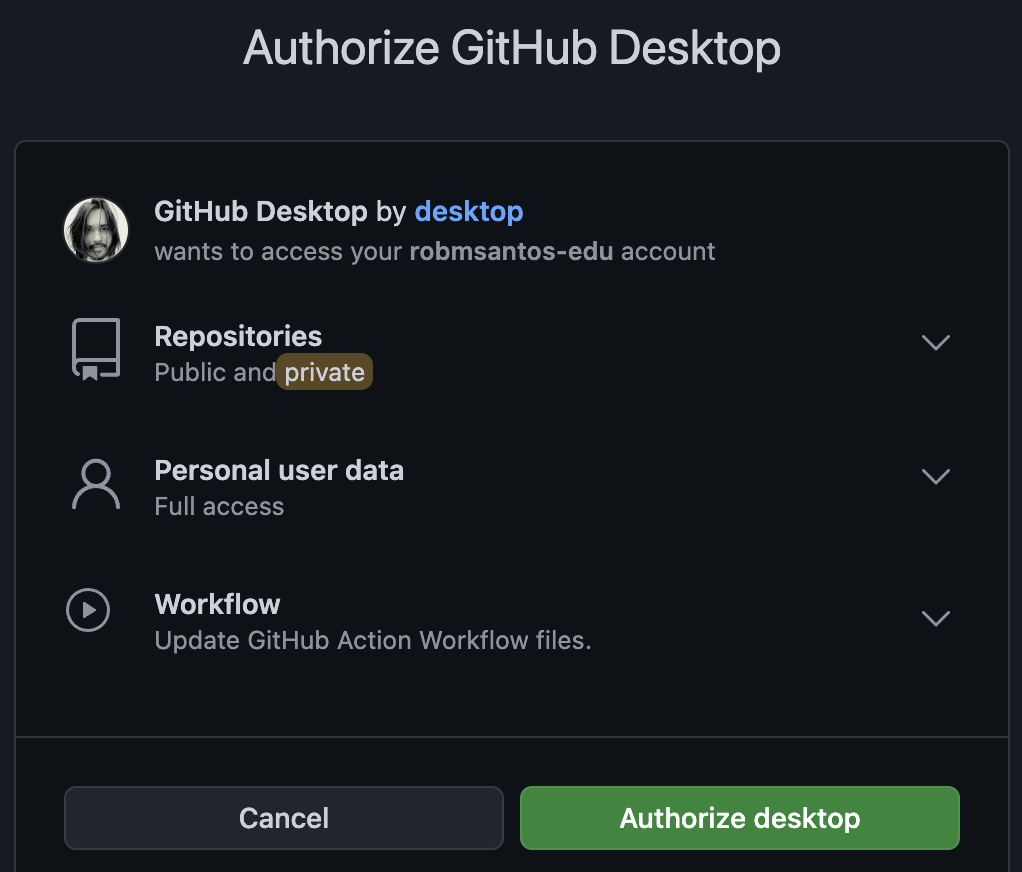
Sign in to GitHub.com. Click "authorize desktop" to grant GitHub Desktop access to your GitHub account.
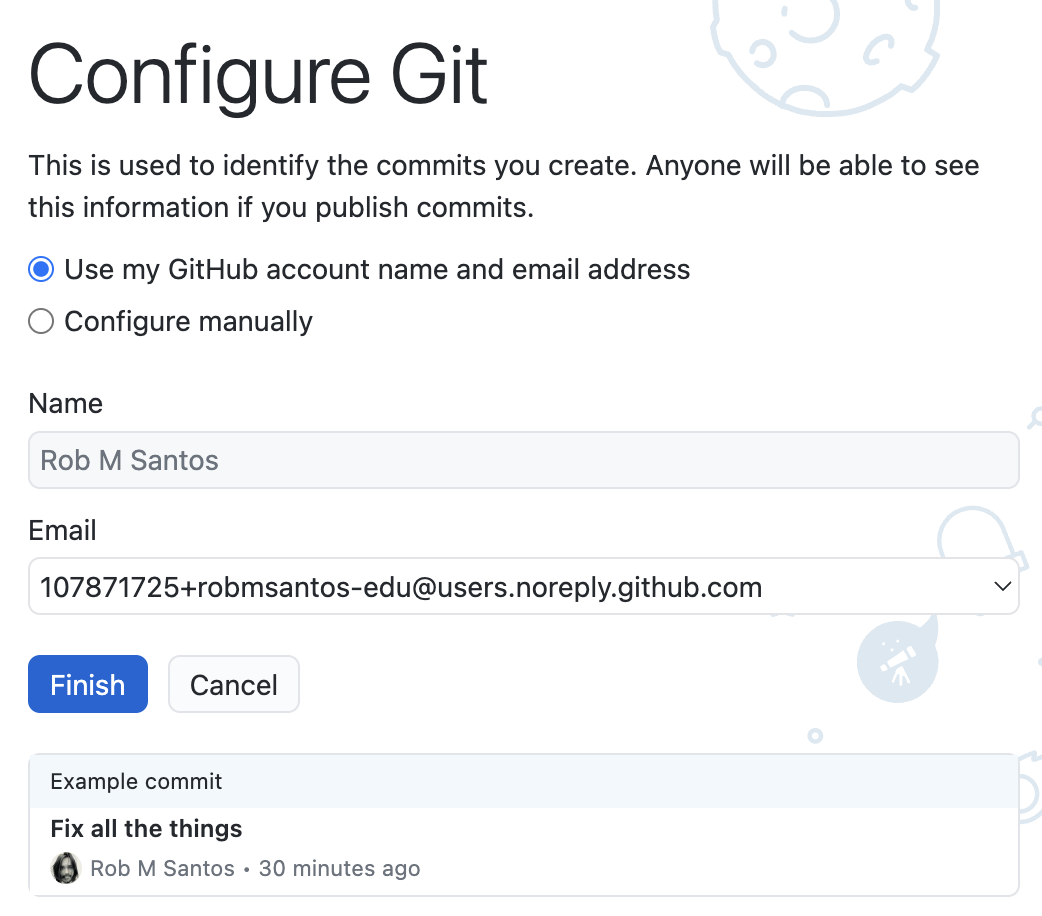
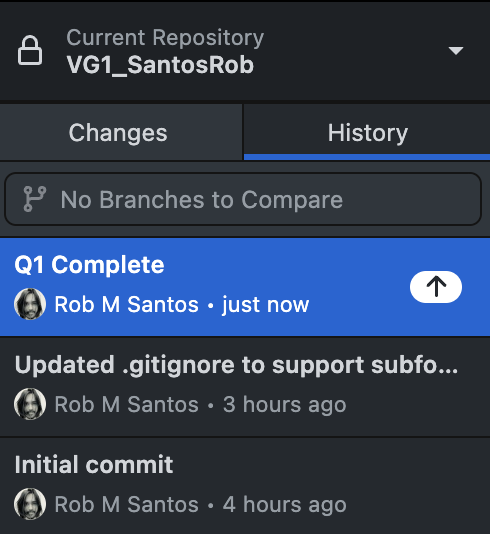
You will be asked to configure your git identity. When you commit changes to your files, Git tracks a history of those changes. In the screenshot, you can see that the history of a Git project will list who made changes along with comments describing the nature of the change.
Your local Git client is now ready to access and synchronize with files stored online.
In order to work with your Git project, you will need to clone a copy of it to your local hard drive. (You must maintain sufficient available local hard drive space throughout the course to hold your projects.)
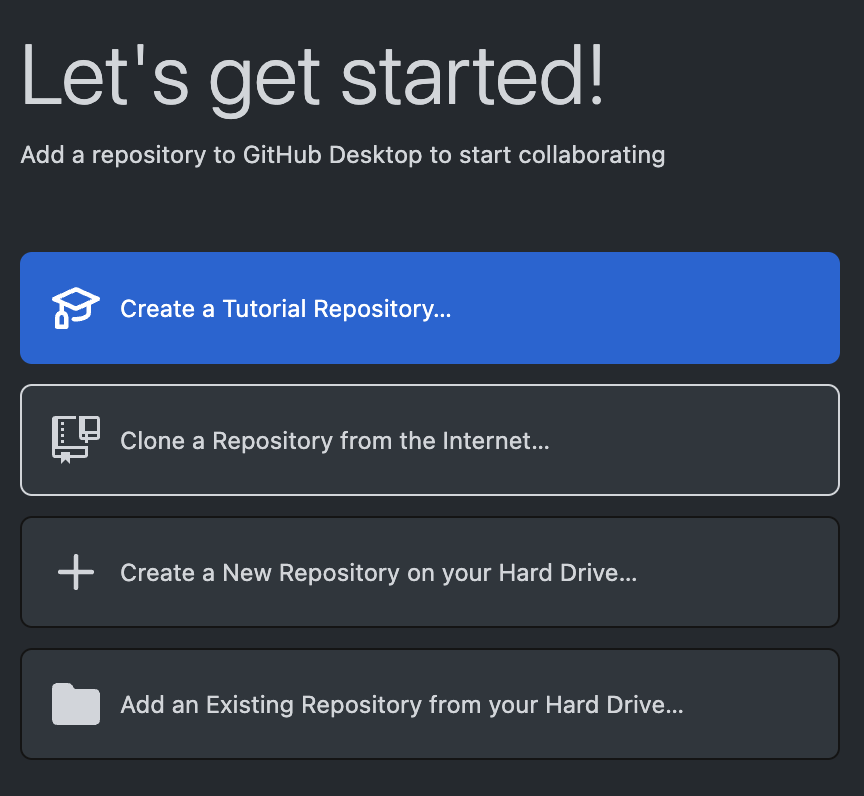
On the next screen, you'll be offered a few different ways of creating a Git project on your local file system. Because we already made our repository on GitHub.com, select "Clone a Repository from the Internet..."
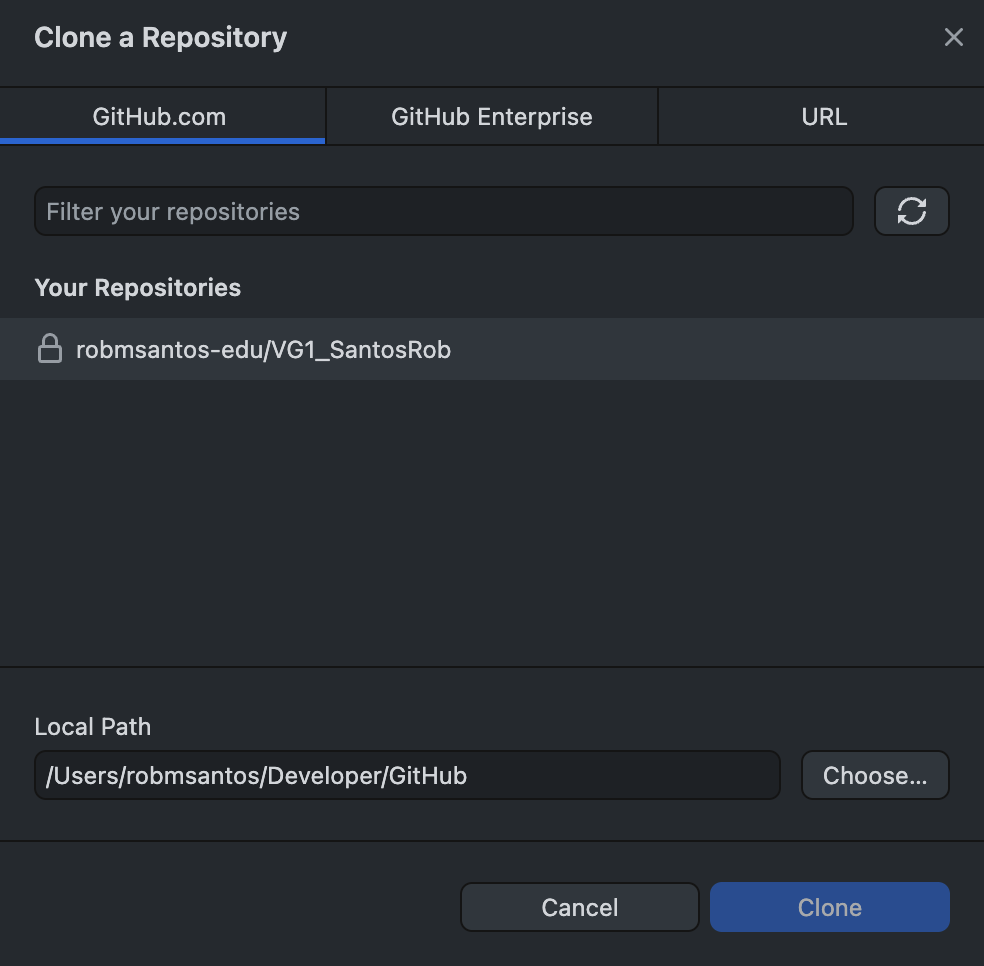
Since we are logged into our GitHub.com account, your project should already be listed for convenience.
When choosing a local folder to save your repository, DO NOT choose a folder that is also a Dropbox, Microsoft OneDrive, Apple iCloud, or other cloud service folder. Git already behaves as a synchronized cloud folder. Having a cloud folder inside the cloud folder of another service can create file synchronization conflicts that will corrupt your projects. For personal convenience, these other cloud services frequently offload files from your hard drive when space is low. This is disastrous for development work. Your project can become corrupted if you try to load it when the project only partially exists on your local hard drive. To avoid these problems, we use services like Git for technical work because we manually control how synchronization happens.
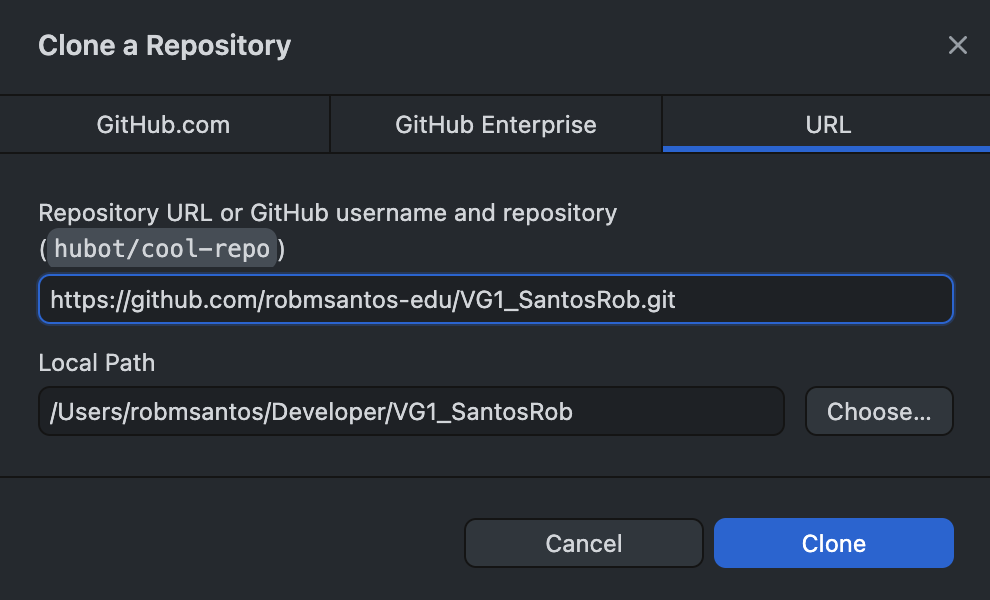
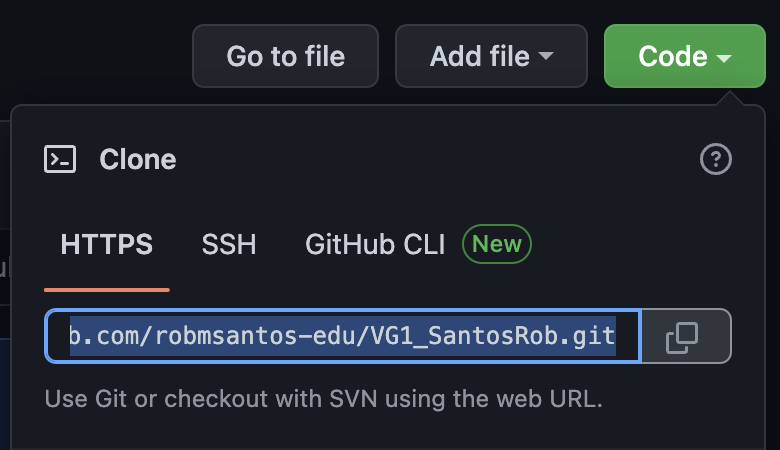
An additional option for downloading a project is to use the URL for the project.
The URL can be found under the Code dropdown on the project's webpage. Either approach should result in the same project being downloaded to your hard drive. The URL approach can be useful for accessing projects created by others.
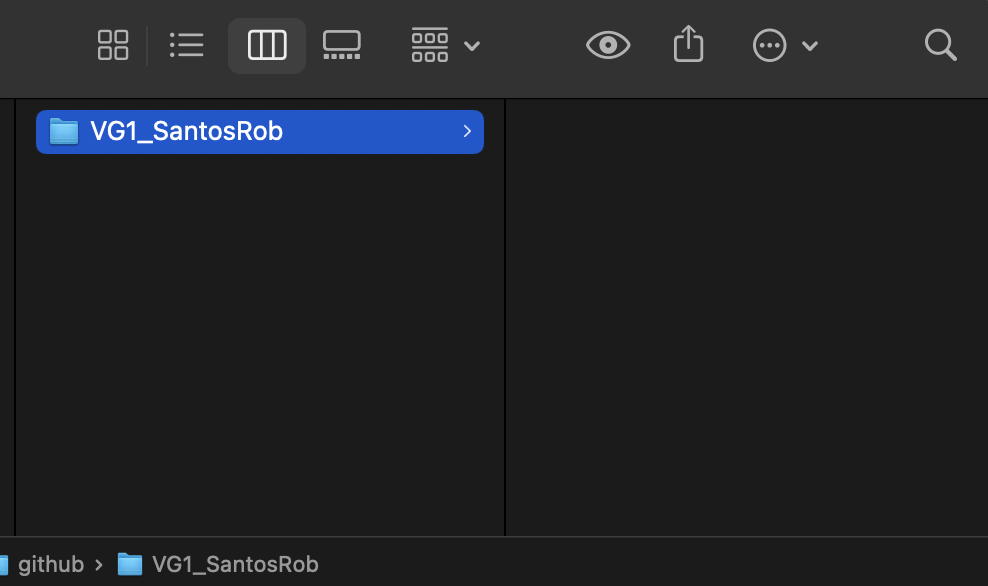
If you examine the folder created on your hard drive, it may appear empty. (dot-files like .gitignore are hidden by default on Unix operating systems like macOS.)
Within the GitHub Desktop interface, you'll also notice it lists 0 changed files. At this point, your local copy of the Git repository matches the online version. This means your local repo and remote repo are synchronized. There are no new changes to download, and there are no new changes to upload.
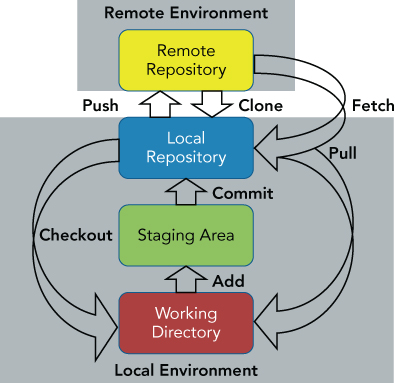
Here is a diagram of how file changes flow within a Git project. (Source: https://kelvinleong.github.io/git/2017/01/20/Use-Git.html) Below, we will discuss this lifecycle of working within a Git project.
These are the components labeled in the diagram:
There are some common operations within the lifecycle of a Git project:
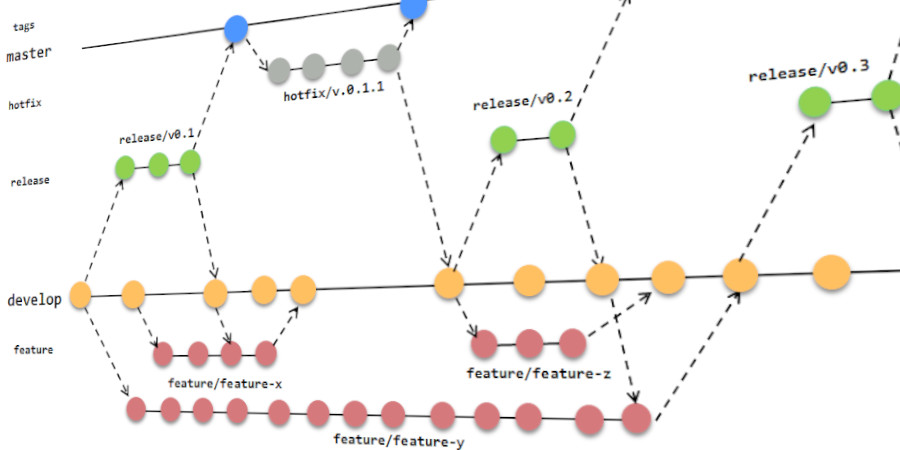
There are many additional Git commands and features you may eventually learn. A highly-developed team process can lead to some complex project organization as can be seen in the example diagram below. My starting advice to you is KEEP IT SIMPLE. Let the tool serve you, and do not add unnecessary complexity to a short-lived starter project. Every version control solution has its own nuance, and each team will have their own organizational processes for how they manage their projects. Learning these different tools and approaches is an ongoing journey.
Overall, your process this semester will be as follows: 1) Fetch. 2) Pull. 3) Add your work. 4) Commit. 5) Push. 6) Repeat. Lets give this process a try in the following steps. We have already performed a Clone and Checkout, and we will not have to repeat those steps again unless setting up a new project.
Detailed steps for creating a Unity project can be found in Quest 1 from each semester's tutorials. Be sure to save your Unity project within the Git project folder you created in these steps.
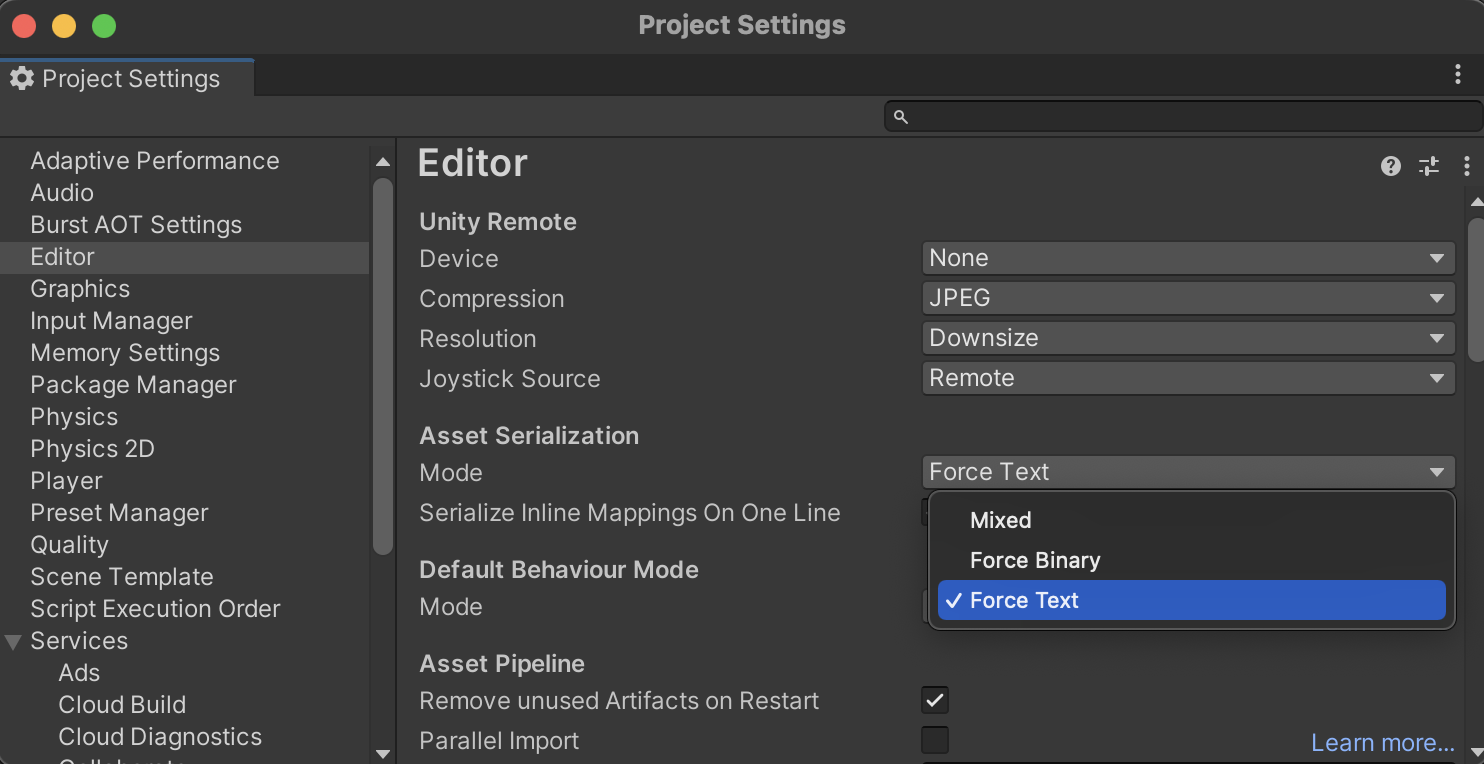
Before we make our first Unity project commit, we need to make a couple configuration changes. Within Unity, open Edit > Project Settings. In the Editor category, set Asset Serialization Mode to Force Text. Text-based files make it easier for Git to track a history of file changes.
If your project is a group project, text also helps when there is a merge conflict with your repository. A merge conflict happens when two teammates edit the same file creating a contradiction between the various repository copies. The best way to avoid a merge conflict is to communicate and take turns editing files. Two people should never edit the same file at the same time. Because of the creative and subjective nature of video game collaboration, many merge conflicts cannot be resolved without redoing the work. The best policy is to avoid merge conflicts before they even happen.
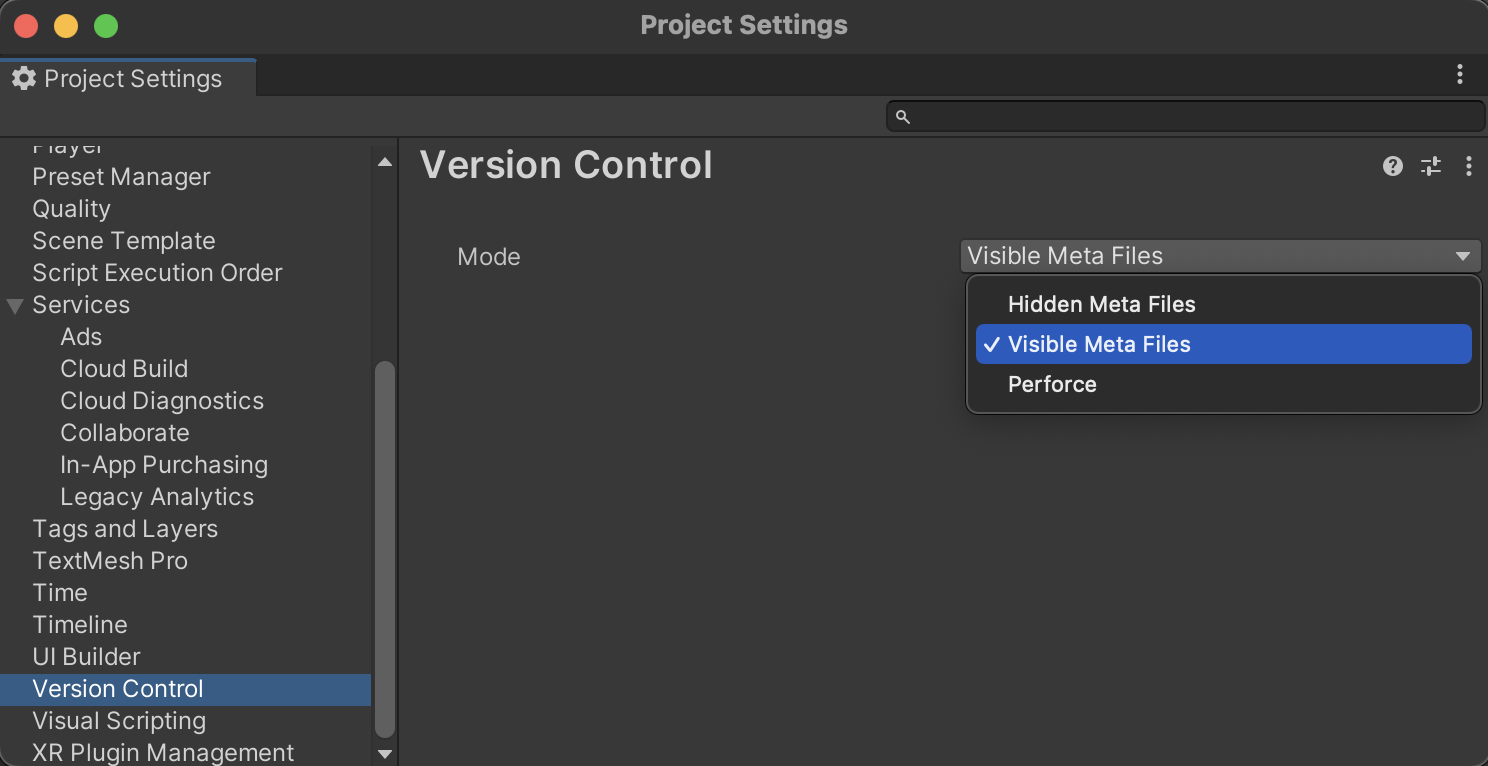
Within the Version Control category, change Mode to "Visible Meta Files". In addition to the assets you consciously add to your project, Unity will generate configuration files for each asset. Making these configuration Meta Files visible makes it easier to track them in the repository.
Just as it is good habit to save frequently, regularly committing and synchronizing with Git is also a good habit for collaborating on projects and protecting your files.
When collaborating, you never want to upload incomplete work that breaks the project for others. Find a good spot in between steps when your project is in a working state to take a break and test uploading your files in the next step. (For demo purposes, I will continue with the next step in this tutorial once we've finished Q1.)
Switch back to GitHub Desktop. We will repeat the following instructions anytime there is something new to download or upload with your online Git repository.
It is good practice to start by clicking "Fetch" (and possibly "Pull" if it appears) to make sure you are up to date with any changes that have been made to your online repository. If there are any merge conflicts, it is best to resolve those problems first rather than uploading broken files.
Now that your Unity files are in the Git folder, these files appear as upcoming changes to the Local Repository in your Working Directory. You can change what is considered in Staging via the checkbox next to each change. You can also view detailed changes per file.
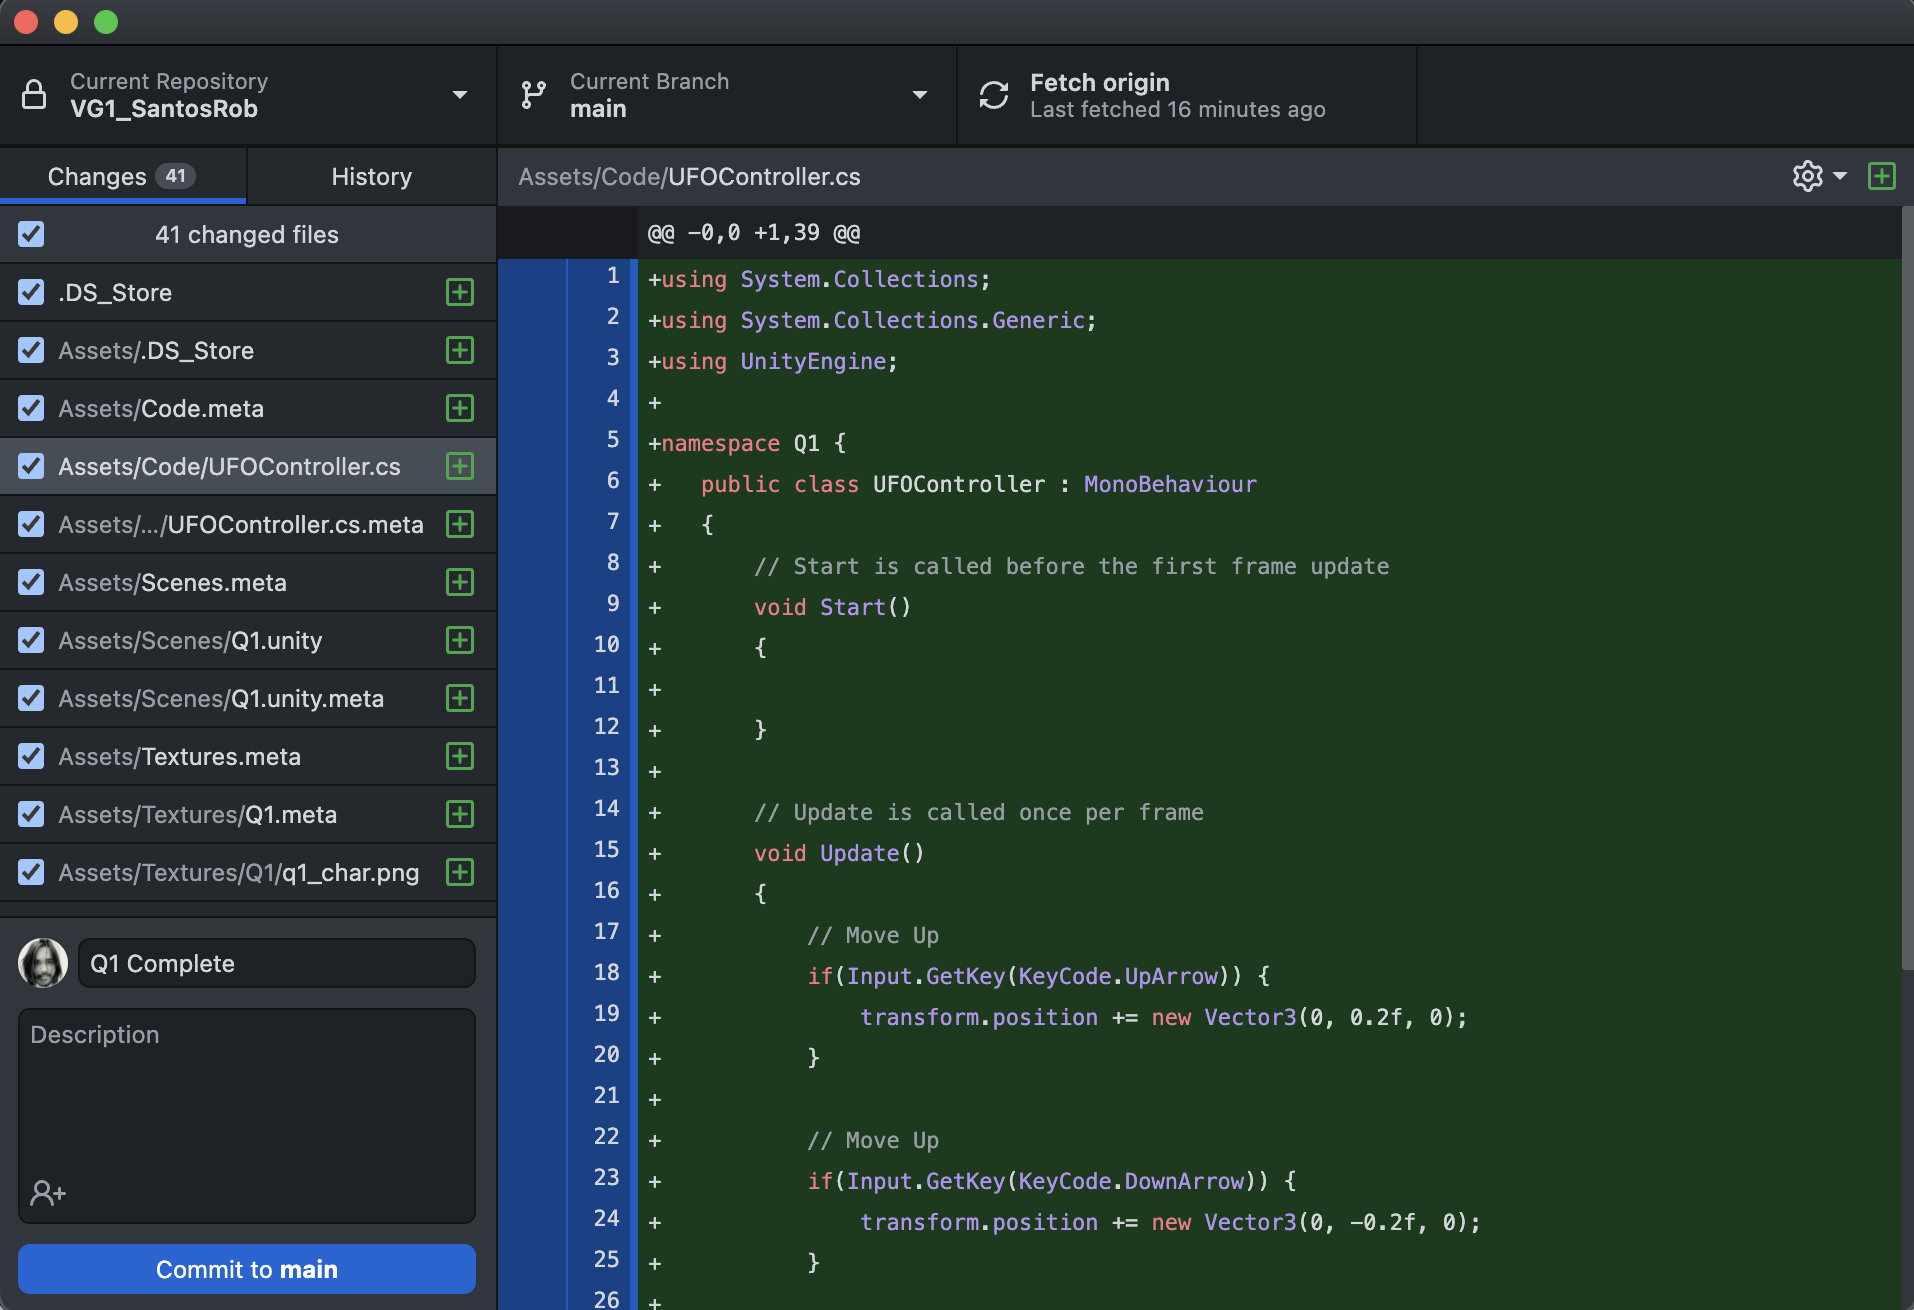
Below your Staged Files is a box where you should label the changes. ALWAYS label your Commits. You might not receive full credit if your commit messages are unintelligible. It can be very difficult to understand a project's history without descriptive commits. Click Commit to apply these Staged changes to the Local Repository.
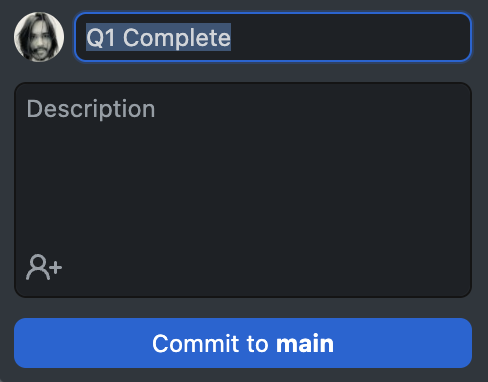
After committing your changes, you should see that there are 0 changed files remaining in the Working Directory.
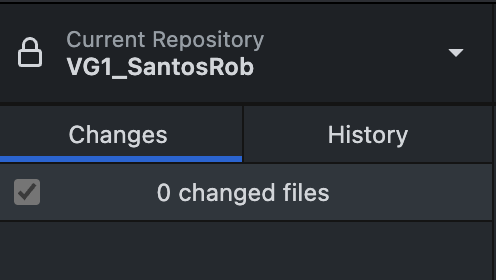
When you peek at the History, you should see a timeline of all the changes to the Local Repository. Here, you can see why descriptive commit messages are helpful.
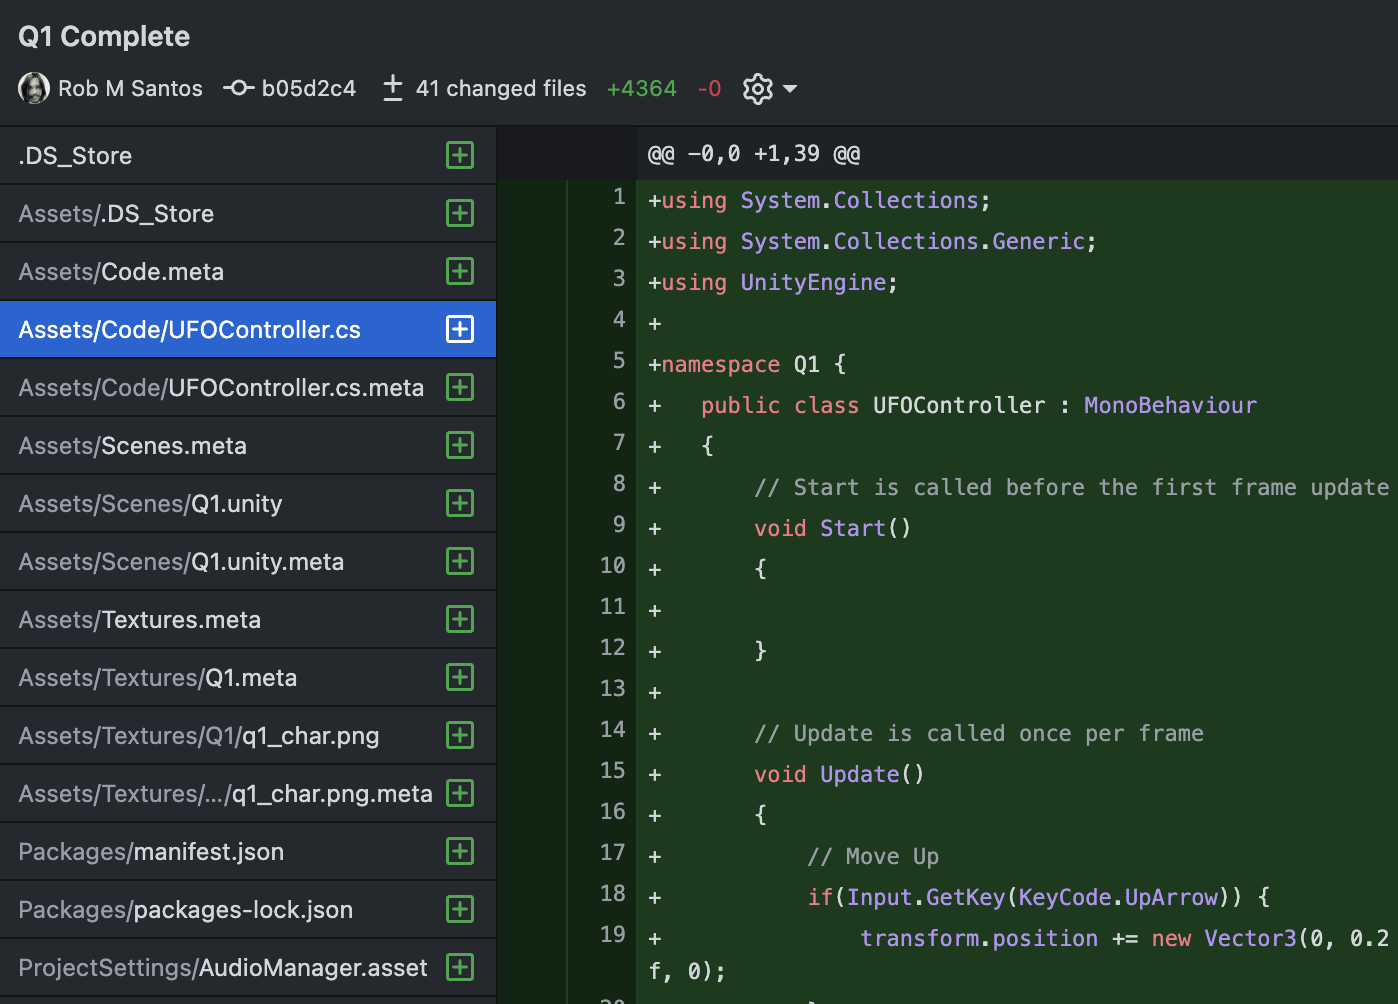
You can explore the details of each commit to see individual file changes in the project history. If you view a project file on GitHub.com, you can even see the entire history of an individual file.
So far, all of these changes have been done to our Local Repository. None of these changes have been sync'd to the Remote Repository, and our teammates will not yet see any of our work. Notice in the upper-right corner that we have changes to Push. (GitHub Desktop sometimes Fetches automatically. This is a harmless automation because the Fetch command only gathers repository status and does not actually change any files.) Click Push to upload your changes online.

Once you have Pushed your changes, you will have no other commits to Push, and the button will only say Fetch. You can try pushing the Fetch button to check for updates from the Remote Repository, but since no one else is making changes right now, there should not be any. In the next step, let's simulate working on one project from multiple computers.

*Simulated scenario: In this next screenshot, I made changes to the Remote Repository from a different computer. From the perspective of our first computer, our Local Repository has 1 Commit to Pull from the Remote Repository. These are new project changes that were made from another device that we want to sync to our first computer. You may have to Fetch in order to see the Pull option.

By clicking Pull, the remote changes will be downloaded to our Local Repository, and our local files will now be sync'd with the Remote Repository. The changes from the second device will now be present on our original computer.
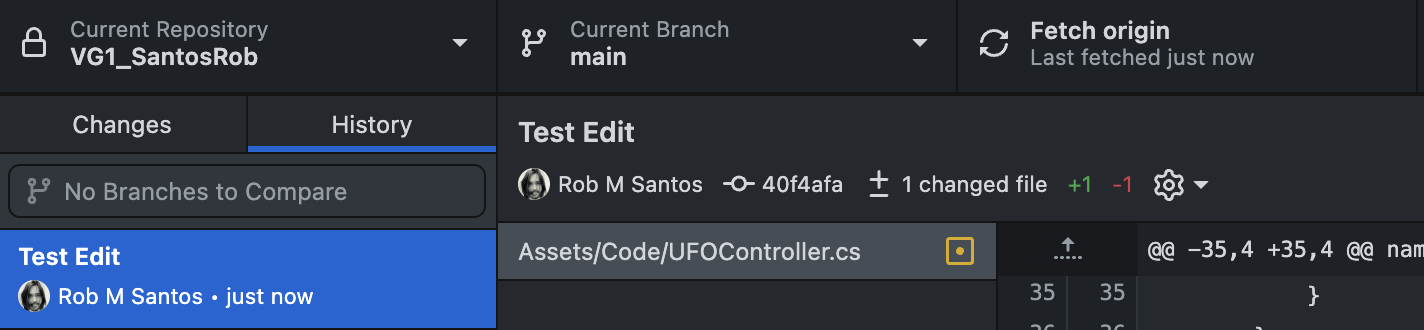
This back-and-forth process of 1) Fetch, 2) Pull, 3) Add Changes, 4) Commit, and 5) Push will keep your project sync'd with your teammates. The smaller and more frequent your commits and sync (push/pull) operations, the less likely you will have file conflicts with your team.
*When you eventually submit an assignment via Git, always save any open files and fully test your project. A good practice is to fully close Unity and your code editor to confirm you saved everything. We will only grade work in the state that it is uploaded. We cannot grade what we do not receive. Verify that the work you want graded has actually been pushed. You will not receive credit for work that doesn't function. Your work should generate zero red errors in the console while it is in the Unity Editor and during execution of your game.
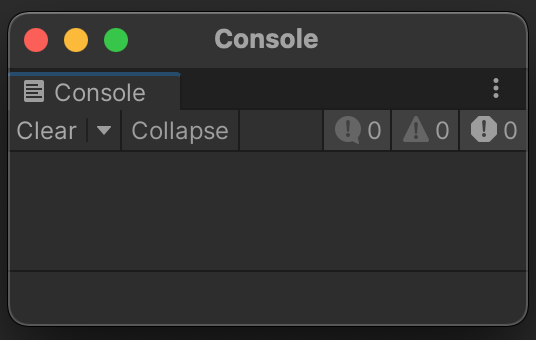
Whenever you complete an assignment, you will upload any last changes for grading as a Git commit. Label your commit descriptively, such as "Q2 Complete". It is ok to make other commits in between due dates as you work on your assignments.

Now that your project has been uploaded, we need to share it so that it can be graded.
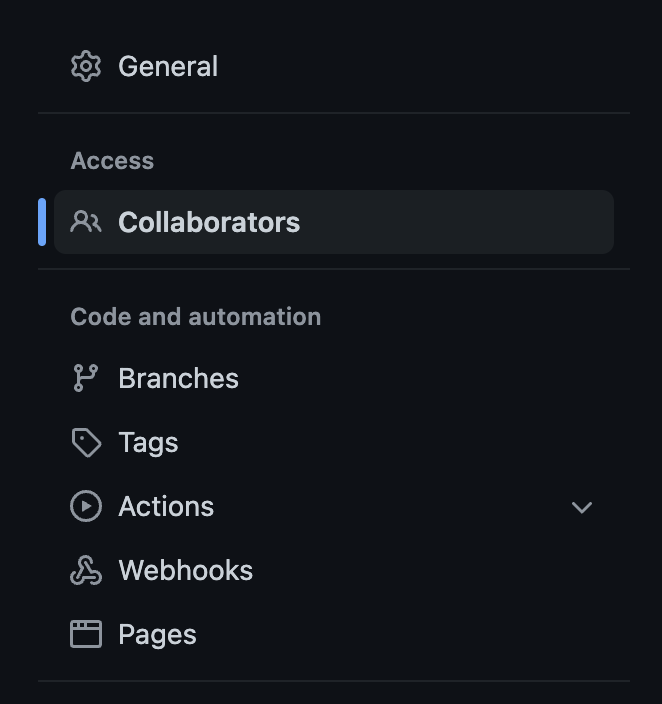
Return to your project home page on GitHub.com. Click Settings.
Click Collaborators.
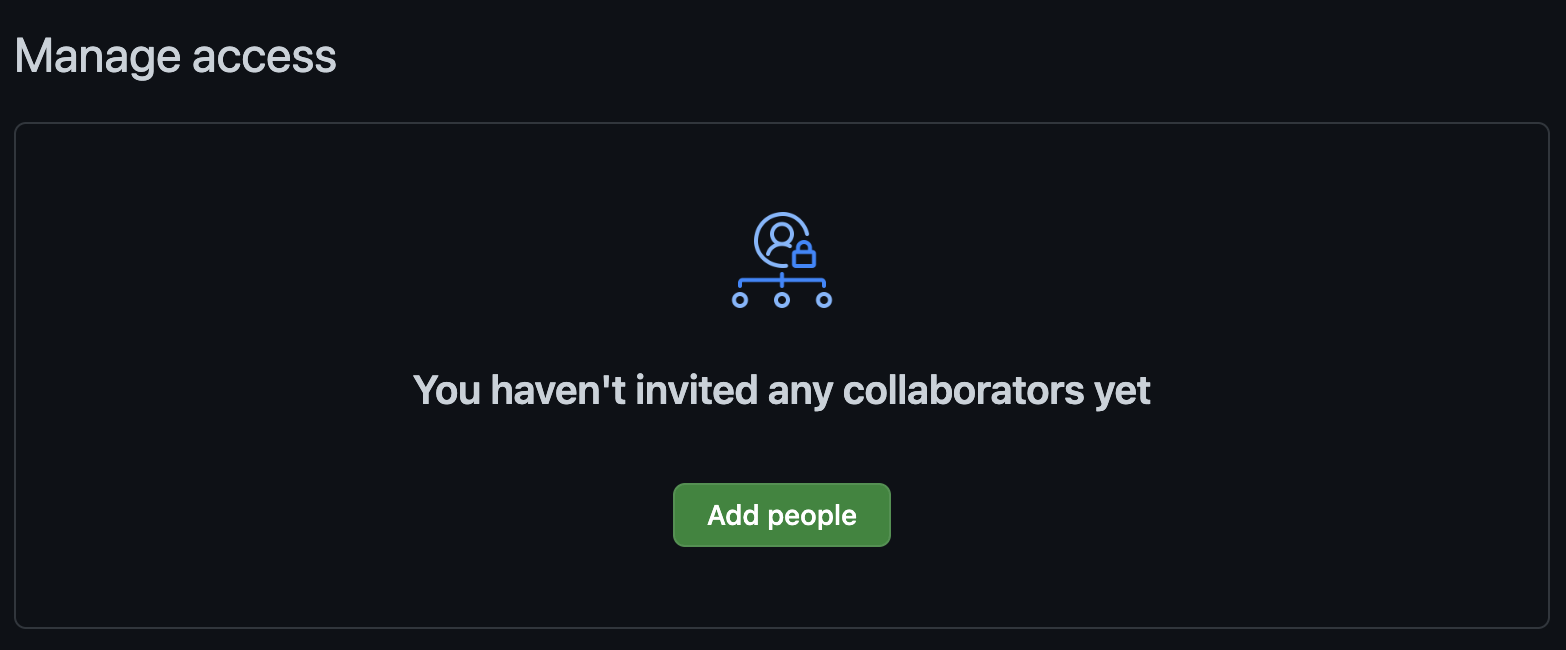
Click "Add people".
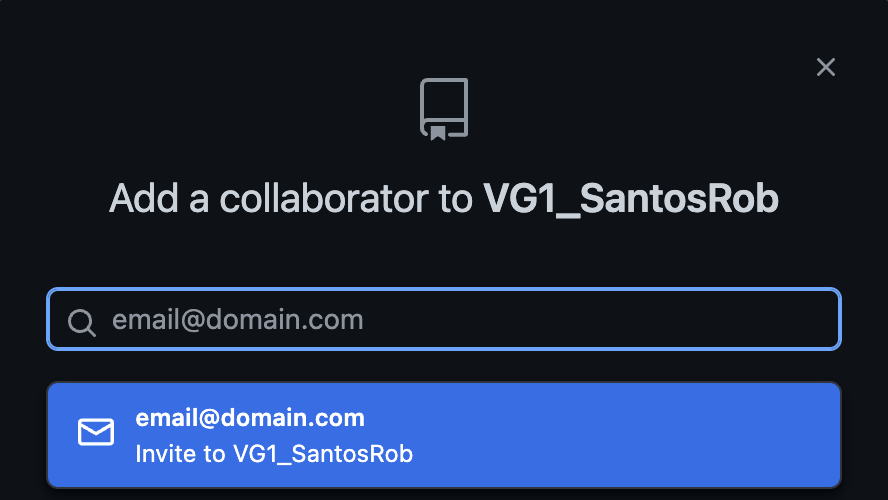
For your class exercises, add the grading e-mails for your course section listed on Canvas. For your group project, you will want to add your teammates instead.
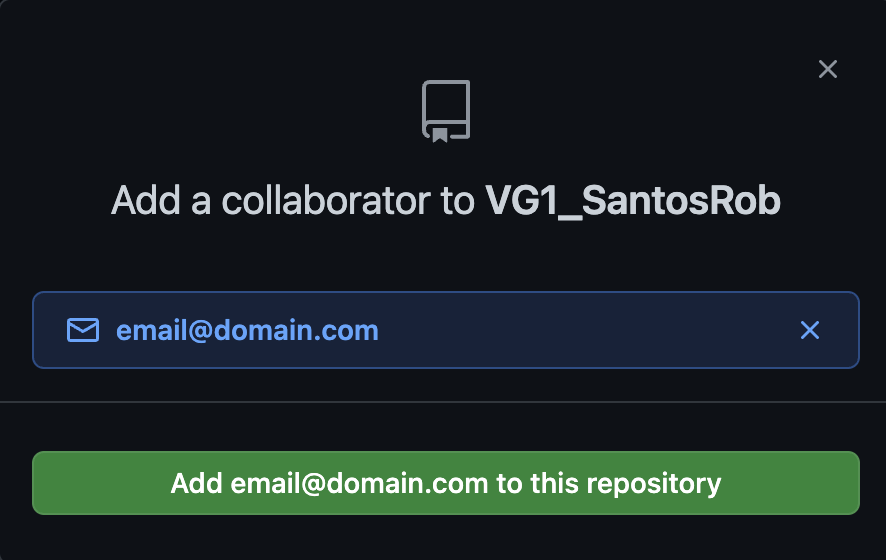
Confirm adding the user to your repository.
Your invitee should receive an e-mail to confirm the collaboration, and all parties will have access to the project!
OPTIONAL: This step is as-needed and is not part of the prior sequence of steps.
If you ever need to access your project from another computer, you can repeat steps 3 and 4 on that other device.
If you are bouncing between two computers (such as a home desktop and a classroom laptop), be mindful to always push the changes from the prior computer and pull those changes down on the next computer to ensure you're working with the newest version of your project.