Install Unity Editor
Once you have Unity Hub installed, it will ask you to log in with the Unity account you created previously.
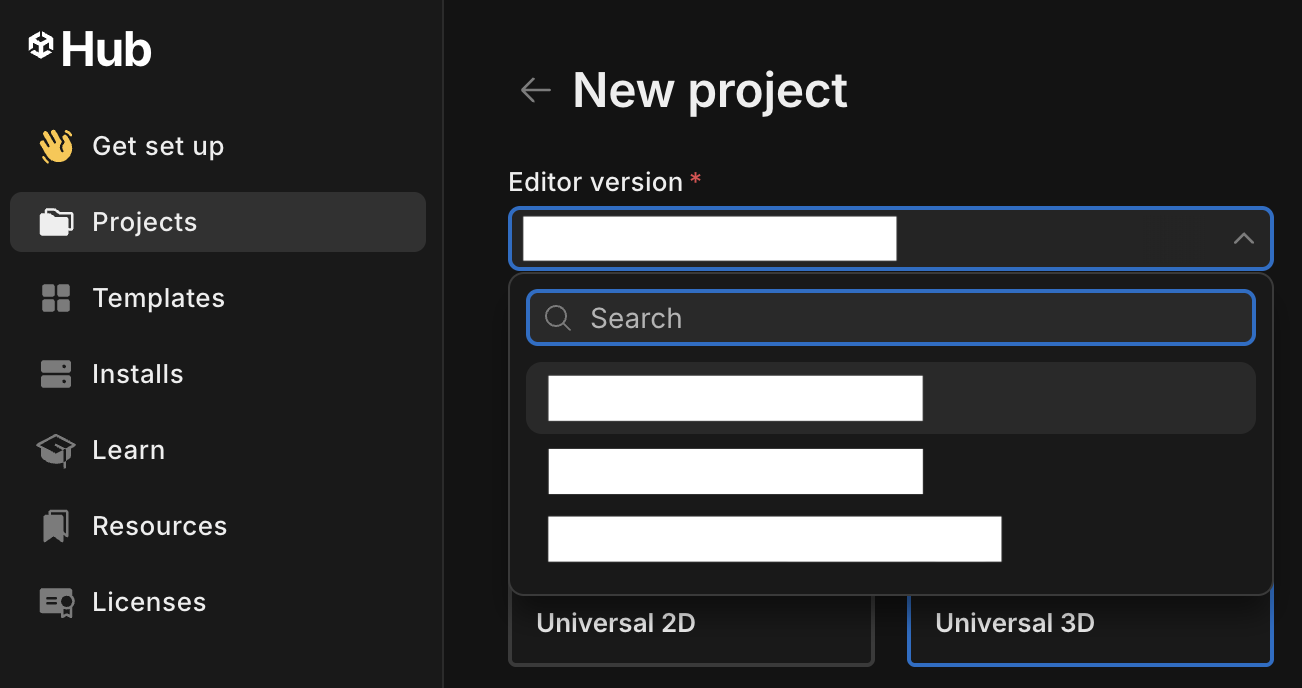
IMPORTANT: For now, skip automatically installing whatever version of Unity is offered to you. It might not match what we are using in class.
If you are asked to activate a machine license choose the personal/student license, whichever is appropriate to your situation.
Unity Hub is a launcher for managing your Unity projects and installed Unity Editor.
Unity Hub itself is not the Unity Editor. Because some video games can take years to produce, developers often need to install multiple versions of a video game engine for the various projects that pop up over the years. Navigate to the "Installs" section of Unity Hub to view the installed versions of the Unity Editor. (You will likely have no version installed yet.)
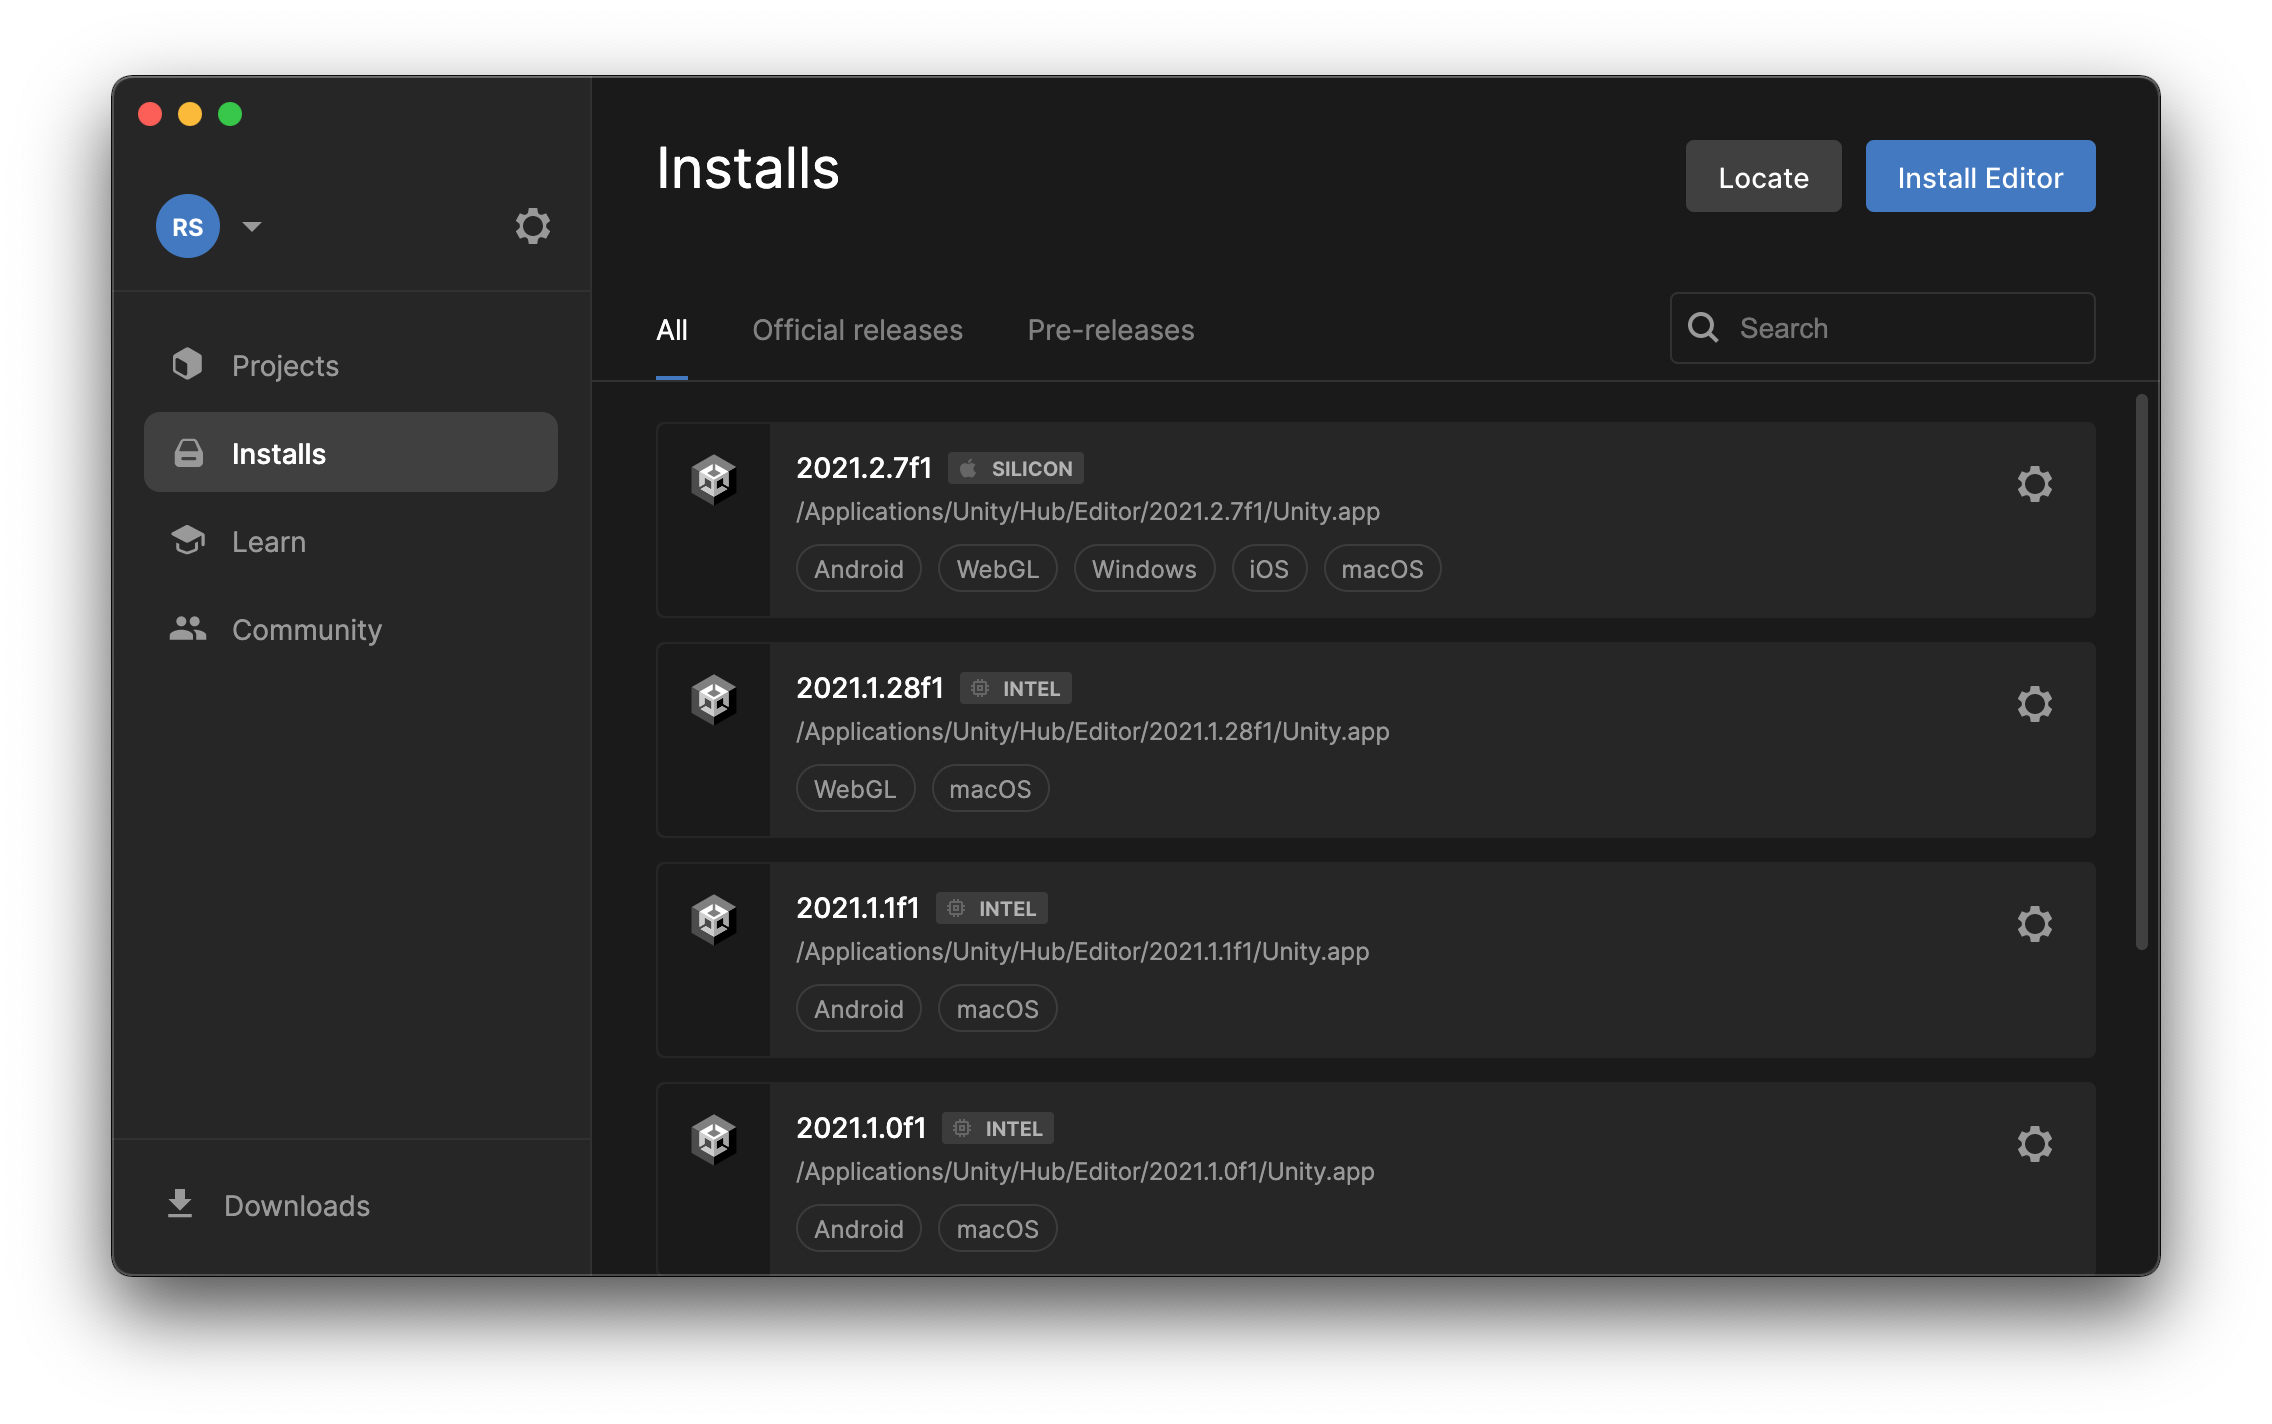
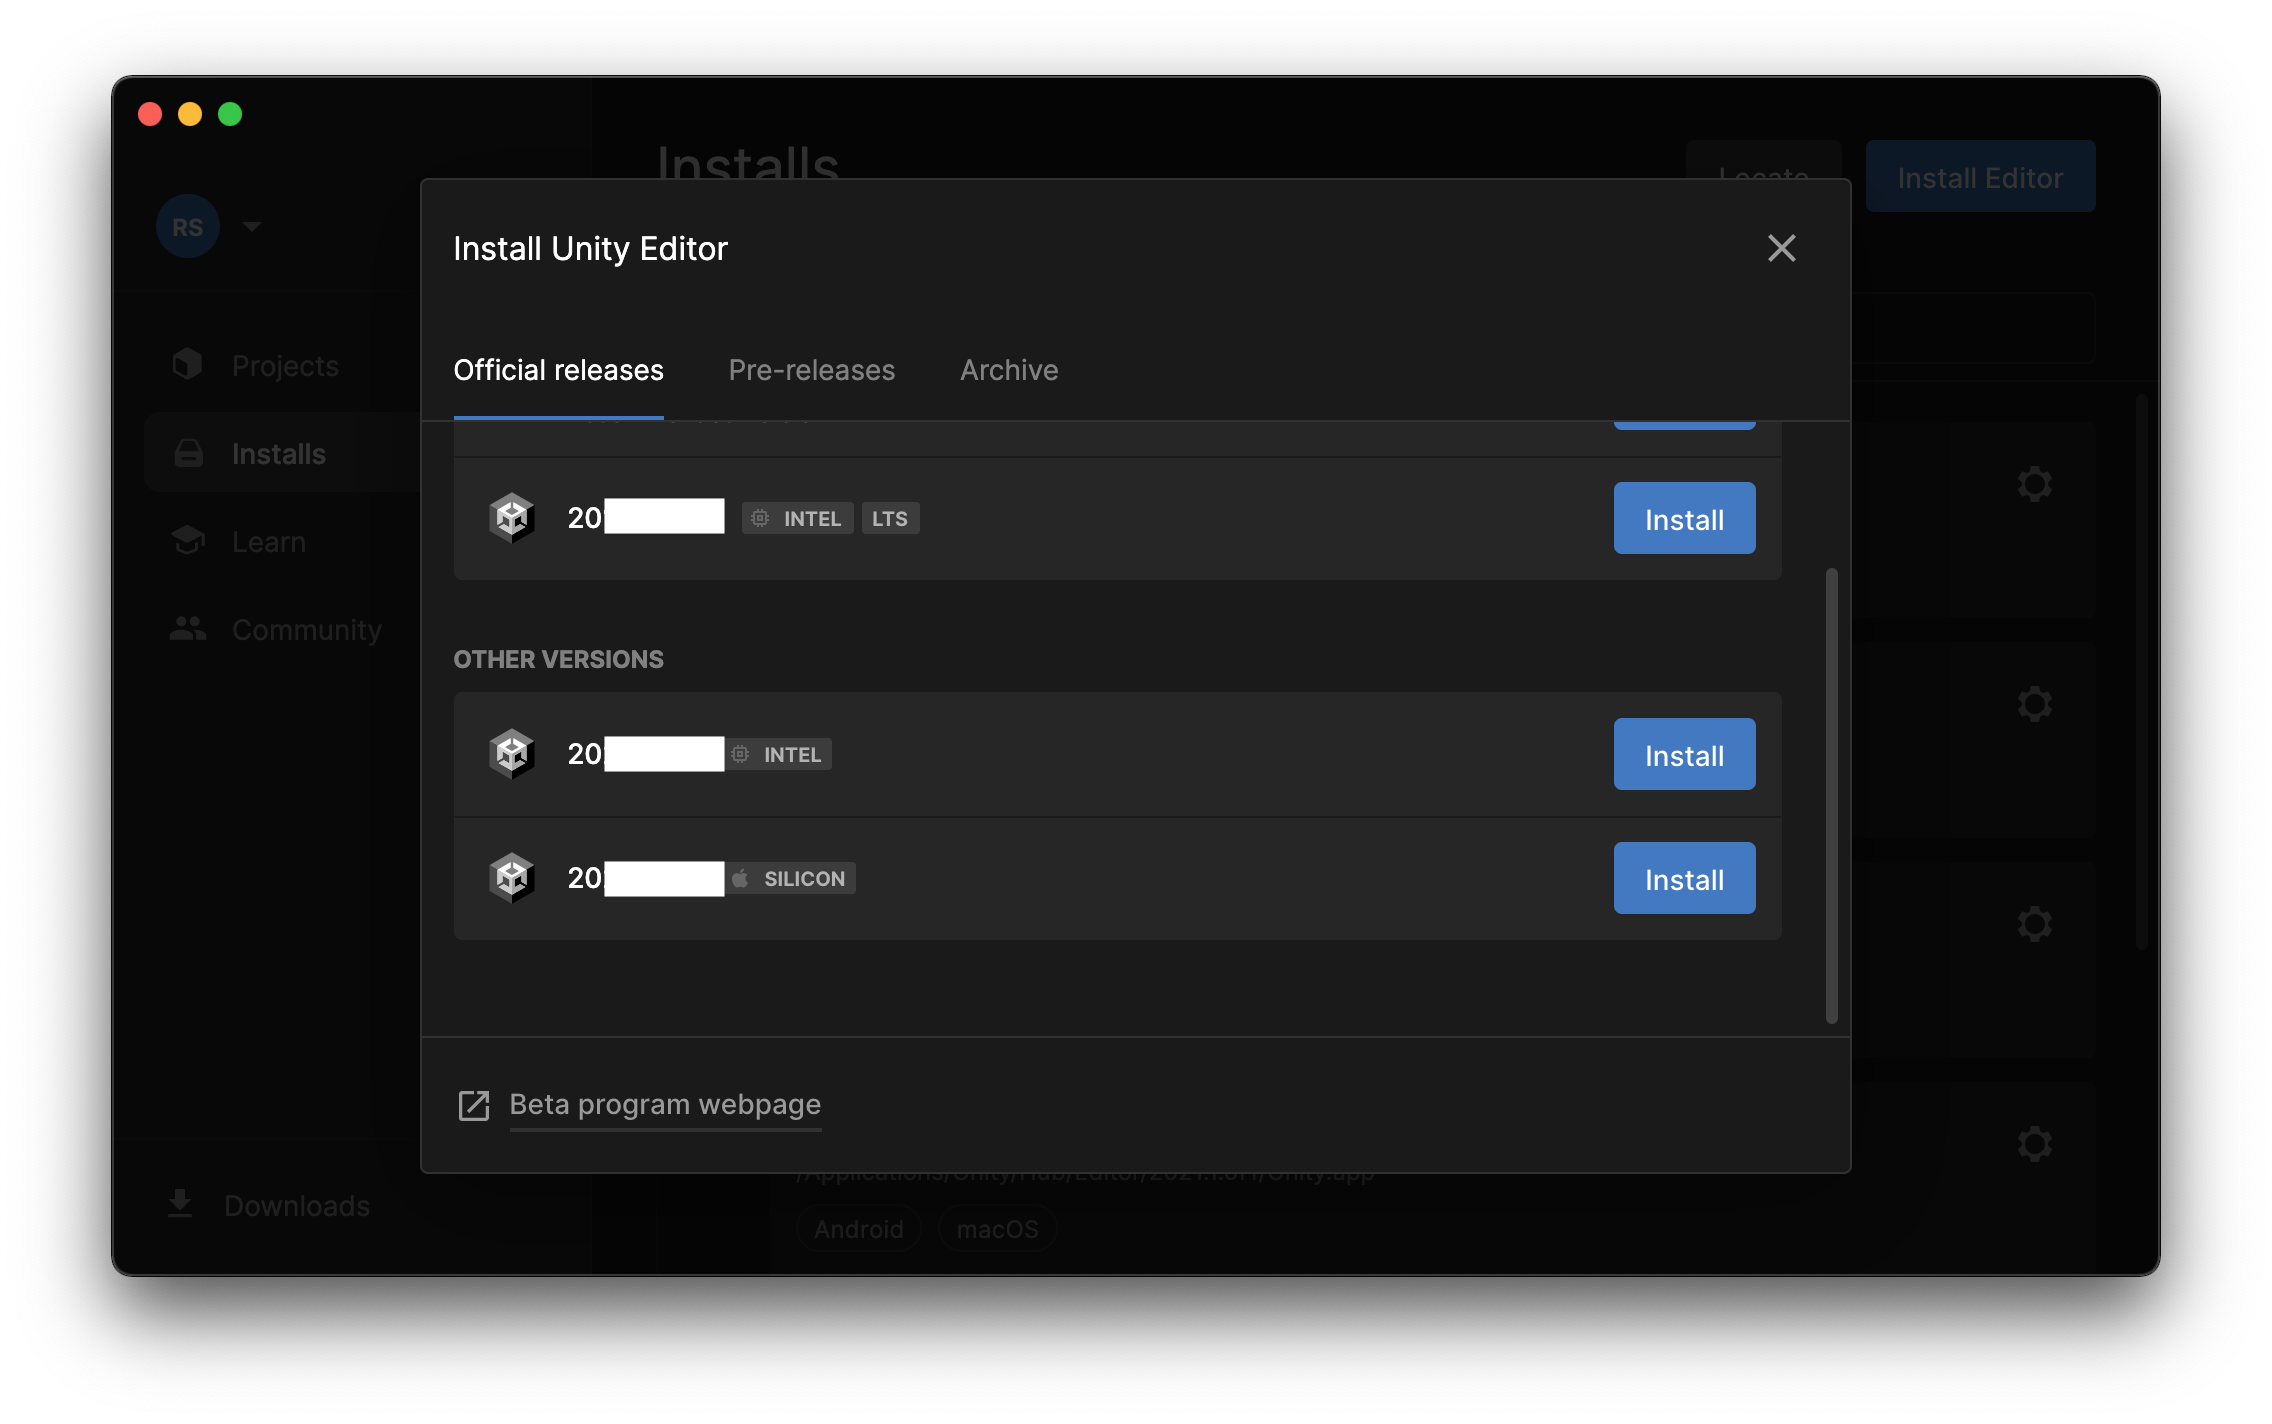
Click "Install Editor" in the corner to view the available versions of Unity and pick the appropriate one to install.
*Your Unity version may differ from what is pictured. You MUST use the Unity version required by the instructor for your particular course semester.
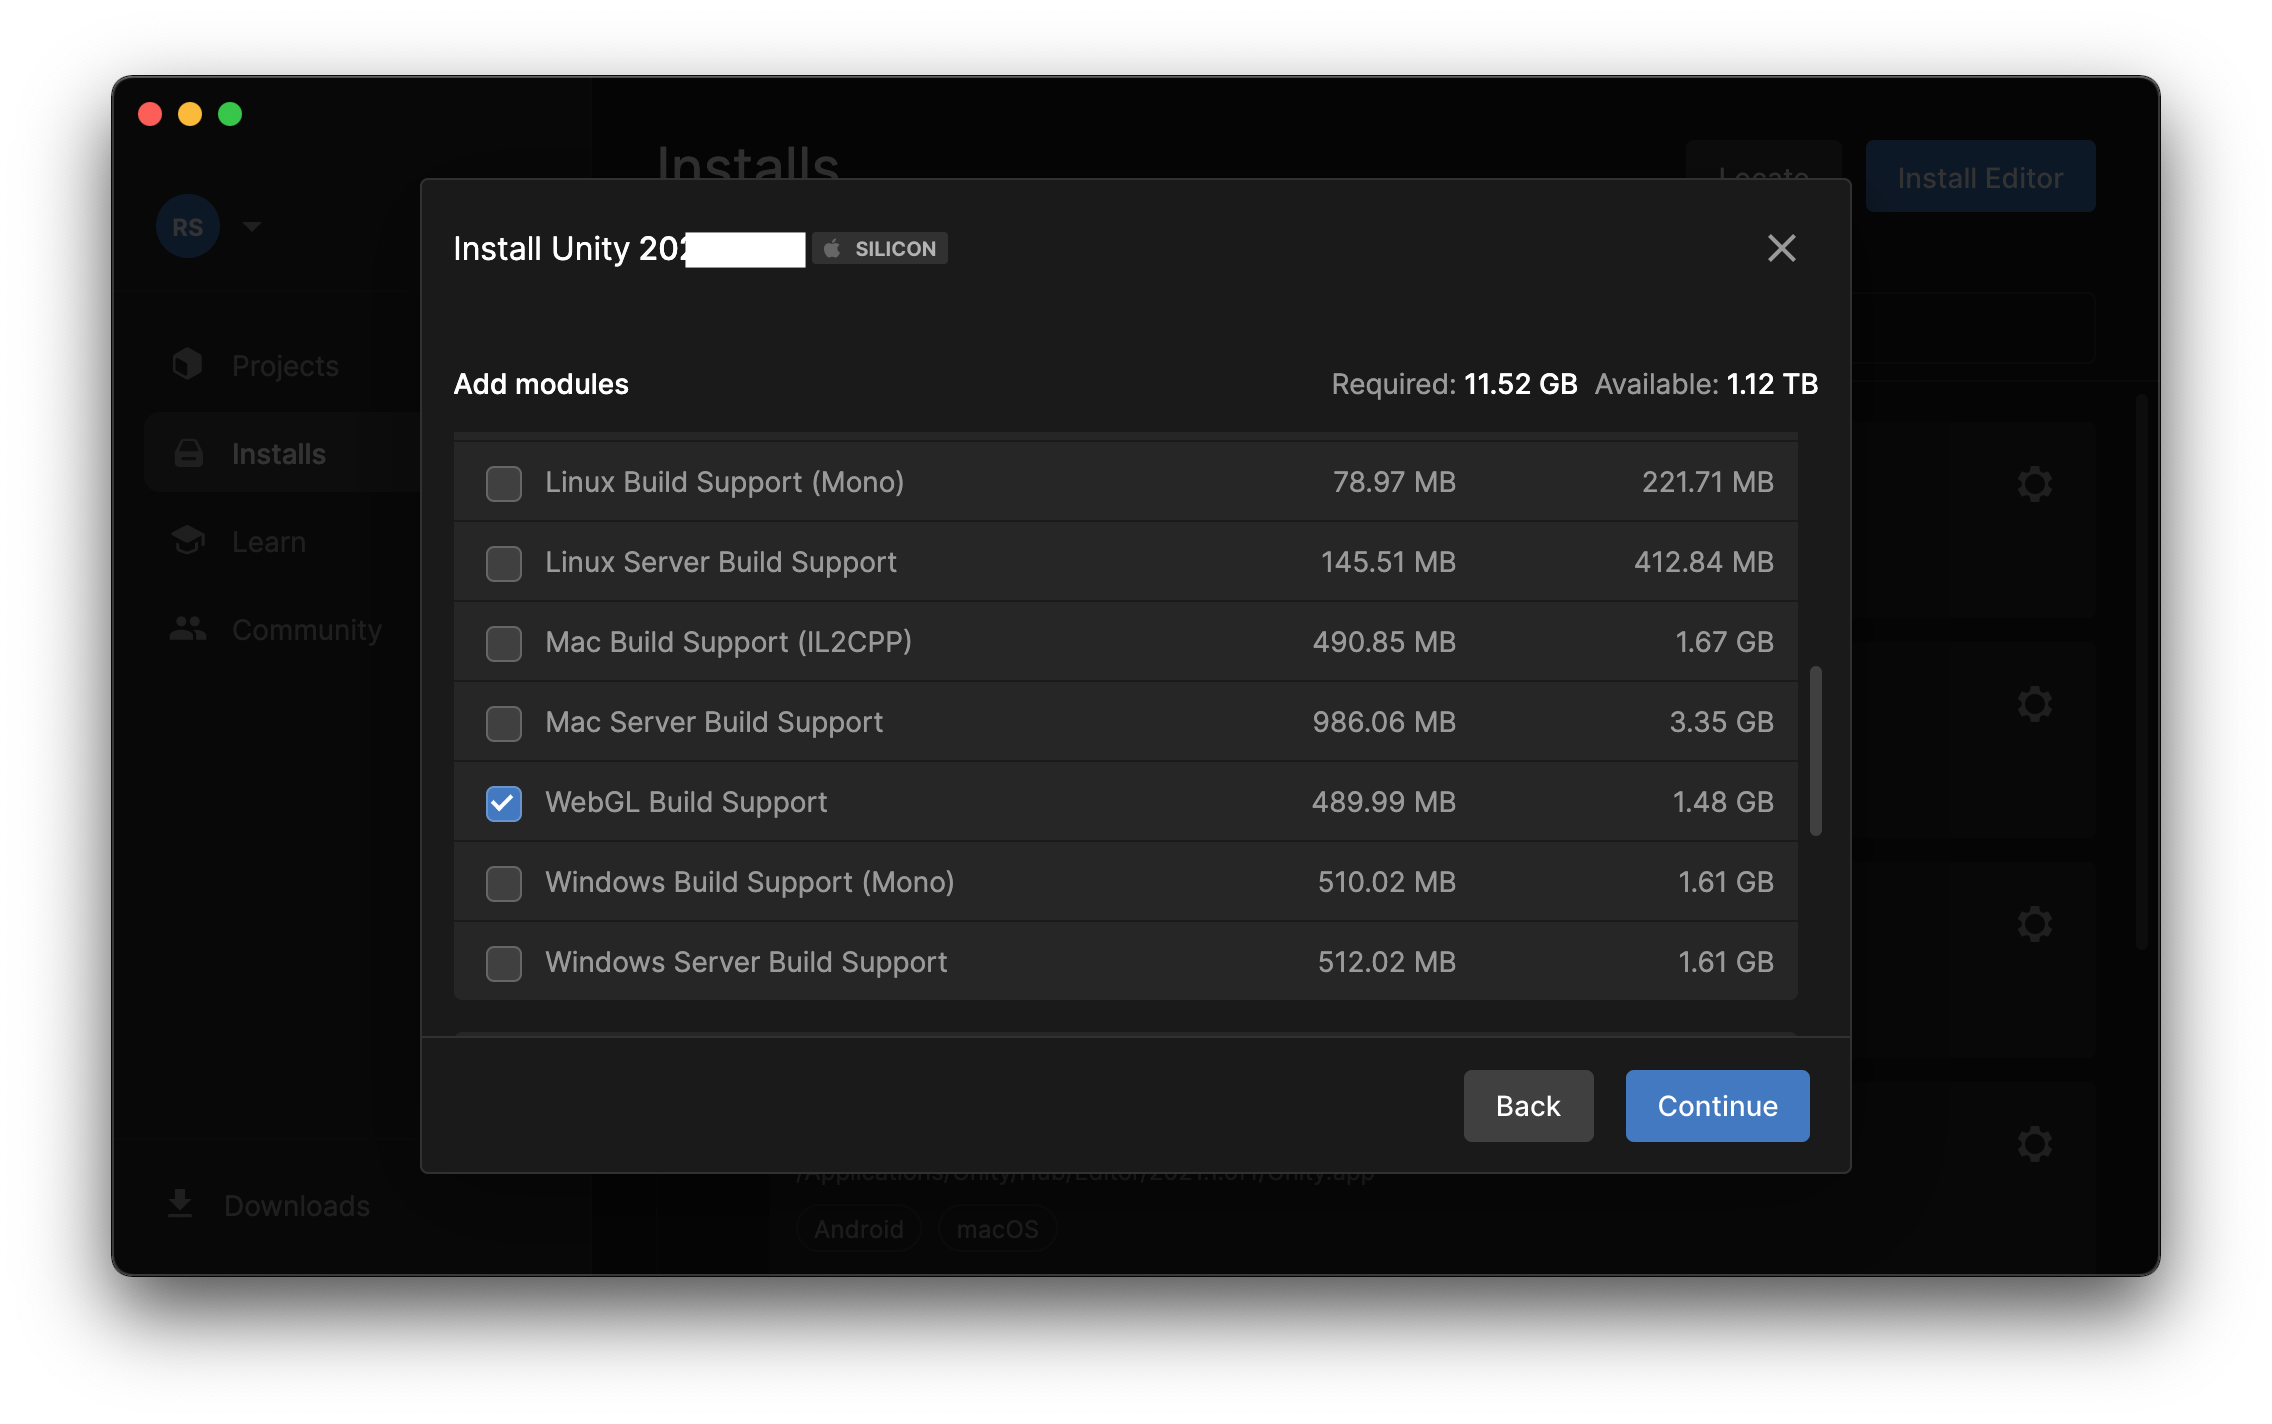
When you've chosen the correct version of Unity Editor to install, you will be offered a variety of optional modules to install with it.
At a minimum, you will need some sort of C# code editor. You may use whatever code editor you prefer. Visual Studio is a good choice offered in the Unity Editor installation menu, while other solutions such as JetBrains Rider are also free for students.
Unity Hub can install Visual Studio for you, if you prefer that code editor.
We will also use Web Build Support to export and share games during the course.